


This guide will walk you through to install and configure XAMPP server on Windows 10. The XAMPP is a free open source application that provides the easy way for web designers and developers to install the components to run PHP based software like WordPress, and etc. on Windows. XAMPP server includes with control panel to manage all its components easily. XAMPP stands for cross-platform, Apache, MySQL, PHP, Perl, and with some additional modules including phpmyadmin (for the database), FileZilla, Mercury, and Tomcat.
How to install XAMPP on Windows 10
How to download and install XAMPP on Windows 10, follow the below steps.
1- Choose the Download option for the Windows version of XAMPP.
Note: If you have any special version requirements for PHP, then download the version you are required to install. If you don’t have a version requirement, then you can download the oldest version, as it will help you to avoid issues trying to install PHP based application. In addition, a set of instructions have been tested to work for XAMPP version 7.3.26 & previously versions, but you can also use them to install later versions.

Install and Configure XAMPP Server
2- Double-click to launch the xampp installer.

3- Click yes.

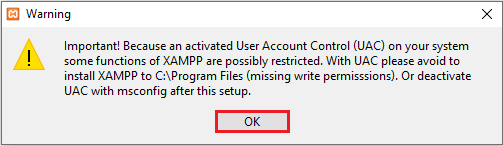
4- Click ok.
5- Welcome to the XAMPP setup, click next.

Complete XAMPP installation on Windows 10
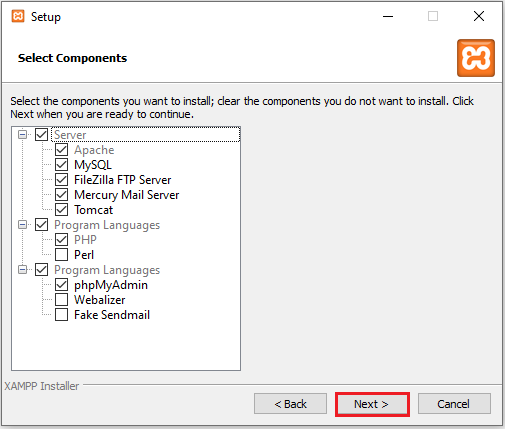
6- XAMPP offers a variety of components that you can install, recommended to leave the default options. Click Next.
7- Leave the default installed location. (Or select another directory to install the software) and then click Next.

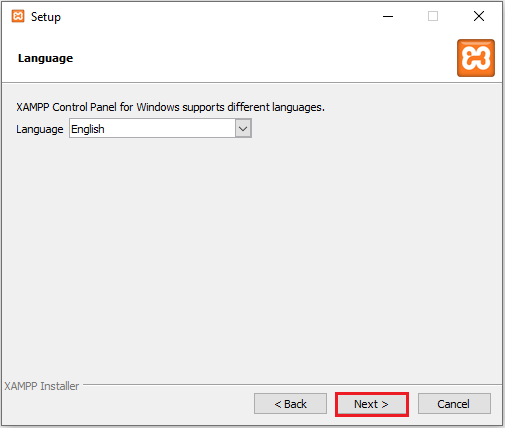
8- Choose the language for the XAMPP Control Panel and then click next.
9- Click Next.

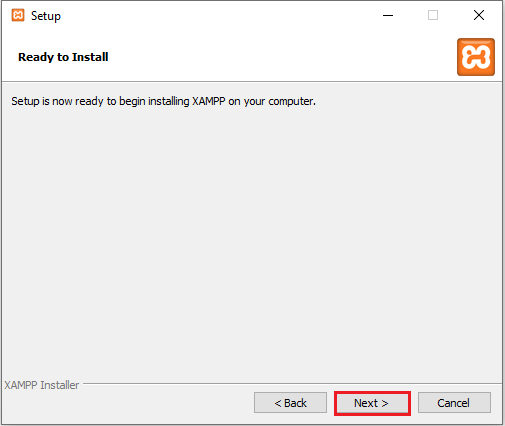
10- Click next to begin the XAMPP installing.
11- Welcome to XAMPP!

12- Chose the Allow access button to allow permission through the Windows Firewall (if applicable). Click Finish.

How to configure XAMPP on Windows 10
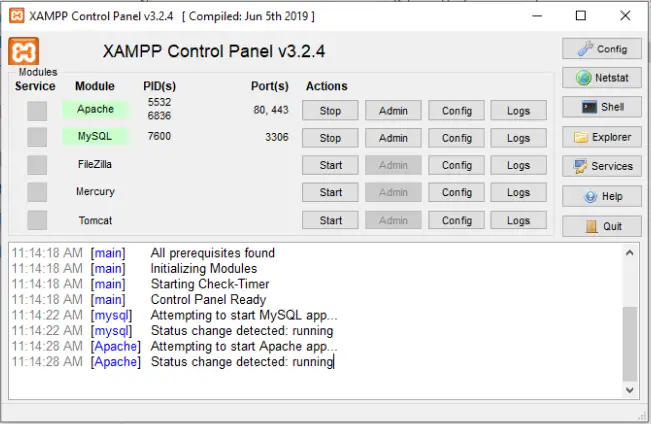
13- The XAMPP Control Panel includes main sections. In this section, you will find all the web services available. You can start service by clicking on the Start button.
When we start some of the services, including (Apache and MySQL), you will see the process PID(s) number and port(s) numbers that each service is using. For instance, by default Apache uses ports 80 and 443, while MySQL uses ports 3306.
14- Open any web browser, type http://localhost/

Install WordPress on XAMPP Server
15- In this step, we are talking about the wordpress.org, which is a free, open-source CMS for website building and maintenance. Select download WordPress.

16- Right-click on downloaded wordpress-5.6.zip, choose winzip & then unzip to here.

17- Copy unzipped wordpress folder.

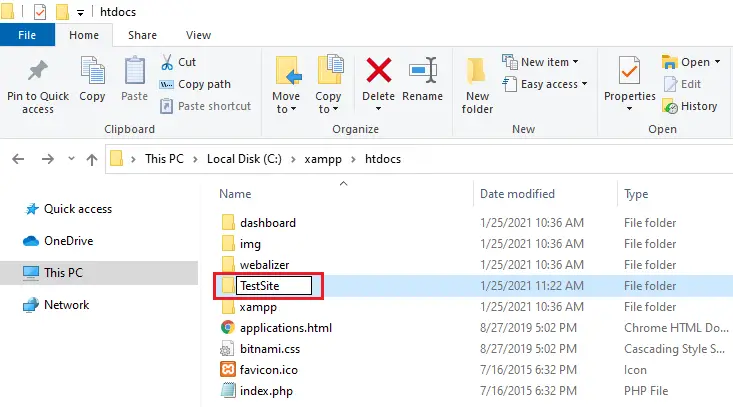
18- In the computer, the XAMPP server file was installed in C:\xampp, so we need to paste our WordPress folder in C:\xampp\htdocs folder.
XAMPP Server directory.

19- To avoid confusion of this project, we can rename this WordPress folder that we will remember such as TestSite, etc. Keep in mind that will be our local WordPress site URL.
20- Type the following address into your web browser (Chrome, Firefox, or I Explorer) http://localhost/TestSite/
Select a language and then click continue.

21- Select Let’s go!

22- Leave it for a while.

23- Now type http://localhost/phpmyadmin/ in web browser and then press enter.
Select the Databases tab in phpMyAdmin to create a new database for our WordPress.

24- Type a database name (TestDB) and then select Create.

25- Your new database is ready, you can now install WordPress.

26- Go back to your local site http://localhost/TestSite/ here you can type your database name, username, with password, host, and table prefix. In my test lab, I have entered the following credentials.
Database Name: TestDB
Username: root (default MySQL password)
Password: (leave this field blank)
Host: localhost
Table prefix: wp_
Select Submit.

27- Select Run the installation.

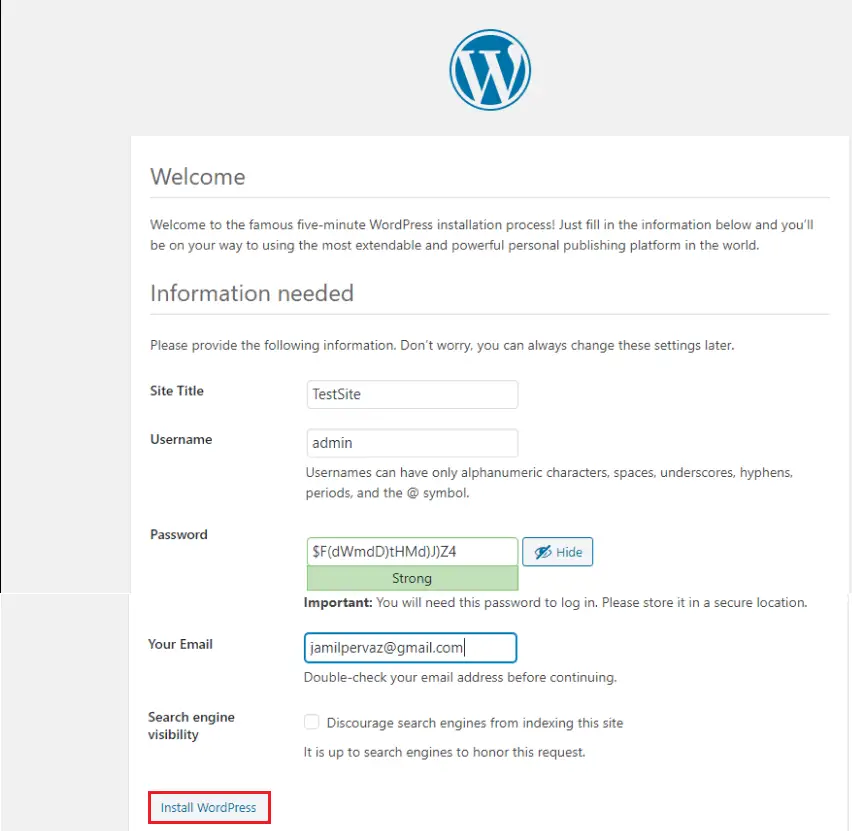
28- Fill the information needed for your new WordPress website. It’s include the site title, username, password, and email address.
Enter the credentials and then press Install WordPress.
29- After completing the installation, Select login.

30- Enter your login credentials to log into your WordPress dashboard.

31- WordPress Dashboard.
