
Install VMware ESXi 7, In this blog, I will explore how to Run VMware ESXi 7 Host and configure inside VMware Workstation
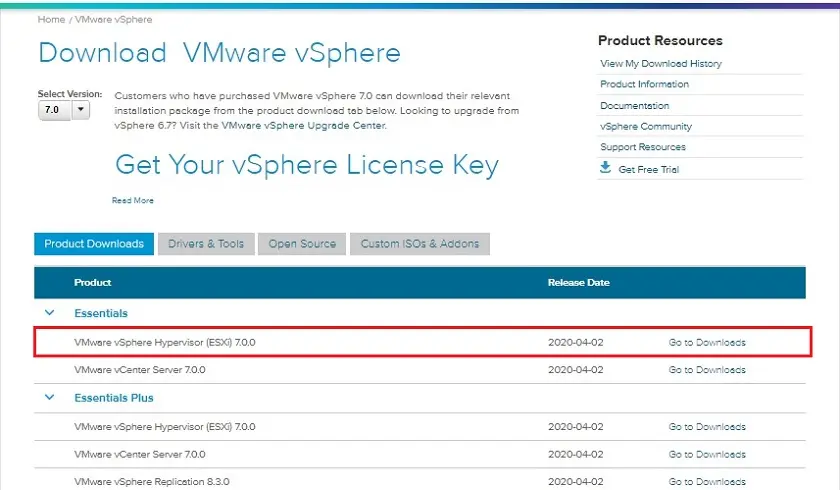
How to Download VMware vSphere ESXi 7 Host
First, we would like to create an account, after creating an account you can download the trial version for 60 days.
1- Download VMware vSphere ESXi 7 so click here
Now I have my VMware ESXi 7 download ready and I am ready to install
How to create a Virtual Machine in VMware Workstation, so change the boot option from the bios to boot from ISO.
Install VMware ESXi 7
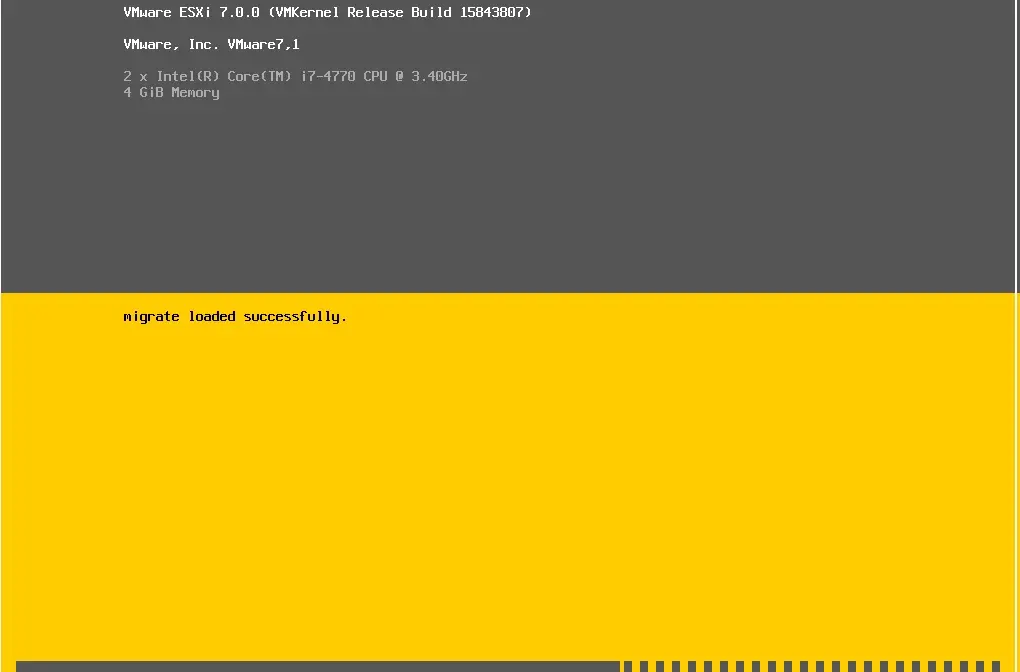
2- It starts loading the files into memory to install the VMware ESXi 7
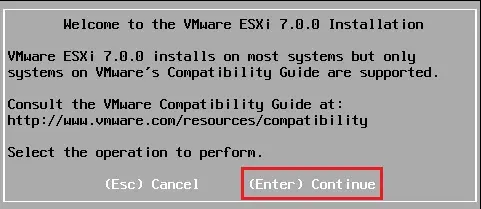
3- Press enter to start the installation
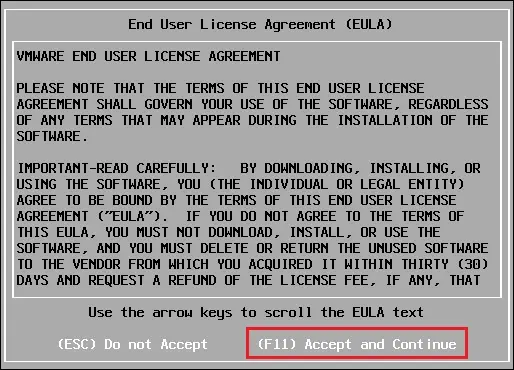
4- So, press the F11 key to accept the user license
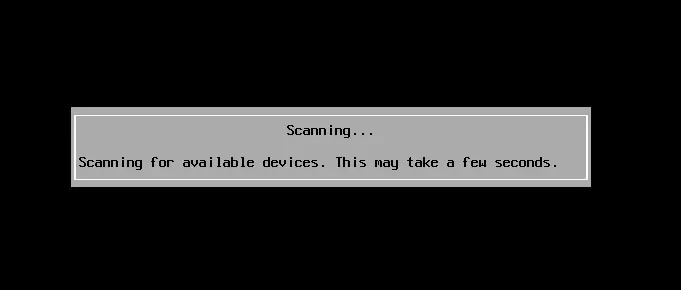
5- Its start scanning for the available devices
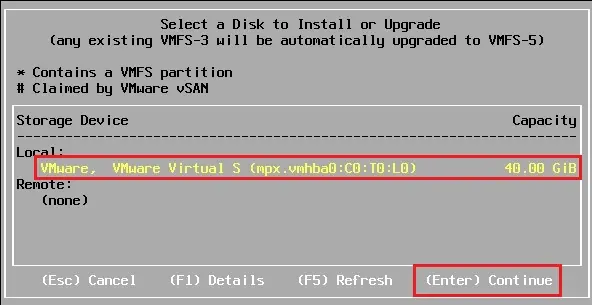
6- Select a disk to install ESXI 7, and then press enter
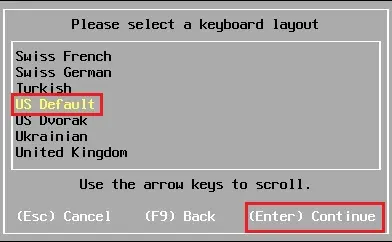
7- Keyboard layout and then press enter to continue
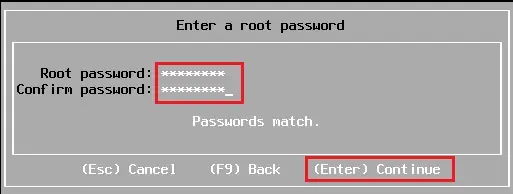
8- Type a root password, confirm password and then press enter to continue
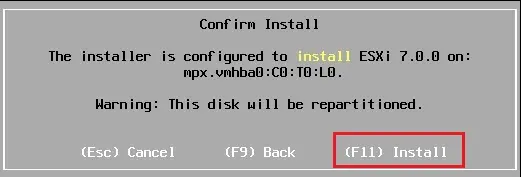
9- The installer is configured to install VMware ESXI 7, so press F11 to start the installation
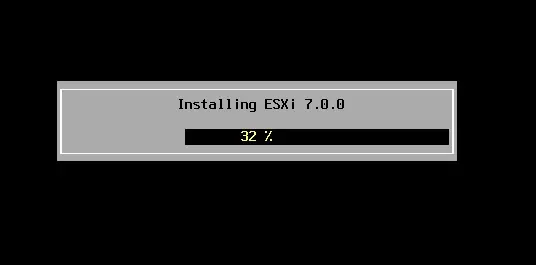
10- The VMware ESXi 7 installation in progress and it will take a few minutes to complete
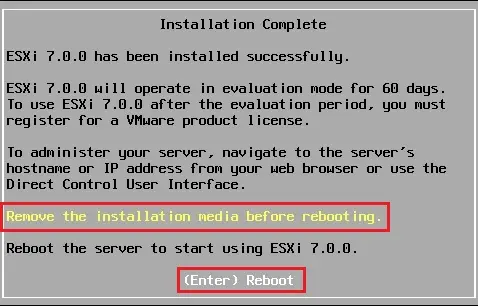
11- ESXi 7 installation successfully completed, please remove the installation media and then press enter to reboot the host
12- The ESXi 7 host server is rebooting

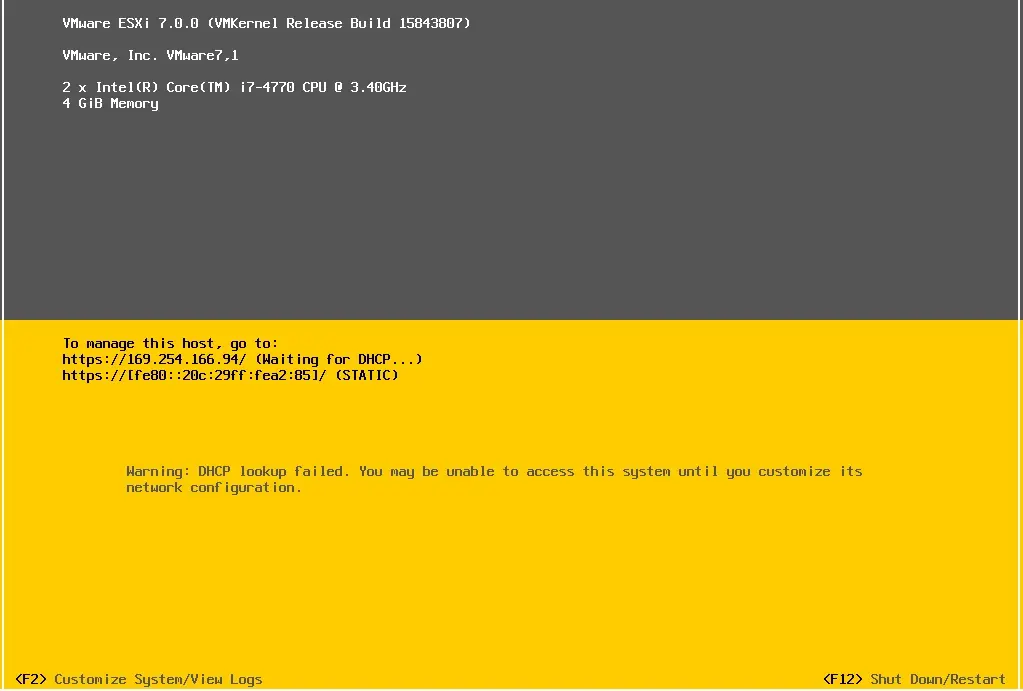
13- After successfully installed
Configure VMware ESXi 7
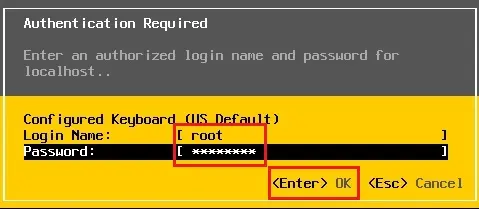
14- Once we have our VMware ESXi 7 host installed we need to configure, Press F2 for all options. F12 to restart and then turn off the VMware ESXi 7 host, Press F2, type your root password and press enter to continue
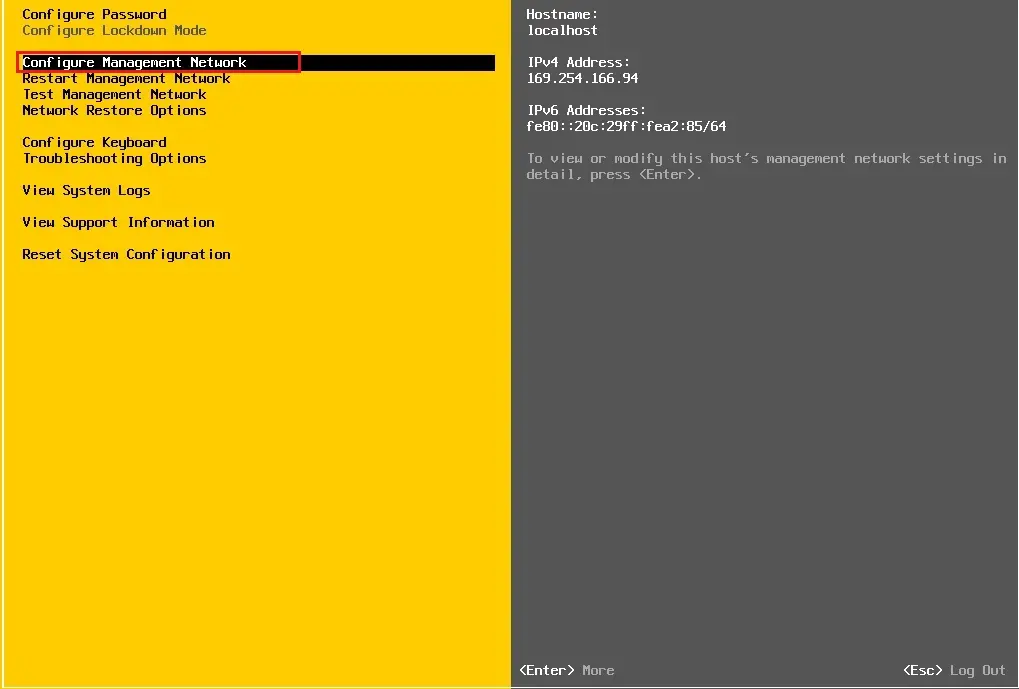
15- Configure the Management Network option and press enter
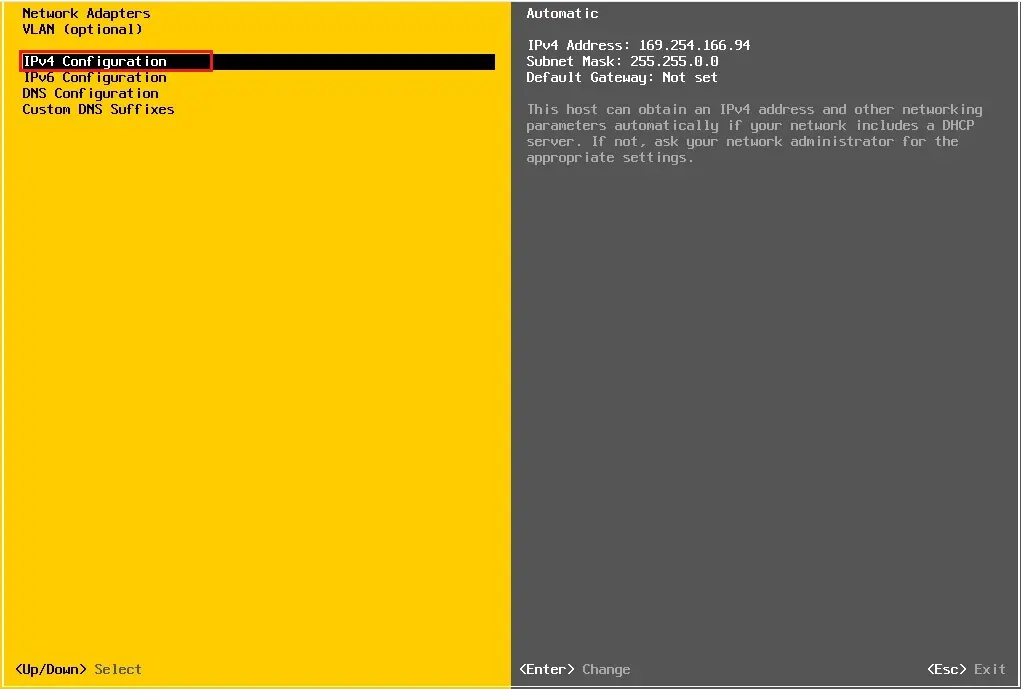
16- IPv4 Configuration option and press enter
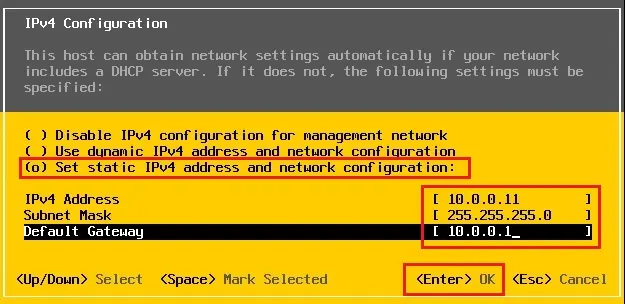
17- VMware ESXi 7, Choose set static IPv4 address and network configuration, type your IP Address, subnet mask, default gateway, and press enter
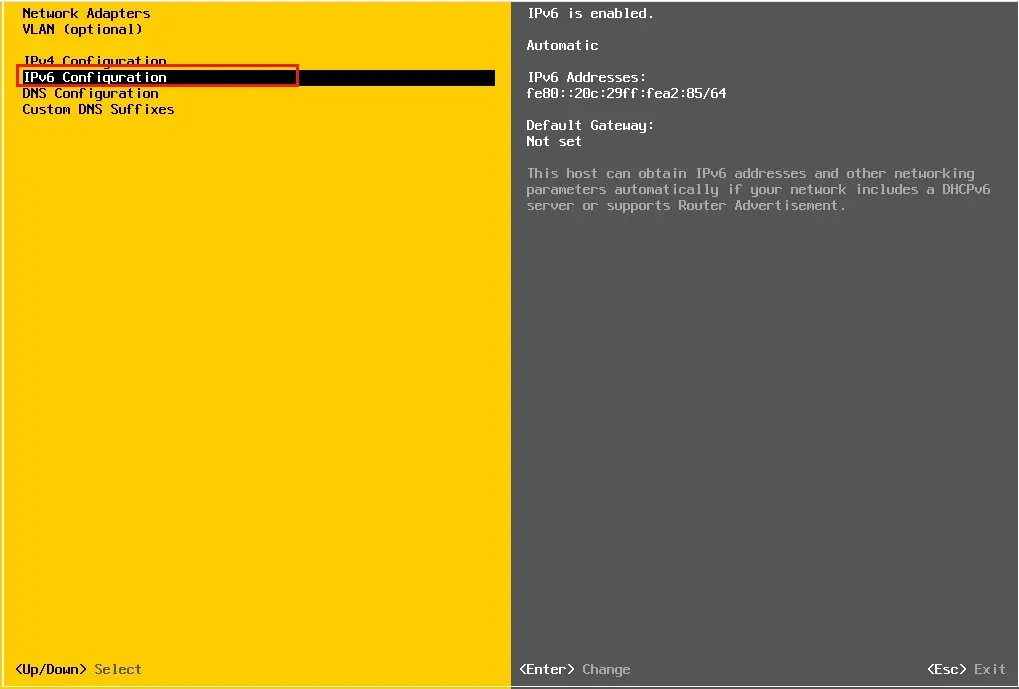
18- IPv6 Configuration option and press enter
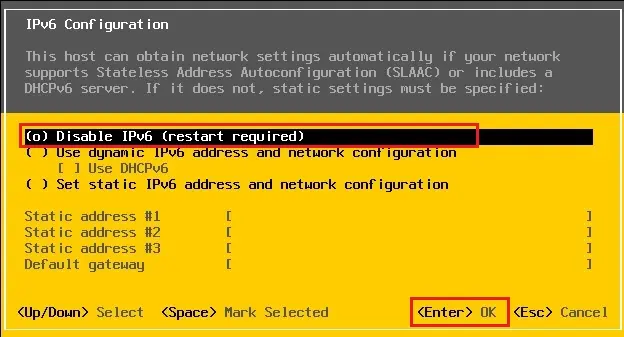
19- I recommend that you disable IPv6 (restart required) and press enter
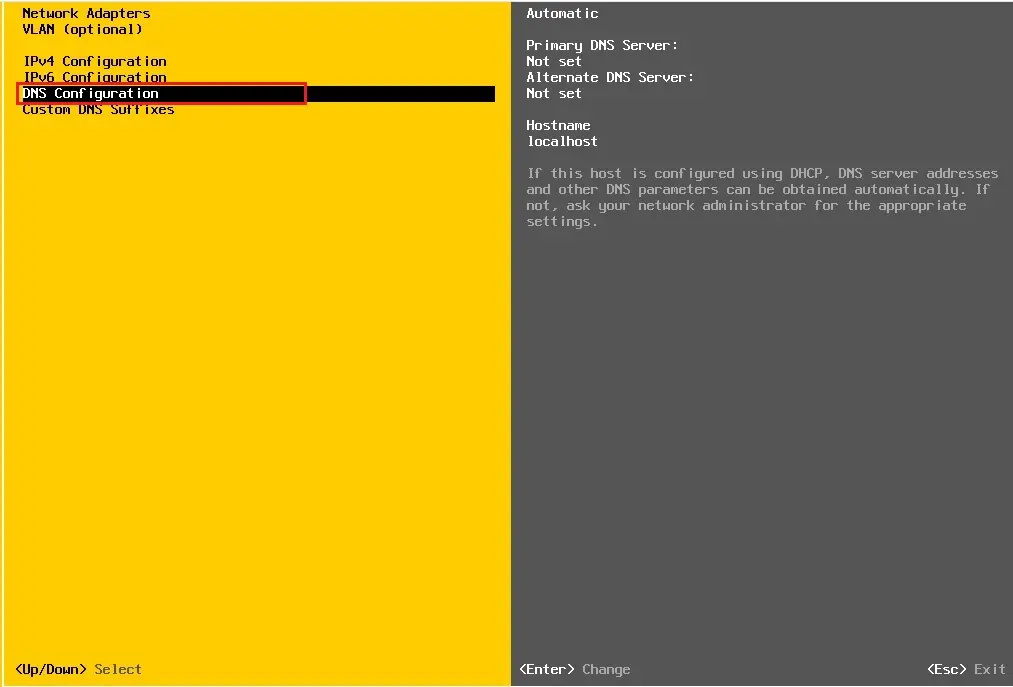
20- DNS Configuration option and press enter
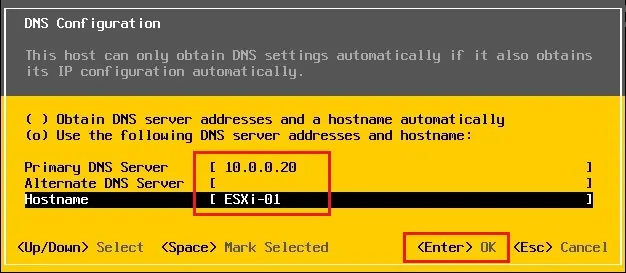
21- Enter the primary DNS server IP Address, and hostname and press enter
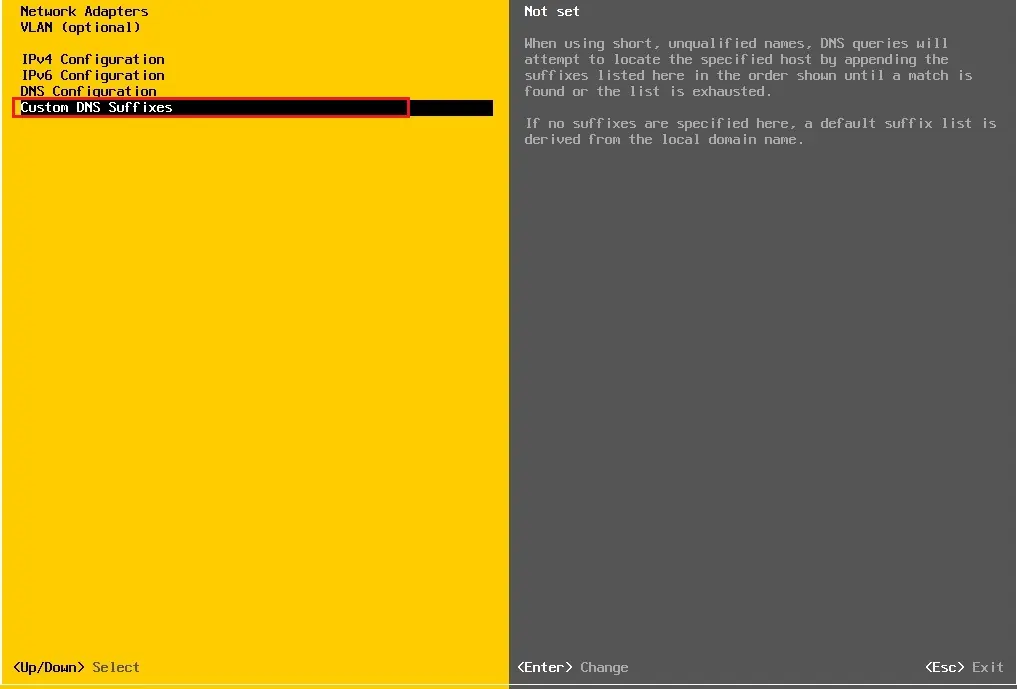
22- Choose a custom DNS suffixes option and hit enter
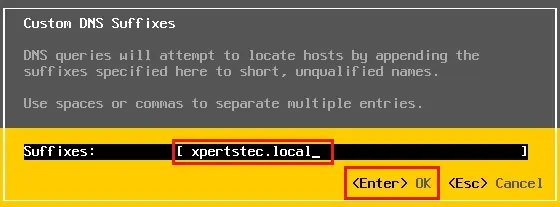
23- Type your custom DNS suffixes and hit enter
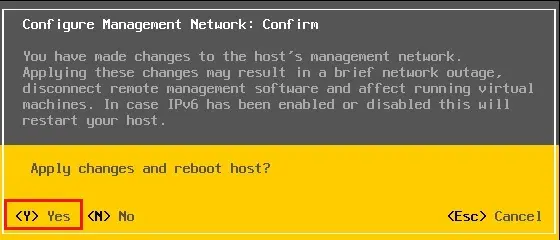
24- Press the Esc button, then press the Y button to apply changes and reboot the host
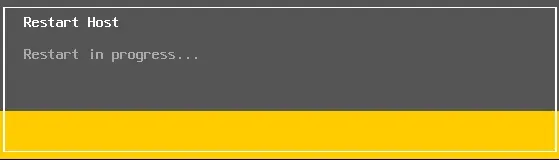
25- ESXi host restarting
26- Now the VMware ESXi 7 host configuration is completed
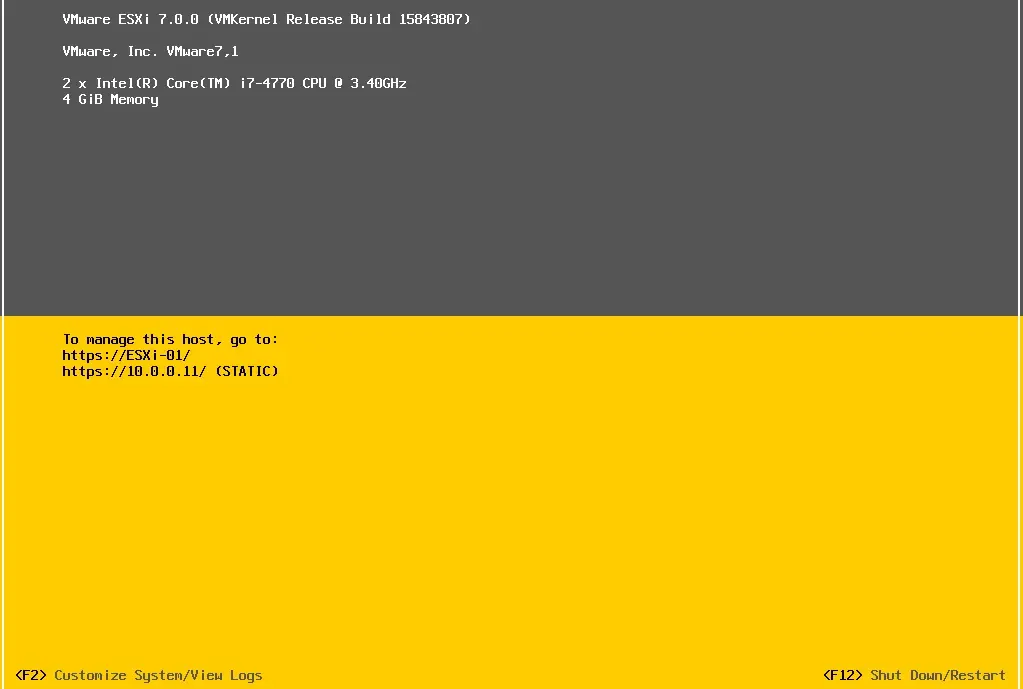
27- Now you can type your VMware ESXi 7 hostname or IP Address in your browser and access your ESXi 7 with the web client, type your root user name and password and click the Login button
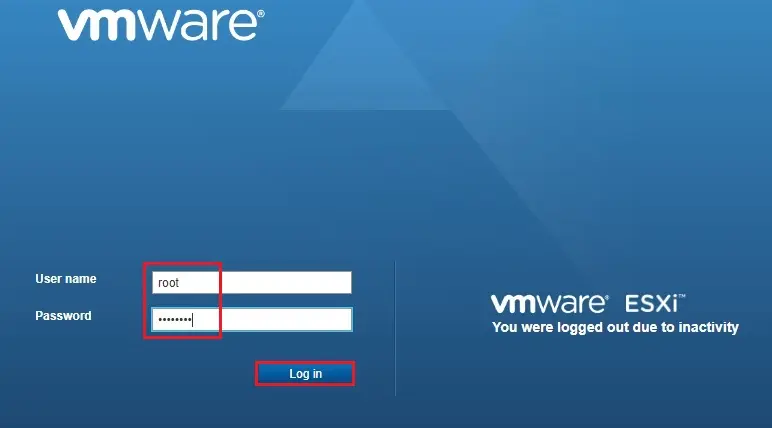
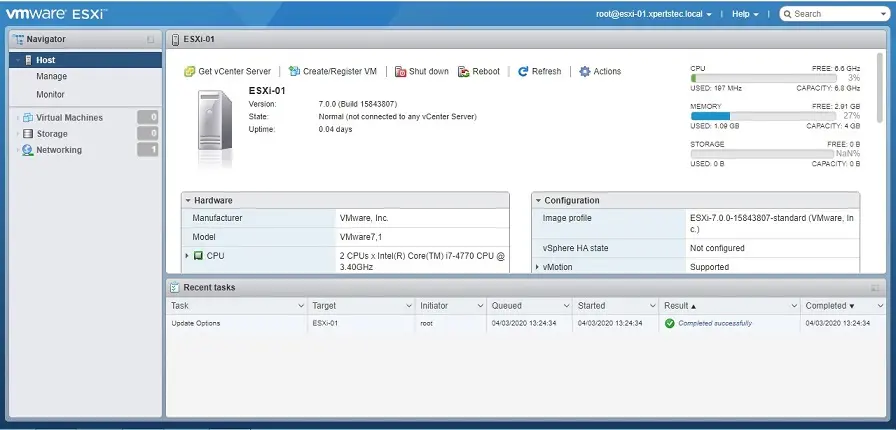
28- Now, the VMware ESXi 7 host is ready
Related: how to Enable SSH on VMware ESXi 7.0
If you love to learn by watching videos then click the video or link below
How to Connect Openfiler iSCSI Storage ESXi 7
No Comments
Like!! I blog frequently and I really thank you for your content. The article has truly peaked my interest.
thank you
Howdy very nice website!! Man .. Excellent .. Amazing ..
I will bookmark your blog and take the feeds also?
I’m happy to search out so many useful info right here within the submit, we need work out more
strategies in this regard, thank you for sharing. . . .
. .
Dear William,
Thank you for your feedback
Dear Parvez,
thanks for the work you have done it helped me alot,
Dear Mohammed, You are most welcome, If you need any other blog, please let me know I will write for you.
I could not resist commenting. Well written!
I learned new information from your article, you do an excellent job.
Best regards,
Demir Valenzuela
Dear Demir Valenzuela, thank you.
Have you ever considered publishing an ebook or guest authoring on other sites?
I have a blog centered on the same topics you discuss and would really like to have you share some stories/information. I know my readers would appreciate your work.
If you’re even remotely interested, feel free to shoot me an e-mail.
HOw reply me to my email [email protected]