In this guide, I am going to install TrueNAS CORE Storage in VMware Workstation. Insert the bootable media (USB or CD/DVD) and reboot or boot the system. Follow the procedure to boot into the BIOS of the motherboard by pressing the boot key.
TrueNAS CORE Hardware Requirements
How to Download TrueNAS CORE
How to create a bootable USB drive or CD/DVD Click here
Install TrueNAS CORE
1- After the system has booted into the installer, follow the below steps.
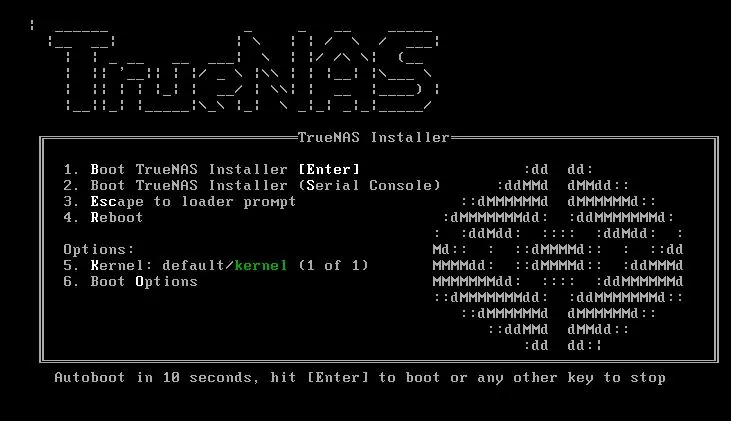
A boot screen like the above should appear. Press Enter to select the Boot TrueNAS Installer.
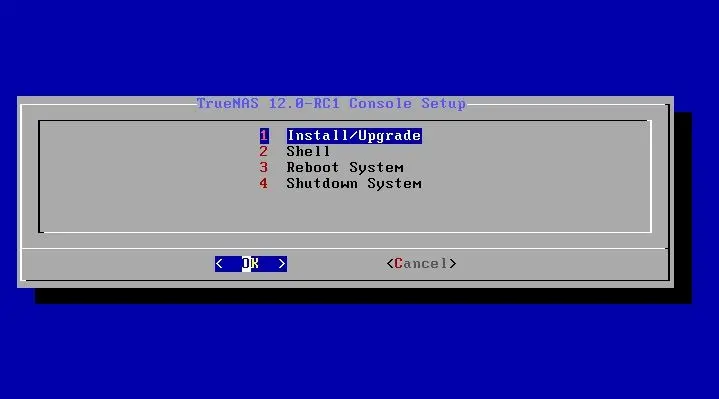
2- TrueNAS console setup, select Install/Upgrade and then press Enter.
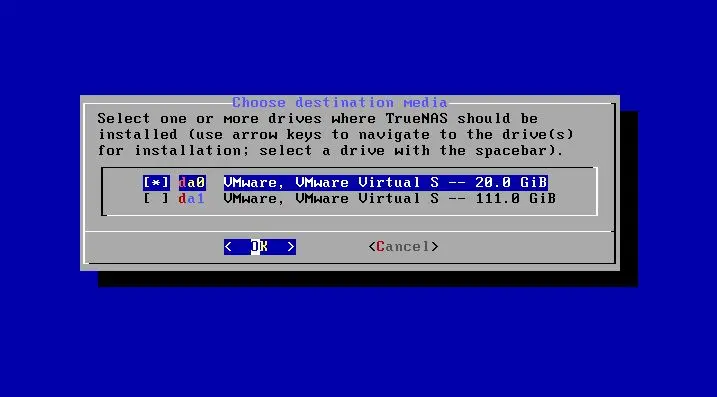
3- Choose destination media to install the TrueNAS CORE and then press enter.
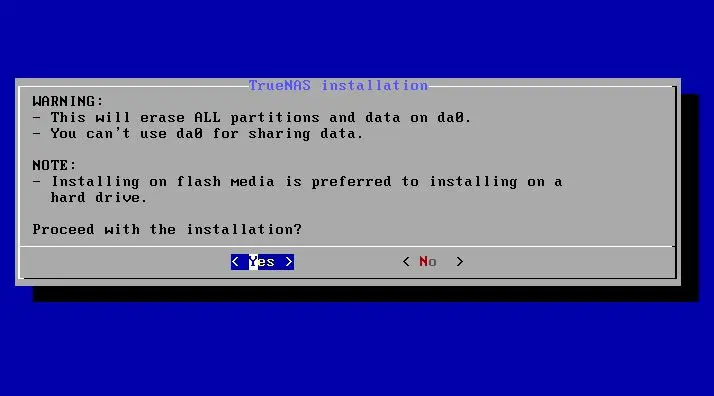
4- TrueNAS installation, A warning will come up will erase all partitions and data, simply press yes.
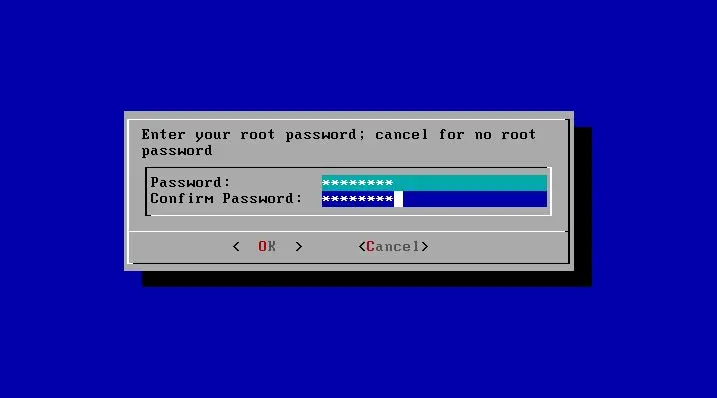
5- Enter a root password for logging into the TrueNAS CORE from Web interface later and the press enter.
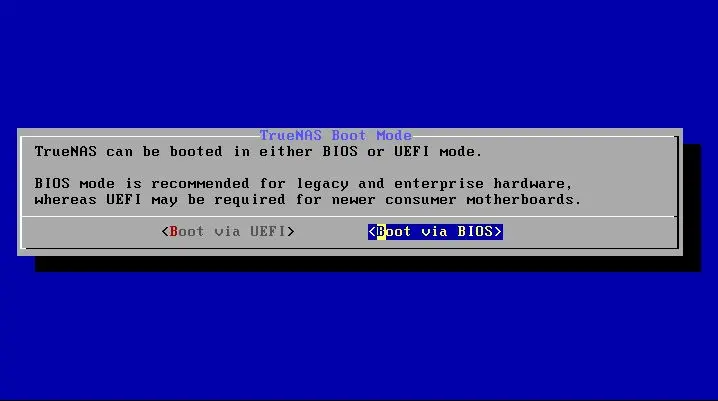
6- TrueNAS boot media, select Boot via BIOS option and then press enter.
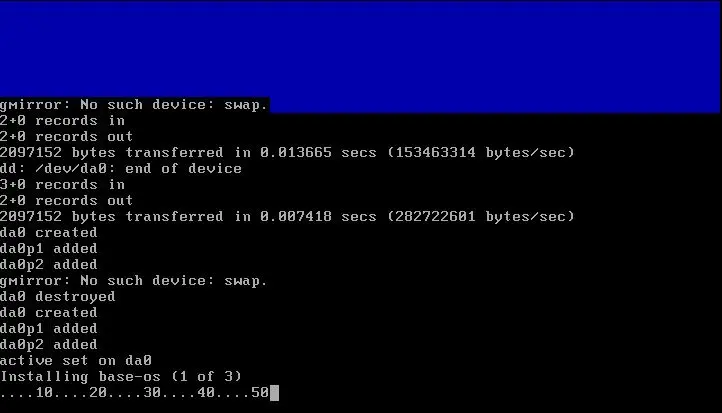
7- TrueNAS CORE installation is in progress.
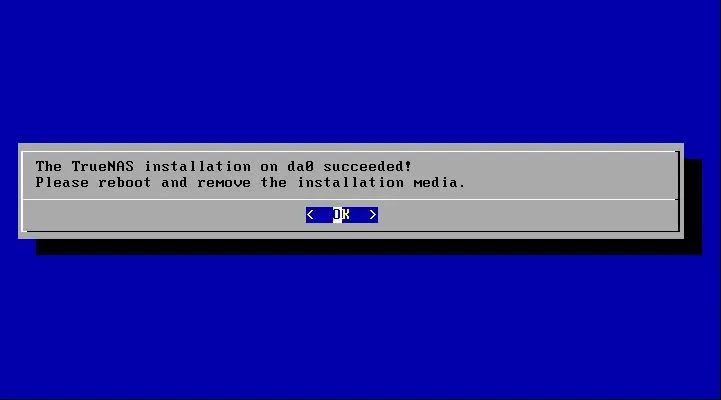
8- TrueNAS CORE installation succeeded; Press enter.
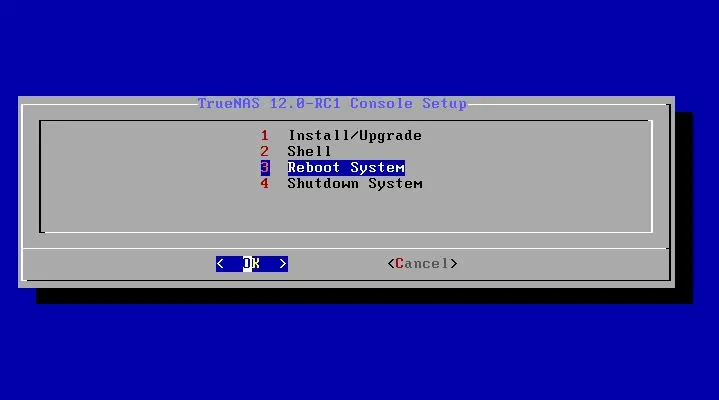
9- Select Reboot System and press enter.
10- TrueNAS CORE booting up.
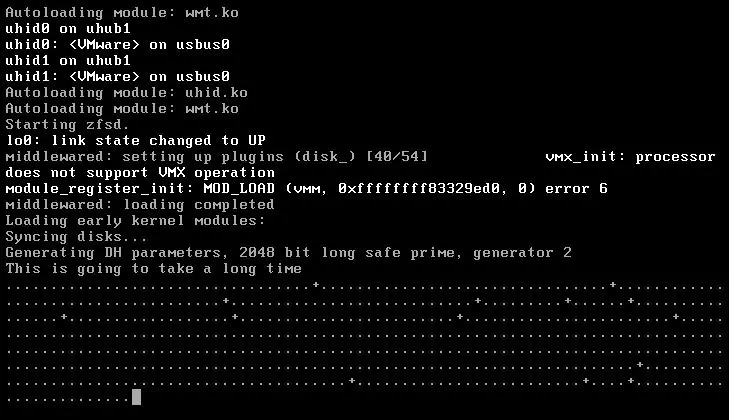
Check your Ethernet cable is connected to the internet and can be accessible to the Web interface.
TrueNAS CORE Configurations
Configure Network Interfaces
1- Type 1 to configure network interfaces and then press enter.
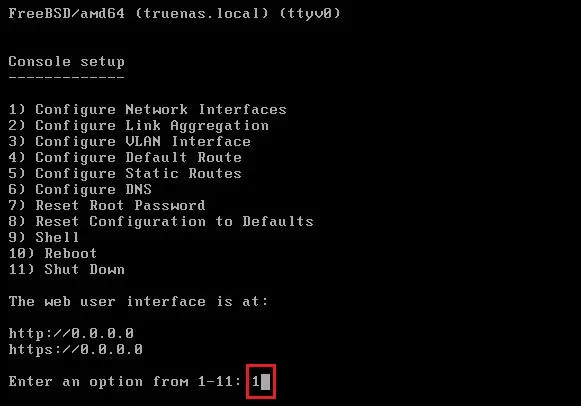
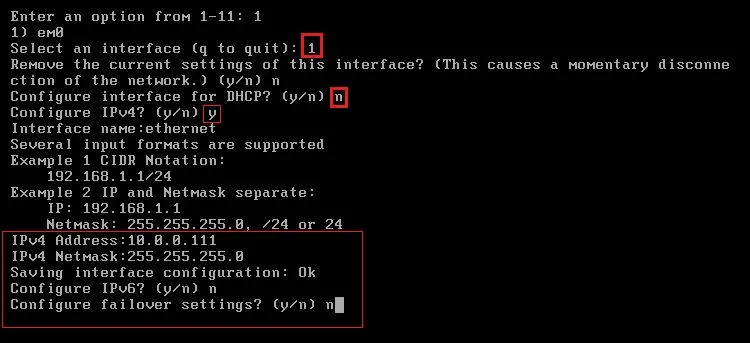
2- Select an interface, type 1, and press enter
Delete interface, type n, and press enter
Type n and Press enter
Configure interface for DHCP, enter n and press enter
Configure IPv4, type y and press enter
IPv4 Address, NetMask, Configure IPv6, type n and then press enter
Configure DNS
3- Type 6 and hit enter.
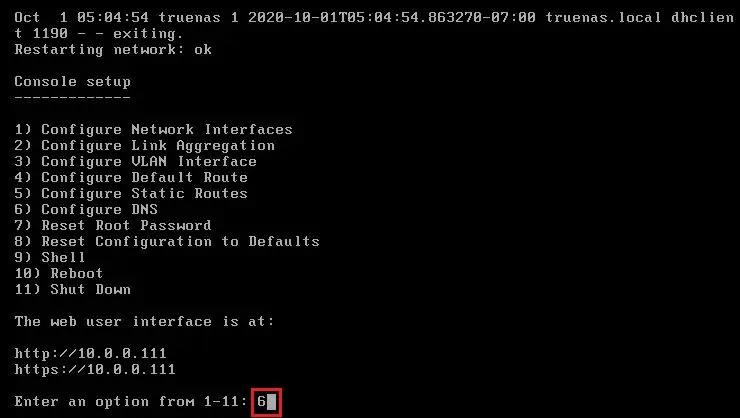
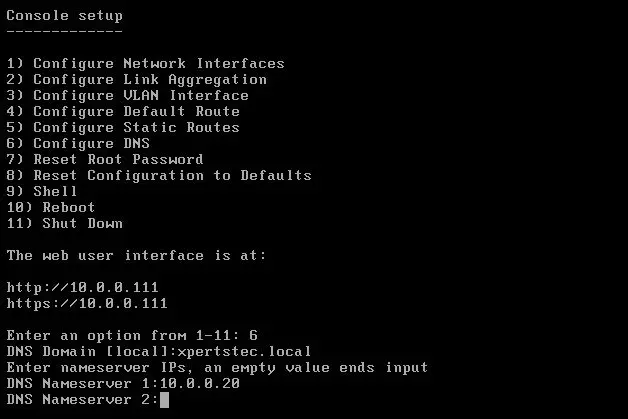
4- Type DNS IP Address and press enter.
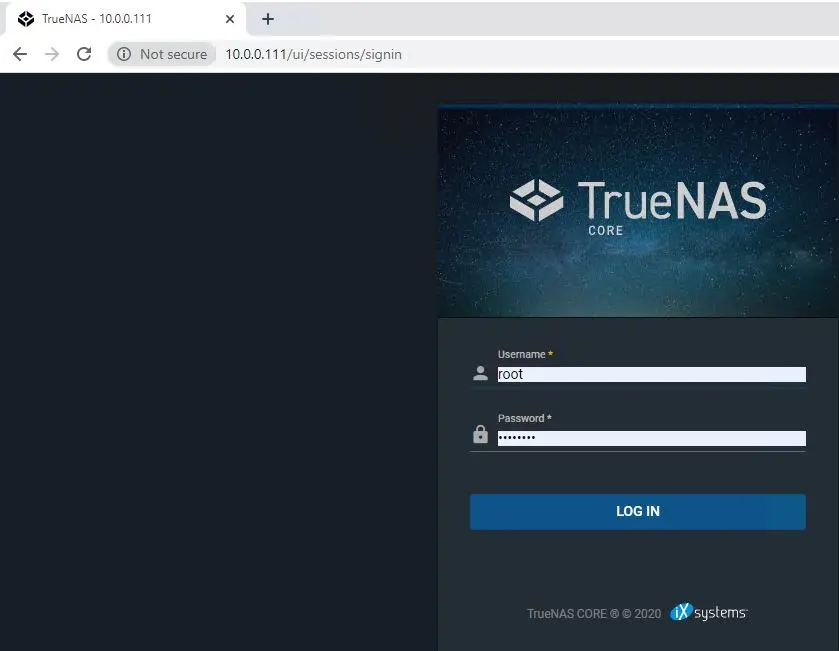
TrueNAS Signin
Use any other PC using the same internet, open web browser type the TrueNAS IP address and press enter.
The username is root and the password is the one set during installation and select login
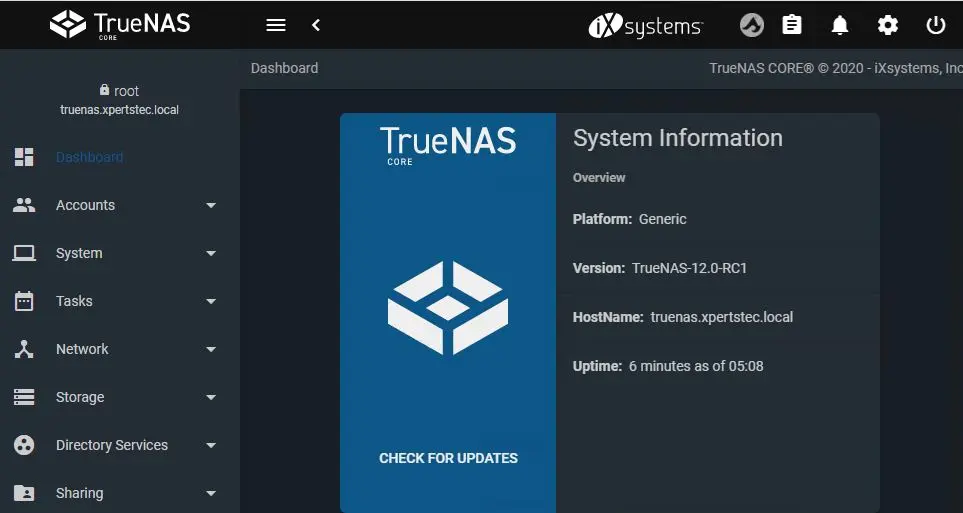
Now you can see the TrueNAS CORE dashboard.
Related: How to Configure iSCSI Share in Truenas CORE.


