
Connect OpenFiler iSCSI Storage, Openfiler to connect to ESXi Host as shared storage, to run some VMs
Connect Openfiler iSCSI Storage
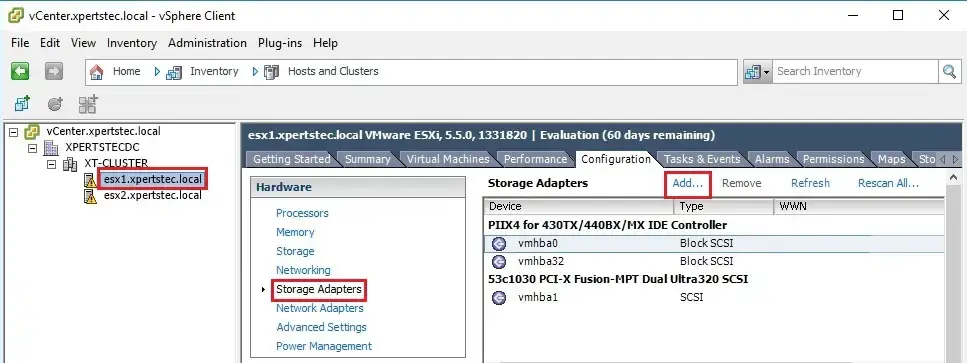
1- Open up the VMware Virtual Infrastructure Client (VIC). Select the ESXi server that you want to add the iSCSI storage too. Select the Configurations tab under the hardware menu, so select Storage Adapters and then click on Add.
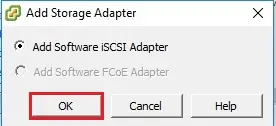
2- Add Storage Adapter so, click ok.
3- Rescane iSCSI adapter, so click ok.

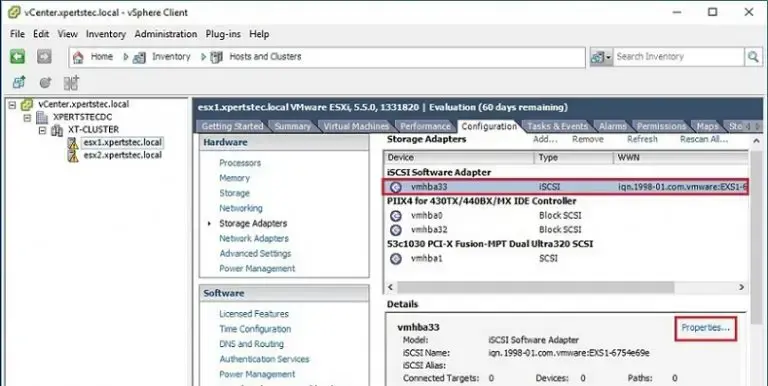
4- Now you can see an iSCSI software adapter has been created, click on it and then select properties.
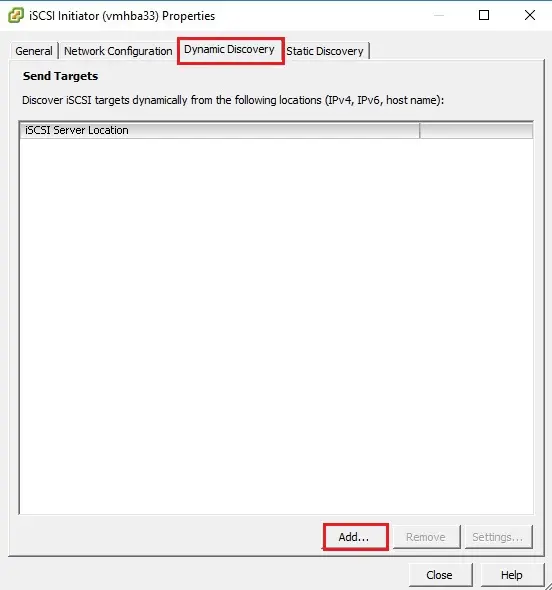
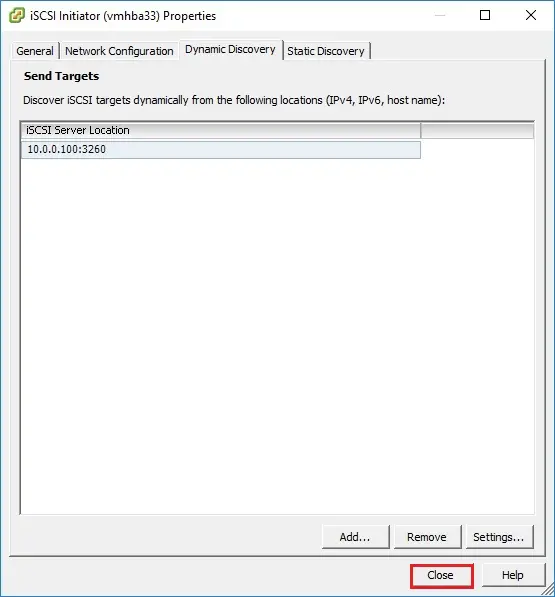
5- In the iSCSI software adapter properties, select the Dynamic Discovery tab and then select the Add button.
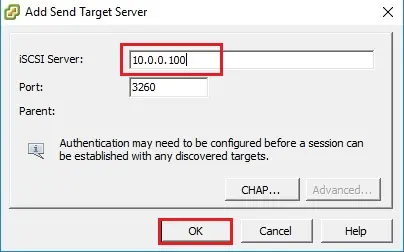
6- Enter the IP address of our OpenFiler server/SAN in the iSCSI Server option (my openfiler server IP address is 10.0.0.100), and then click ok. (So it will take a few seconds), to detect the iSCSI Server/SAN.
7- Click Close.
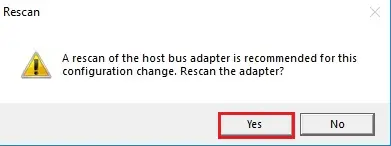
8- To rescan iSCSI adapter and then click ok.
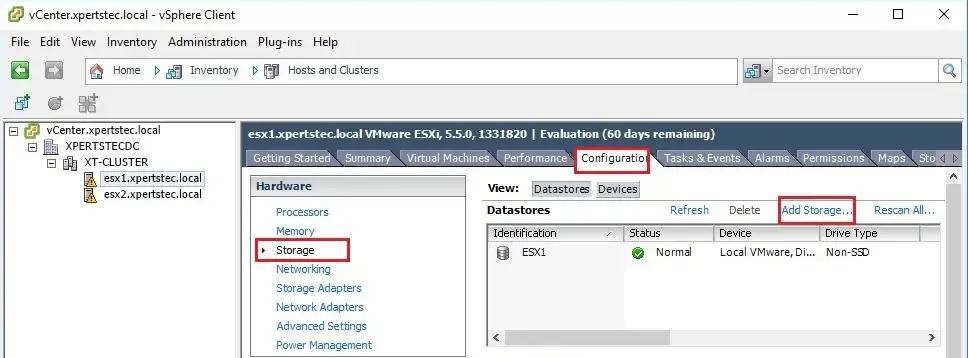
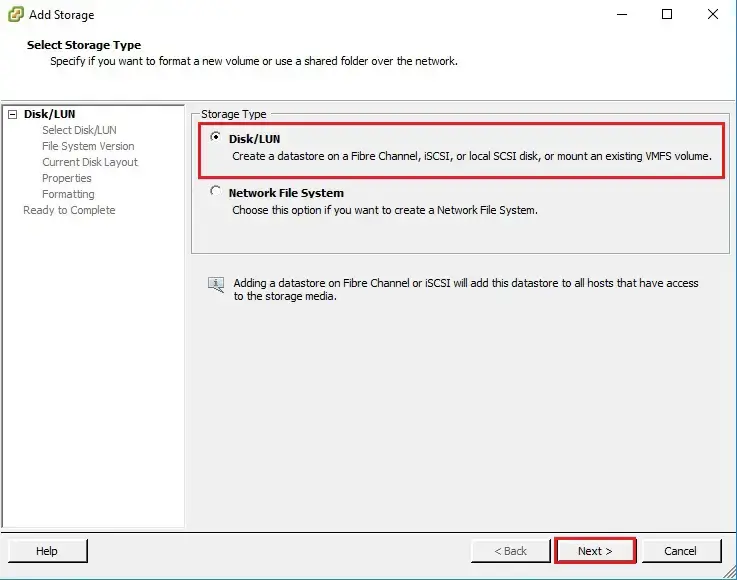
9- Now select the Configuration tab and select Storage and select Add Storage.
10- Under the storage tab select Disk/LUN and click on next.
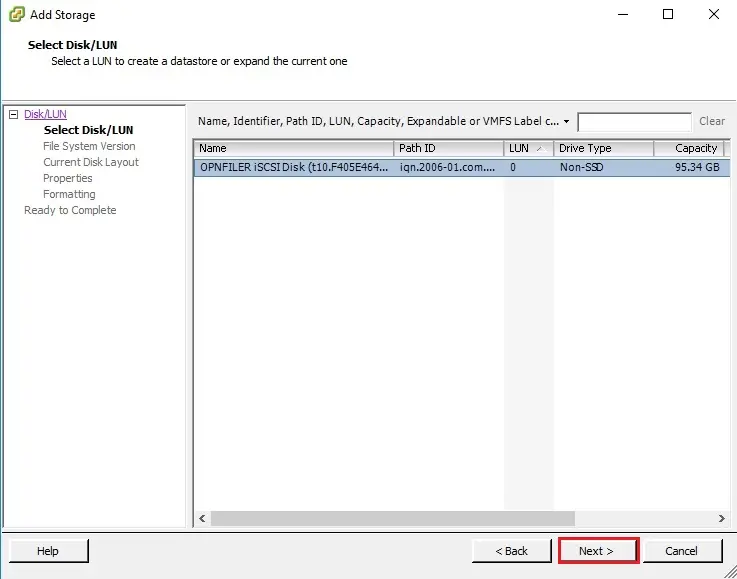
11- Select Openfiler iSCSI Disk and click next.
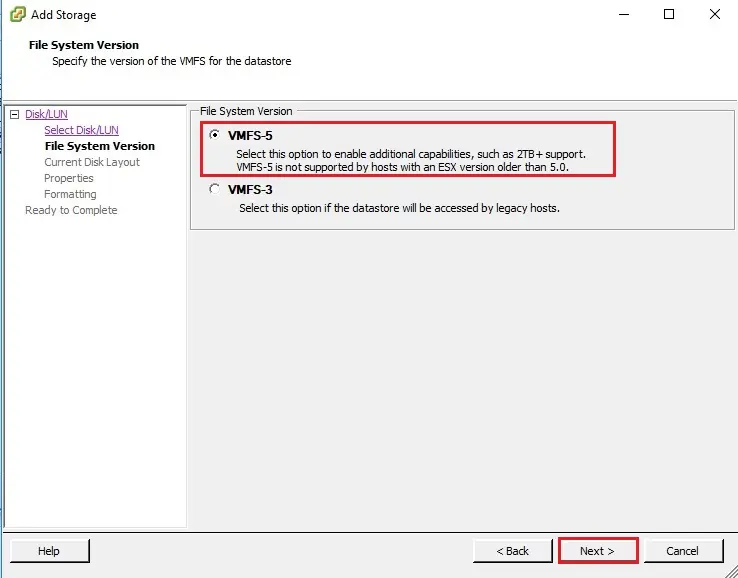
12- Under file system version select VMFS-5 and click next.
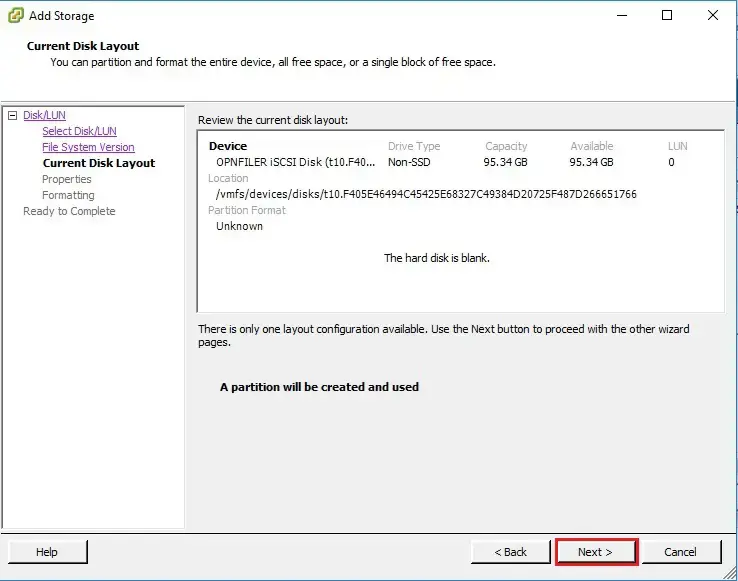
13- Current disk layout click next.
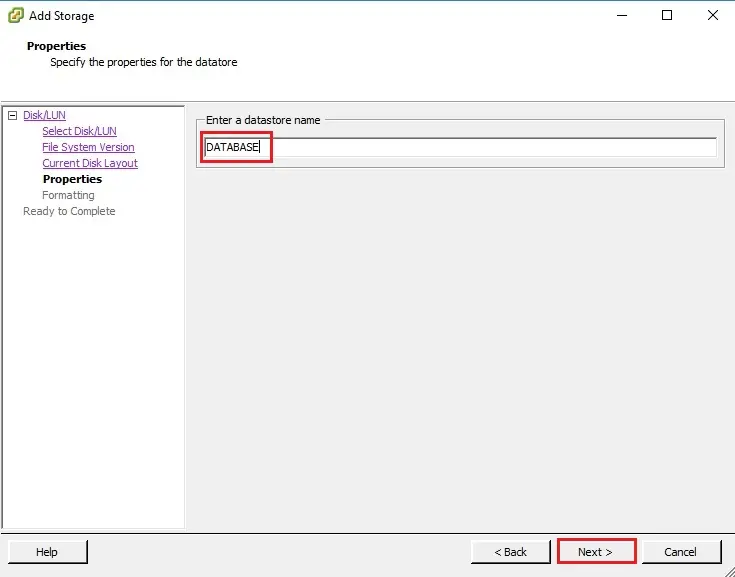
14- Enter a database name and click next.
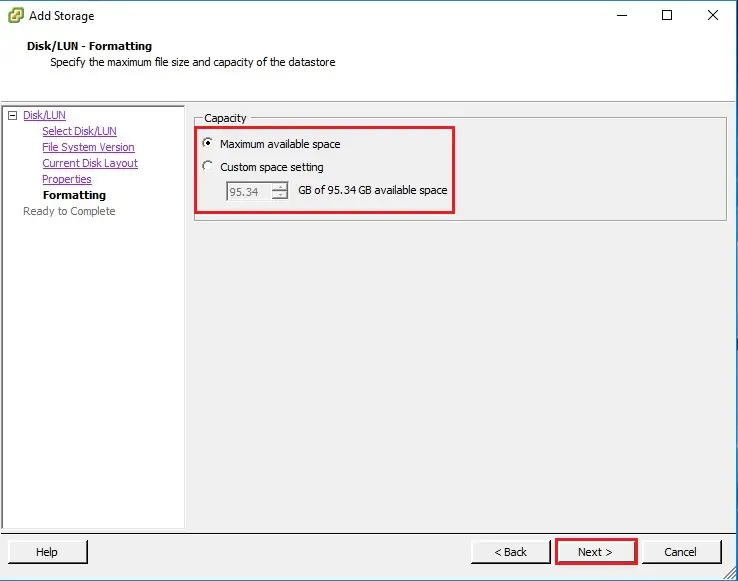
15- Here you can choose Capacity (Maximum available space or Custom space settings) and click next.
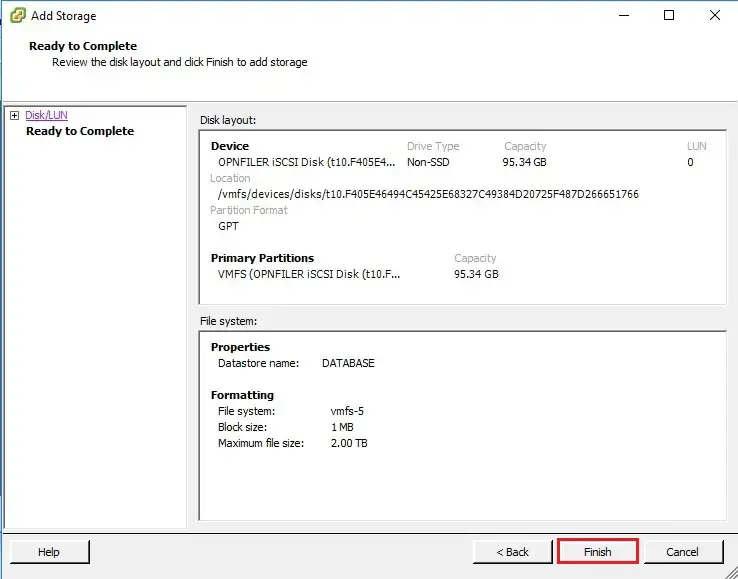
16- Review the disk layout and click Finish to add storage.
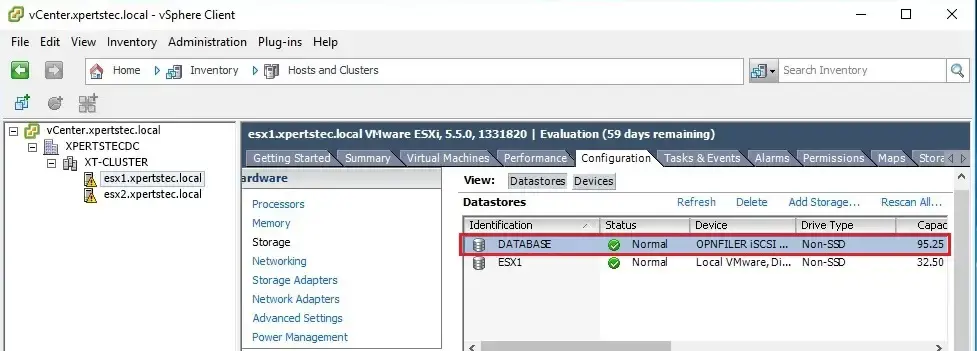
17- Now openfiler iSCSI disk created successfully.
For more information click here