
Multiple NIC vMotion VMware, VMware vMotion has been very successful in technological information when you think about that the commencing because it is been dependable and user-friendly to configure. Over the years, VMware has introduced more and extra one-of-a-kind types of vMotions. One is long-distance vMotion the area you can migrate continue to be digital machines (VMs) to and from cloud businesses or to and from your remote datacenter. Another is Storage vMotion the place you migrate digital disks to unique storage devices.
Multiple NIC vMotion VMware
1- Open web browser type your vCenter username, password and then click login.
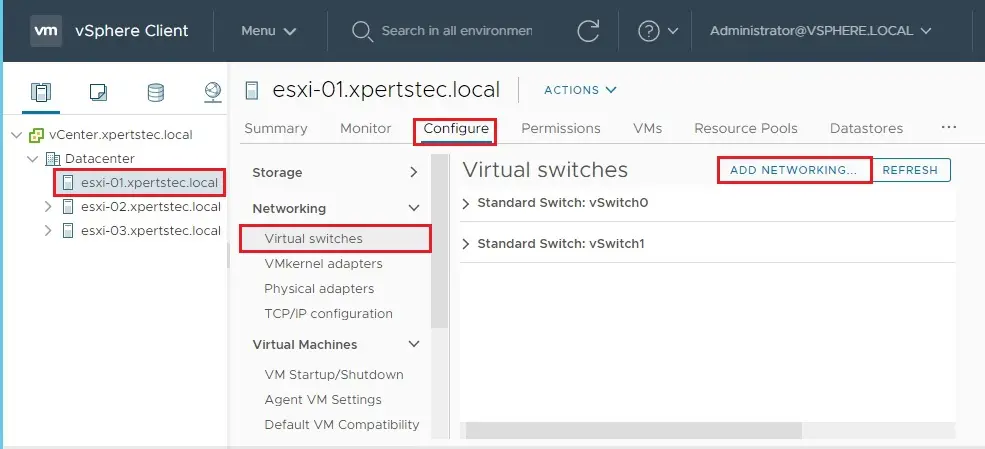
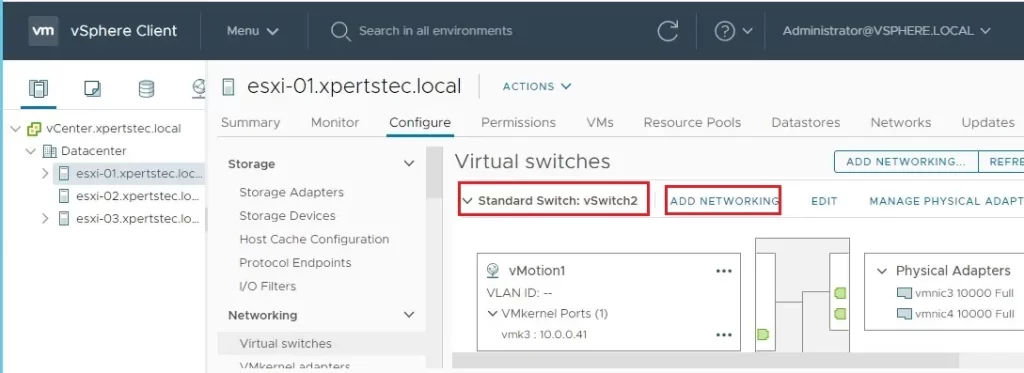
2- Select your host, click configure tab, under networking select virtual switches and then click on Add Networking.
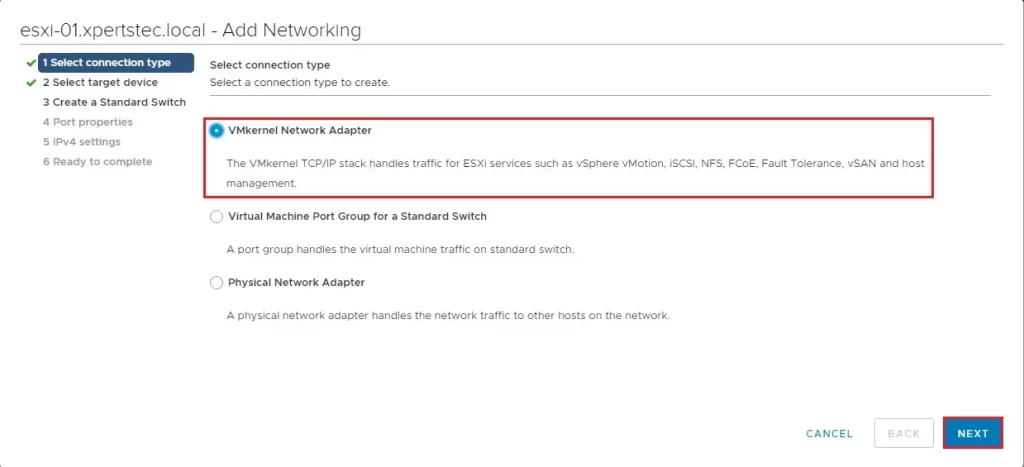
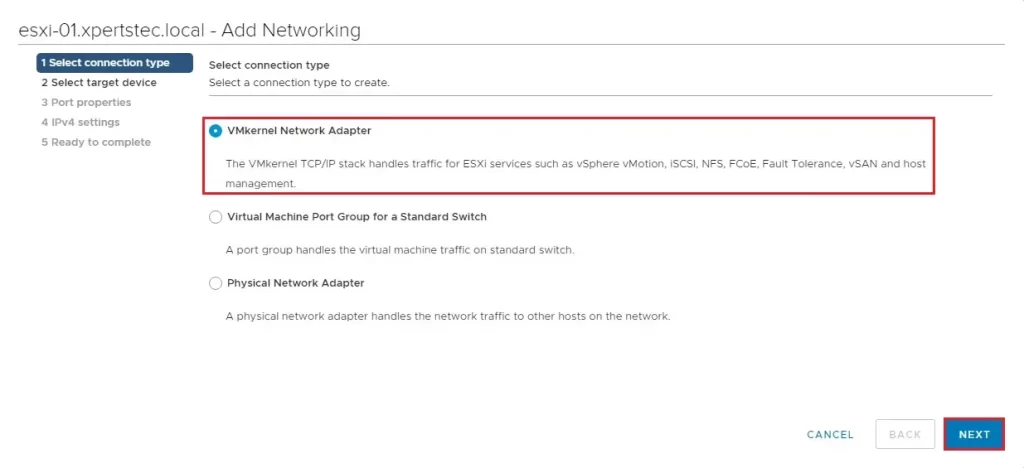
3- In my lab, we will create a new vSwitch, select the VMkernel Network Adapter connection type, and then click Next.
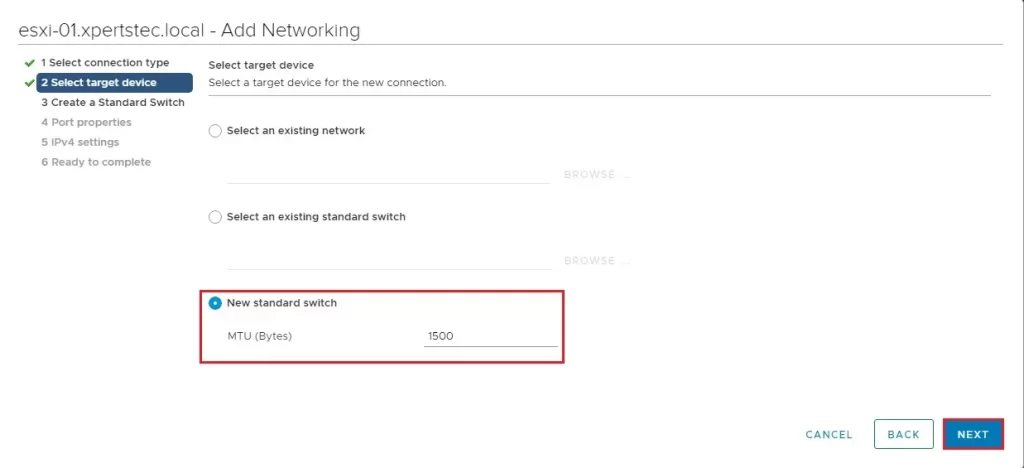
4- Choose New Standard switch and then click next.
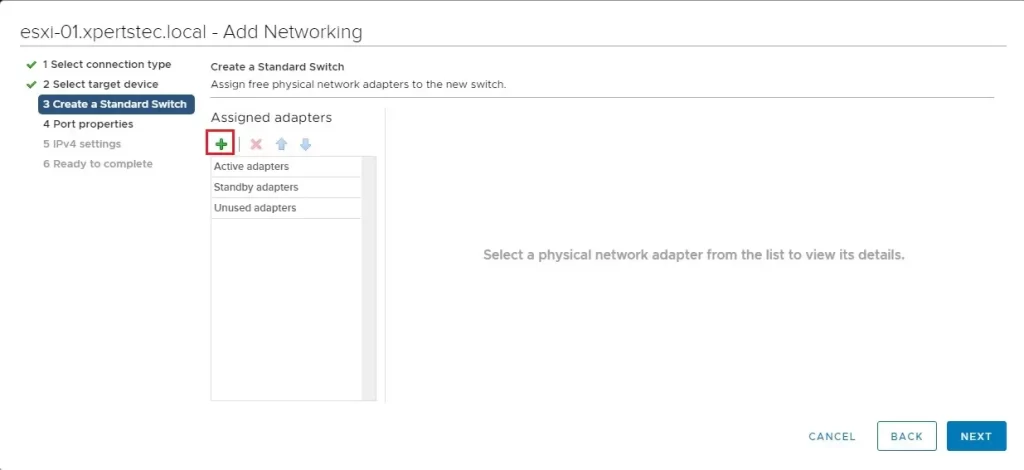
5- Click + icon to Assigned adapters.
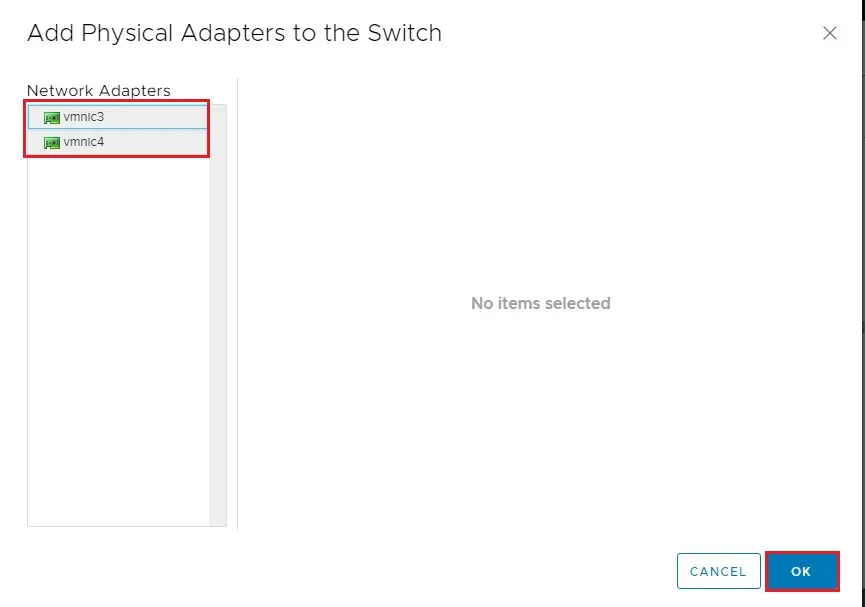
6- Add both NICs you need to use for the vMotion traffic.
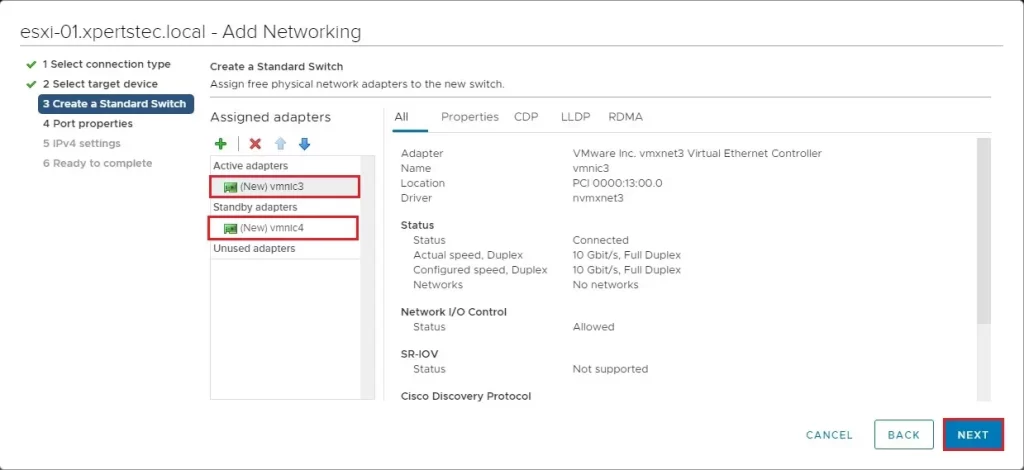
Add two NICs to vSwitch2 and configure as Active and Standby
7- After this, select the adapter and set one of them as Active and the other one as Standby.
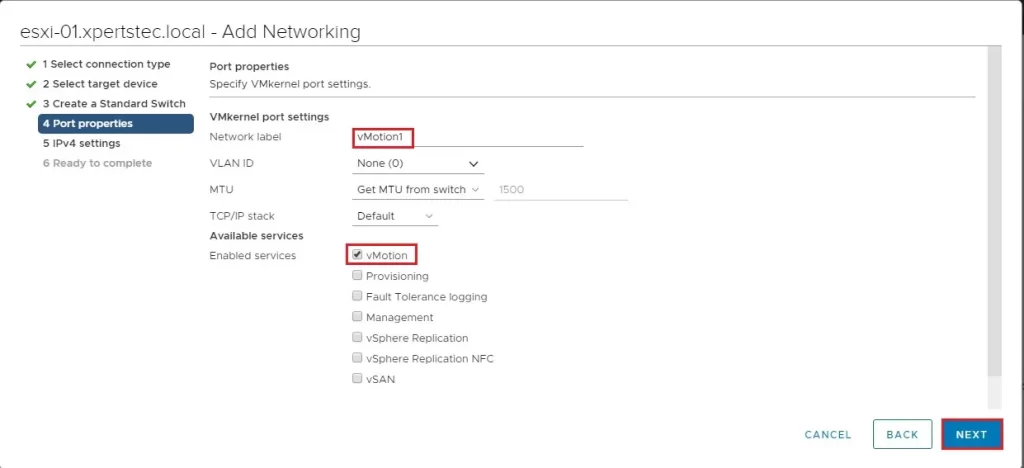
8- Assign a network label, and then select the vMotion service checkbox and then click next.
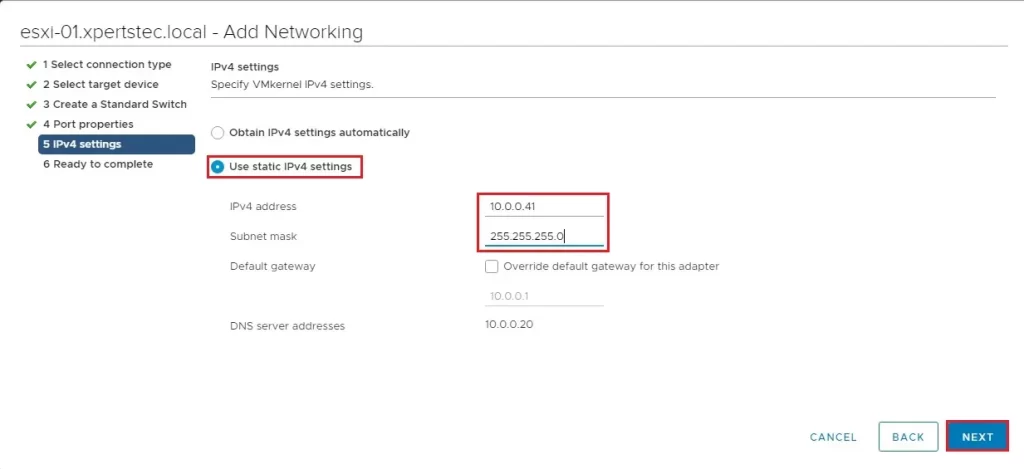
9- Enter the IP settings. I’m using the 10.0.0.x network and then click next.
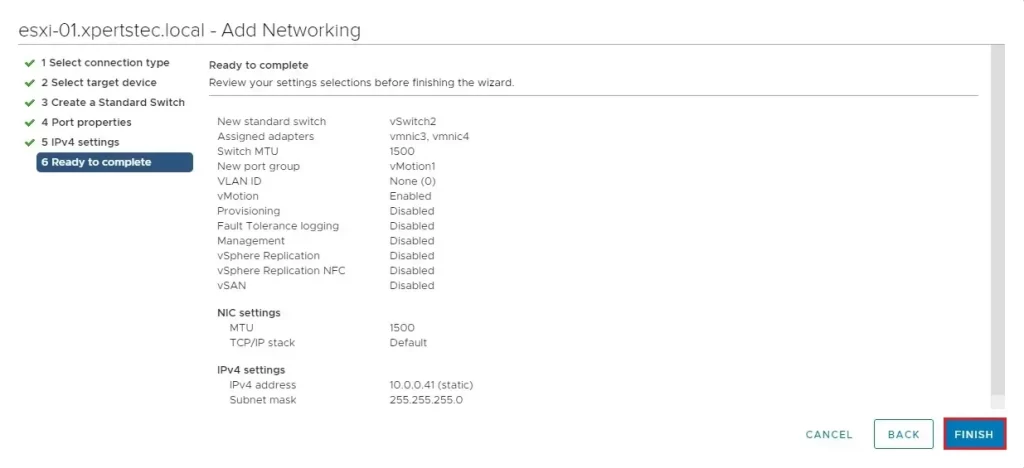
10- Review the configuration and then click finish.
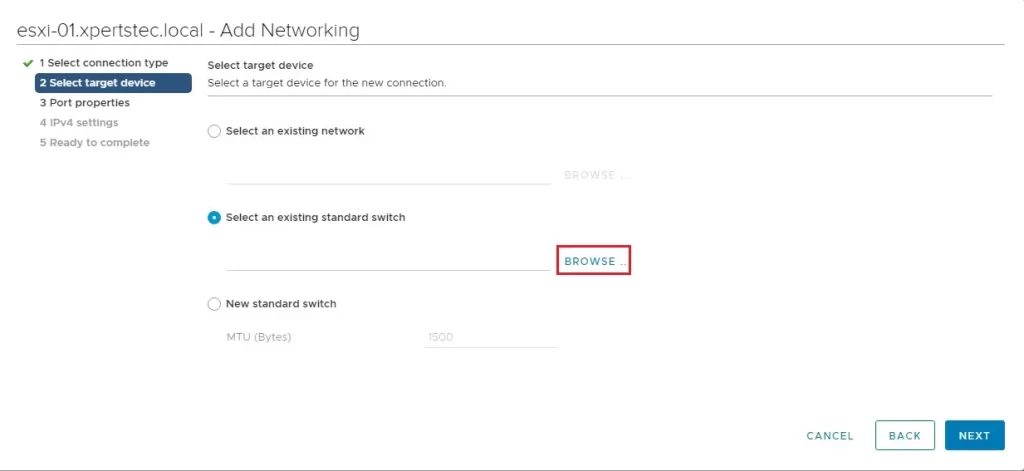
11- Select vSwitch2 the one we created and click the Add Networking tab.
12- The wizard will start again, VMkernel network adapter and then click next.
13- Under select an existing standard switch, click the browse button.
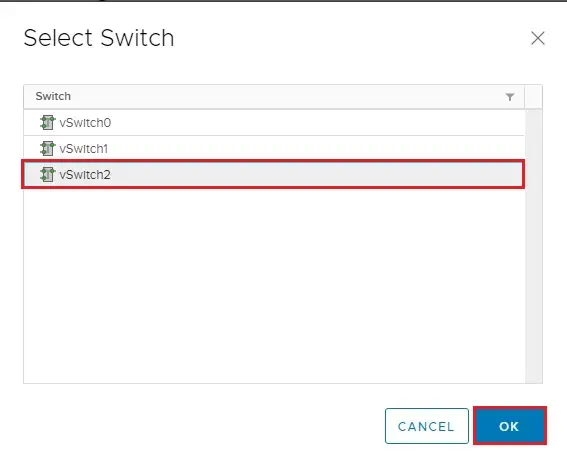
14- Select vSwitch2 and then click ok.
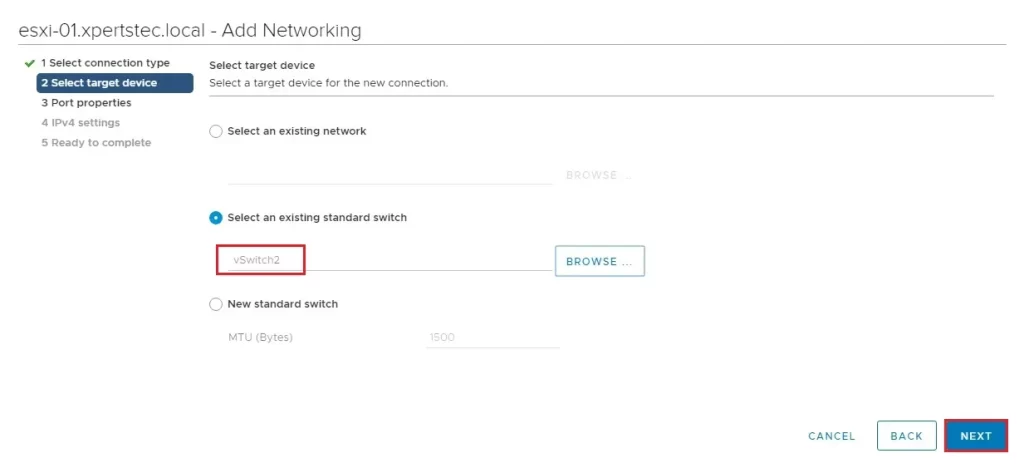
15- After selecting vSwitch2, click next.
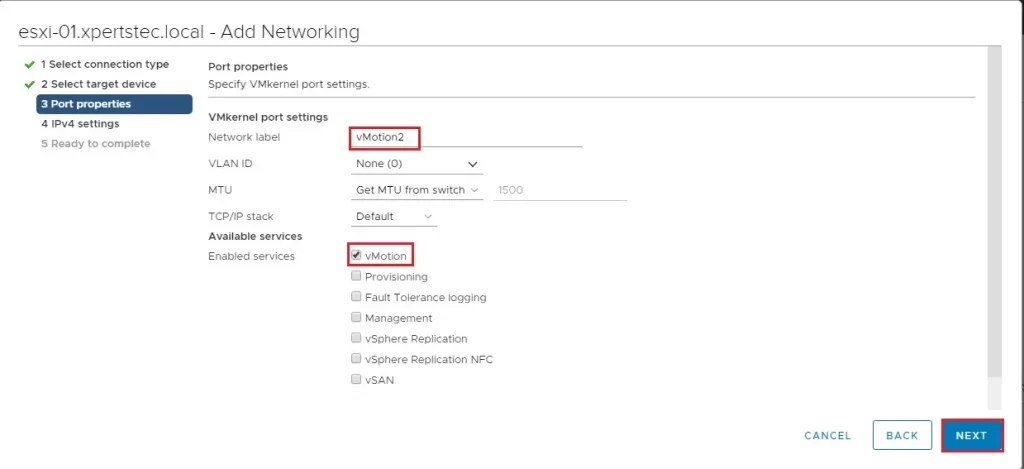
16- Type vMotion2 a network label, select vMotion services and then click next.
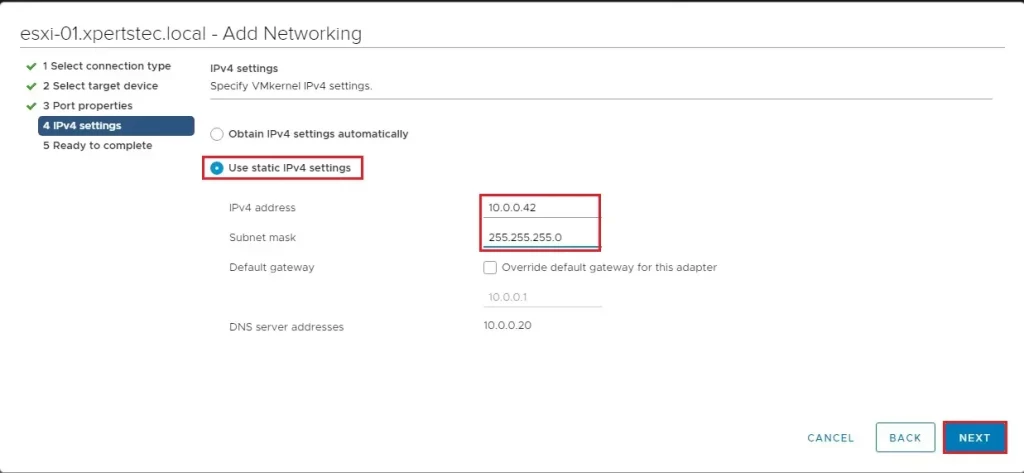
17- Select static IPv4, Type IP Address and then click next.
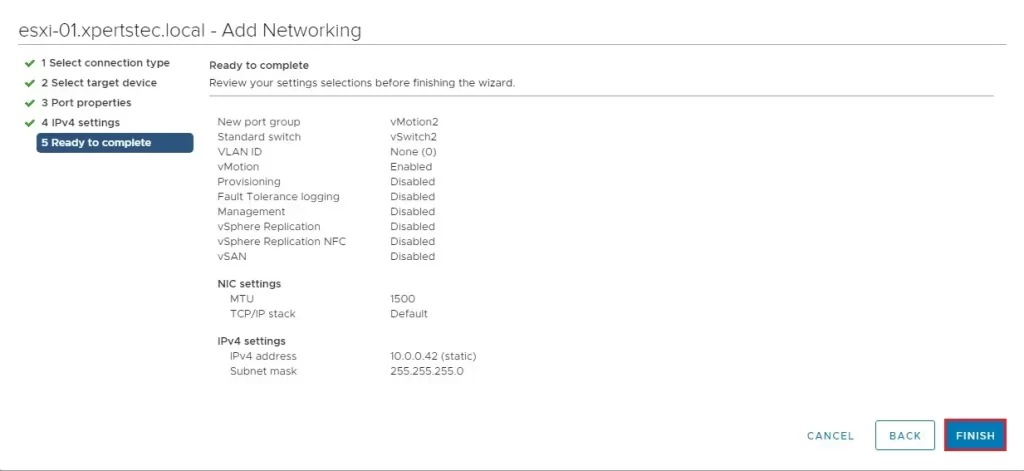
18- Review the settings and then click next.
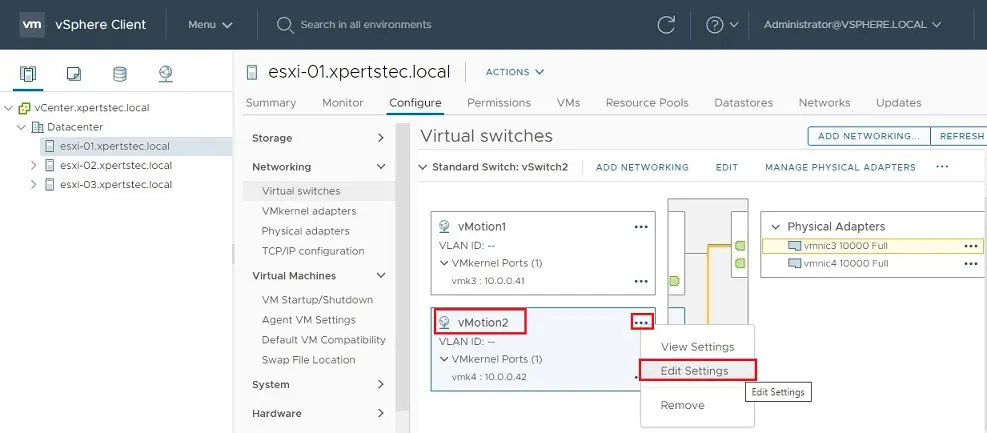
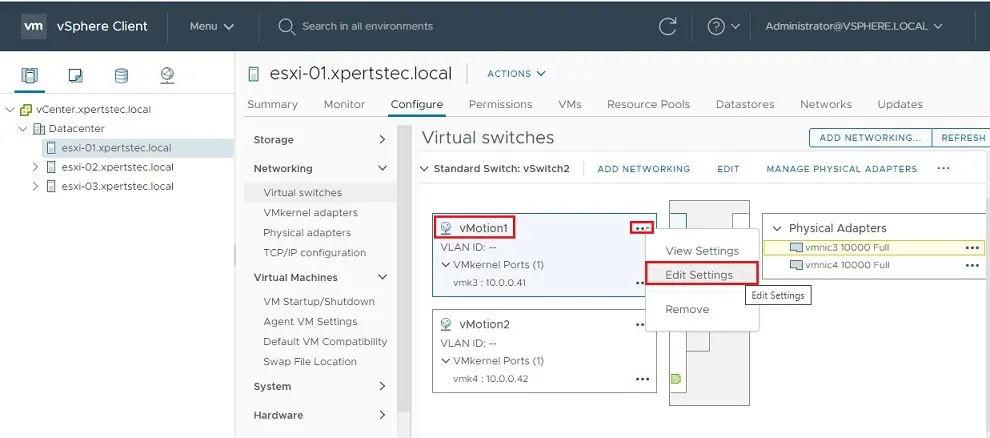
19- Select vMotion2, click on … and click the edit settings.
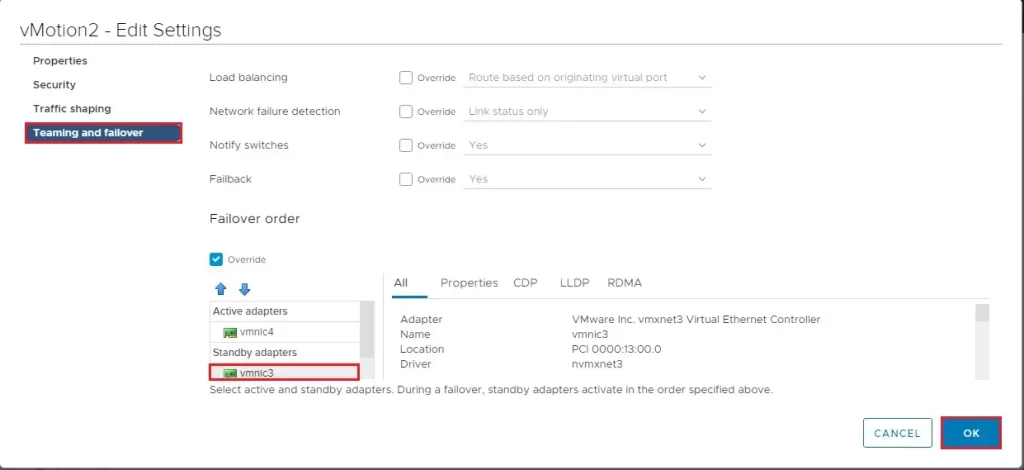
20- Select the Teaming and Failover section, select the Override check box, Select the NIC Active and Standby and then click ok.
21- We need to do the same for 2nd NIC, select vMotion1, click on … and click on edit settings.
22- Select the Teaming and Failover, select the Override check box, Select the NIC Active and Standby and then click ok.
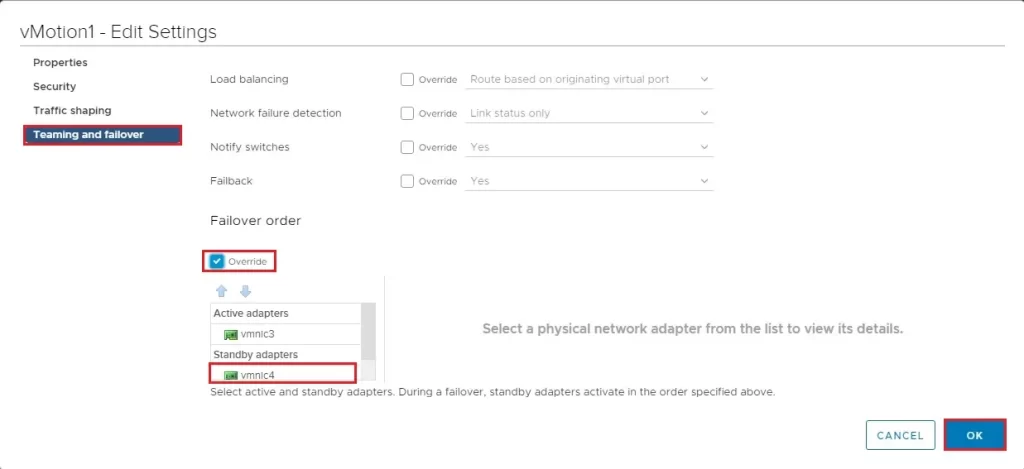
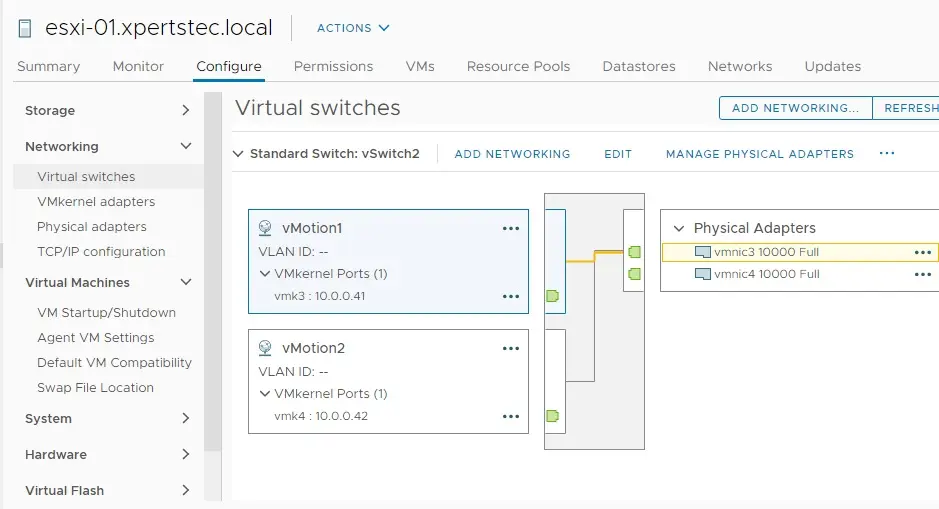
23- vMotion1 (Vmnic3 active and vmnic4 standby).
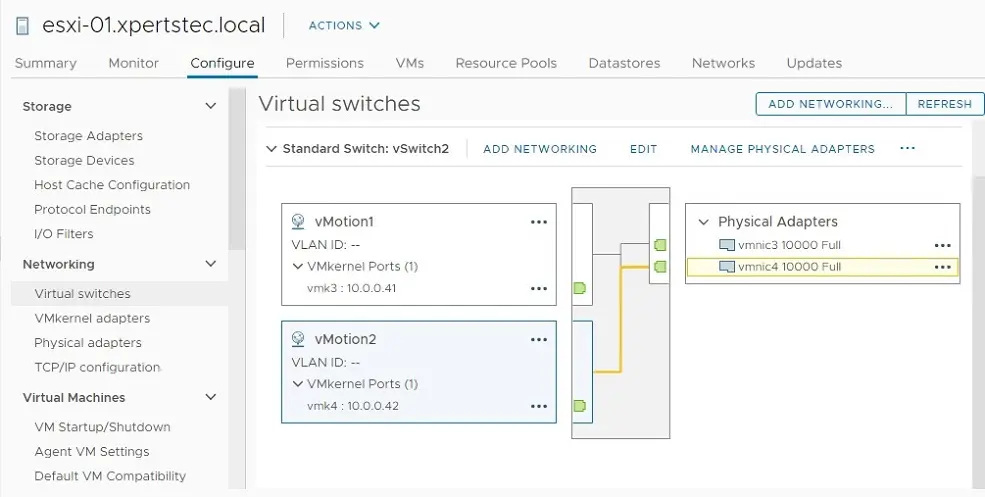
24- vMotion2 (Vmnic4 active and vmnic3 standby)
Follow the above 19 to 23 steps for the second hosts with your cluster.
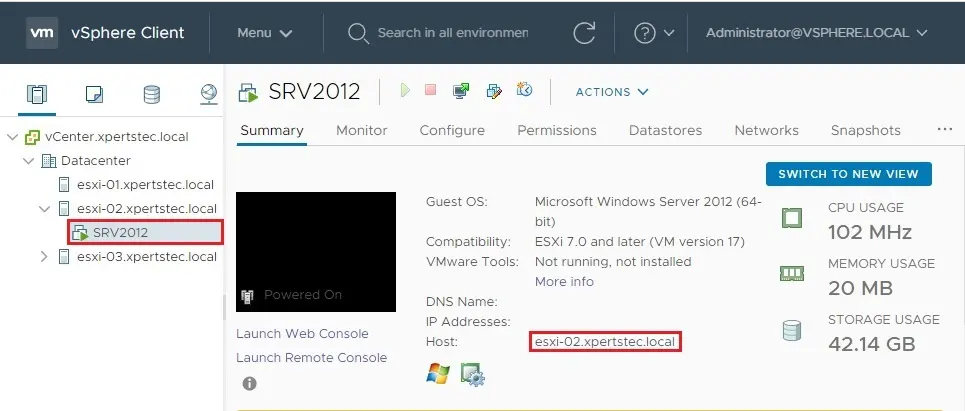
25- We need to test our vMotions, SRV2012 VM is on esxi-02.
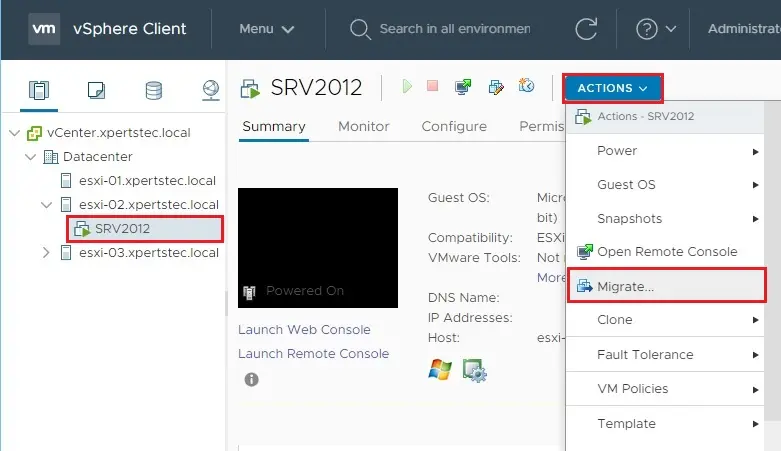
26- Select the SRV2012 VM, select action menu and then click Migrate.
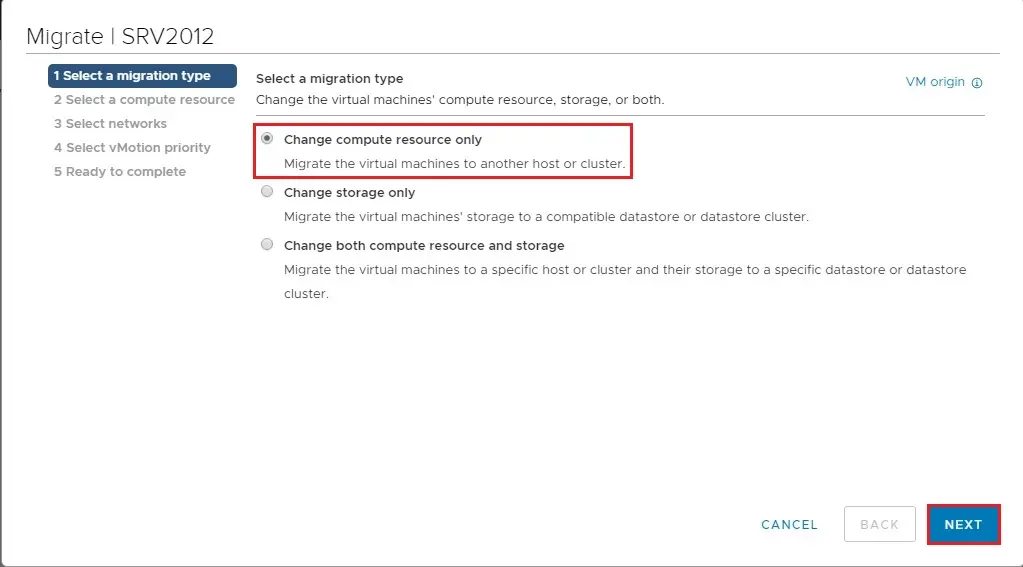
27- Select migration type and then click next.
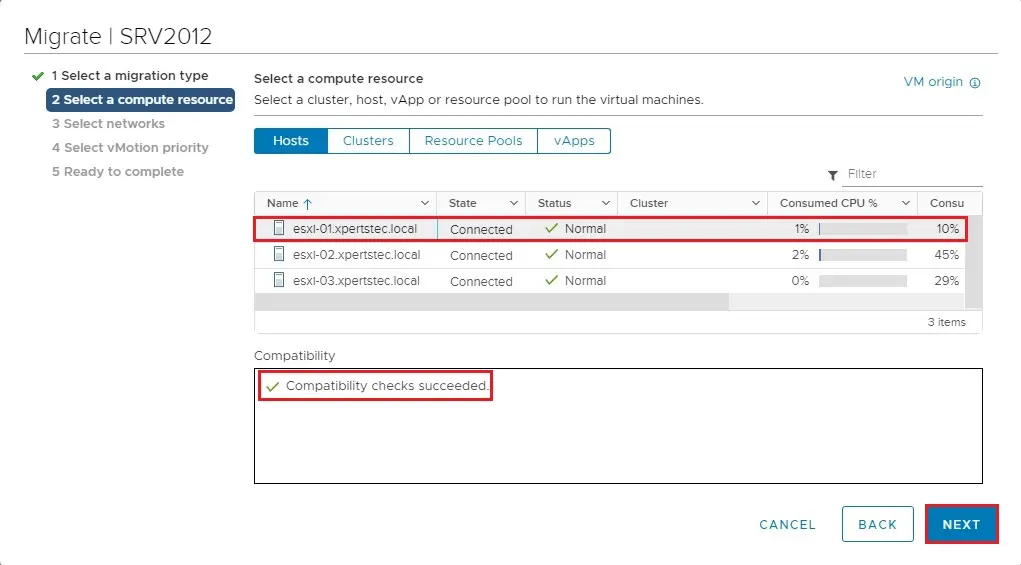
28- Select host where you need to migrate, compatibility checks succeeded and then click next.
29- Network settings click next.

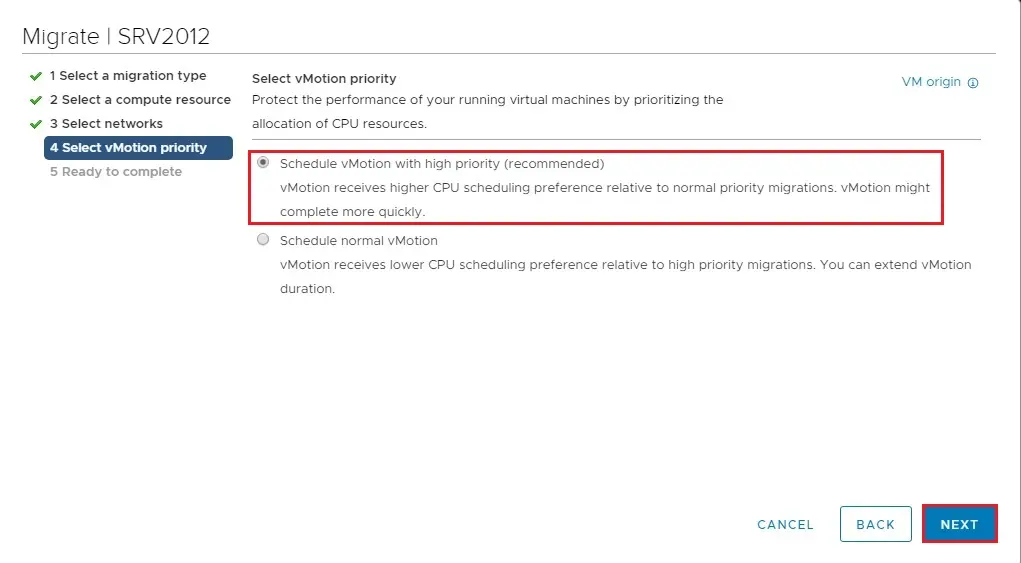
30- vMotion priority click next.
31- Review the summary and then click next.
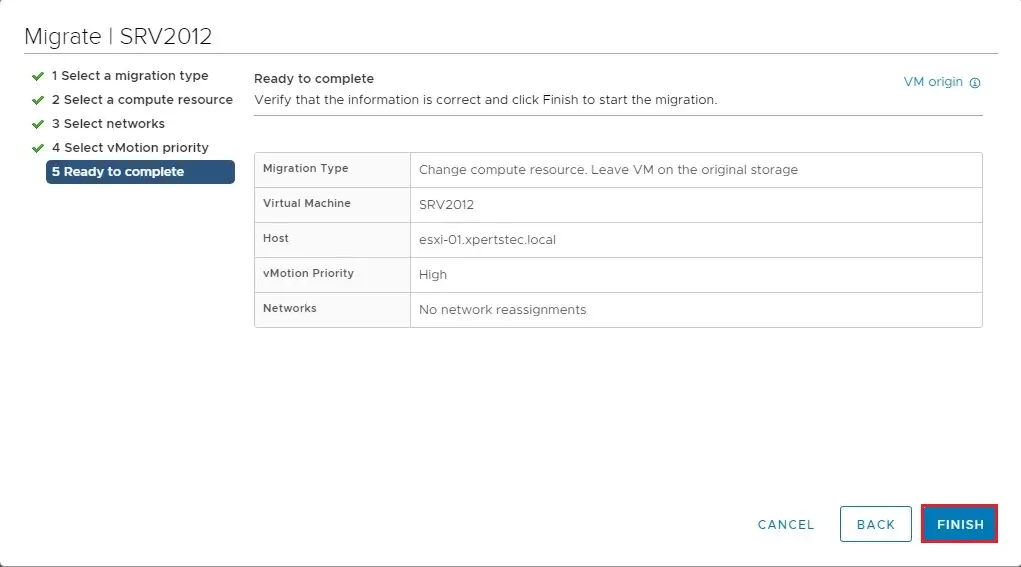
32- Now SRV2012 VM successfully migrate to esxi-01.

For more details, please visit VMware