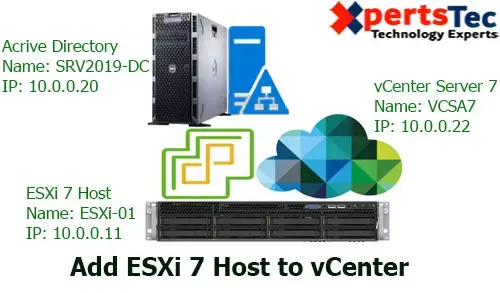
In this blog, I will be able to add an ESXi host 7 to the vCenter Server inventory, so as to make a vSphere environment and use vSphere features. This ESXi host doesn’t have any special configuration, but I would like to manage this host through our vCenter Server and therefore the vSphere client.
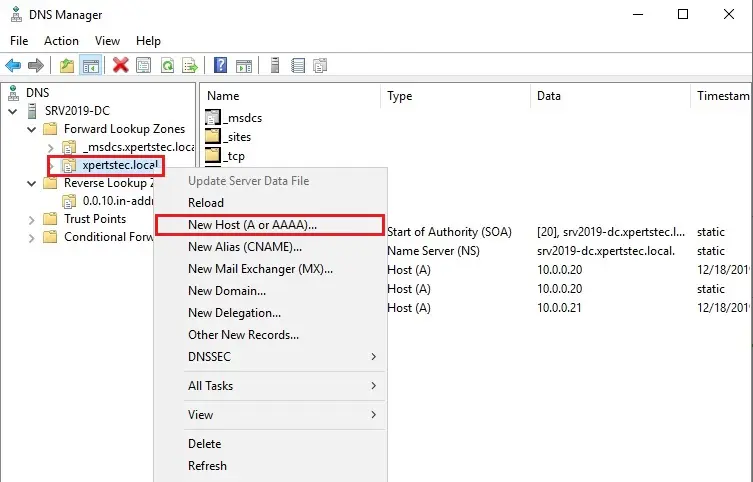
1- First we need to add a new host in our DNS Manager, right-click your local domain and select New Host (A or AAAA).
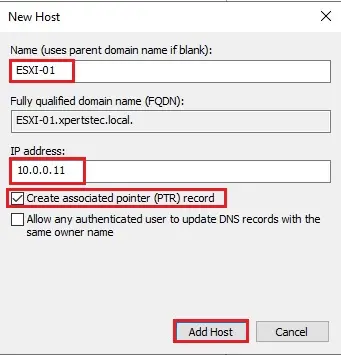
2- Type your ESXI host 7 hostnames, IP Address, checkbox Create associated pointer (PTR) record and click the Add Host button.
Add ESXi 7 Host vCenter Server 7
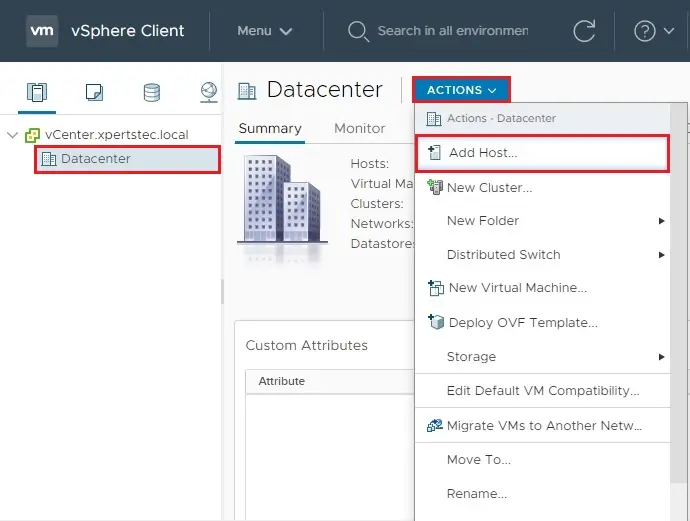
3- Open your VMware vSphere vCenter, right-click your Datacenter object, select Action menu and then select Add Host.
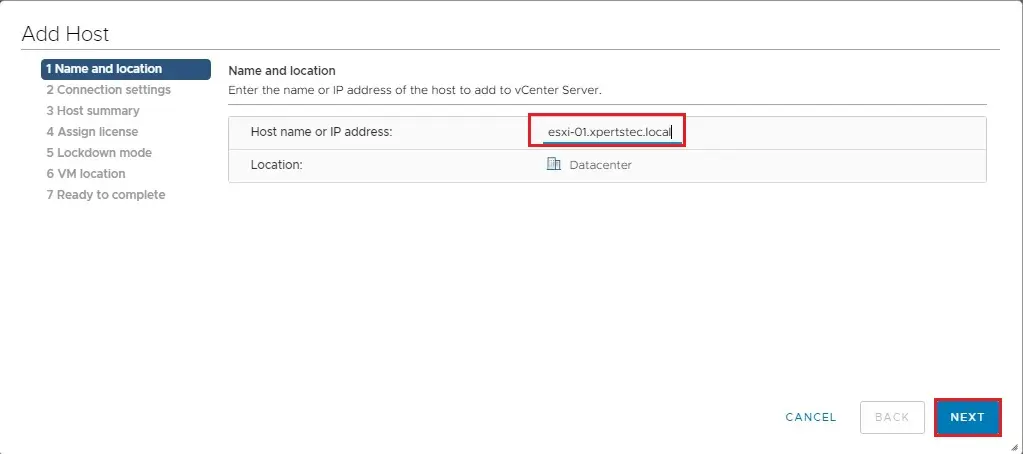
4- Type the hostname or IP address of your ESXi 7 Host and then click Next
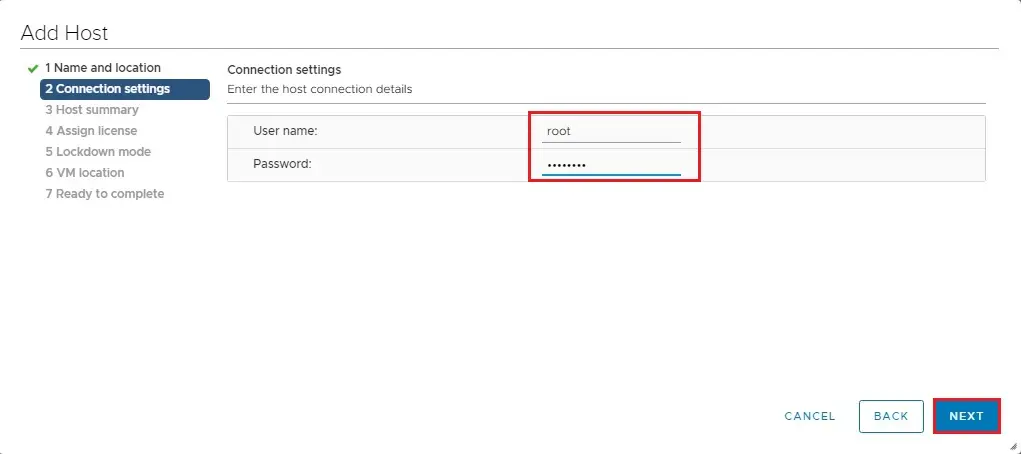
5- Type your ESXi 7 host user name (root) and password. That we created during the installation of the ESXi host and then click Next.
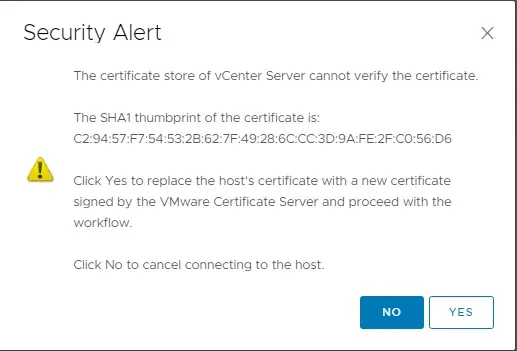
6- Click Yes to accept the default security certificate.
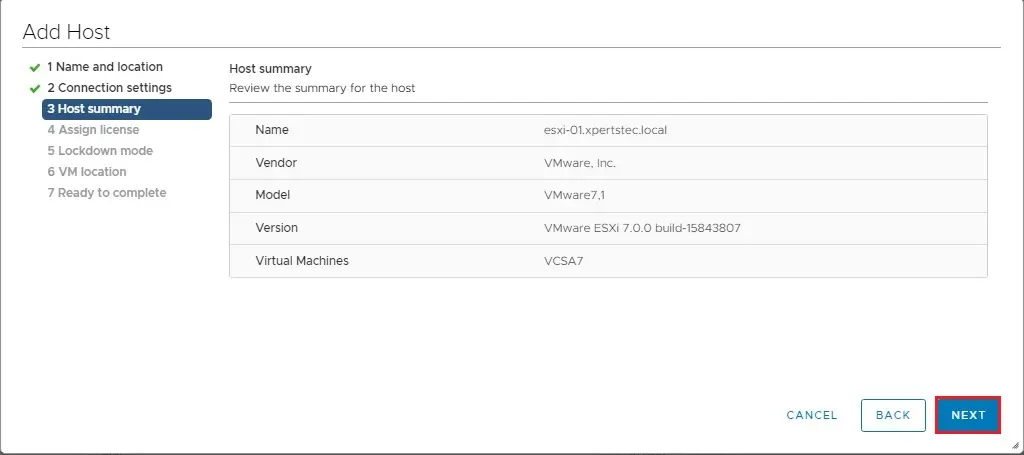
7- Review the Host Summary and click next.
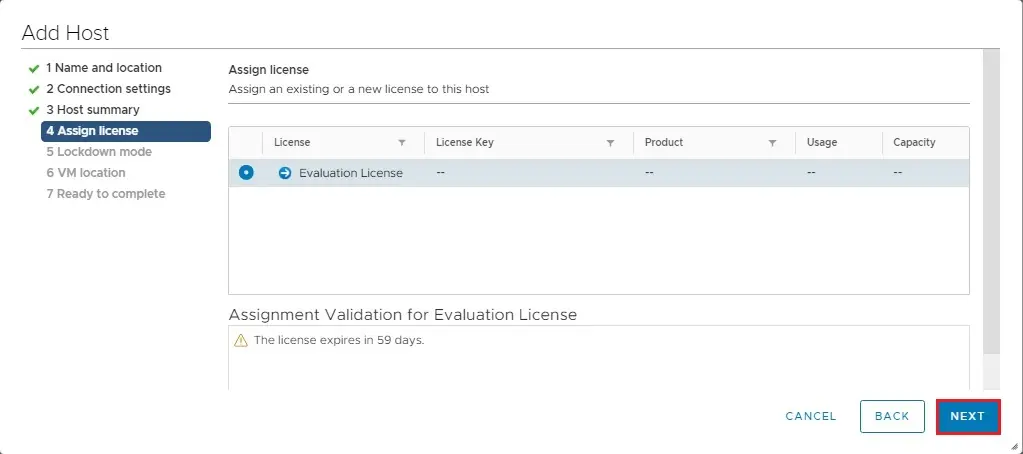
8- The default evaluation license option, click next
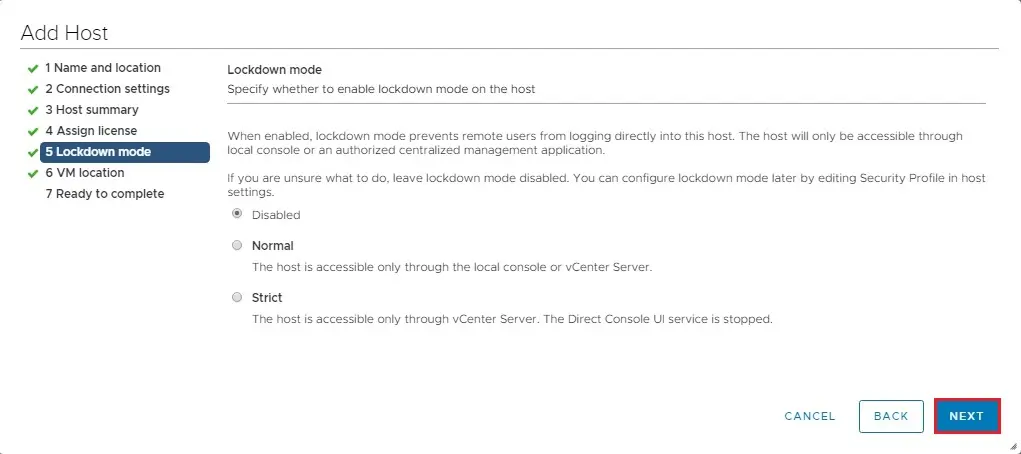
9- Select Lockdown mode Disabled and then click next
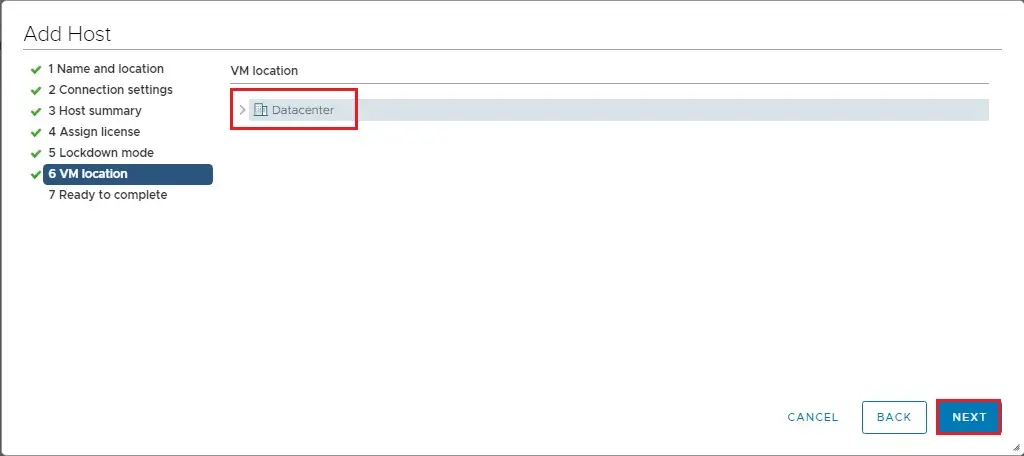
10- Select VM location, so click next
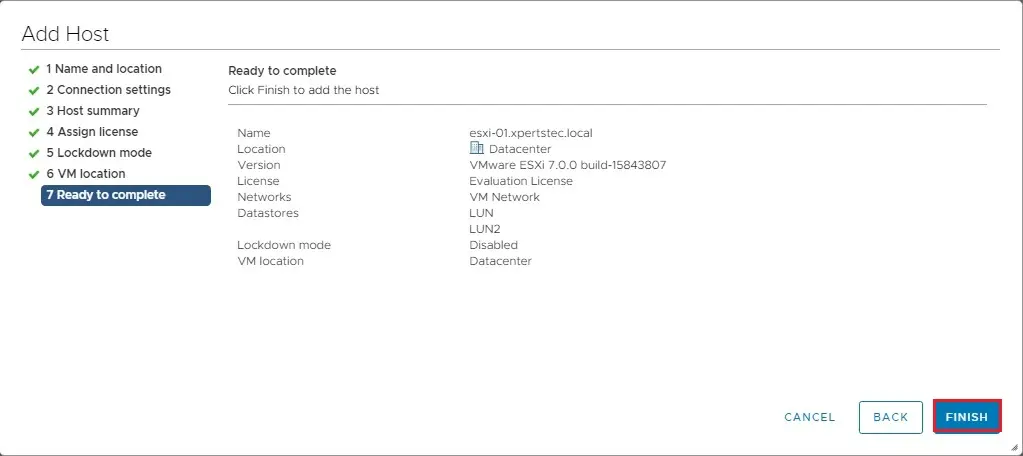
11- Review the details and then click the finish button to complete the process.
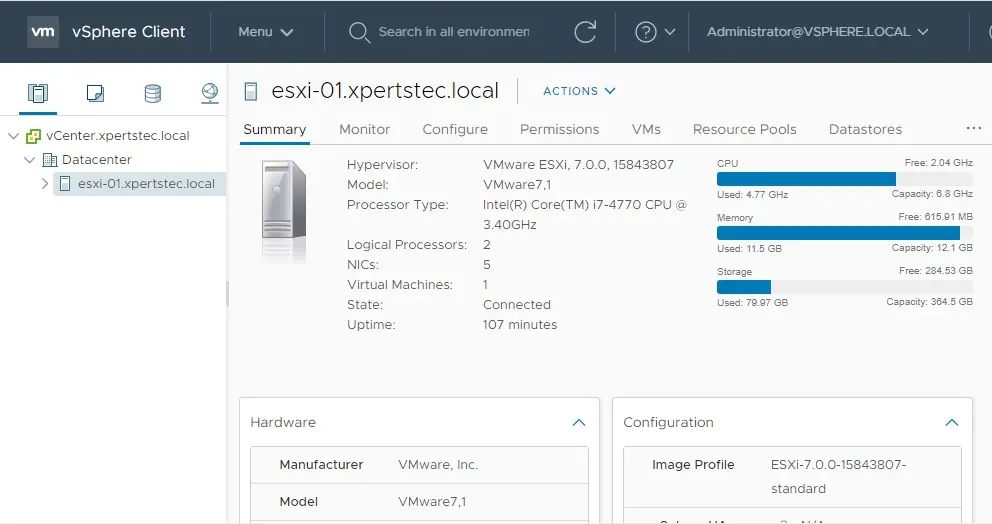
12- We have successfully added our ESXi 7 host.
For more information click here


