
Add additional hard disk VM, In this article, I will add a virtual hard disk to an existing virtual machine, or you can add a hard disk when you customize the VM hardware during the virtual machine creation process. When we add the hard disk to a virtual machine, you can create a new virtual disk, add an existing virtual disk, or add a mapped SAN LUN.
Add additional hard disk VM (Virtual Machine).
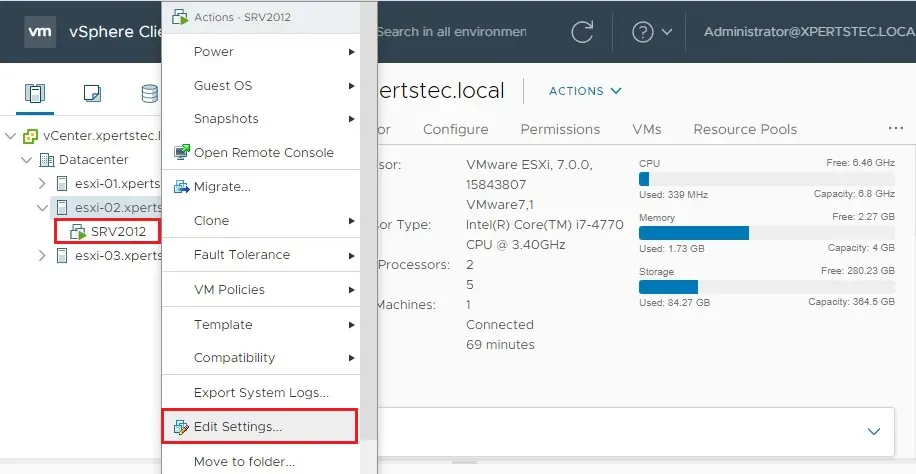
1- Login to your VMware vSphere Client, In the vSphere Client inventory, right-click the virtual machine the one you want to add an additional hard disk and then select Edit Settings.
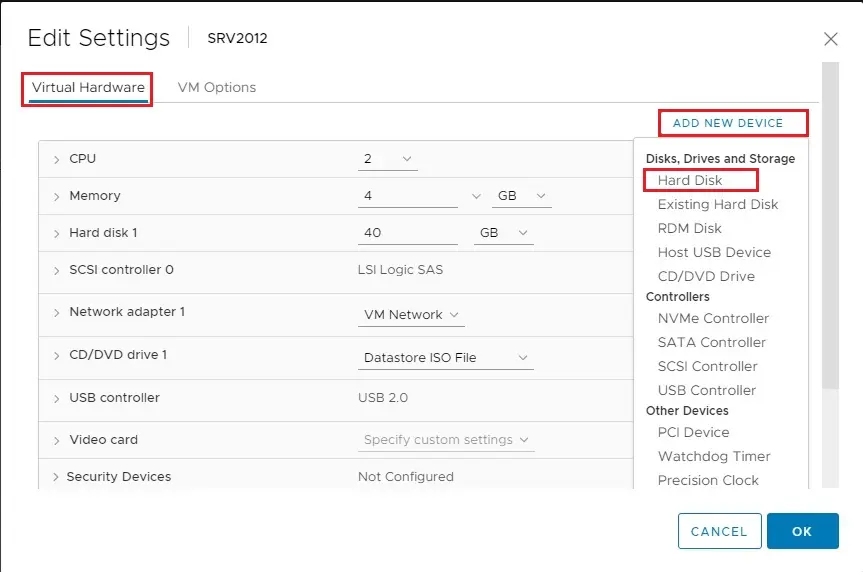
2- Click the Virtual Hardware, click Add New Device, and then click Hard Disk under Disks, Drives, and Storage.
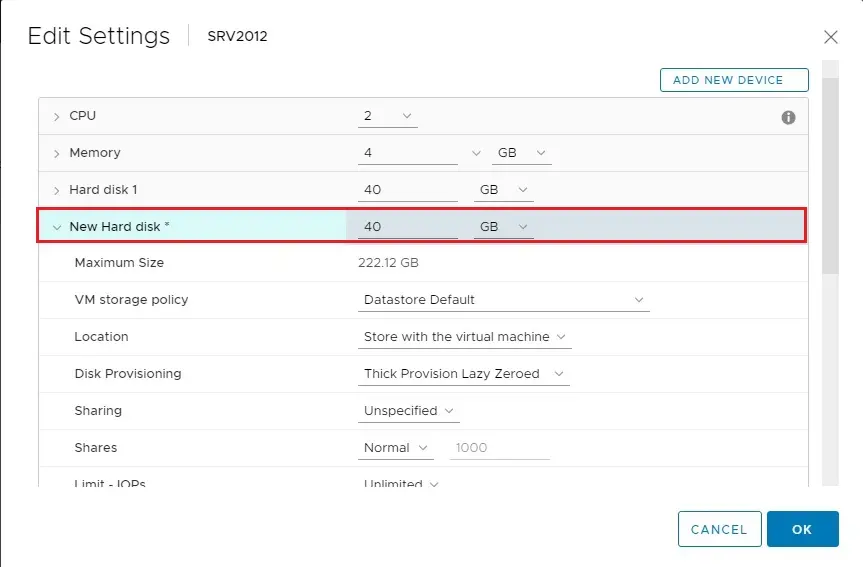
3- After selecting hard disk, Now you can see new hard disk has been added.
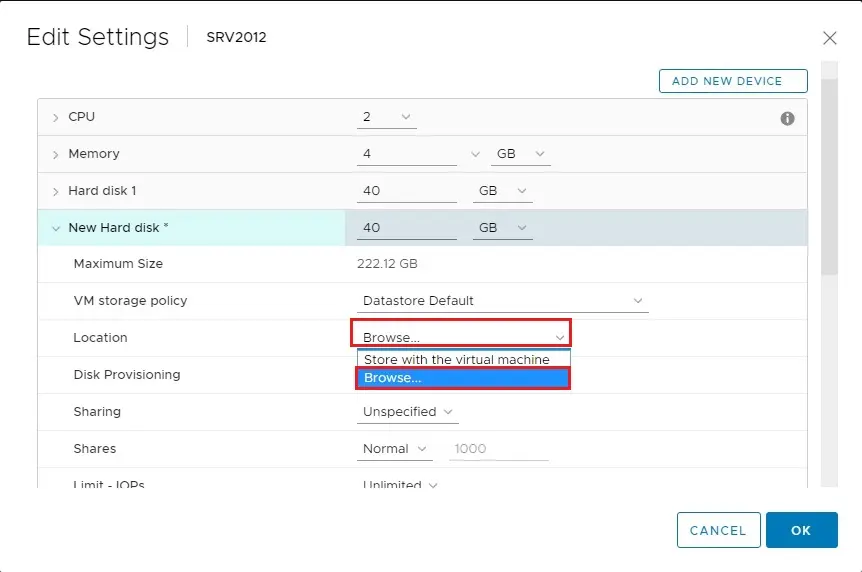
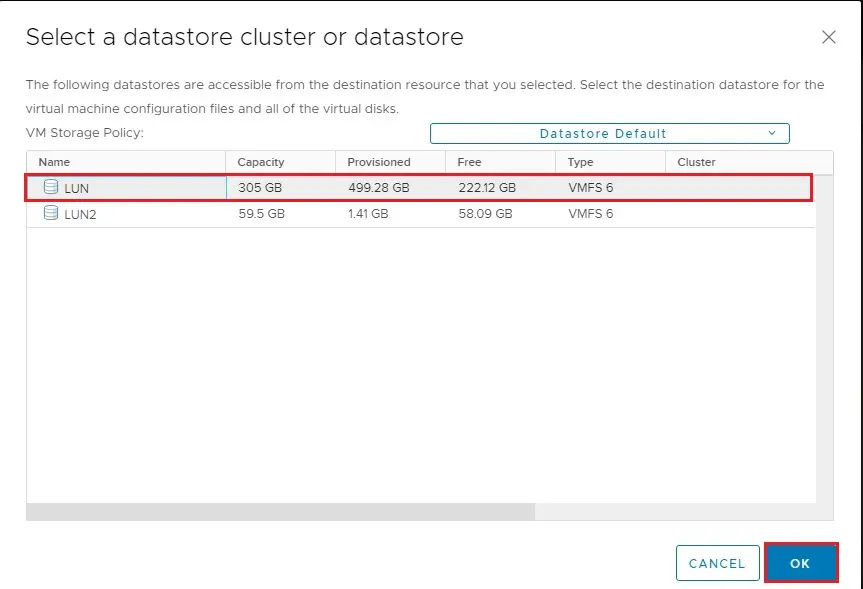
4- Select a location to store the disk.
Save with the virtual machine or specify a datastore. If you selected to identify a datastore, browse for the datastore location.
5- Select a datastore where you want to store and then click OK.
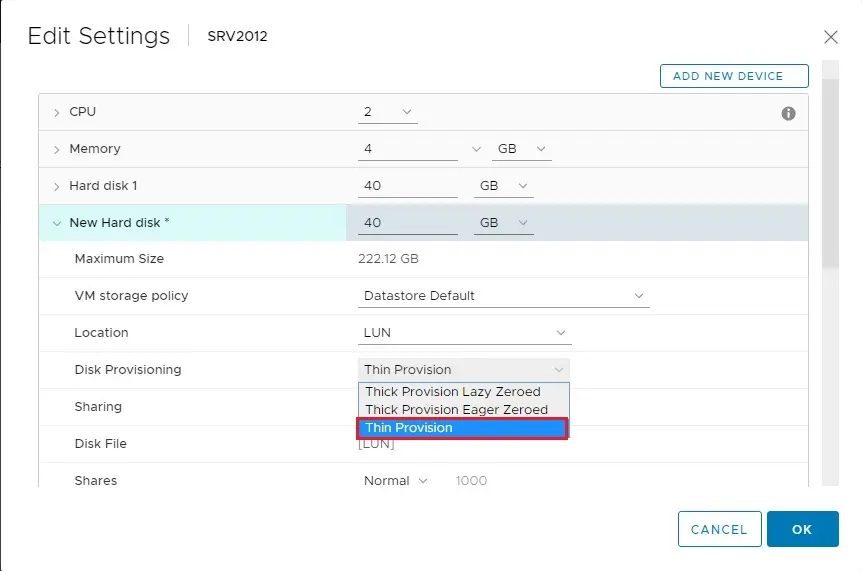
6- Thick Provision creates a virtual disk in a default thick format.
The Thick Provision Eager Zeroed creates a type of thick virtual disk that supports clustering features such as Fault Tolerance.
Thin Provision creates a disk in a thin format. Select this format to save storage space.
Disk provision selects Thin Provision.
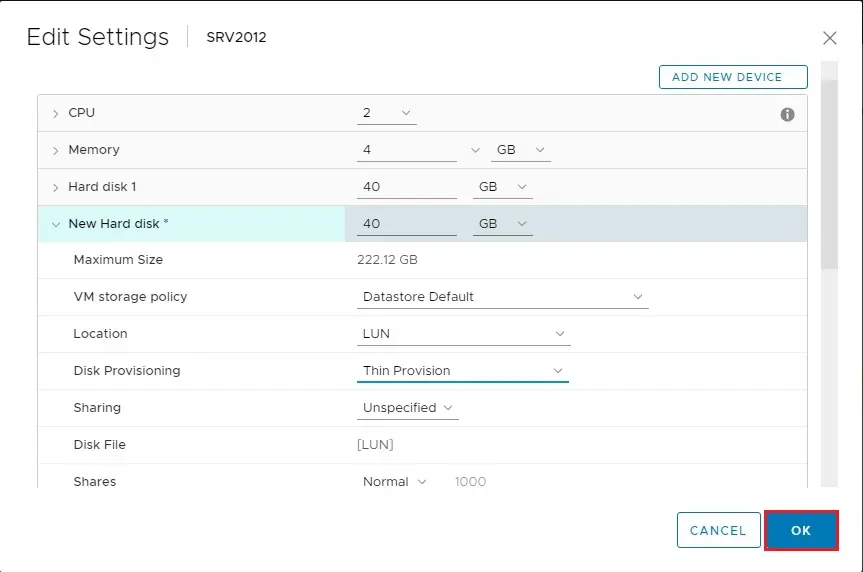
7- Click ok.
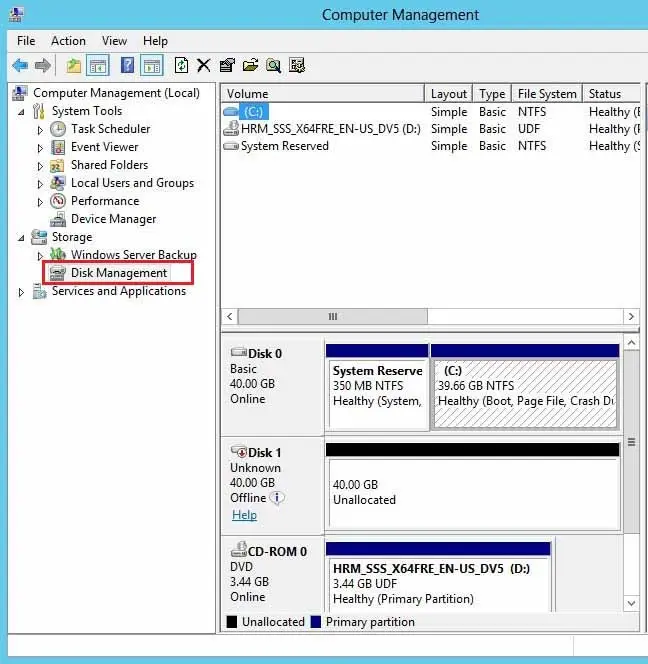
8- Log in to your virtual machine, open Server Manager, select Tools, and click Computer Management.

9- Under Computer Management, select Disk Management.
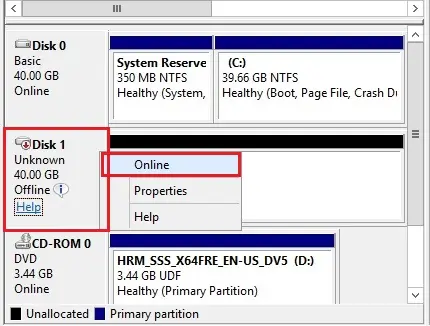
10- Right-click Disk 1 and click Online.
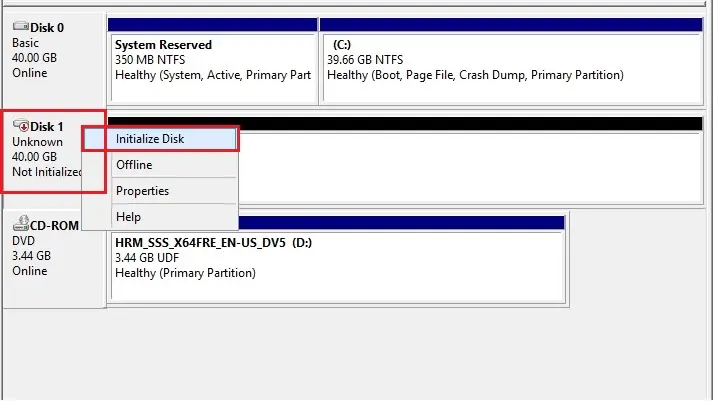
11- Now Right-click Disk 1 and select Initialize Disk.
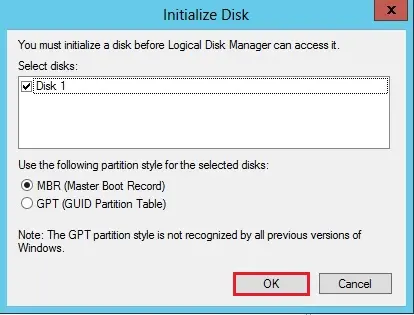
12- Click OK.
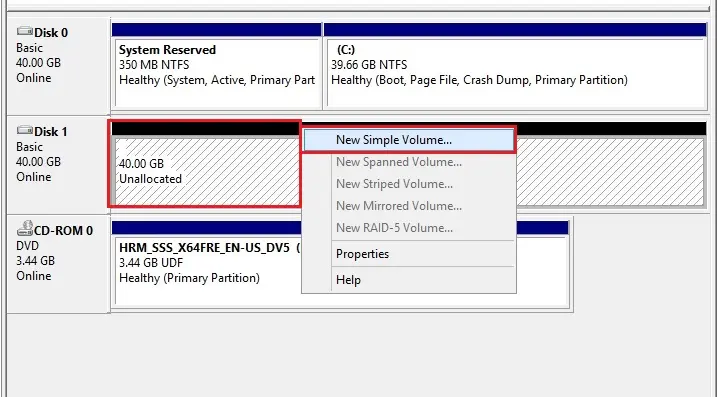
13- Right-click Unallocated Volume and click New Simple Volume.
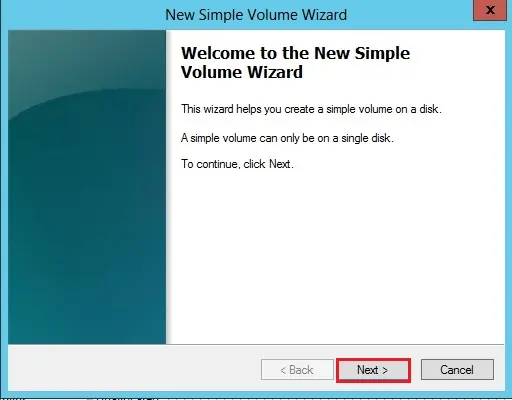
14- Welcome to the new simple volume wizard, then click Next.
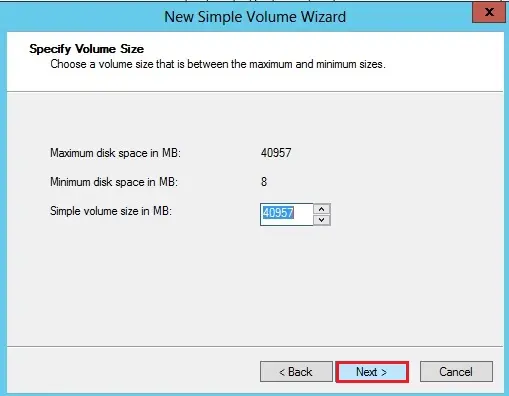
15- Select volume size and click next.
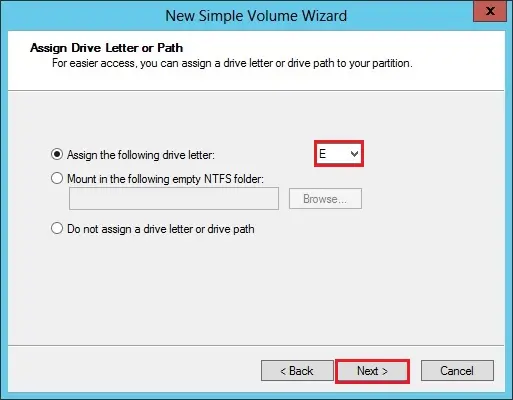
16- Assign a drive letter and click next.
17- Format Partition, Click next.

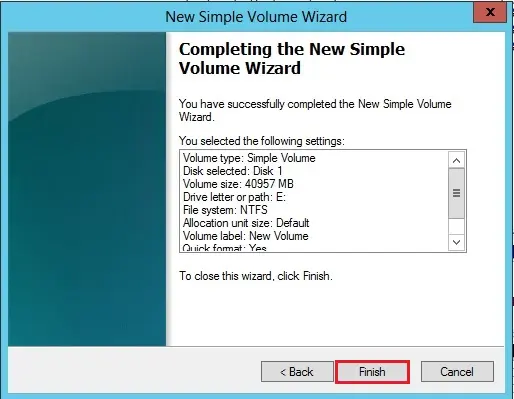
18- A new volume was successfully created; click finish.
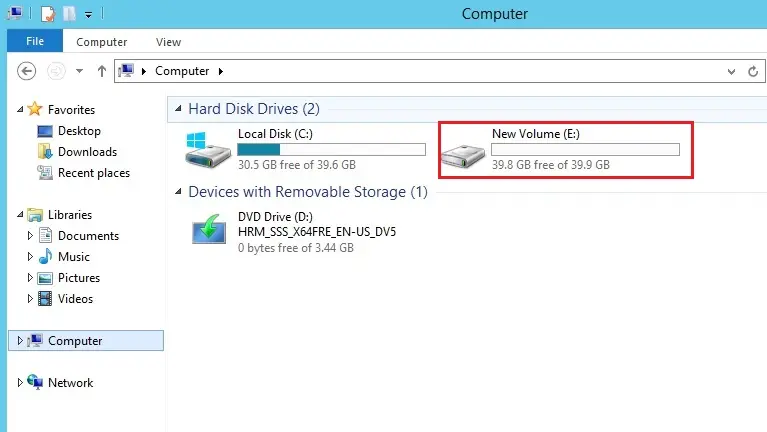
19- Open my computer, and you can see a new volume.
For more details, visit VMware