
Restore Virtual Machine Veeam
In this blog, I will explain how to restore Virtual Machine in Veeam Backup & Replication.
1- Open Veeam Backup and Replication Console, click on Inventory options and click on VMware vSphere you can see the following virtual machine.
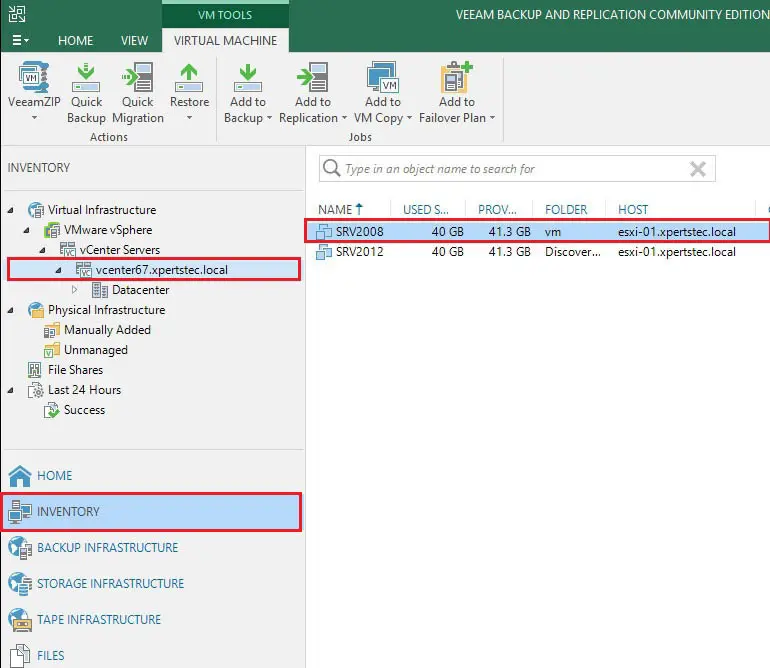
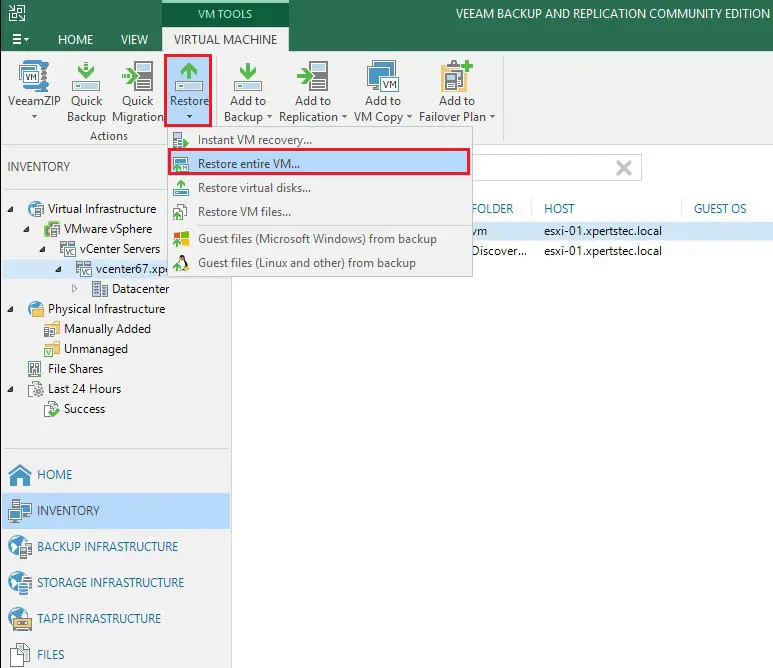
2- Here you need to select the vCenter server, after that select the virtual machine which you want to restore and click on restore option and then restore entire VM
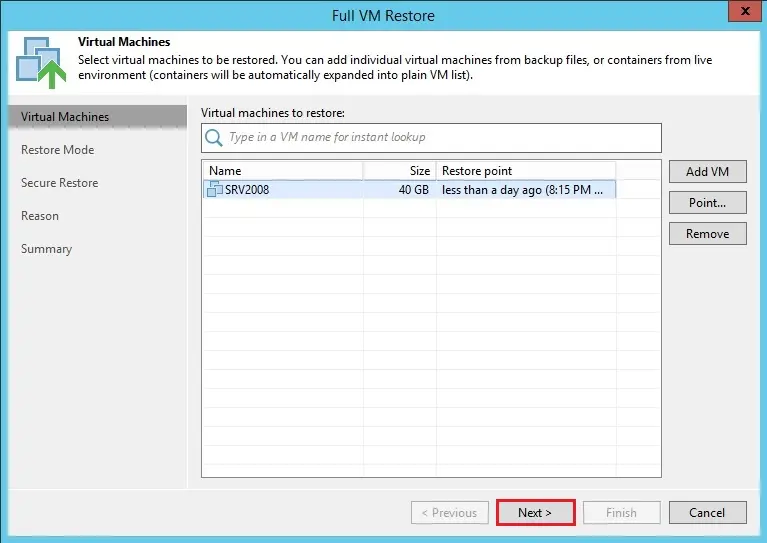
3- Full Virtual Machine Restore wizard will open, so just select the Virtual Machine and click on next.
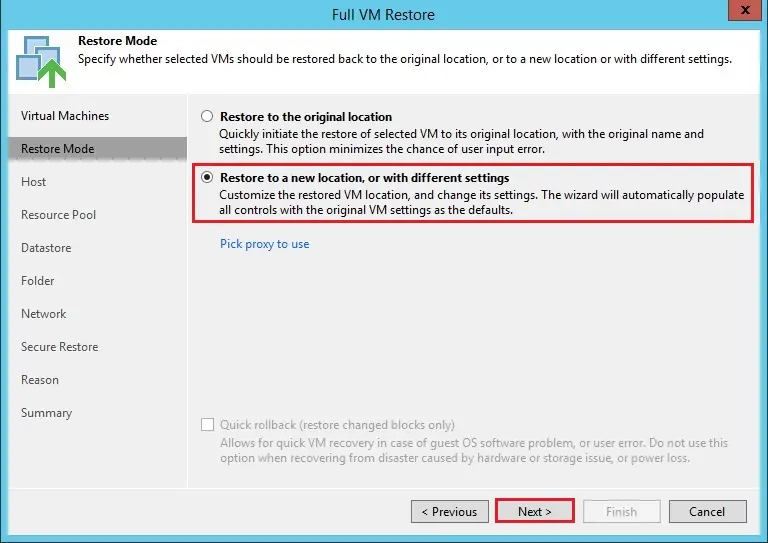
4- Here you can select restore location you can select any one option in these two so I am restoring the Virtual Machine to different locations so just select the location and click on the Next button.
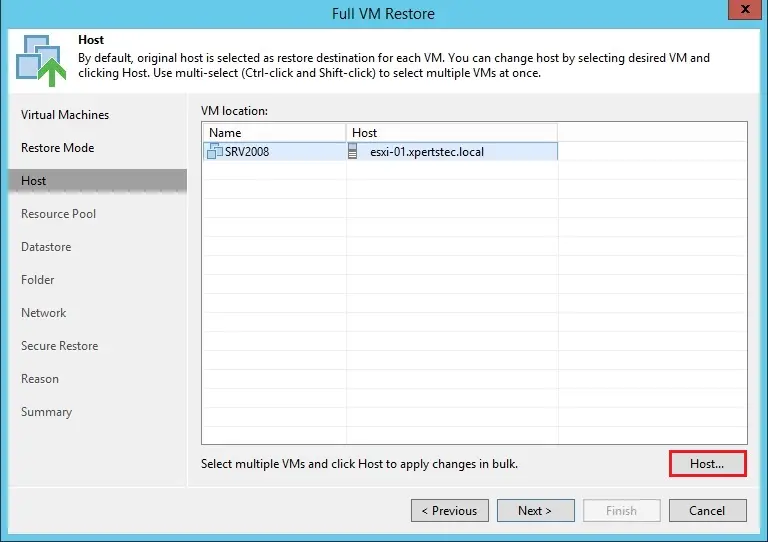
5- Here it’s showing the Virtual Machine and original location here so we need to change the host location so just select the Host button and select the different Host where you need to restore the virtual machine.
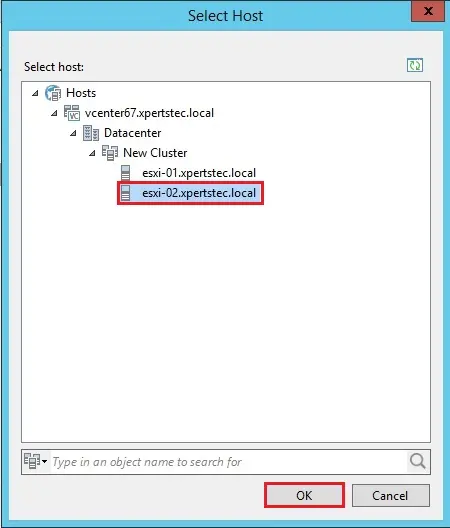
6- Here you can select the available host where you need to restore and click on the OK button.
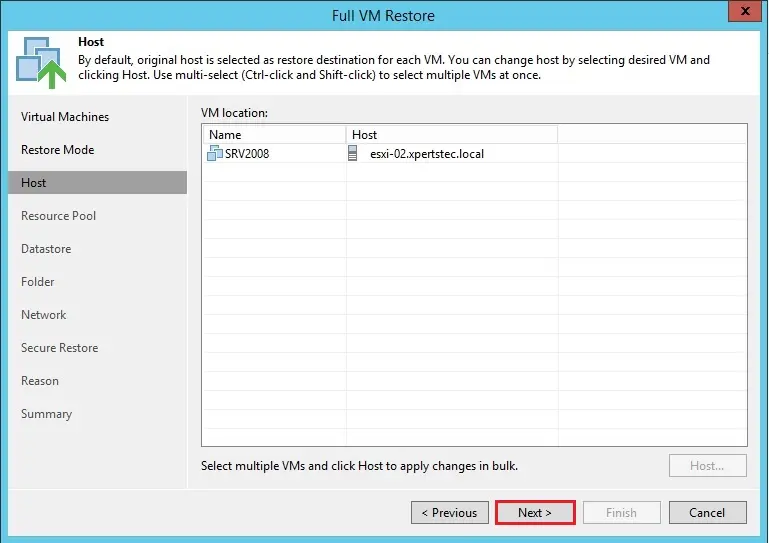
7- After selecting host so just click on next button.
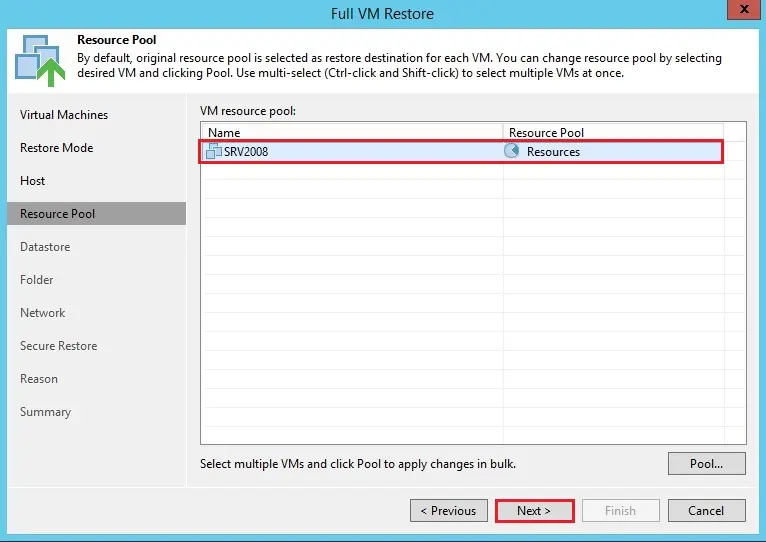
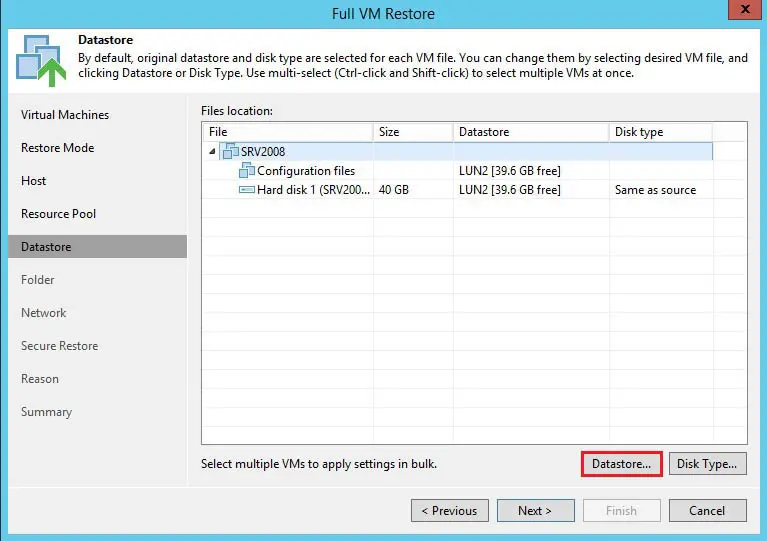
8- Here you can select resources like Datastore or you can leave it default and click on the next button.
9- Now select the Database button if you want to change the datastore.
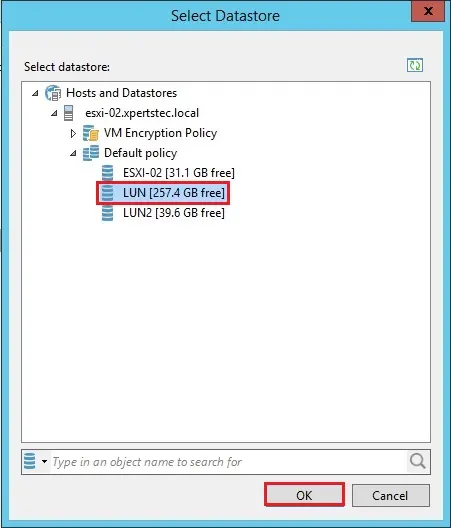
10- Select a Datastore and then click OK.
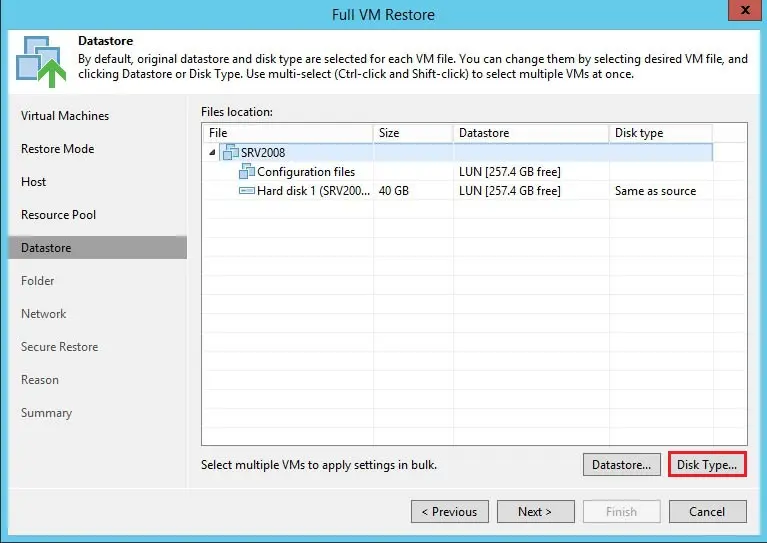
11- Select disk type
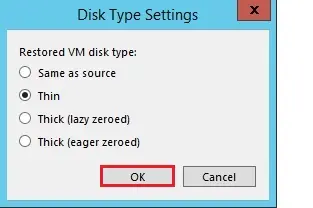
12- Select disk type and then click OK.
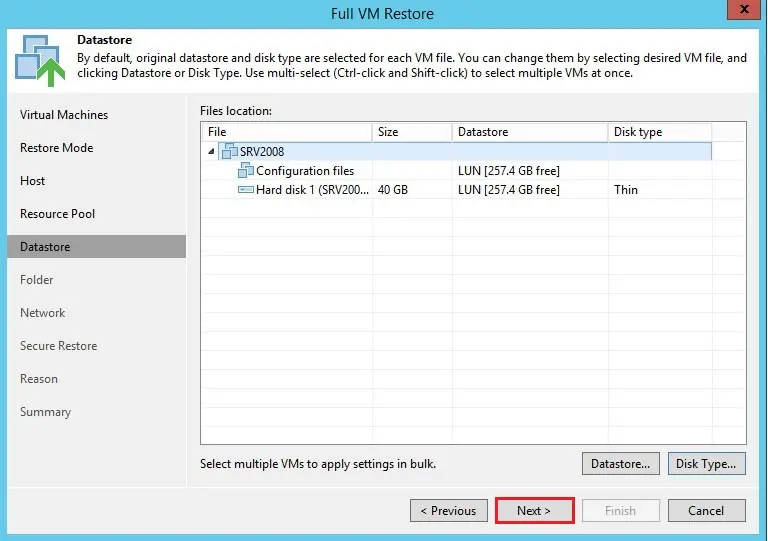
13- Now you can see the virtual machine hard disk and datastore size so verify the details and click on the Next button.
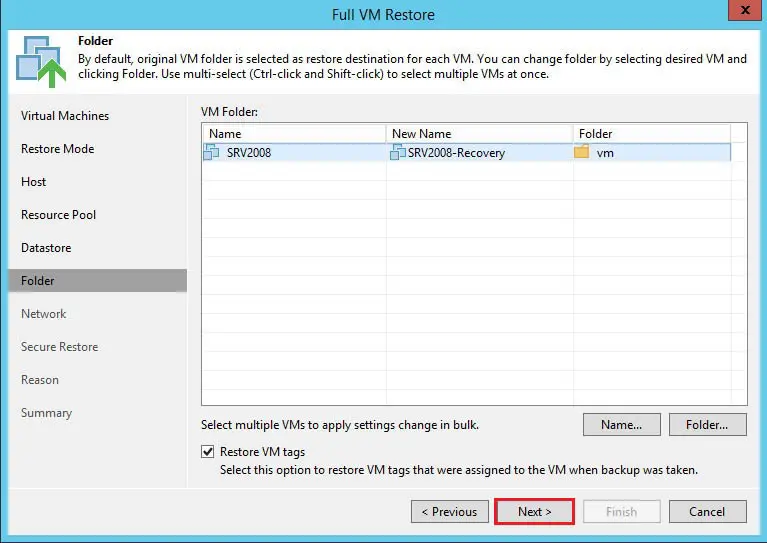
14- Select the name button.

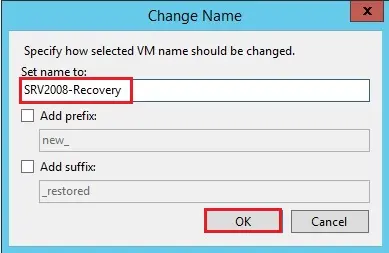
15- Type a virtual machine name and click OK.
16- Click next.
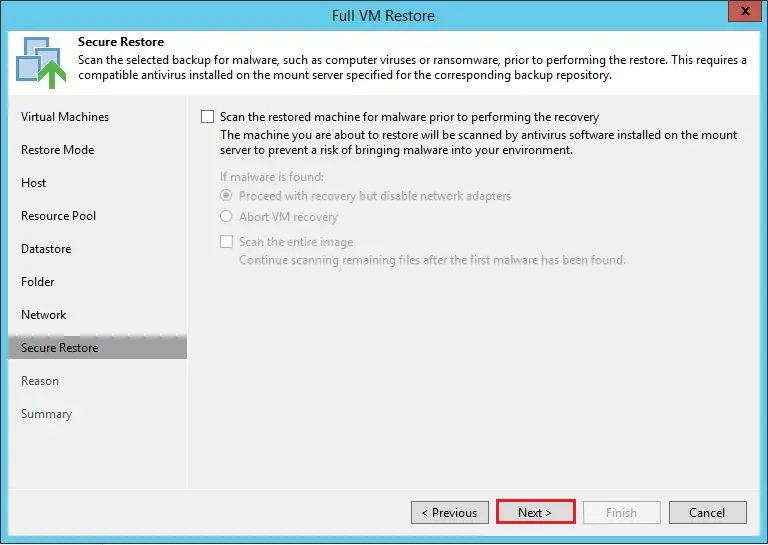
17- Virtual Machine Network and click on the next button.
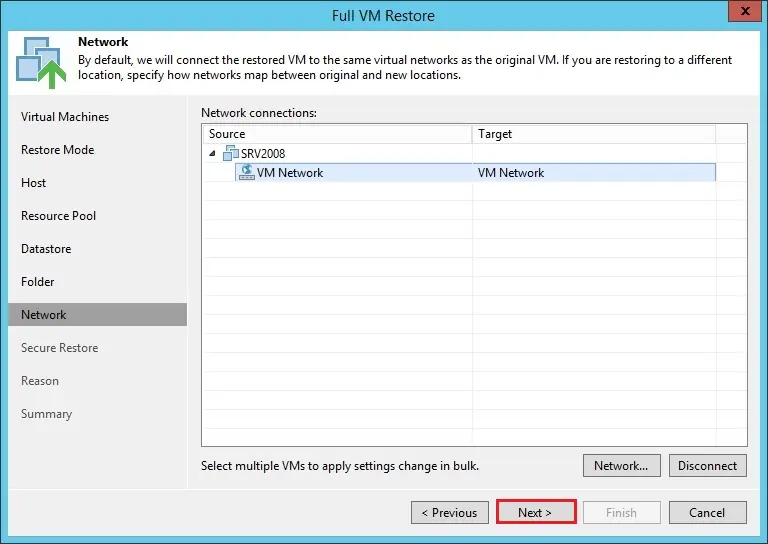
18- Click Next
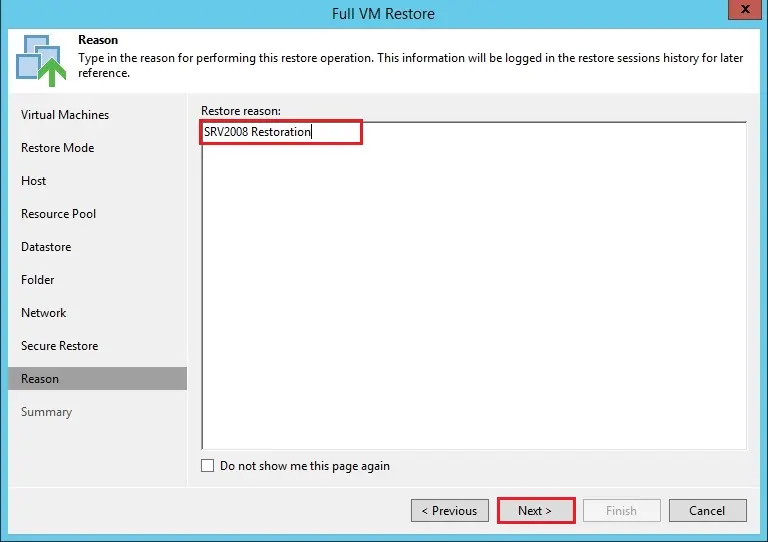
19- Now you can type the reason why you are restoring the Virtual Machine and click on the Next button.
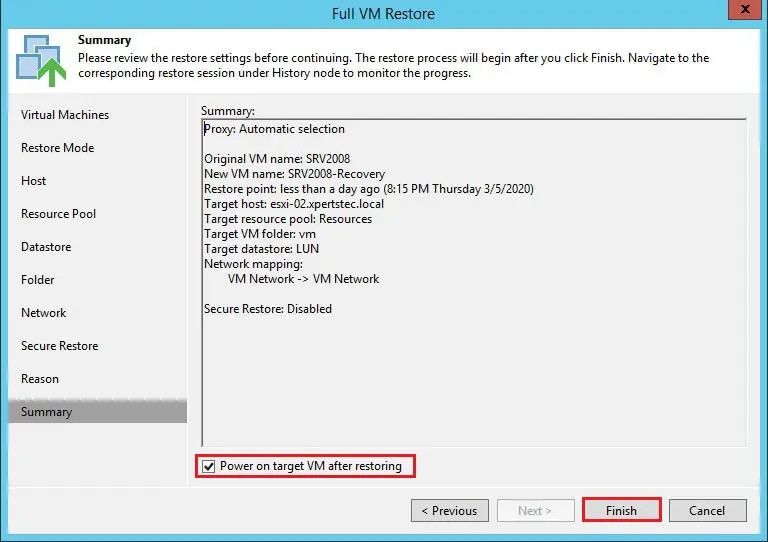
20- Choose the Power on target VM after the restoring option and then click on the Finish button.
21- The Virtual Machine is successfully restored, so just click on the close button.
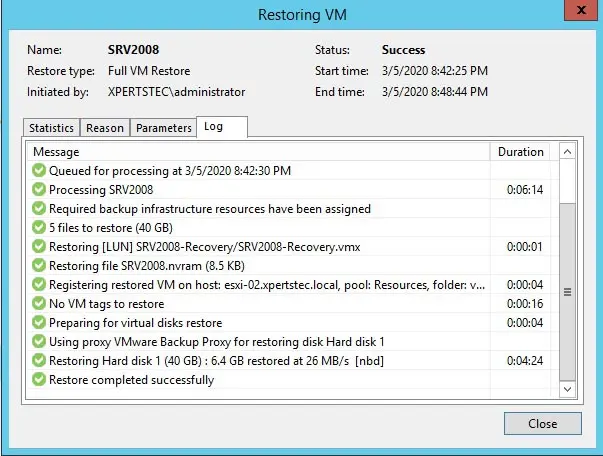
22- The Virtual Machine successfully restored

Related: How to use Extract Utility in Veeam Backup & Replication
For more details, please visit Veeam