
Add Microsoft Windows Servers, in the article I will add Microsoft Windows Server to Veeam Backup and Replication server to take backup.
Before adding a Microsoft Windows server to the Veeam backup infrastructure, check your network connection settings on this server.
You need to enable file and printer sharing in network connection settings of the added Windows server.
Add Microsoft Windows Server
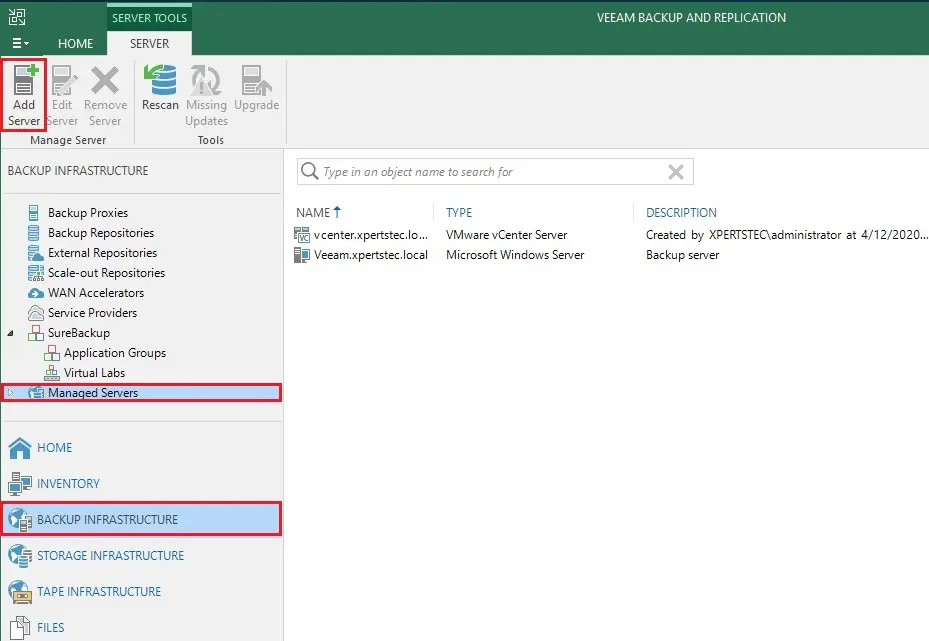
1- Open Veeam Backup & Replication console, select the Backup Infrastructure. In the inventory pane, select the Managed Servers node and then click Add Server
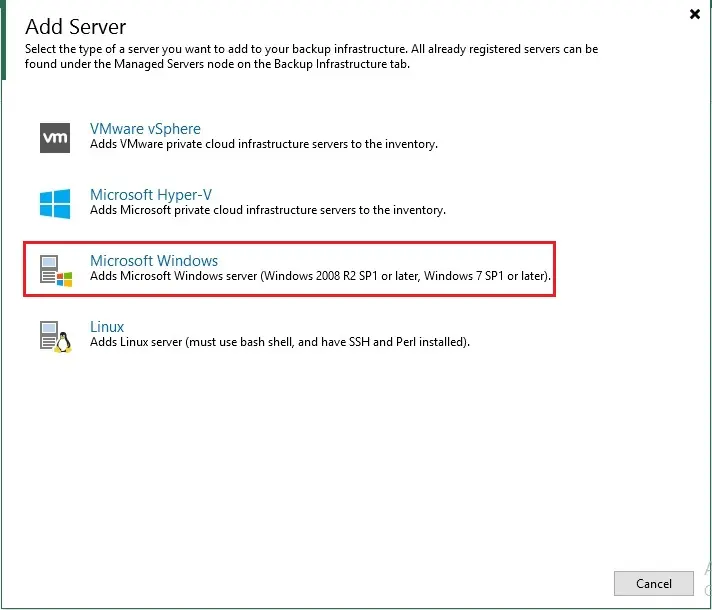
2- In the Add Server wizard, select Microsoft Windows
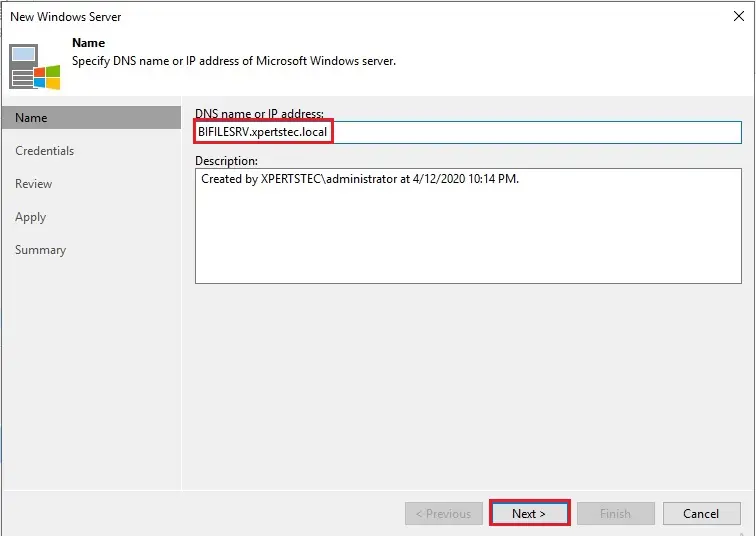
3- New Windows Server wizard, at the Name field, Type a full DNS name or IP address of the Microsoft Windows server
Type a description for the reference. The default description contains information about the user who add the Windows server, date and time when the server was added.
Click Next
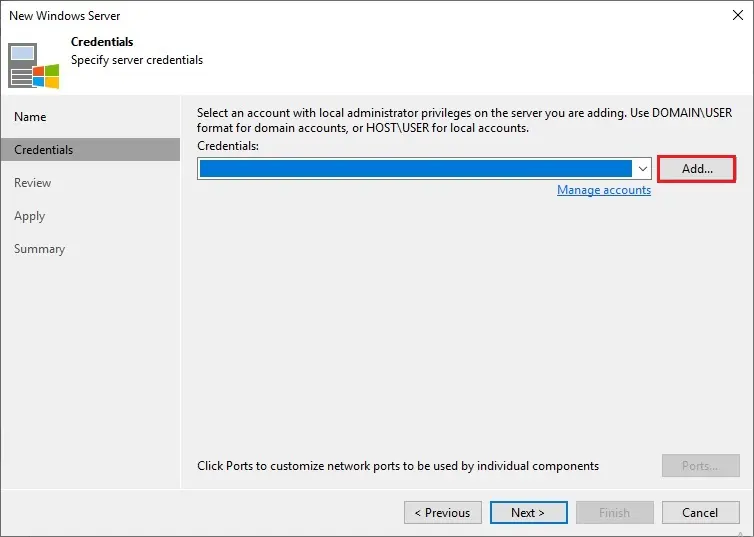
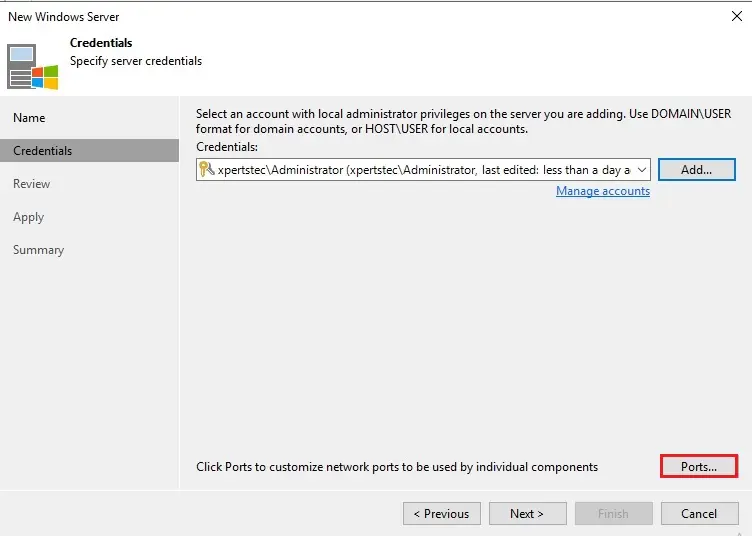
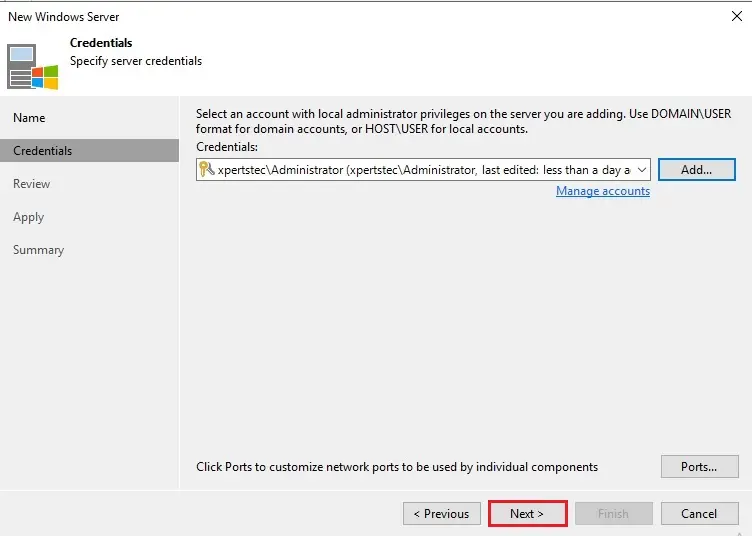
4- At the Credentials step, select credentials for the account that has administrator permission on the Microsoft Windows server. If you have not yet setup credentials, then click Add button
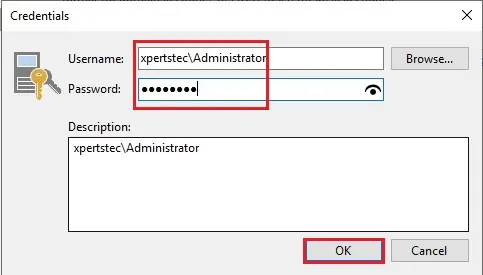
5- Type your Windows Server administrator credentials, type description and then click ok
Now Veeam Backup & Replication will use these credentials to deploy its components on the added server
6- To customize network ports used by Veeam Backup & Replication components, then click Ports
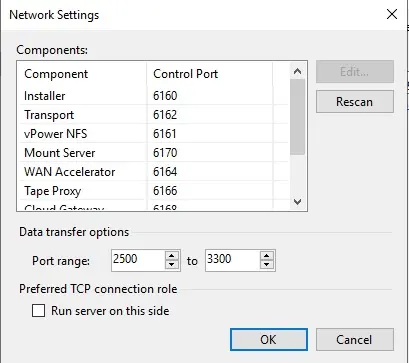
7- Under the Data transfer options section of the Network Settings window, configure network settings components and then click on ok
8- Click Next
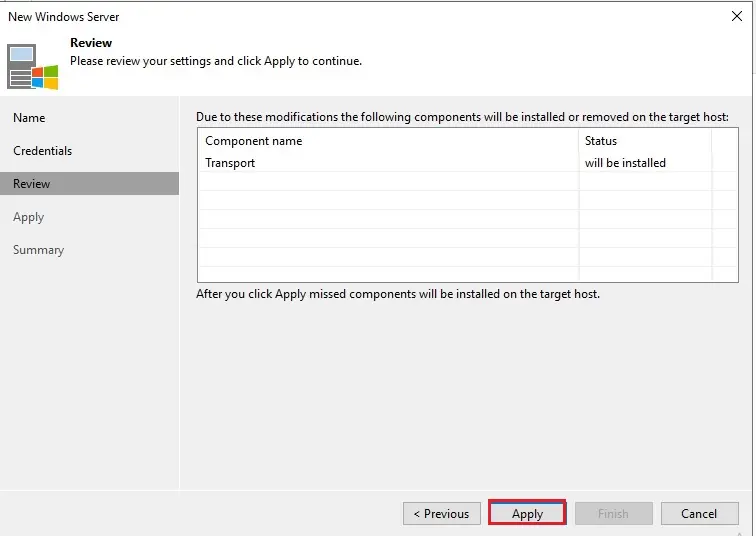
9- Add new Windows Server wizard Review steps, review what Veeam Backup and Replication components are already installed on this Windows server and what components will be installed.
Click on Apply button to add the Microsoft Windows server to the Veeam backup infrastructure
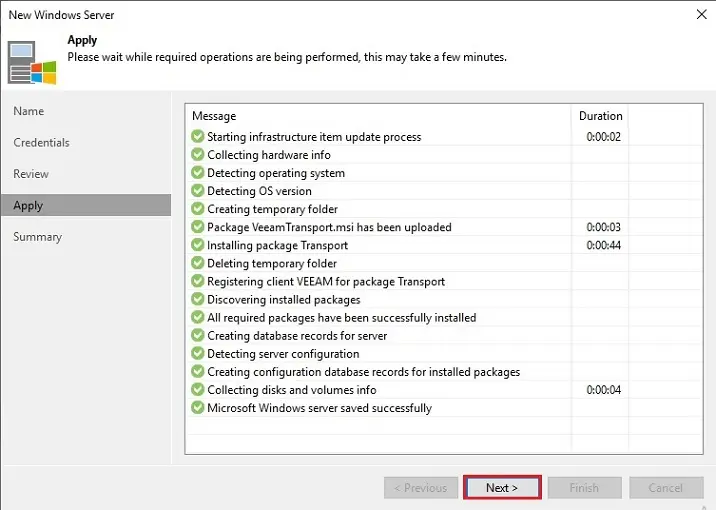
10- Add new Windows Server Apply steps wizard, complete the procedure of Microsoft Windows server adding.
Review details of the Microsoft Windows server and then click on next
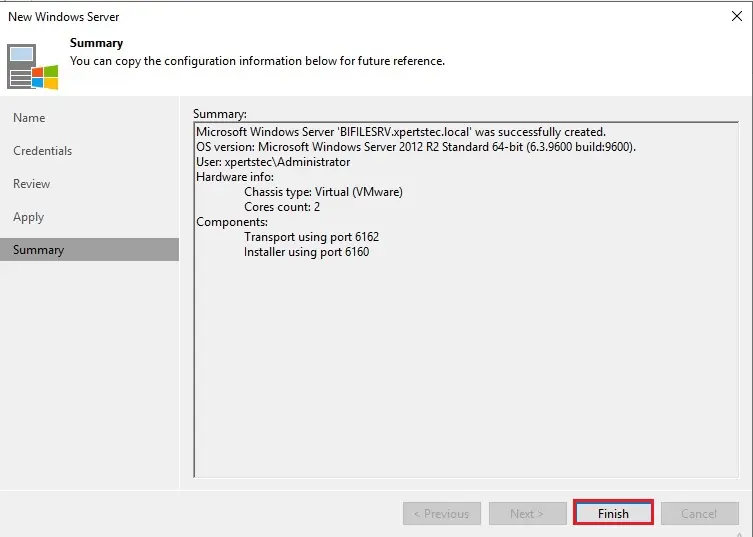
11- Now review the summary of the new Windows server created and then click Finish to exit the wizard
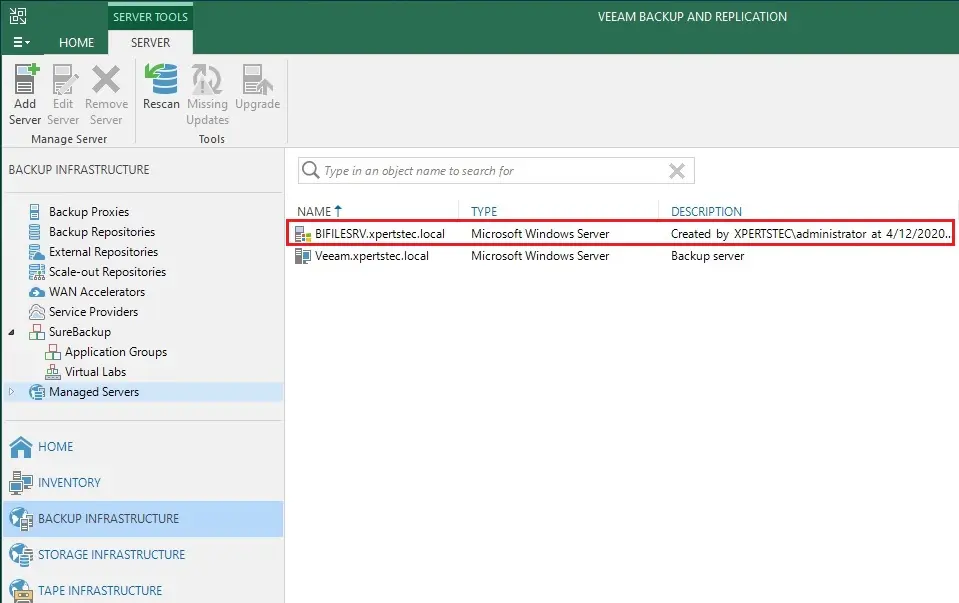
12- Windows Server successfully added
Related: How to Add vSphere vCenter in Veeam Backup & Replication.
For more information, click here
Watch this video on XpertsTec YouTube.