
Restore NTBackup BKF File, To install the Windows Server 2003 Ntbackup program on Server 2008, Server 2012 and Windows 10 Windows computer you would like to follow the below steps.
Restore NTBackup .BKF File Windows Server 2008
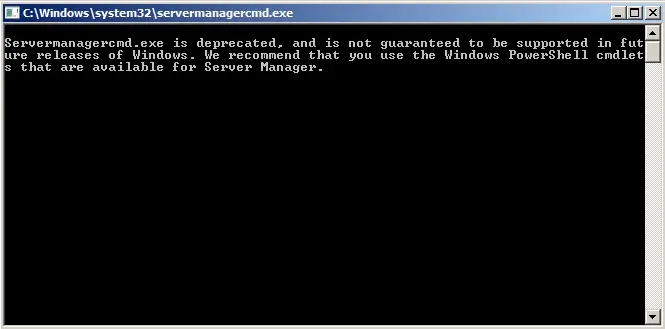
1- Click the Start button and click Run, type (or paste): servermanagercmd -install Removable-Storage and click ok.

2- Command prompt auto open.
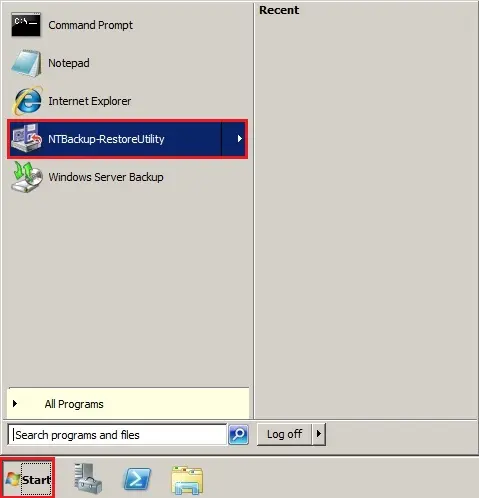
3- Click start and select Ntbackup-RestoreUtility.
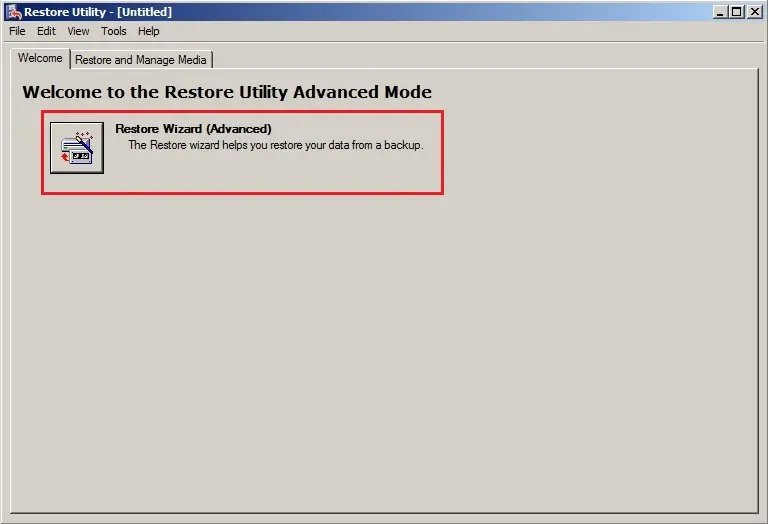
4- Welcome to the restore utility advanced mode and choose the Restore Wizard (Advanced).
5- Click Next.

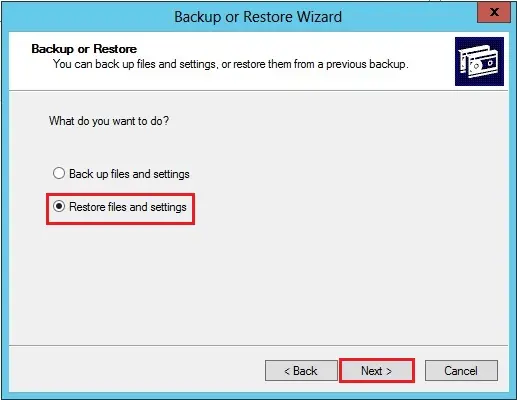
6- Select Restore files and settings and click on next.
7- Under What to Restore, select Browse.

8- Click Browse and choose the .bkf files that you simply want to revive and click on ok.

https://xpertstec.com/backup_recovery/veritas/back-up-job-files-to-disk-in-veritas-backup-exec/9- Left side Expand the things to revive then select the files or folders which you would like to revive and click on next.

10 Select the Advanced button.
11- Under Restore files to select Alternate location.
Under Alternate location Select the folder where you want to restore and click next.

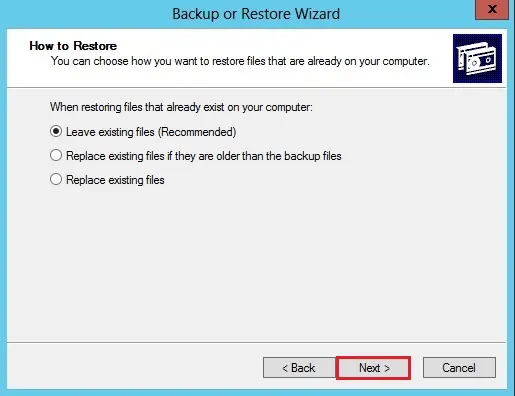
12- Select Leave existing files (Recommended) and click next.
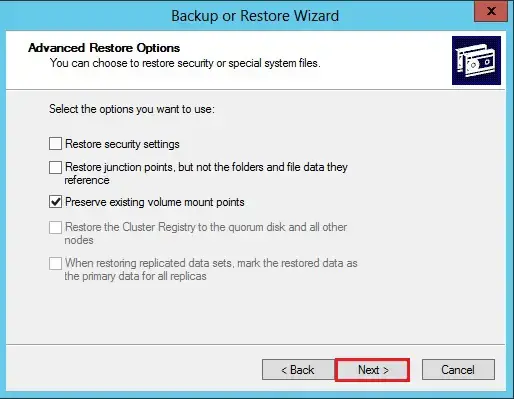
13- Select the options you want to use and click next.
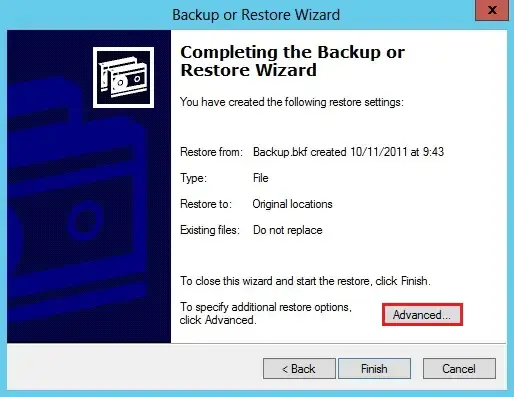
14- Click Finish to complete the Backup wizard.

15- Restore completed.

Restore NTBackup BKF File
Windows Server 2012 and Windows 10.
Download the nt5backup.cab Click nt5backup.cab
extract the rar file
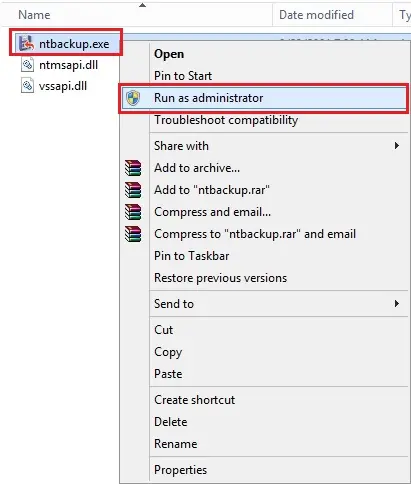
ntbackup.exe
ntmsapi.dll
vssapi.dll
1- Right-click on NTBackup.exe and choose Run as Administrator.
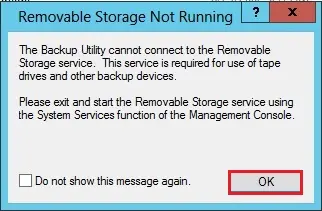
2- A popup message for removable storage not running and click on ok.
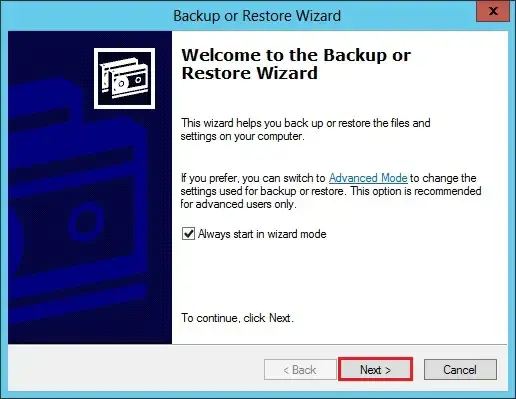
3- Click Next.
4- Select restore files and settings and click on next.

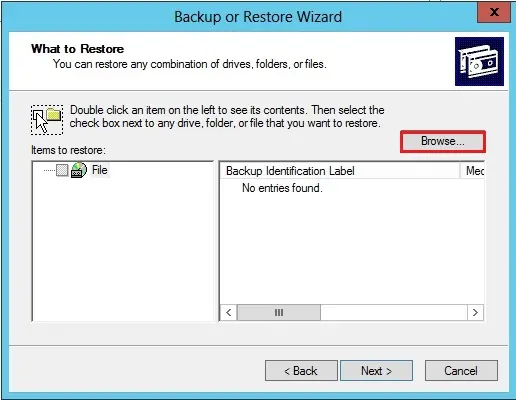
5- Under What to Restore, select Browse.
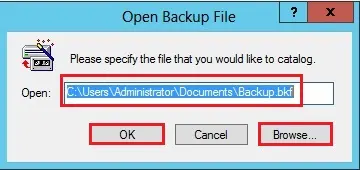
6- Click Browse and choose the .bkf files that you simply want to revive and click on ok.
7- On Left side Expand the things to restore, select the files or folders which you would like to restore and click on next.
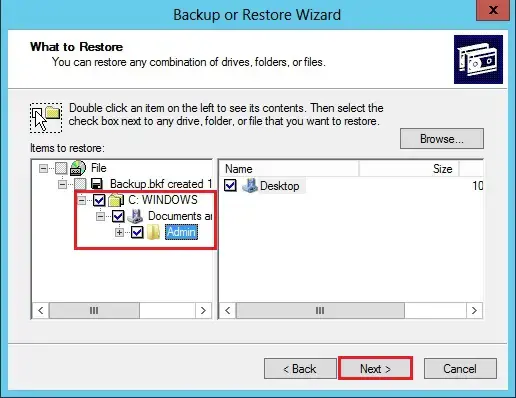
8- Select the Advanced button.

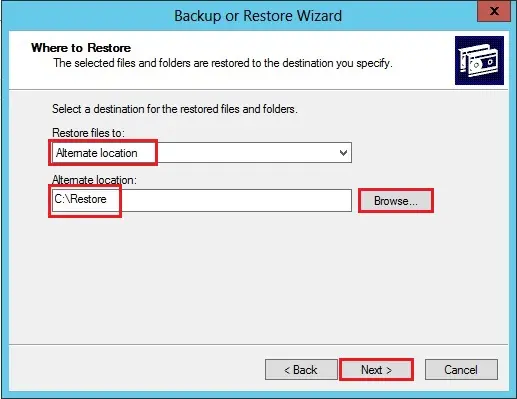
9- Under Restore files to select Alternate location.
Under Alternate location Select the folder where you want to restore and click next.
10- Select Leave existing files (Recommended) and click next.

11- Select the options you want to use and click next.

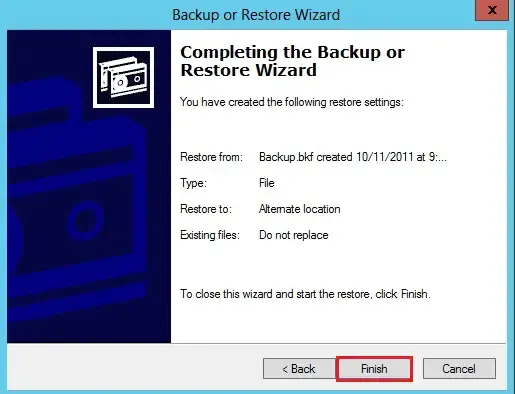
12- Click Finish to complete the Backup wizard.
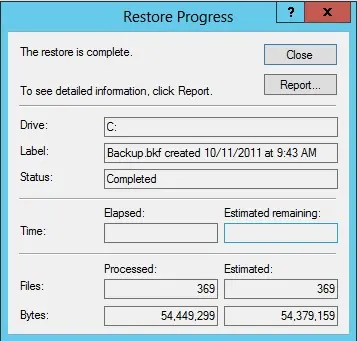
13- Restore completed.
No Comments
Hello. splendid job. I did not expect this. This is a fantastic story. Thanks!
Dear Hersey,
Thank you I appreciate
Way cool! Some extremely valid points! I appreciate you writing this post plus the rest of the website is really good.
Dear Hassan, Thank You.
Great information. Lucky me I discovered your site by accident (stumbleupon). I have saved as a favorite for later!
This is one awesome post.Really thank you! Want more.
Dear Meisch, thank you
I simply want to say I am all new to blogging and definitely enjoyed your blog site. More than likely I’m want to bookmark your site . You surely come with impressive writings. Thanks a lot for sharing your blog.
Thank you
What’s up I am Kavin, it’s my first time to commenting anyplace, when i read this post i thought i could also make comment due to this good paragraph.
Dear Kavin, thank you for your feedback
I’m satisfied with the information that you provide for me and
thanks for this because sometimes people face this problem.
Best regards,
Mead Dencker