In this guide, I am going to tell you how you can Install StarWind Virtual SAN software What is StarWind Virtual SAN software.
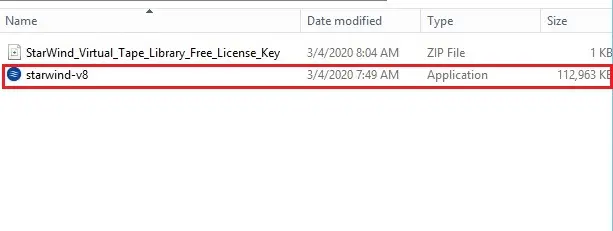
Download Starwind Virtual SAN click here
StarWind Virtual SAN Installation
1- Double click on StarWind installer file to start the installation.
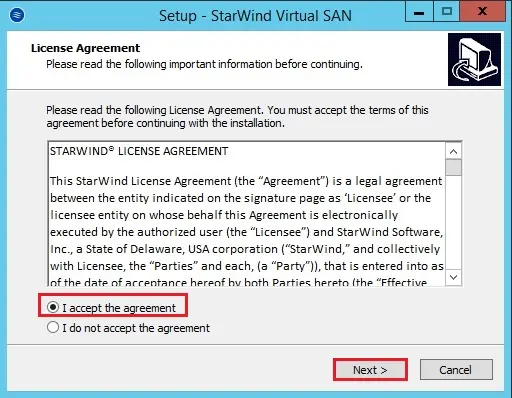
2- Install StarWind Virtual SAN, Accept the StarWind license agreement and click on the Next button.
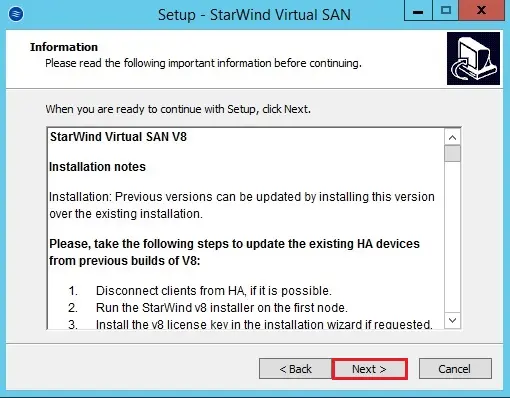
3- Read the Starwind information and click on Next button.
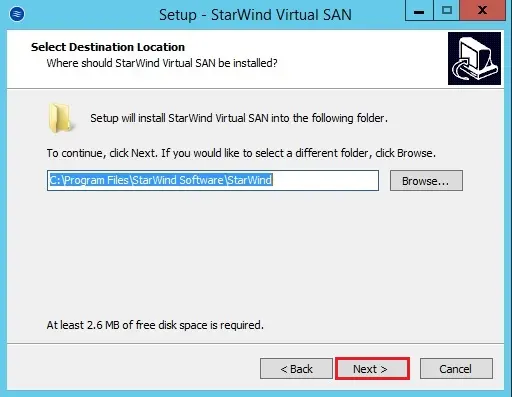
4- Select the installation directory or leave it as it is and click on next button.
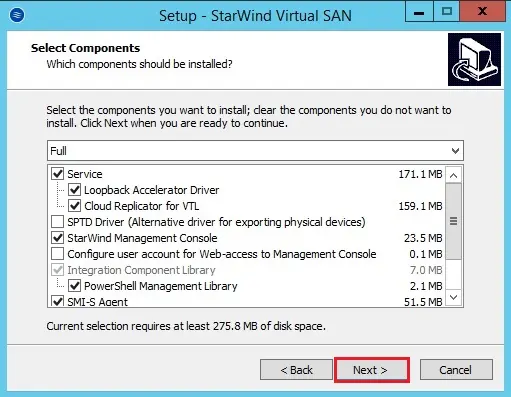
5- Choose the starwind component which you need to install and then click on next button.
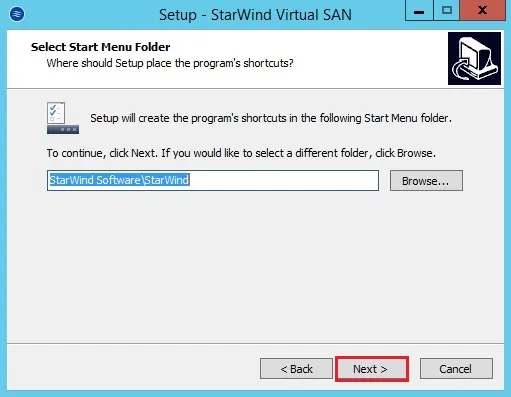
6- Starwind start Menu Folder click next.
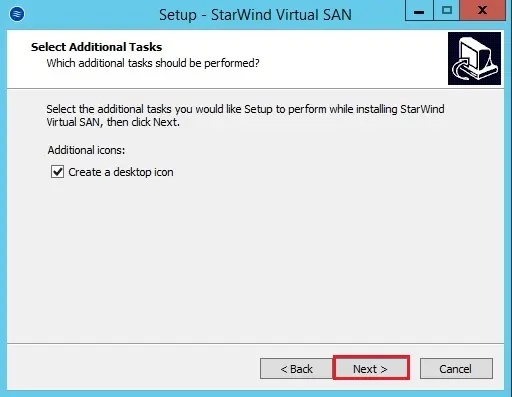
7- Choose Create a desktop checkbox and then click on Next Button.
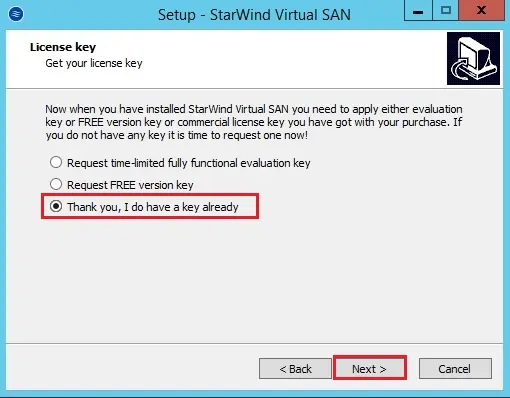
8- Here it’s inquiring for the key if you don’t have then choose the choice Request time-limited totally operate analysis key and then click on the next button.
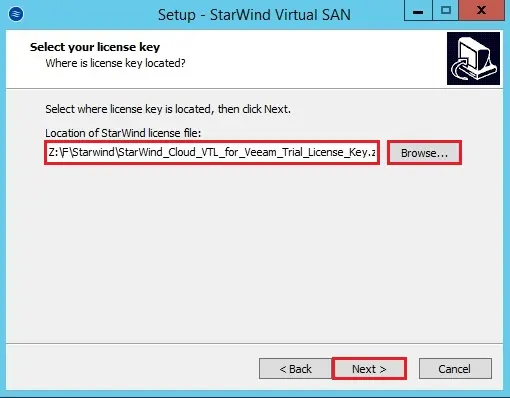
9- Select the browse button to select the trail key and then click on the next button.
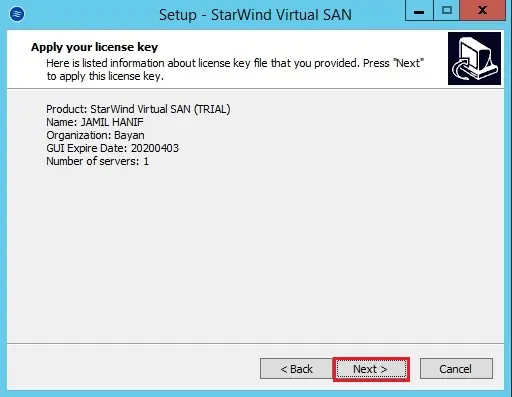
10- Starwind Virtual Tape Library license information click next.
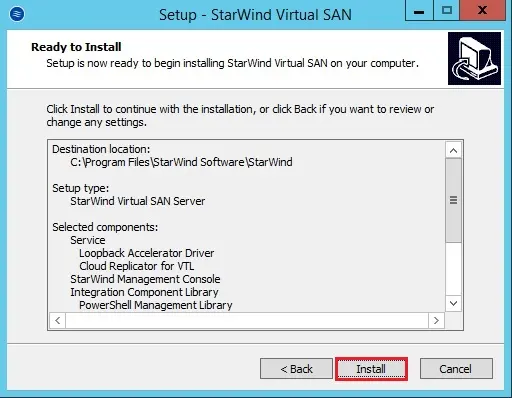
11- Select the install button to start the StarWind Virtual Tape Library Software installation.
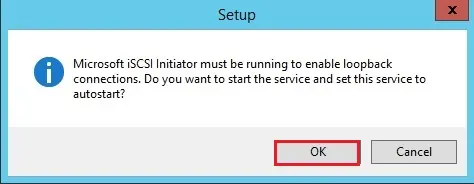
12- Microsoft iSCSI initiator so click on OK.
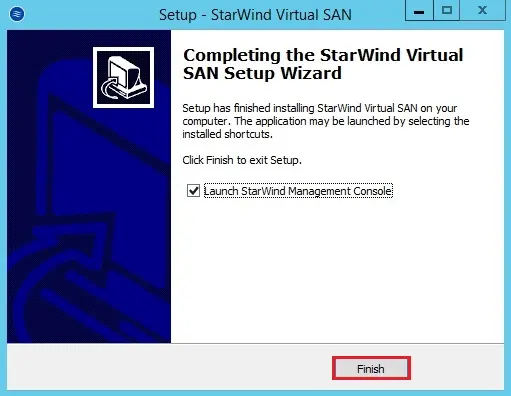
12- Starwind Virtual Tape Library installation completed, click on Finish button.
13- Configure storage pool, then click on OK button.

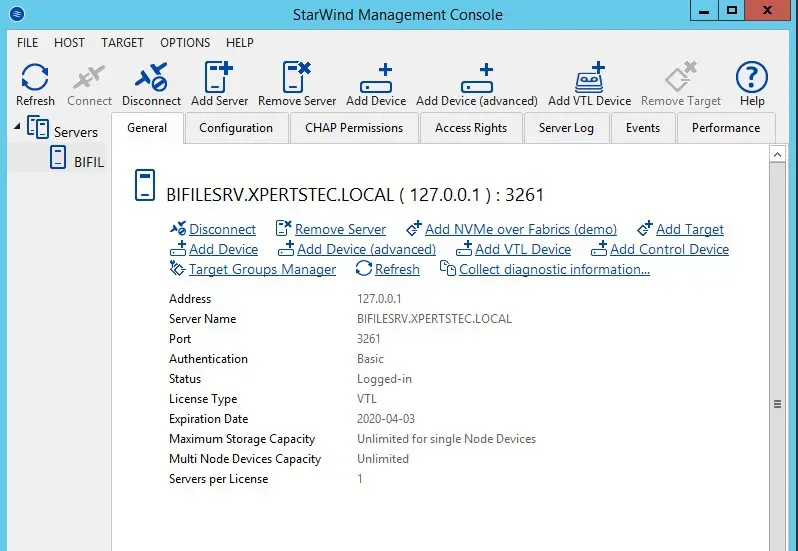
14- Starwind Management Console.