
In this article, I will show you how to install Android Studio Emulator on Windows PC.
Android Studio is the official IDE for Android development and includes everything you need to build Android apps. It is available for download on Windows, Mac OS and Linux based operating systems.
Table of Contents:
- System Requirements
- Download Android Studio Emulator
- Install Android Studio
- Run Android Studio Emulator
- Import Android Studio Settings
- Android Studio Install Type
How to Create an Android App with Android Studio Emulator.
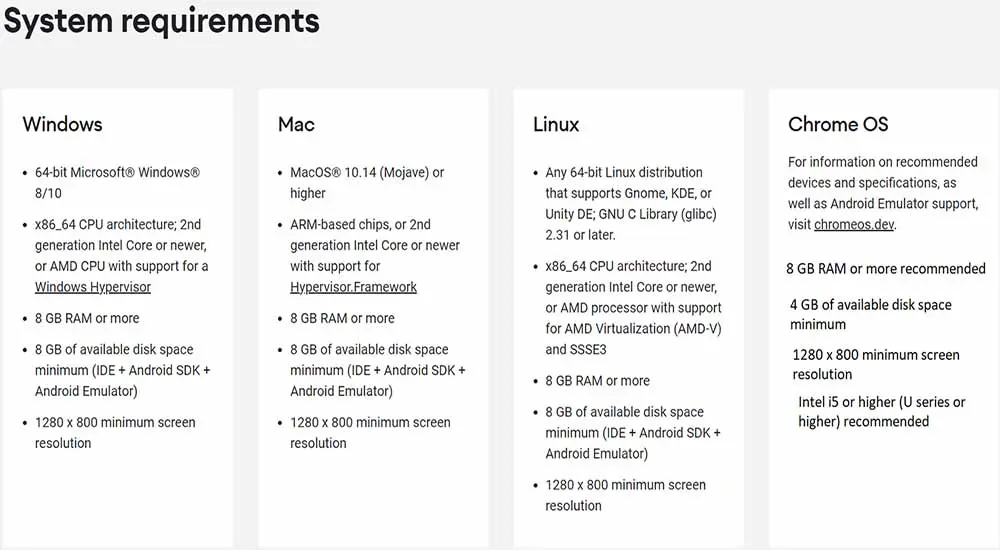
System Requirements
Android Studio System Requirements.
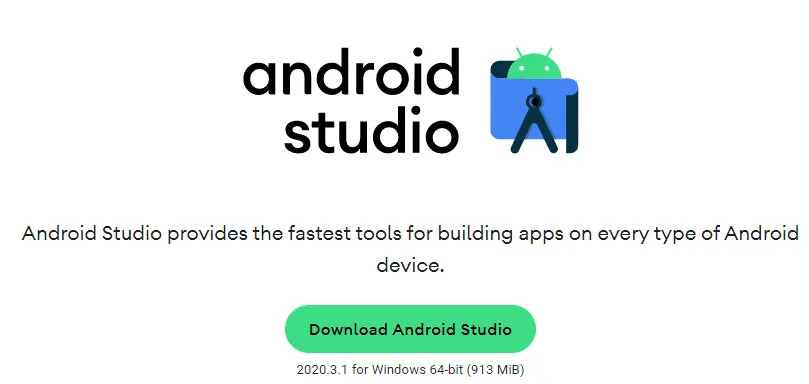
Download Android Studio Emulator
Click Download Android Studio
Install Android Studio
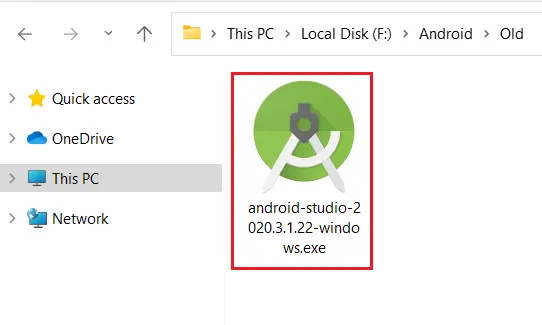
It’s Depending on the operating system of your PC, the Android Studio Emulator installation wizard alerts you with a window where you select install types between standard and custom. Select the recommended options by the Android Studio oracle installation wizard as these choices include the components that are required to install and create a hybrid mobile application on an AVD. They also contain an Android emulator, an emulator accelerator applicable for your system, be that (Linux, Windows, Mac) Open your download folder.
Double click on the android-studio-2020.3.1.22-windows.exe file to start the installation process.
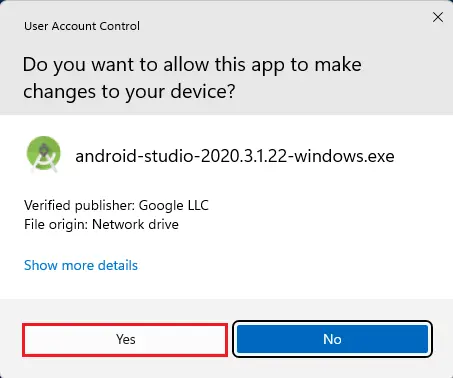
The Android studio installer responded by displaying the Android Studio Setup. Click yes
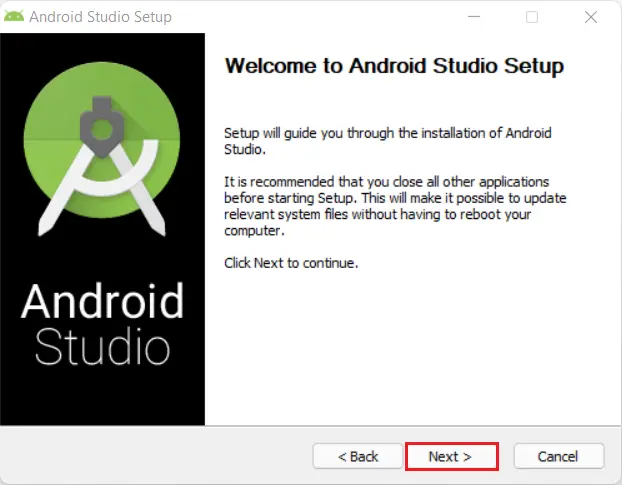
Welcome to the Android Studio setup screen and then click on Next.
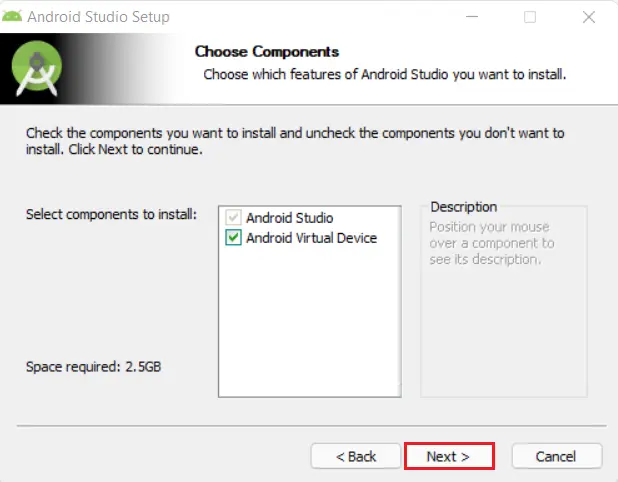
The following window, which provides the choice to decline to install an Android Virtual Device (AVD).
Select Android Studio components you want to install and then click on Next.
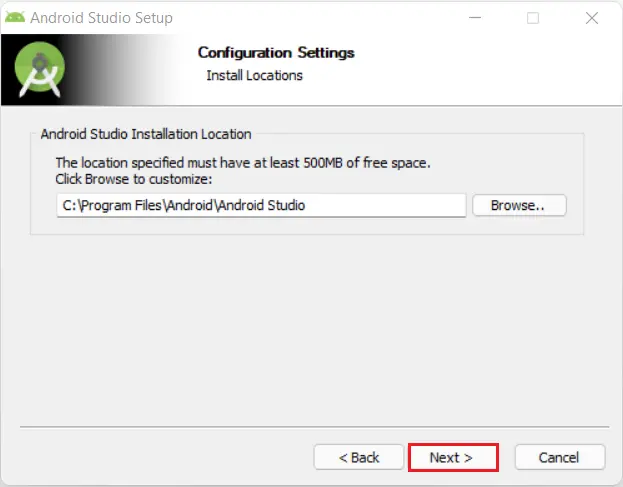
Select the browse button if you want to install Android Studio to a different location or Keep the default settings and then click on next.
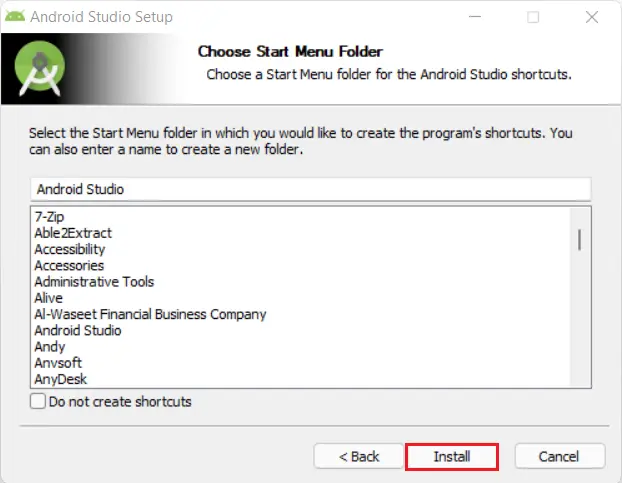
Android studio setup start menu, click next.
Android Studio emulation Installation Completed and then click on Next.
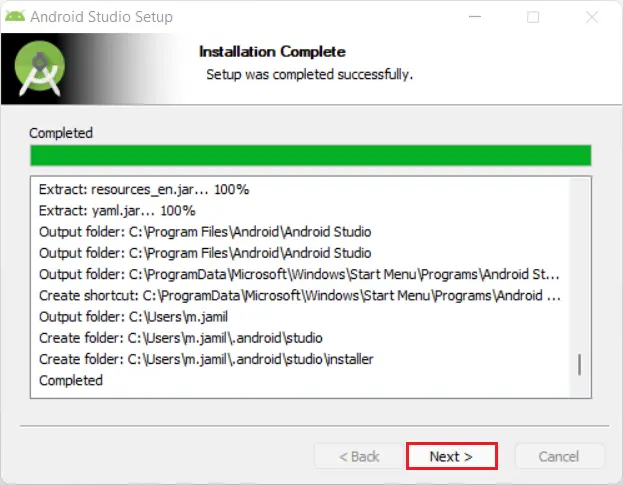
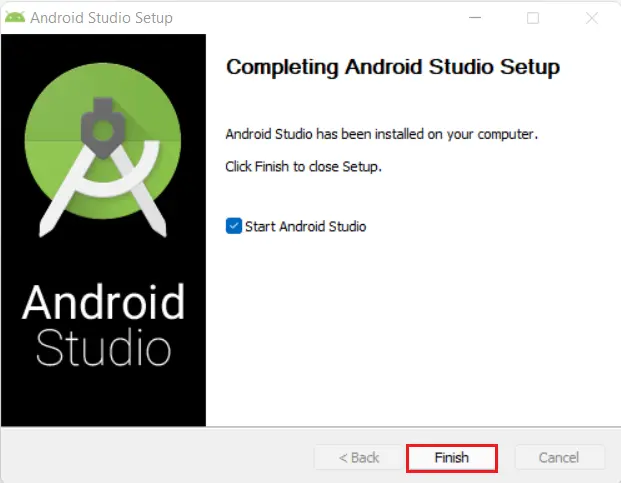
The Android installer presented the Complete Android Studio Setup panel
Keep the Start Android Studio box checked and then click the Finish button to start Android Studio.
Run Android Studio Emulator.
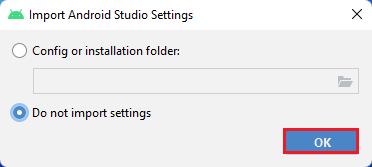
When the first time Android Studio launch, it displayed a Complete Installation dialog window that will introduce you to import settings from a previous installation.
Import Android Studio Settings
Select do not import settings and then click on ok.
Android studio booting up.

Now it’s finding the available SDK components.

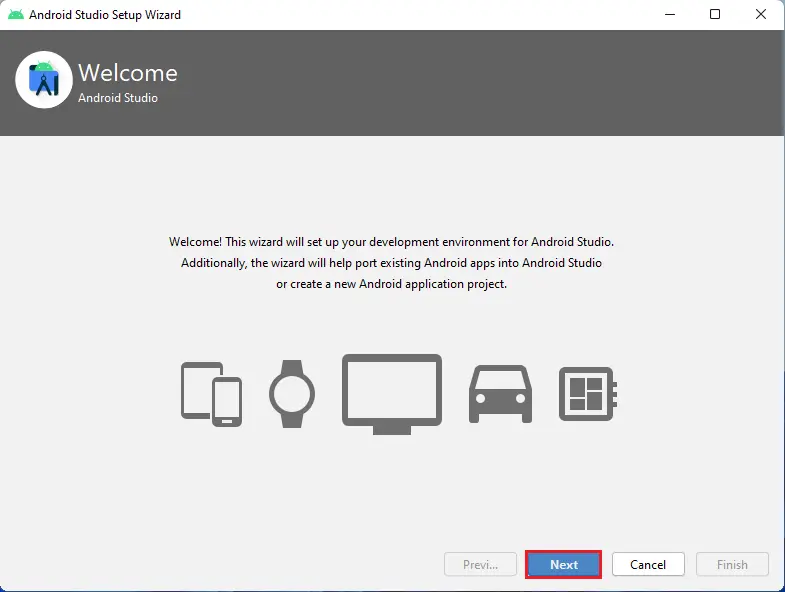
Android Studio Setup Wizard and then click on Next.
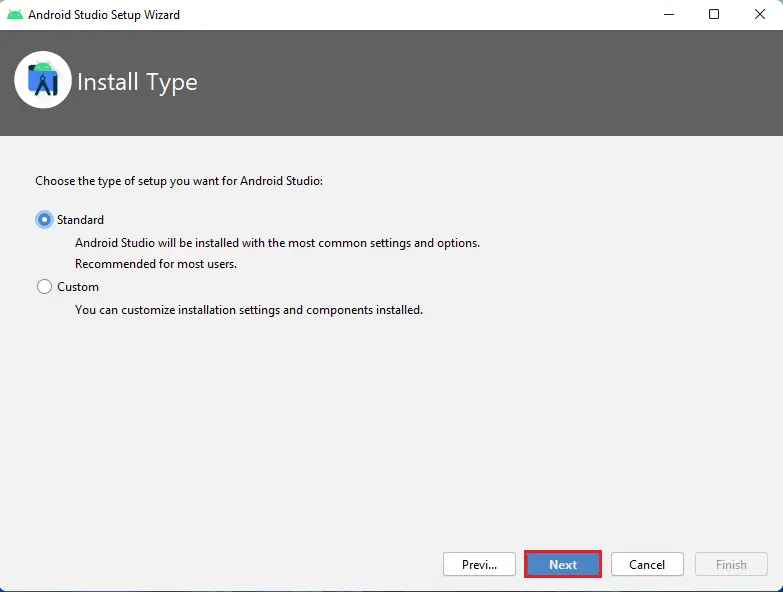
Android Studio Install Type
Choose the type of setup you want for Android Studio (Standard or Custom) and then click on next.
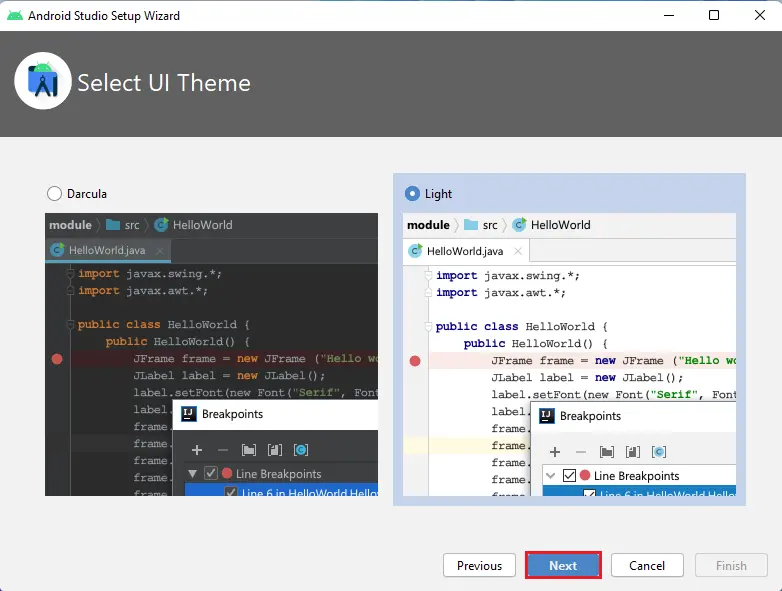
Select an interface theme and then click on next.
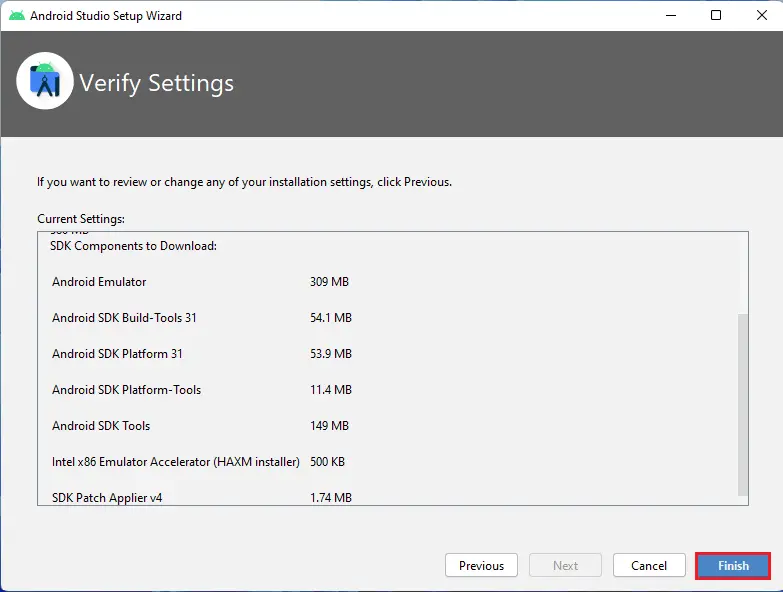
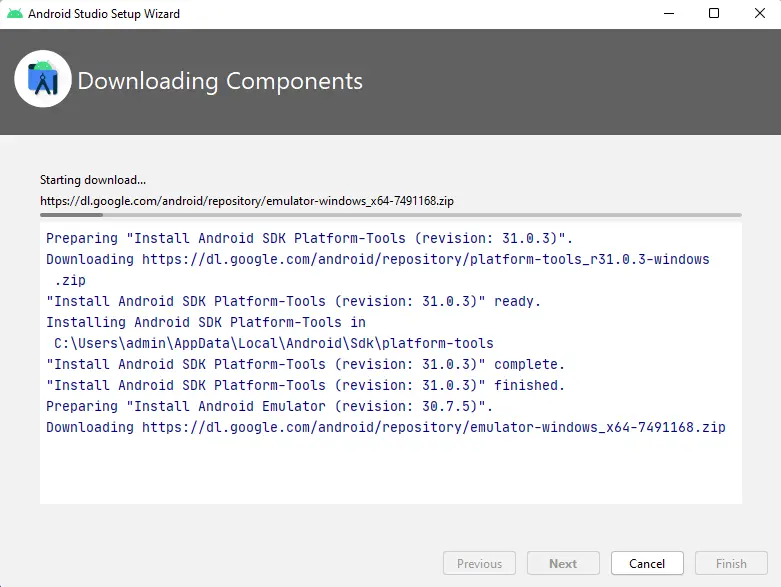
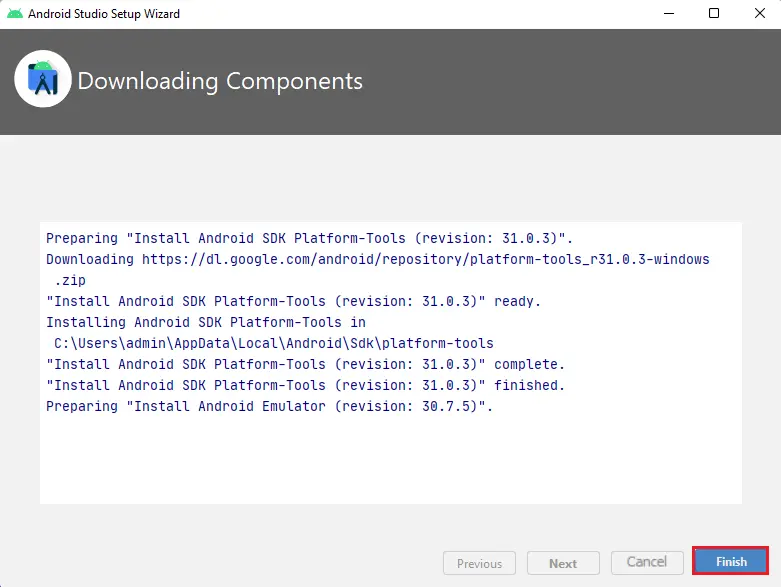
After clicking the Finish button and then Android Studio will start the process of downloading SDK components.
It will take some time to complete the setup to finish. Select the show details button to review files being downloaded and unzipped.
Click the Finish button to complete the wizard.
The option is to either go with the slow emulator or use an Android device to speed up development.
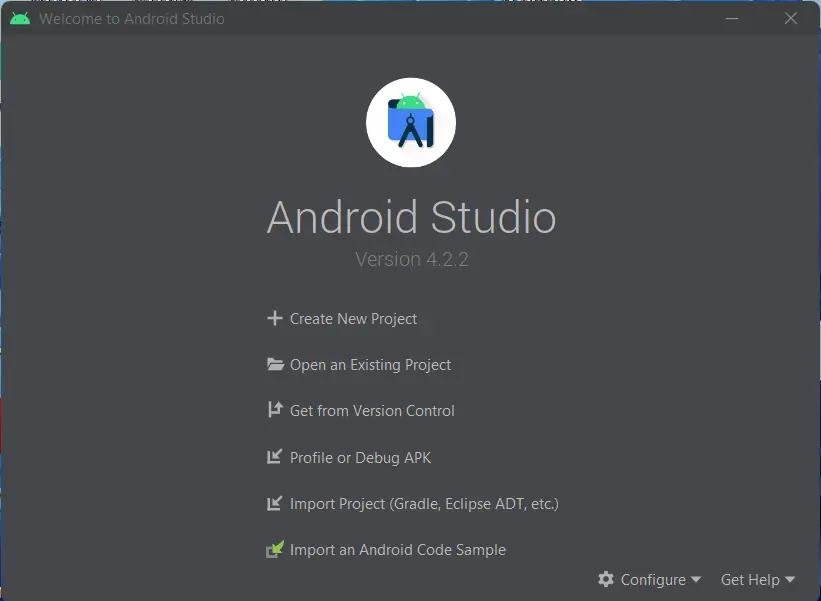
Welcome to the Android Studio dialog box. Here you can choose (start a new Android Studio project and then open an existing project and more).
No Comments
Like!! I blog frequently and I really thank you for your content. The article has truly peaked my interest.
thank you