In this blog, I will install Android PrimeOS on VMware Workstation 15.
Below are the links for downloading VMware Workstation 15 and the Android PrimeOS.
Download Android Prime OS Click Download Android PrimeOS
Download VMware Workstation click Download VMware Workstation
How to create a virtual machine for the android emulator in VMware Workstation 15 click Create New VM in VMware Workstation
Install Android PrimeOS
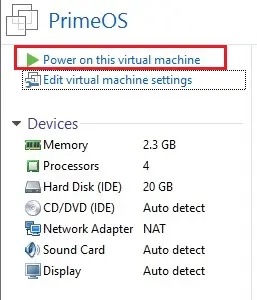
1- After creating VM in VMware workstation, click power on this virtual machine.
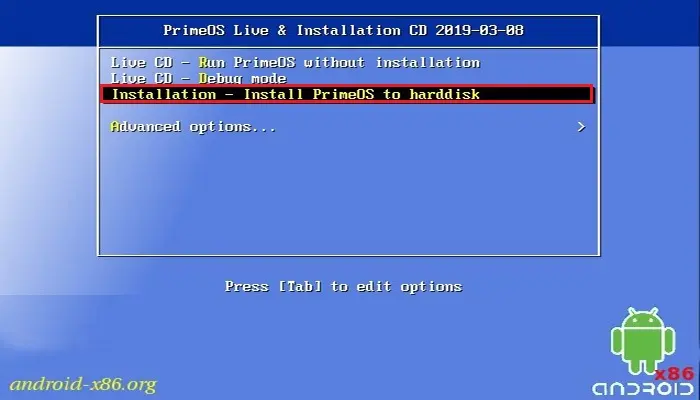
2- Select Installation – install PrimeOS to harddisk and press enter.
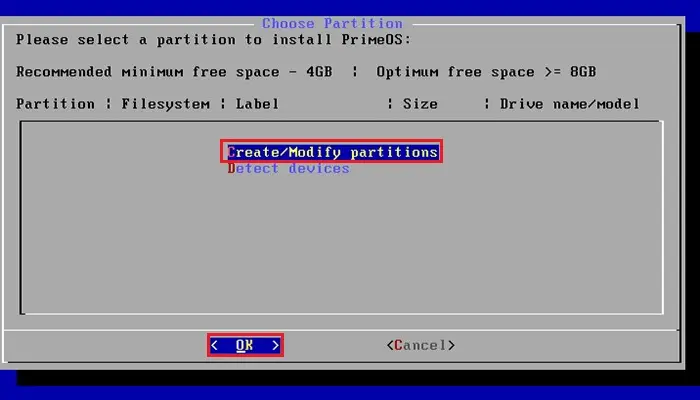
3- Android PrimoOS Press C, Select Create/Modify Portions and press enter.
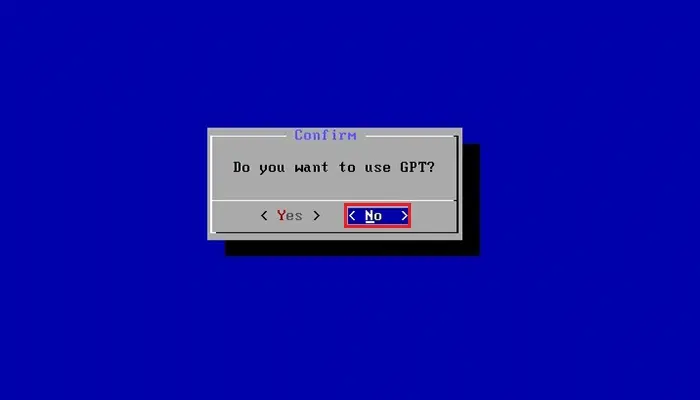
4- Select no for the use of GPT and press enter.
5- Now we need to create a new partition, select New and press enter.
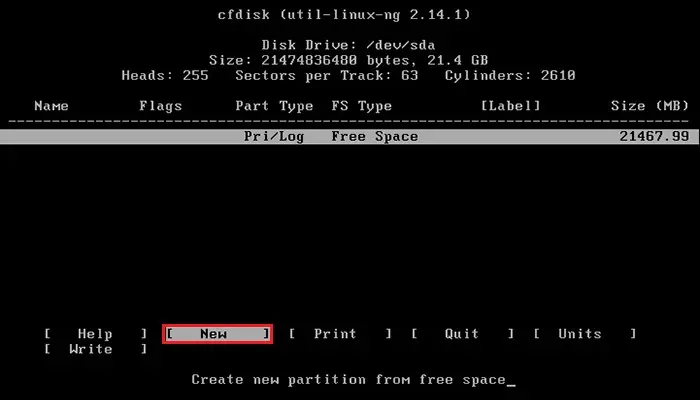
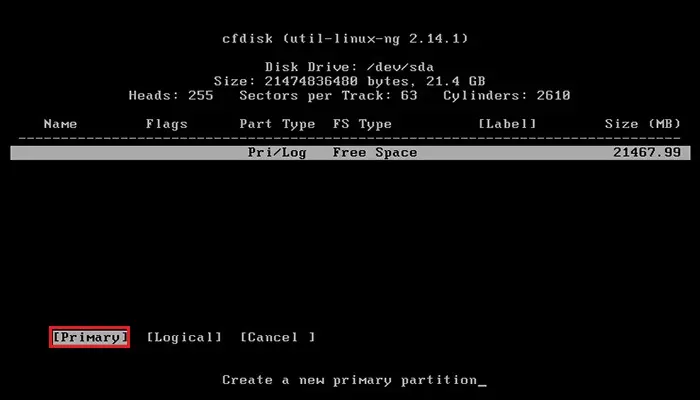
6- Android PrimoOS, Select Primary, and press enter.
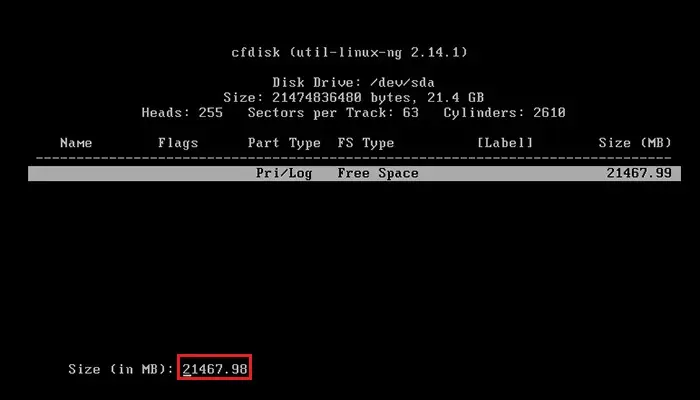
7- Select the size that you want for the new partition. I have selected all and press enter.
8- Select Bootable and hit enter, under the head Flags it should show Boot.
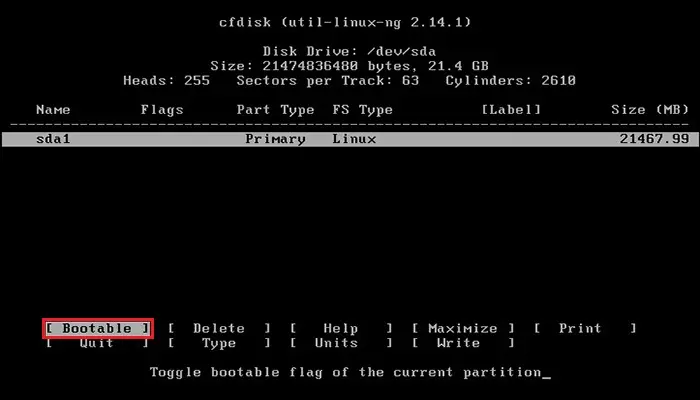
9- Select Write tab. This will create the partition table, which makes sure that you can use the new partition for the installation of Android PrimoOS.
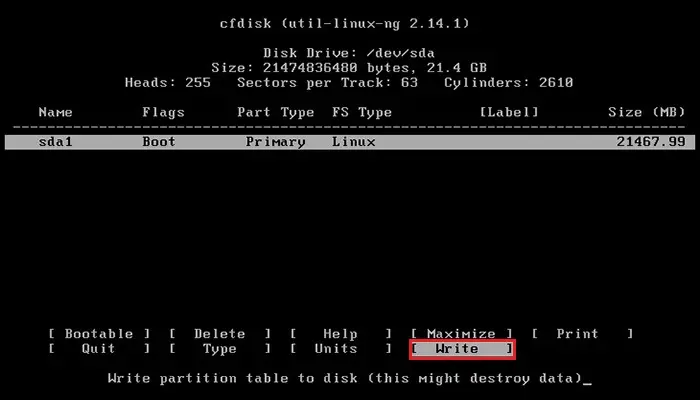
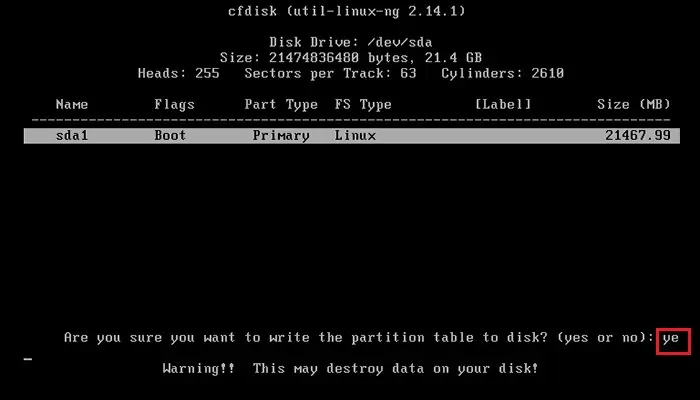
10- Type yes and then press enter.
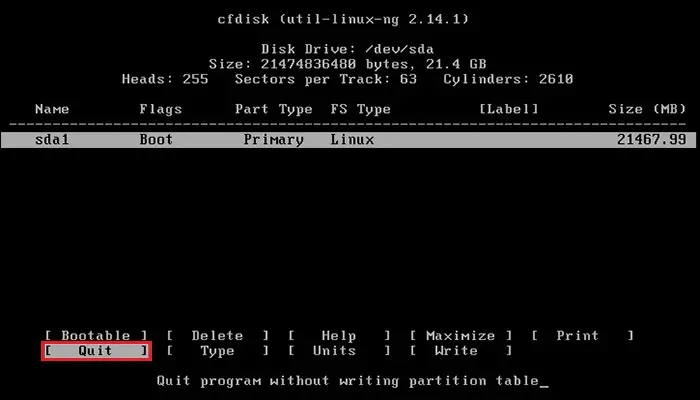
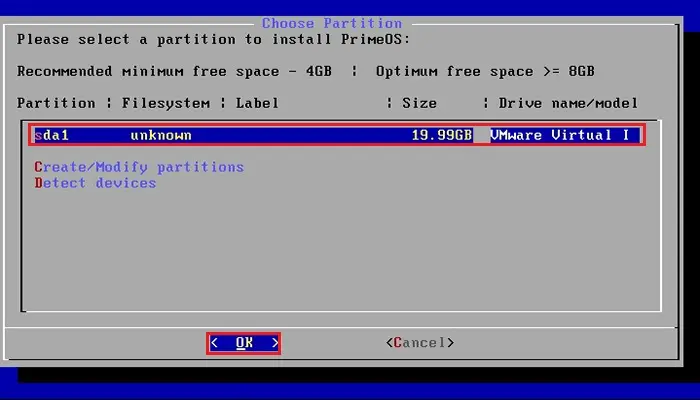
11- Select Quite and you will return to the installation screen of PrimeOS, with a partition available called sda1.
12- Select sda1 and then press enter for the installation.
13- Select ext4 as the filesystem and then press enter.
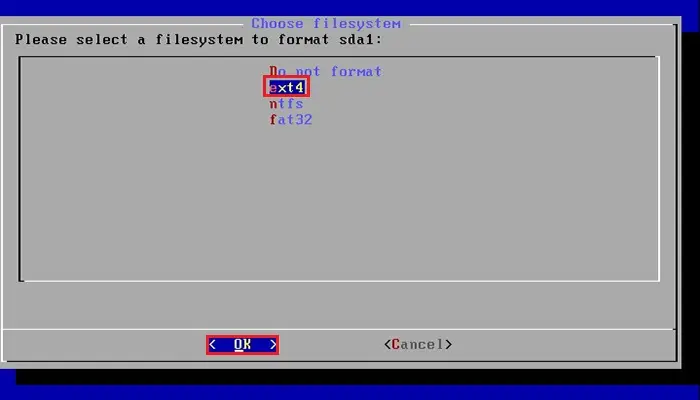
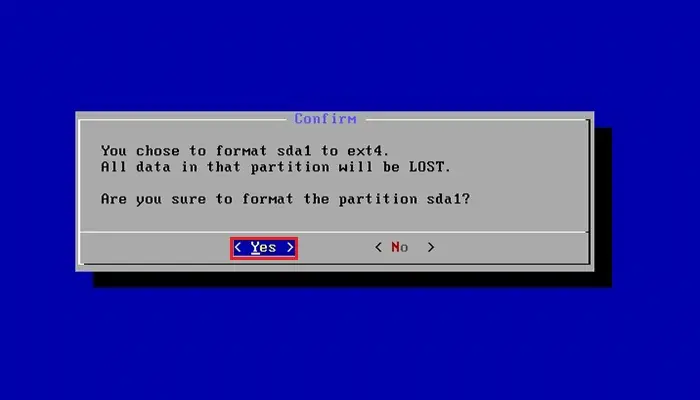
14- Select Yes and then press enter.
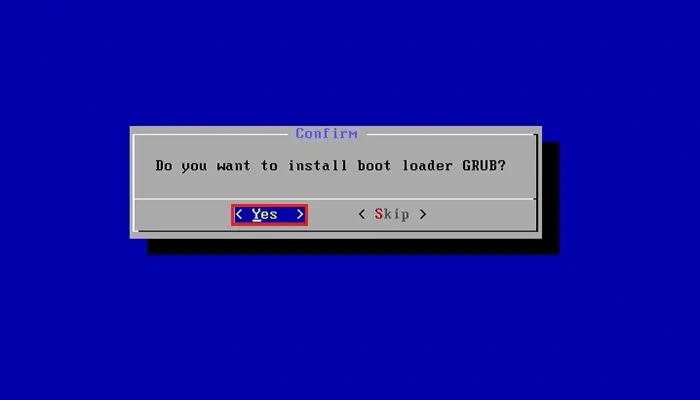
15- Install the boot loader GRUB, select yes and then press enter.
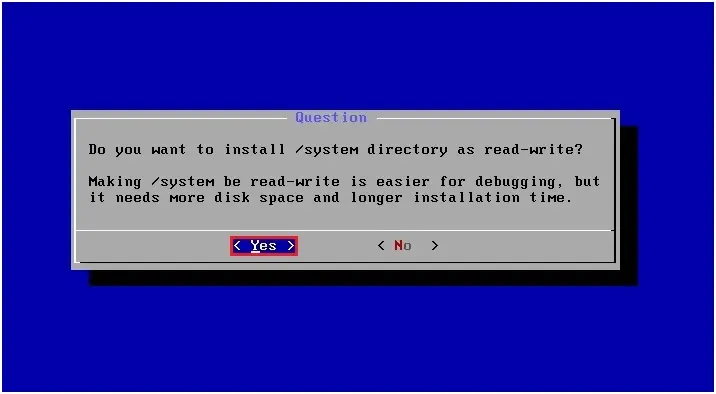
16- Select Yes and then press enter to make the system Read-Write.
17- Select the Reboot option and then press enter to restart PrimeOS.
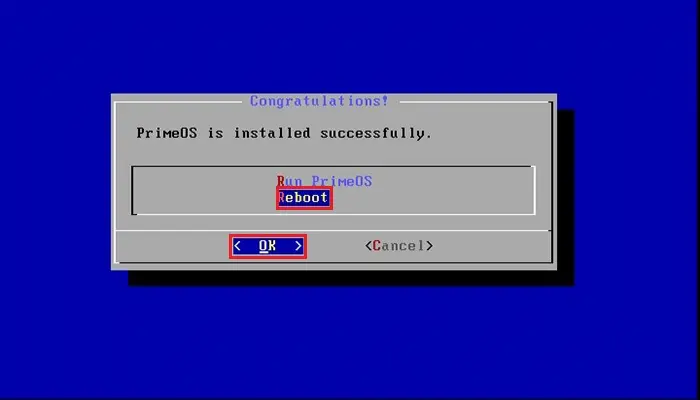
18- Welcome to PrimeOS, so click proceeds.

19- Please enter your details to activate Android PrimoOS and then click next.
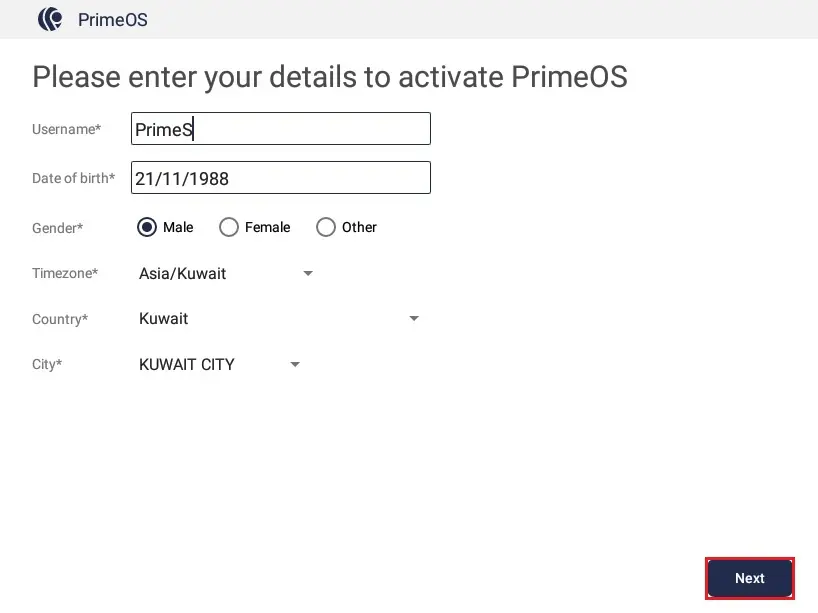
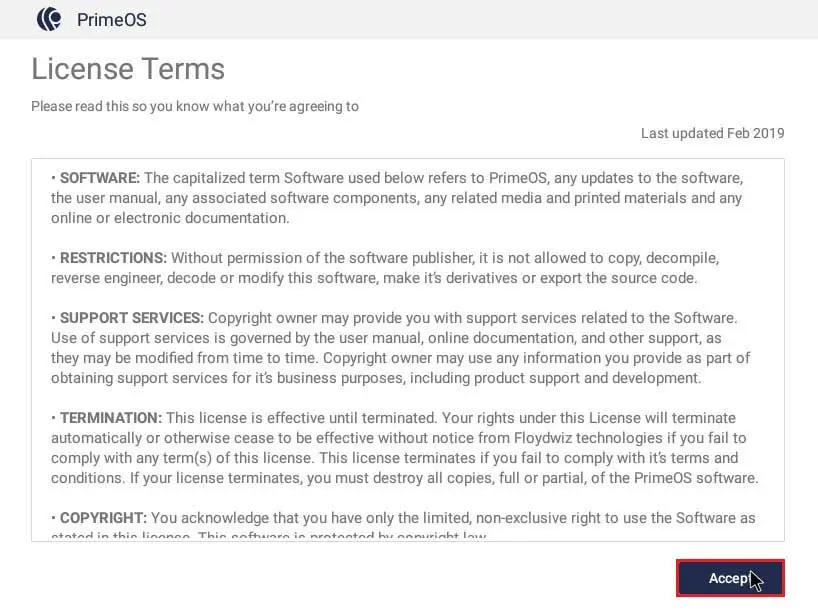
20- Read the Android PrimoOS license terms and click accept.
21- Getting Android PrimoOS Ready screen.
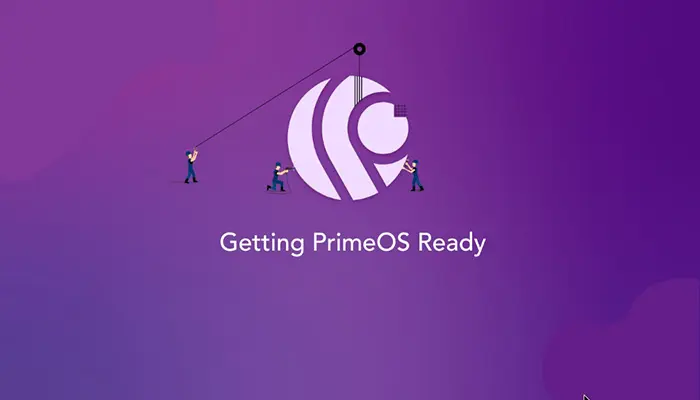
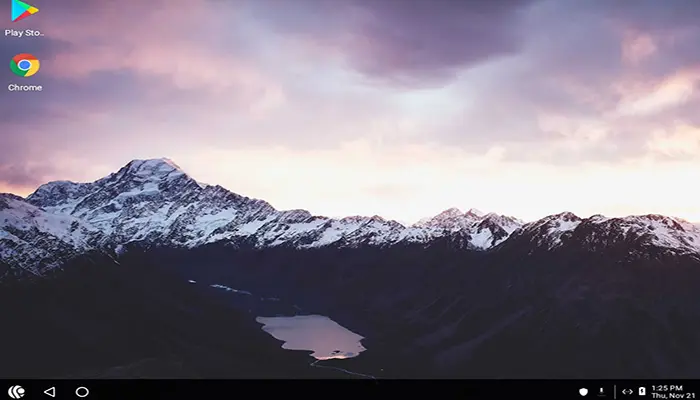
22- Android PrimeOS successfully installed.


No Comments
My brother suggested I would possibly like this web
site. He was totally right. This put up actually made my day.
You can not consider simply how so much time I had spent for this information! Thanks!
Thank you
Good post. I learn something totally new and challenging on sites I stumbleupon every day. It’s always interesting to read articles from other authors and practice a little something from their sites.
Thank you
Good blog you have got here.. It’s difficult to find excellent writing like yours these days. I seriously appreciate individuals like you! Take care!!
Thank you
You need to take part in a contest for one of the finest sites on the internet. I most certainly will recommend this web site!
Dear Orona, thank you for your feedback
We are a group of volunteers and starting a new scheme in our community. Your web site offered us with valuable info to work on.
You’ve done a formidable job and our entire community will be grateful
to you.
Thank you