
In this blog, I will be able to install Android Bliss OS on VMware Workstation 15. Below are the links for downloading VMware Workstation 15 and therefore the Android Bliss-OS.
Download Android Bliss OS click Bliss-OS or Bliss-OS
Download VMware Workstation 15 Pro click VMware Workstation
Create a virtual machine for the android emulator in VMware Workstation click create a virtual machine
Install Android Bliss OS on VMware Workstation
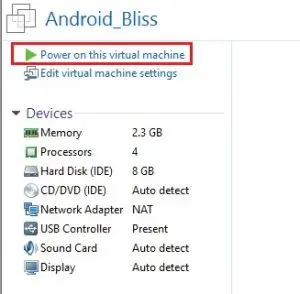
1- Run VMware Workstation, then click power on this virtual machine, you’ll see the subsequent screen.
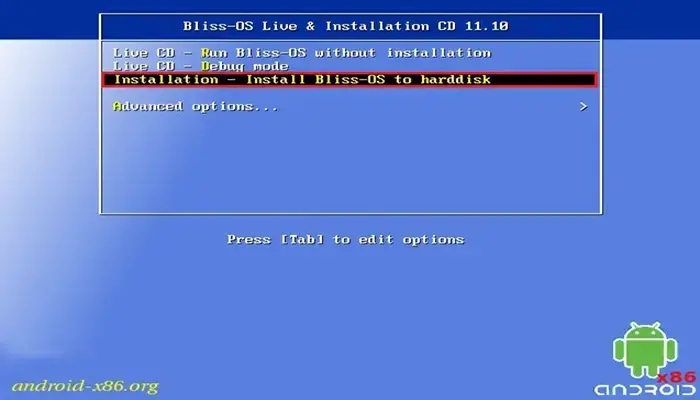
2- Select option, Installation – install Bliss OS to harddisk and press enter.
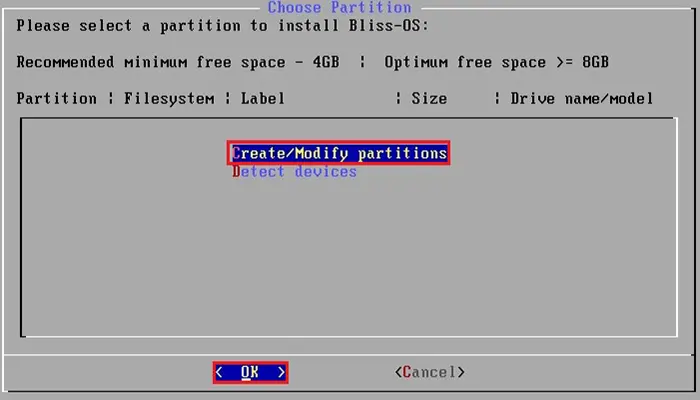
3- Press C, Select Create/Modify Portions and hit enter.
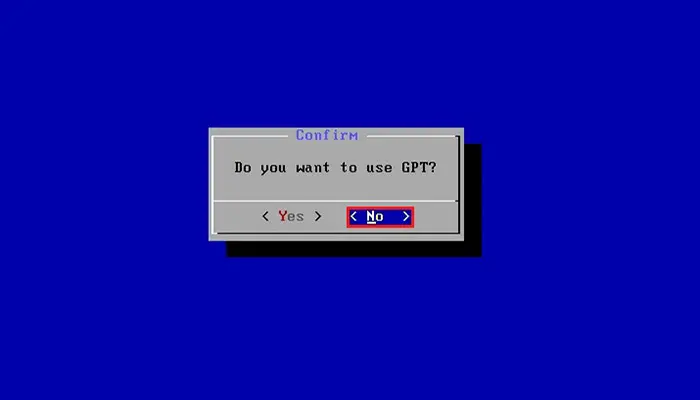
4- Select no for the use of GPT and hit enter.
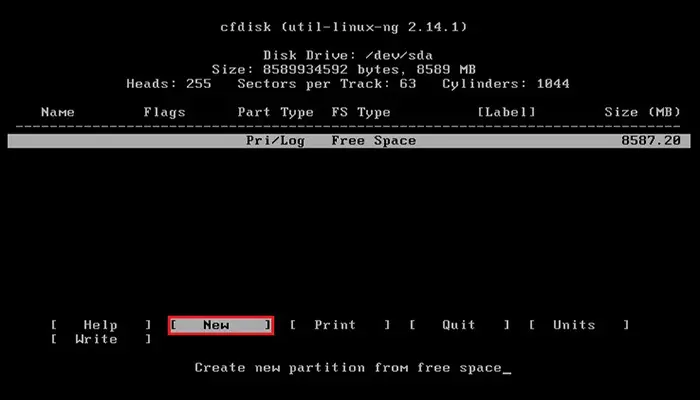
5- Now we need to create a new partition, select New and hit enter.
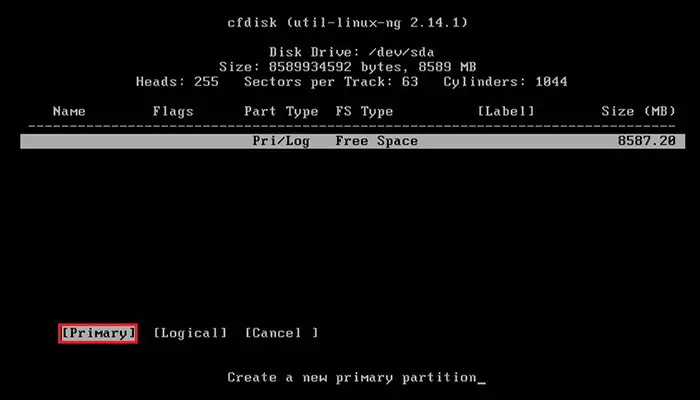
6- Select Primary and hit enter.
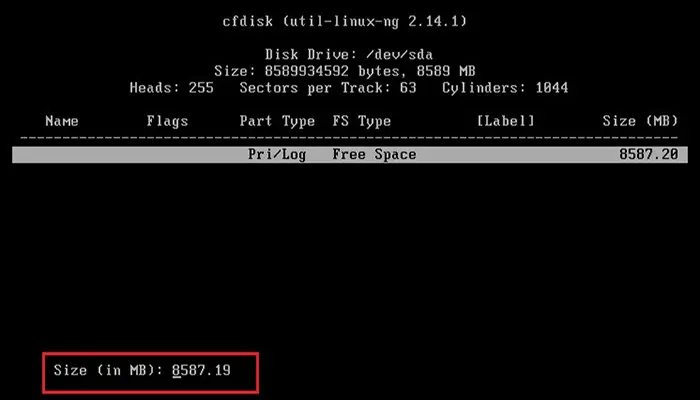
7- Select the size that you want for the new partition. I have selected all and hit enter.
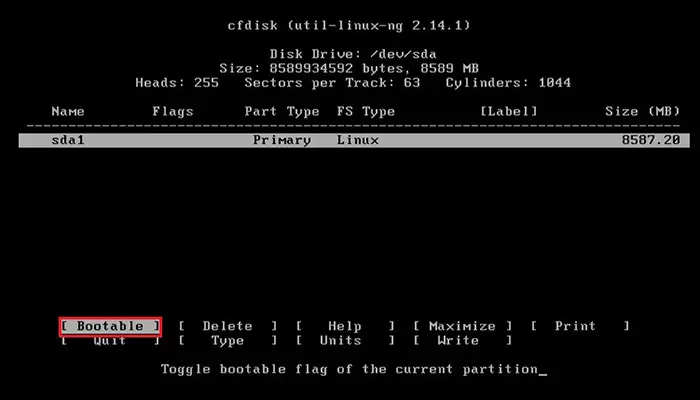
8- Select Bootable and hit enter, under the head Flags it should show Boot.
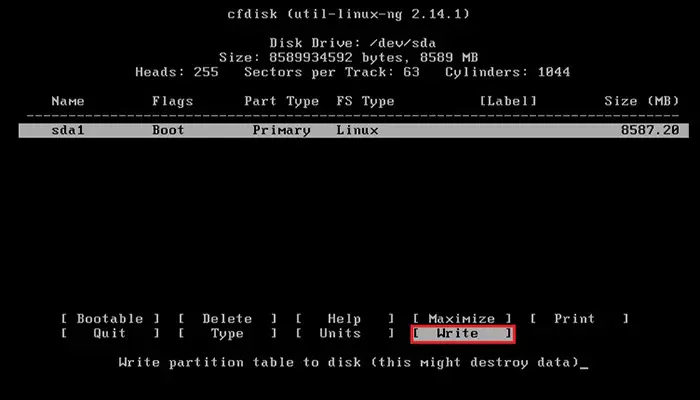
9- Select Write tab. this may create the partition table, which makes sure that you simply can use the new partition for the installation of Android Bliss OS.
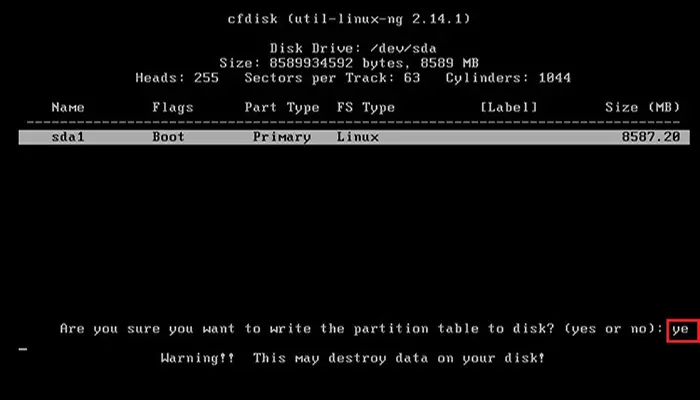
10- Type yes and hit enter.
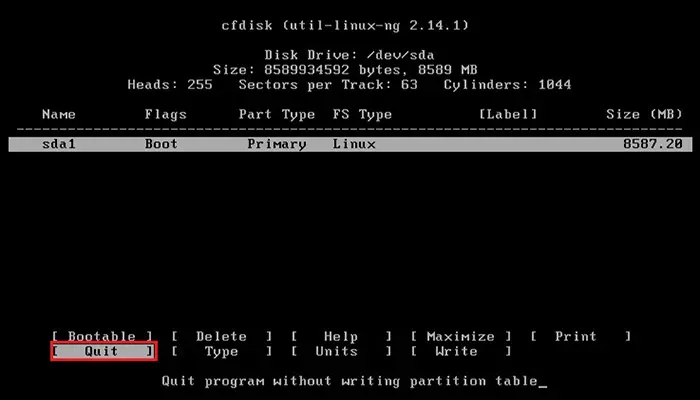
11- Select Quite and you will return to the installation screen of android Bliss OS, with a partition available called sda1.
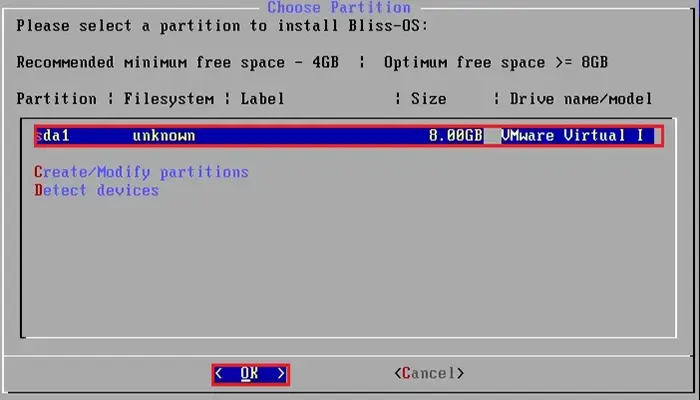
12- Select sda1 and then press enter for the installation.
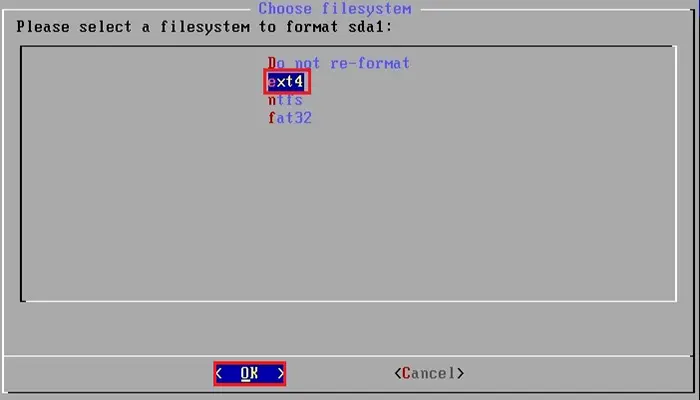
13- Select ext4 as the filesystem and then hit enter.
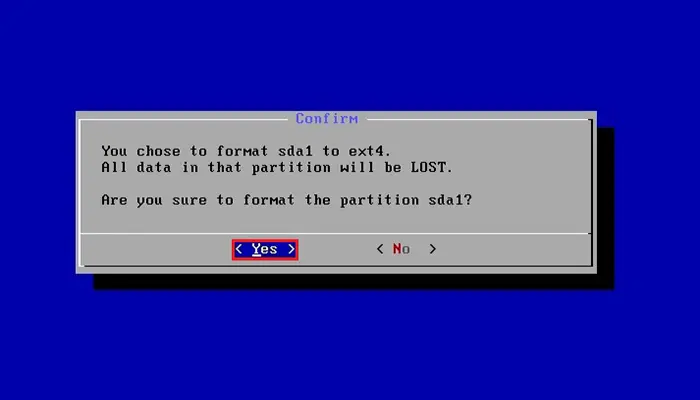
14- Select Yes and then hit enter.
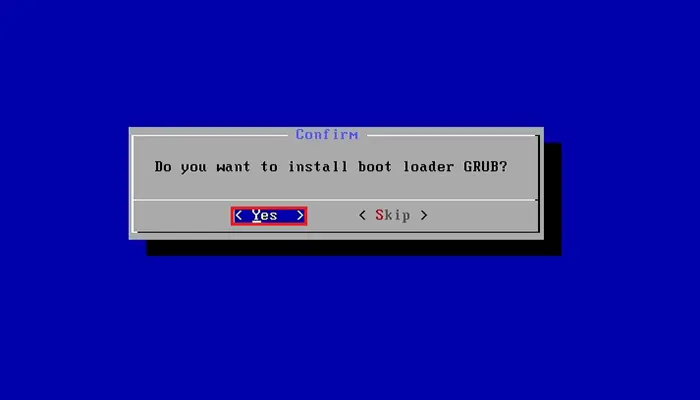
15- Install the boot loader GRUB, select yes and then hit enter.
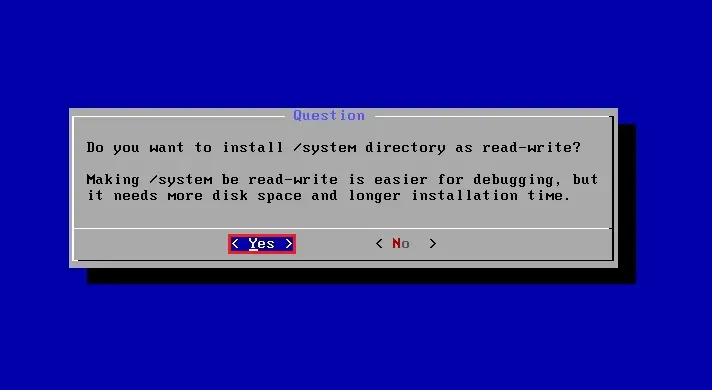
16- Select Yes and then hit enter to make the system Read-Write.
17- Once it is finished, right-click on the CD/DVD icon and then select disconnect. And then ok.

18- Select the Reboot option and hit enter to restart Bliss-OS.

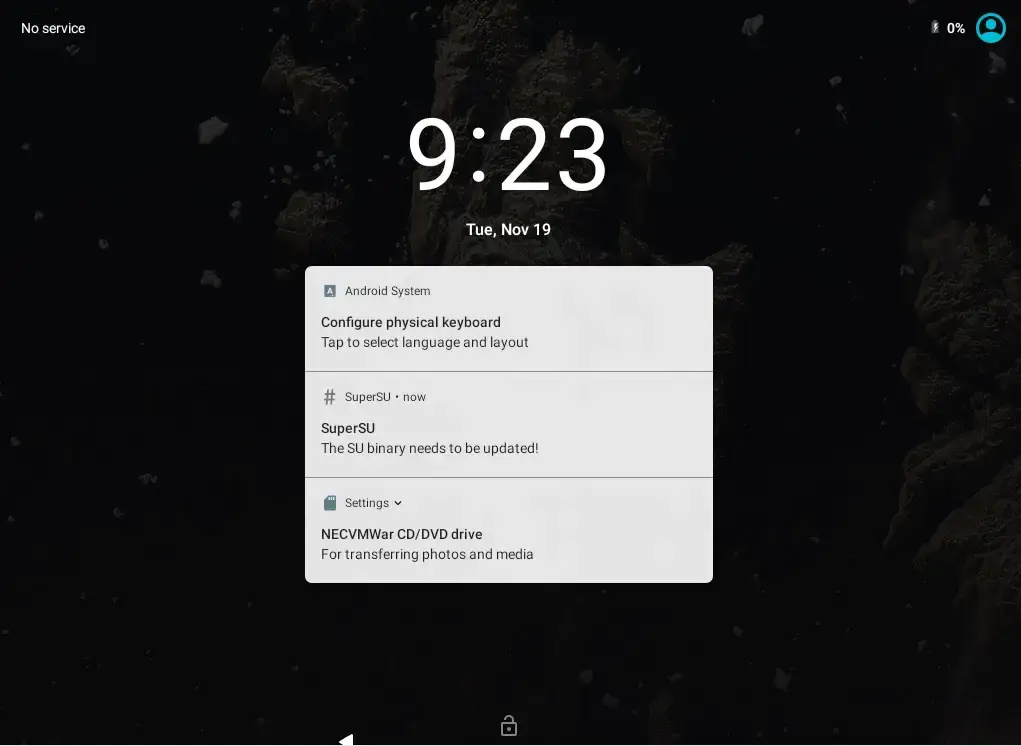
19- Bliss-OS Screen comes up.

20- Bliss-OS first welcome screen.
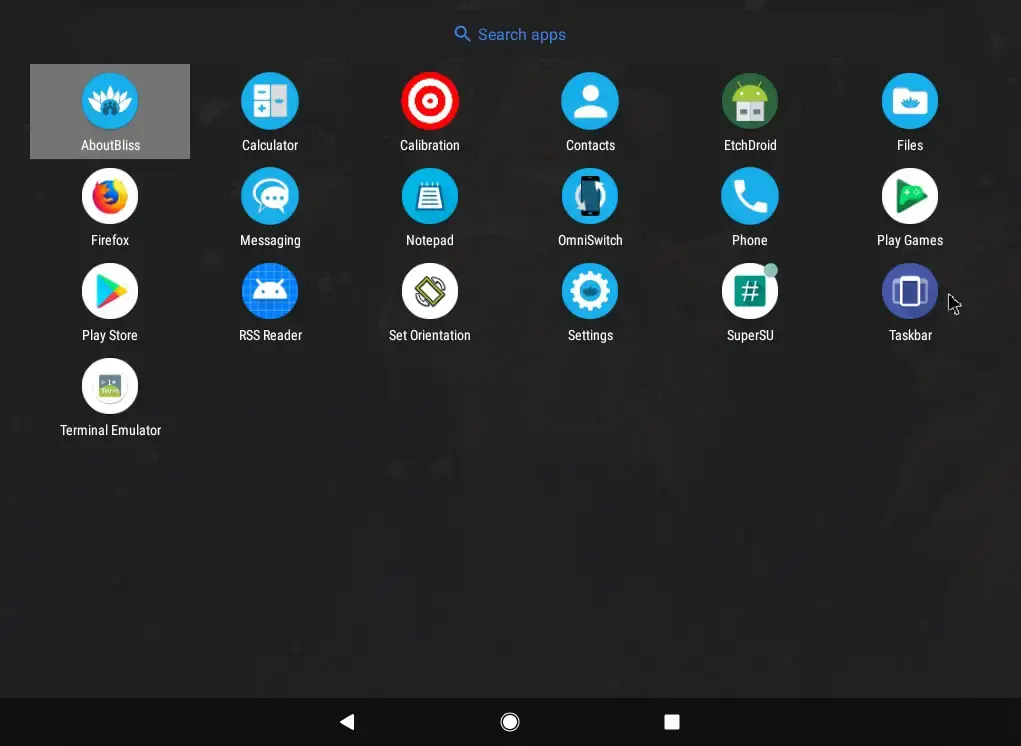
20- After finishing the setup.
No Comments
You’re so interesting! I do not believe I have read a single thing like that before. So wonderful to discover somebody with a few genuine thoughts on this subject. Seriously.. many thanks for starting this up. This site is one thing that is needed on the internet, someone with a bit of originality!|
Dear Ethan,
thank you
We stumbled over here coming from a different web page and thought I might as well check things out. I like what I see so now i’m following you. Look forward to looking at your web page repeatedly.|
A round of applause for your blog article.Really looking forward to read more. Want more.
Dear Gehringer, thank you
Like!! Thank you for publishing this awesome article.
Thank you
I was suggested this web site by my cousin. I
am not sure whether this post is written by him as no one else know such detailed about my problem. You are amazing! Thanks!
I just like the helpful info you provide to your articles.
I will bookmark your blog and check once more here regularly.
I am somewhat sure I’ll be informed many new stuff right right here!
Good luck for the next!
Thank you