In this blog, we will discuss how to configure virtual machine in VirtualBox, a popular virtualization application. VirtualBox is compatible with Windows, Mac OS X, and Linux and features an easy-to-use graphical user interface for creating and managing virtual machines.
Configure Virtual Machine in VirtualBox
Open Oracle VM VirtualBox
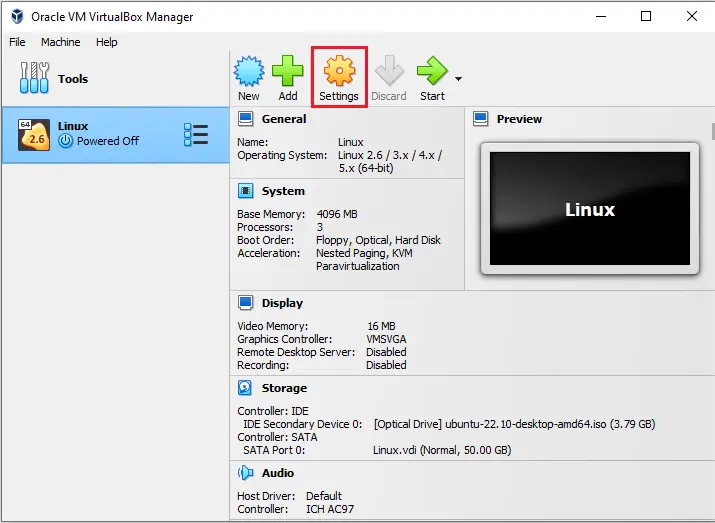
Select the virtual machine from the VirtualBox list. In our opinion, it is Linux.
We need to turn off the virtual machine to change some settings.
Select the virtual machine and click the settings icon.
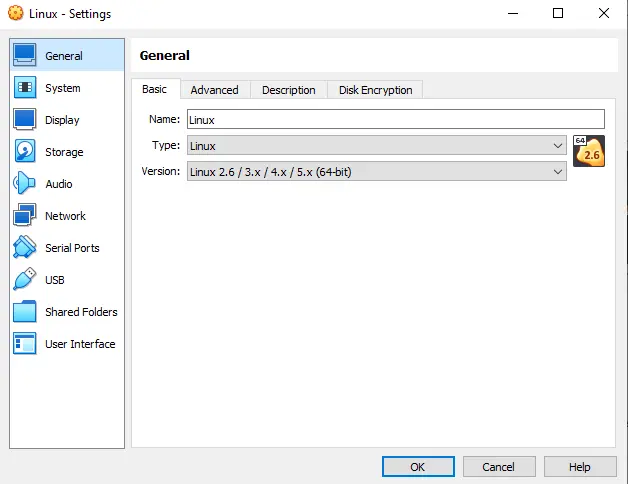
In the General tab, we have different options.
Basic: You can modify the name, type, and version of the virtual box you are running.
Advanced: here, you can alter the location where VirtualBox stores the snapshot files.
Description: you can add a description for your virtual machine
Disk Encryption: enable disk encryption if you require it. In this virtual machine, we will not enable disk encryption.
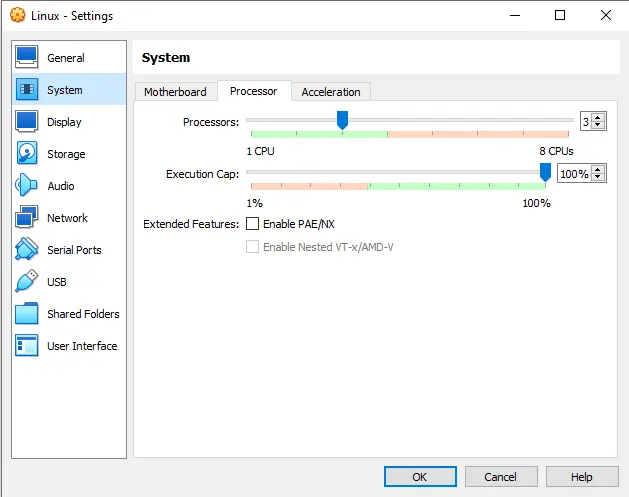
Select the System tab and click on the Processor option. Select as many cores as you can comfortably accommodate. You can allocate multiple cores to the VM if you possess a multi-core system. Extended features such as VT-x and AMD-V can also be enabled if your CPU supports them.
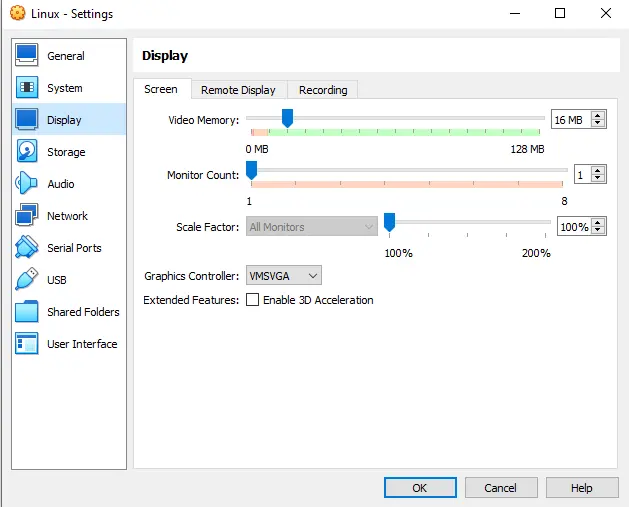
Select the Display tab, allocate sufficient video memory, and enable 3D acceleration. Ideally, 16MB should be enough for a basic installation, but if you want a smoother experience, allocate as much as possible. Adding 3D acceleration is not essential, but it can help speed up applications that require 3D acceleration.
VirtualBox Storage Settings
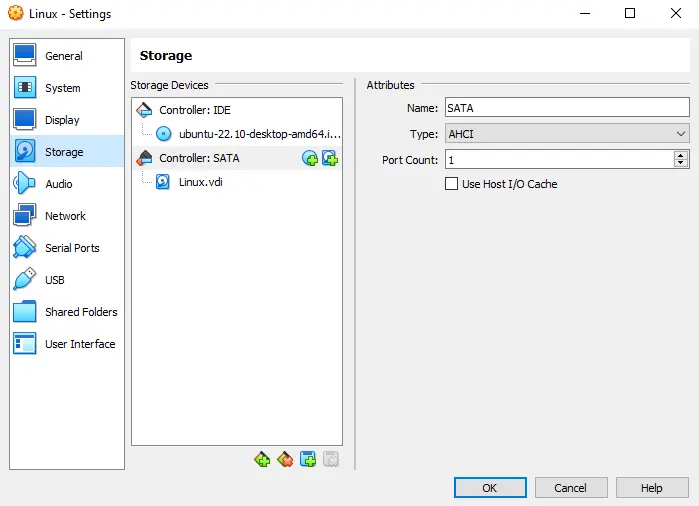
Select Storage, and under Storage Devices, click on Controller IDE, Empty, then click on the CD icon and select a disk file.
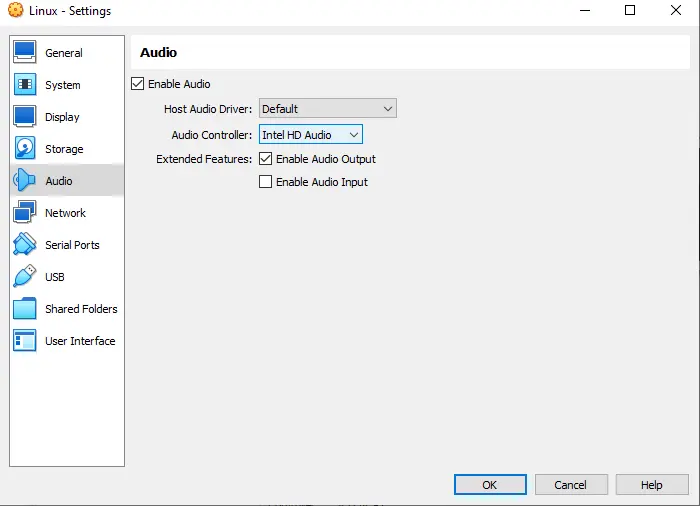
Select the audio options. We can enable audio, select an audio controller, and install an install an audio driver) for the virtual machine.
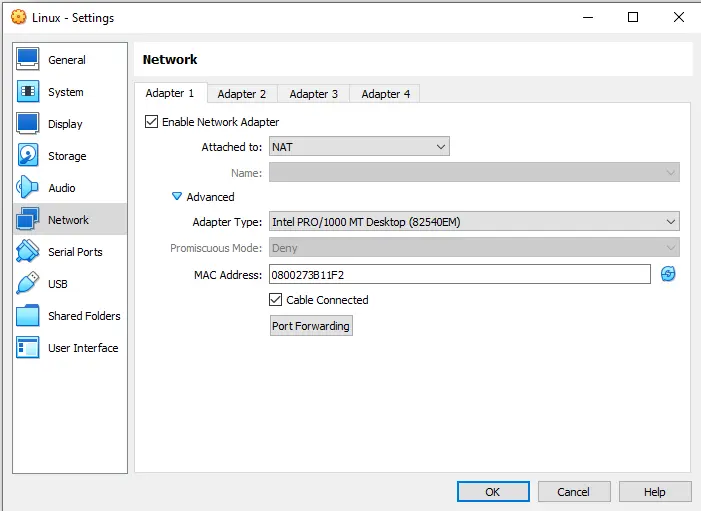
Click on the Network tab to enable or disable the network adapter, and select the type of virtual network connection.
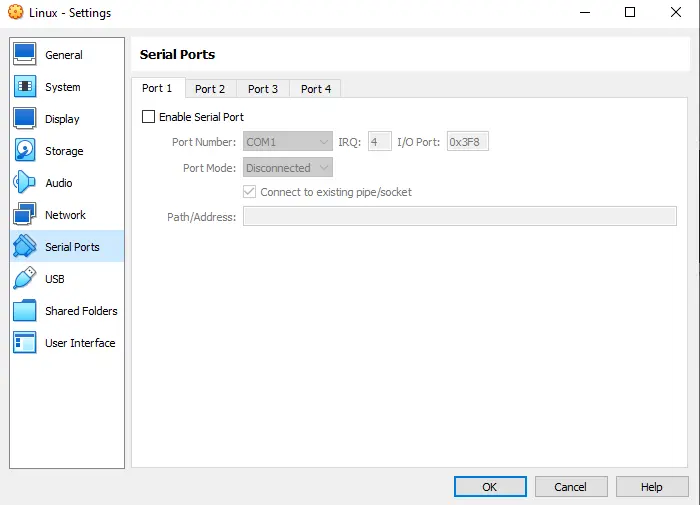
Select the Serial Ports option. You can enable Serial Ports and modify them on your virtual machine.
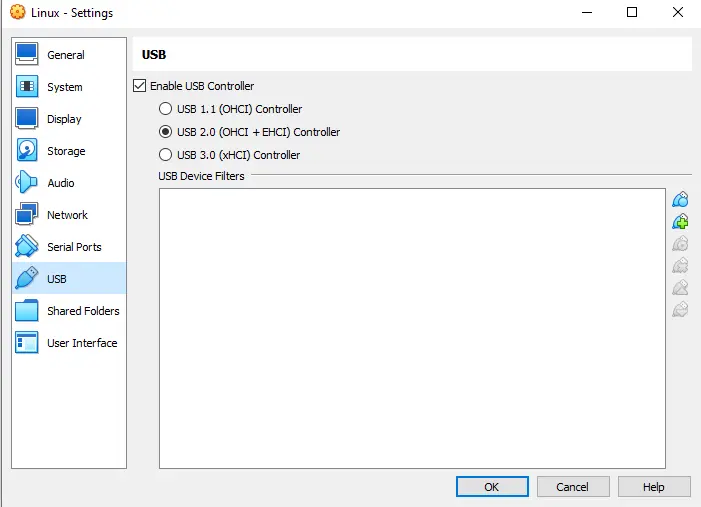
Click on USB Options. You can enable the USB Controller by selecting the version (1.1, 2.0, or 3.0).
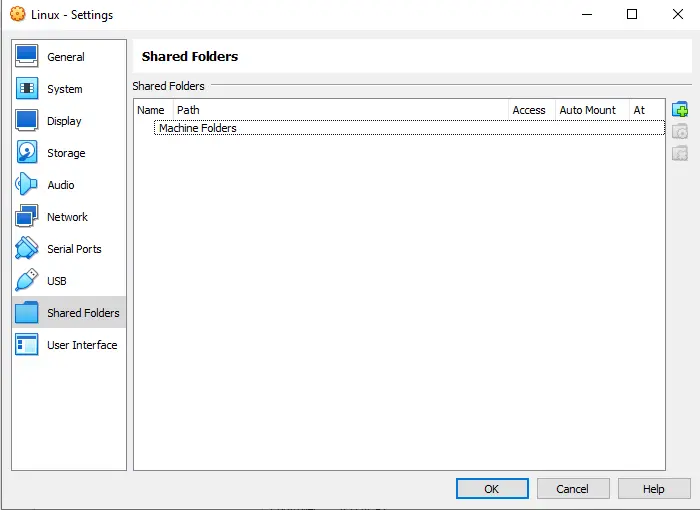
Select the Shared Folders option – you can create a folder and share it between your host and your guest OS.
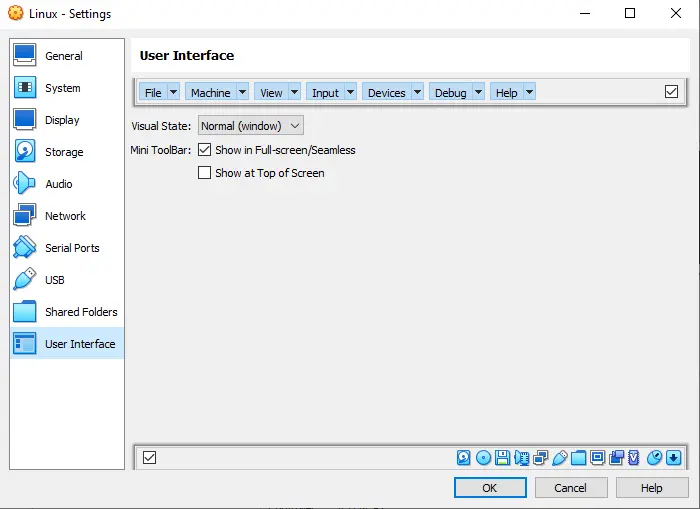
Click on User Interfaces settings; here, you can change how the user interface is displayed in the VM Connection.
Choose ok to save the changed settings
This blog teaches you how to install VirtualBox on Windows 10 and create your first virtual machine. You also learned how to install the guest operating system on the virtual machine in VirtualBox.


