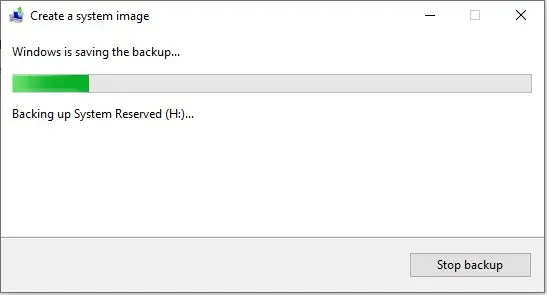
In this article, I will fix 0x80780119 Error while creating System Image in Windows 10. When we creating a system image with the (Backup and Restore Windows 7) tool in Windows 7/8/10. You may get error Windows backup failed not enough disk space issue with the 0x80780119 code. Get it easy Now! And here is the fix you can try the solutions in this article to fix 0x80780119 errors.
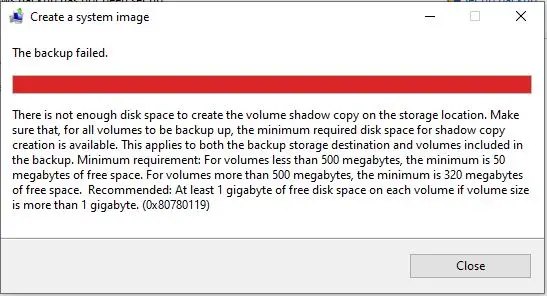
A lot of desktop/laptop users who have had difficulties running the System Image tool built into Windows 7, 8, 10. These desktop/laptop users have been getting the error message shown below. The “error message” is generally referred to as ‘There is not enough disk space to create the volume shadow copy of the storage location (0x80780119).’
Here is the solution how to fix 0x80780119 errors.
“Windows Backup Failed Not Enough Disk Space Issue”
As we know, Windows have a built-in backup and restore tool used to create a full system image backup so as to restore the system to its original status in case of Windows gets corrupted. Therefore, for the purpose of ensure the system runs normally, we choose to create a system image.
Though, when doing such a thing in Windows 7/8/10, it is likely to be abortive. We might get an error message 0x80780119.
Error fixed Windows Backup Failed Not Enough Disk Space
If we get the error Windows backup failed to create the shadow copy on the storage location. We might search for it online to look for the solutions to 0x80780119 Windows 7/8/10. As the search results, we will know many blogs and forums are about this topic.
Just try it to fix 0x80780119 error in Windows 7/8/10.
Extend System Reserved Partition or Recovery Partition
The partition size of “system recovery or reserved partition” is the major cause of Windows backup not enough space for shadow copy. Therefore, we must ensure that there is enough disk space for the system image.
How to fix 0x80780119 error?
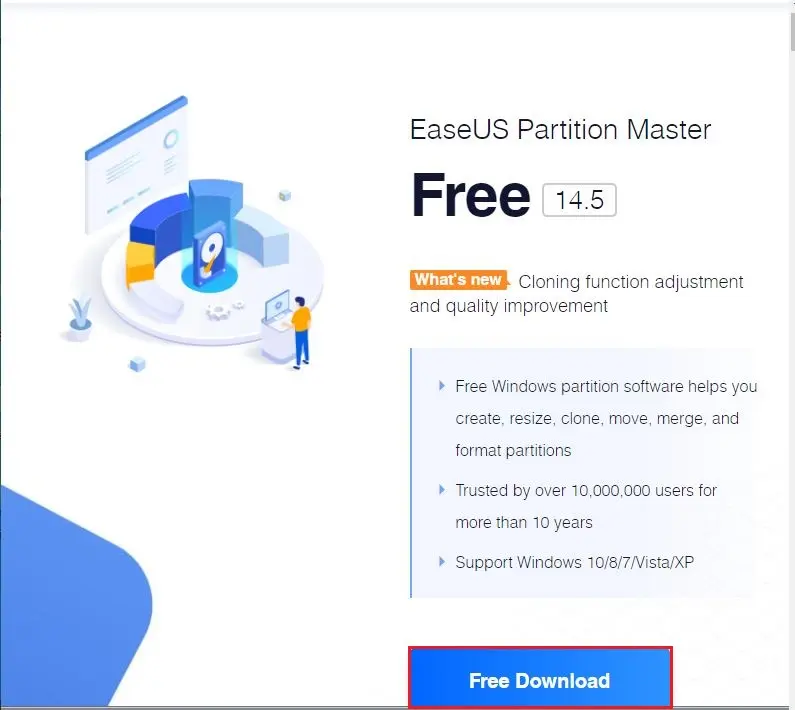
To resolve this issue, it is recommended to extend system recovery partition or reserved partition with third-party software. Here is a suggestion, EaseUS Partition Master Free or MiniTool Partition Wizard. Here I will suggest you to take your system backup to avoid system crash. I am testing EaseUS Partition Master Free software in my home lab. Download EaseUS Partition Master Free
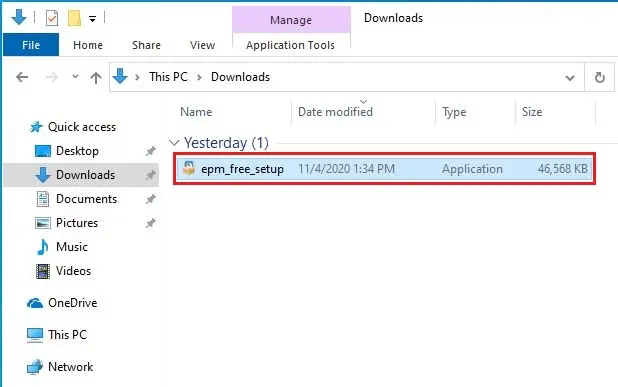
1- After downloading, double-click to run the setup file.
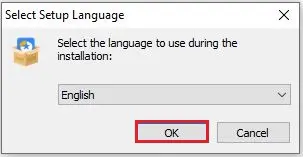
2- Select OK
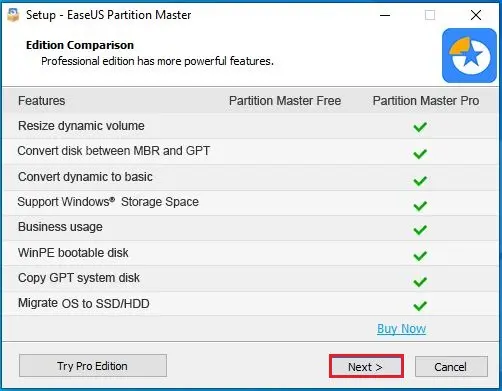
3- Click next.
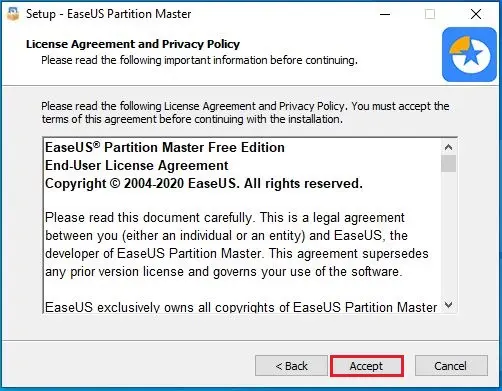
4- Click Accept
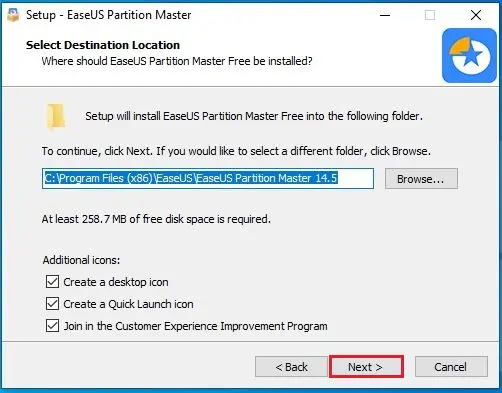
5- Click next
6- Setup EaseUS Partition Master
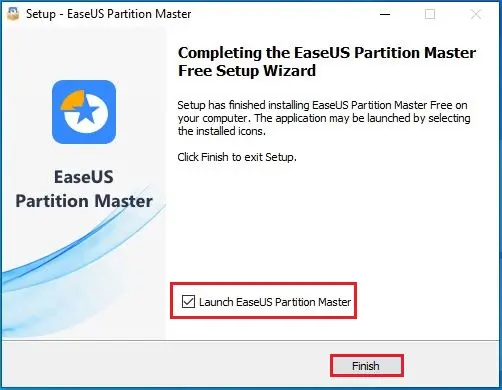
7- Select Launch EaseUS Partition Master checkbox and then click finish.
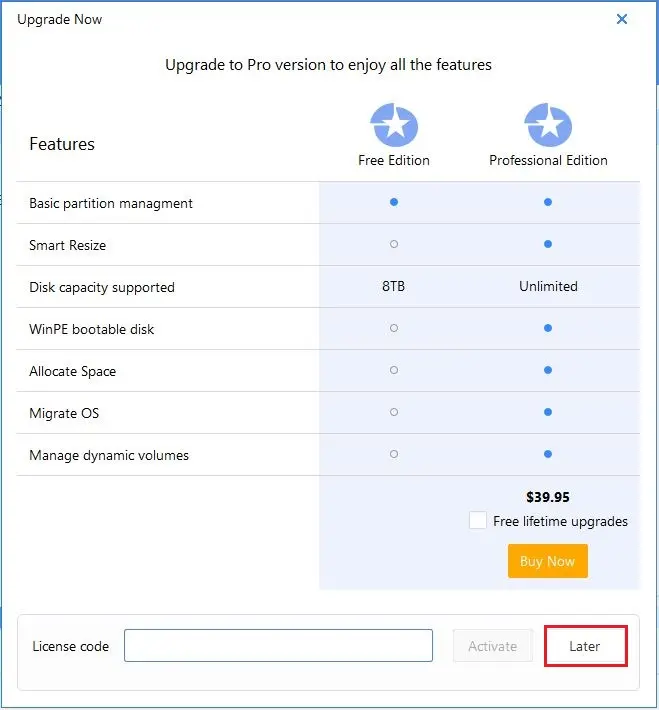
8- Choose later
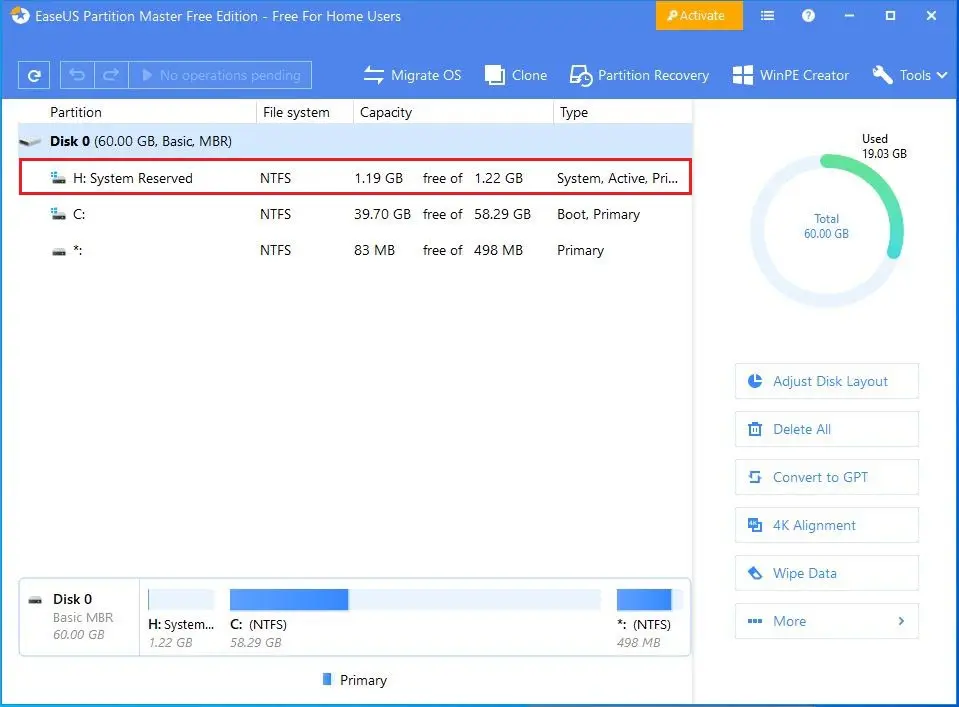
9- Here you can see your partitions (System Reserved).
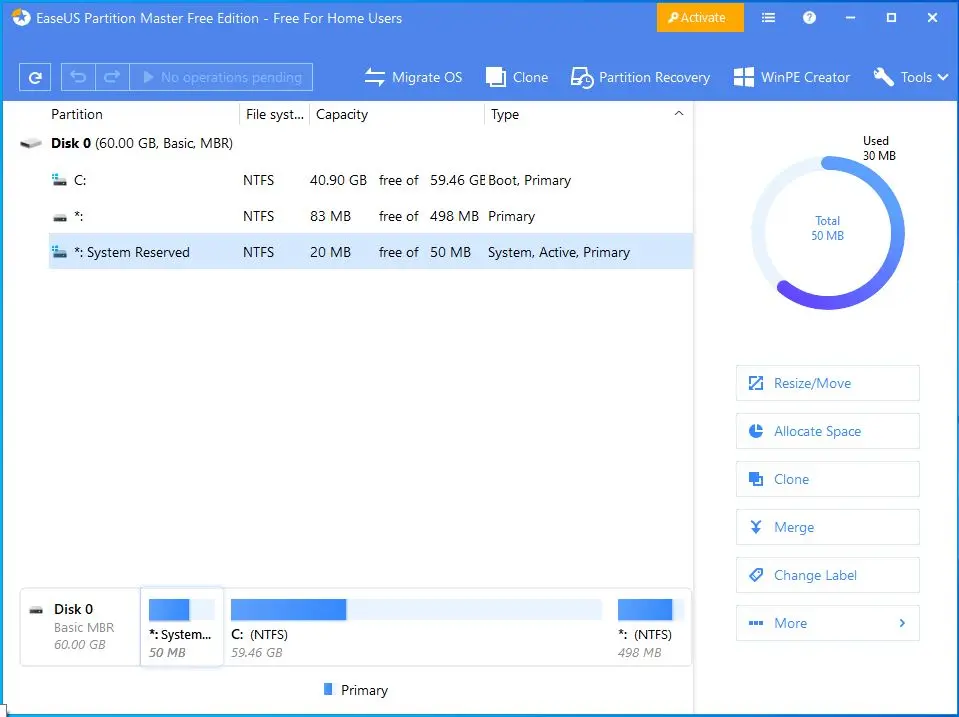
We need a drive letter for our System Reserved portion.
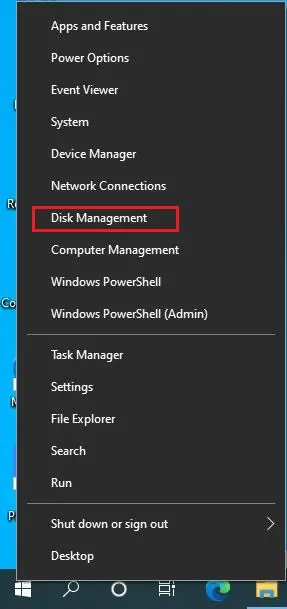
10- Right click on the Windows start button and then select disk management.
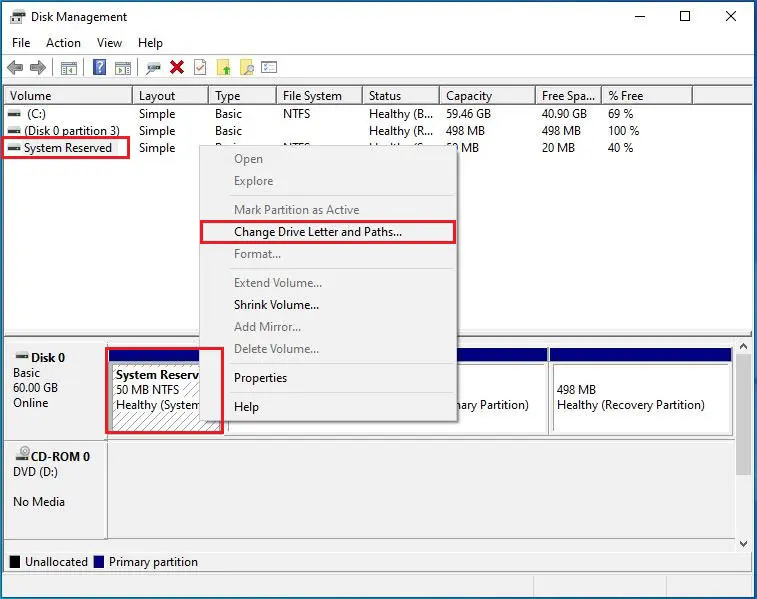
11- Right click on your system reserved partition and then select change drive letter and path.
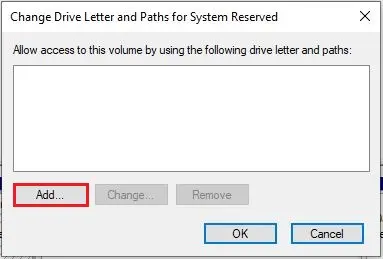
12- Click Add
13- Select a letter and then click ok.
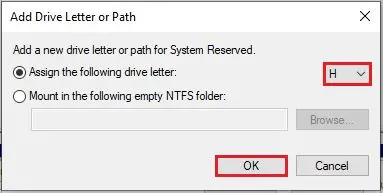
14- Here, you can see a drive letter (H) assigned.

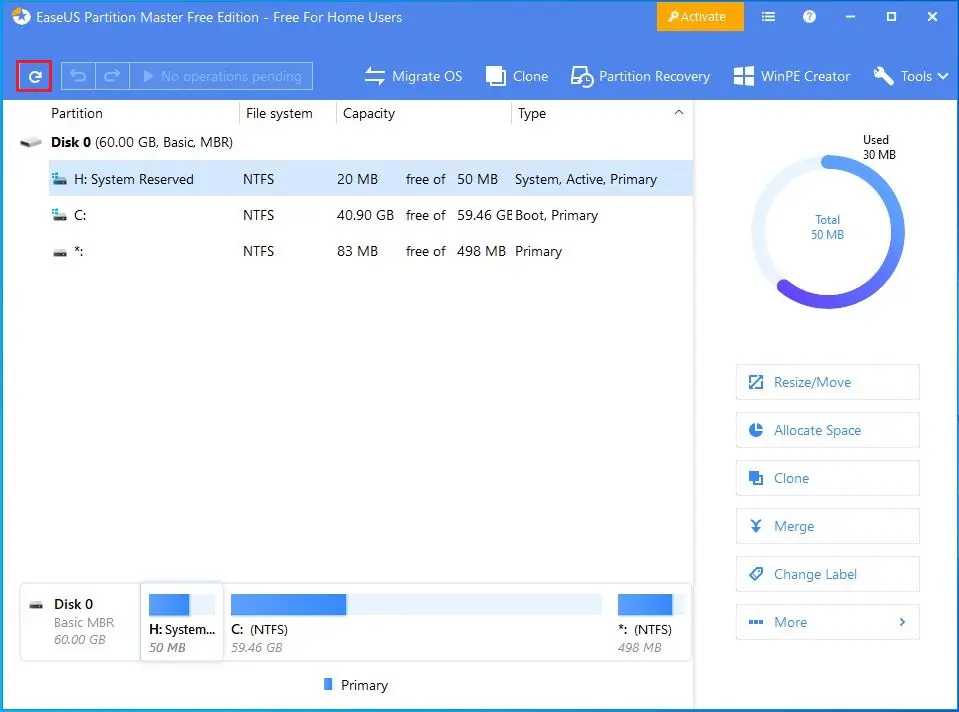
15- Go back to the EaseUS partition master console and then select the reload disk info icon.
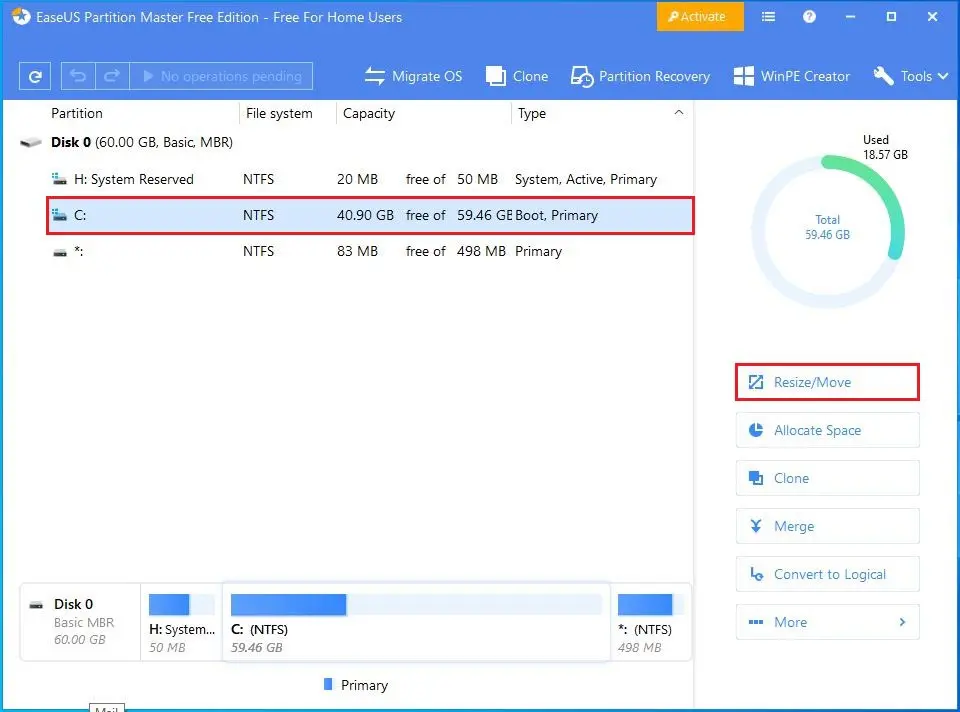
16- Right-click on the C drive and then select Resize/Move.
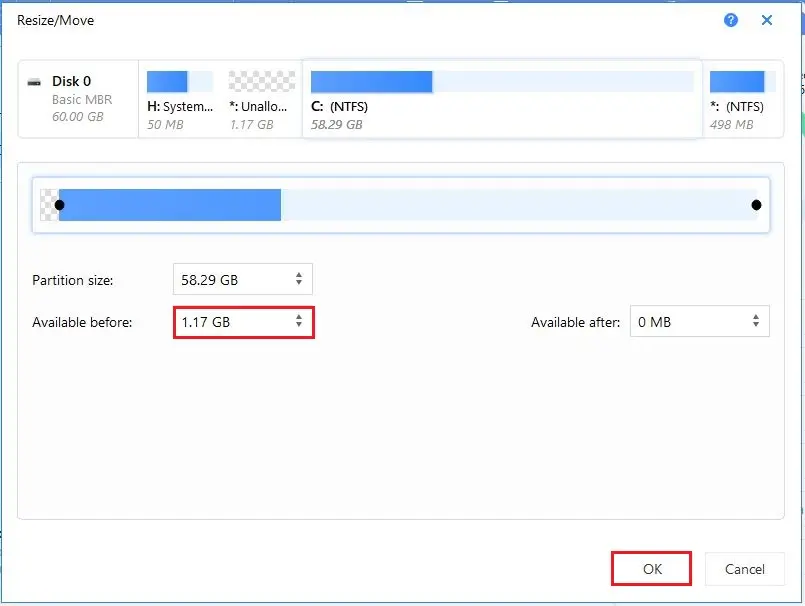
17- Here we can drag the slider or up arrow key next to available before to ensure how much free space we need. Then it will allow us to take free space from other partitions. Click ok.
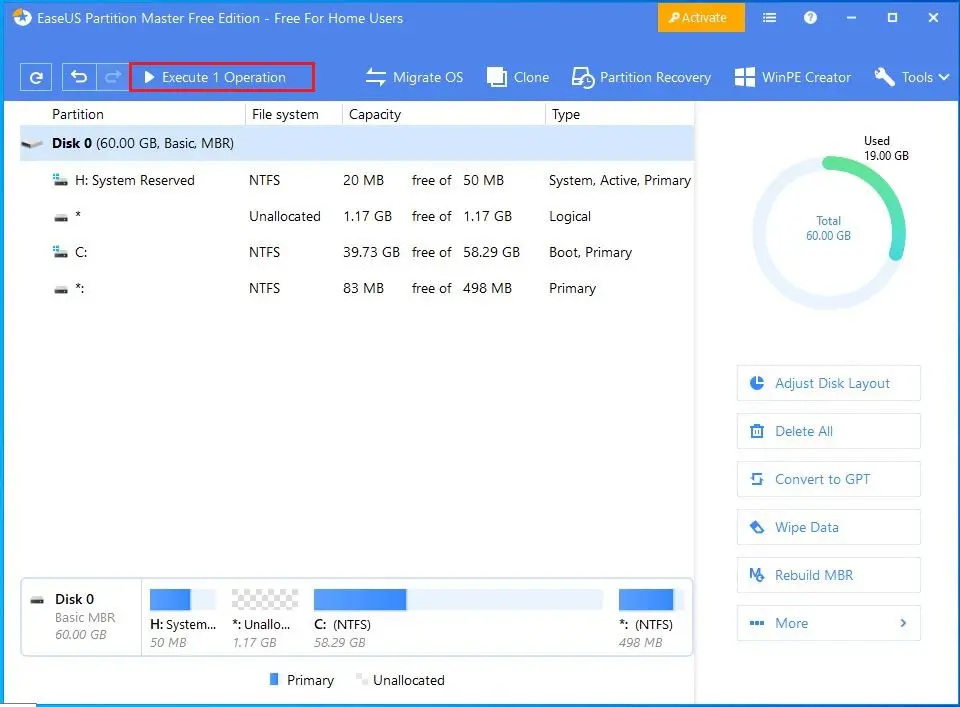
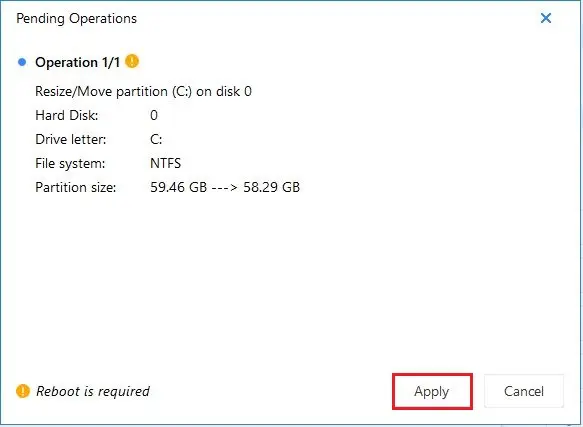
18- Select the Execute I Operation button to Apply this change.
19- Click Apply
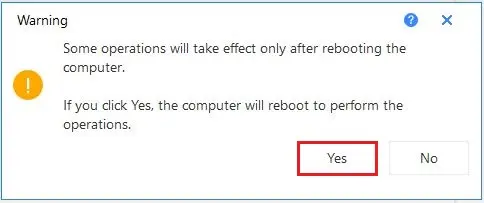
20- Click Yes to reboot the system.
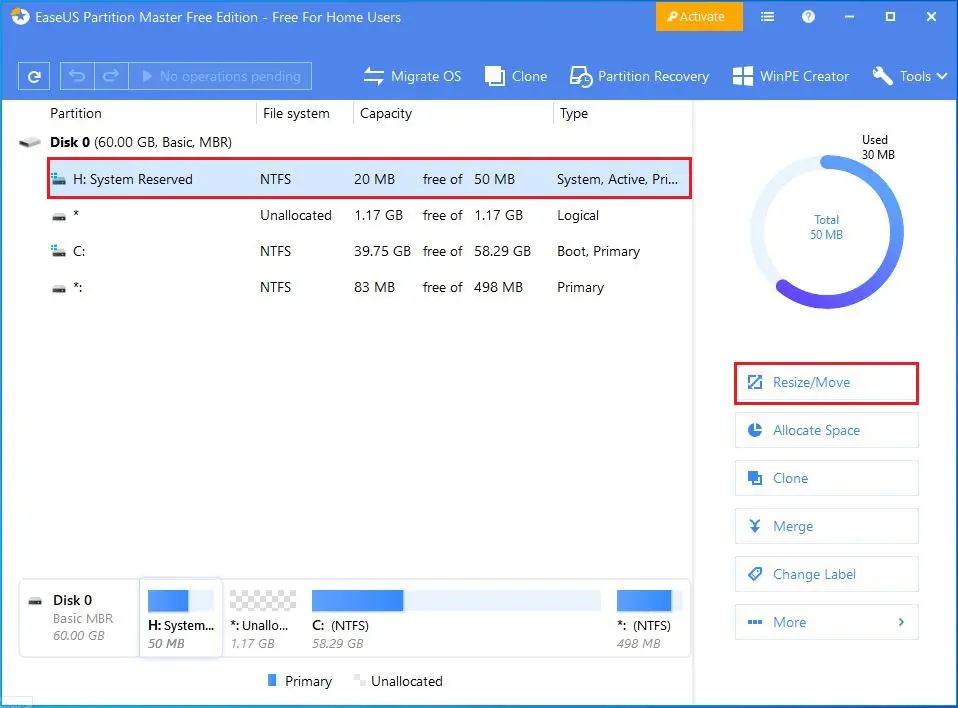
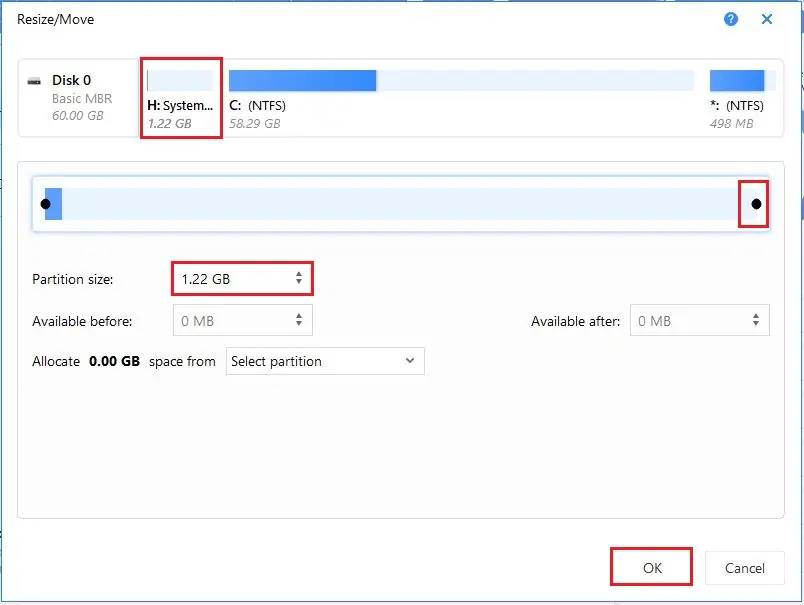
21- Now select your System Reserved partition (H) and then select Resize/Move.
22- Here you can see Unallocated/Available After can drag the slider to increase the reserved partition size.
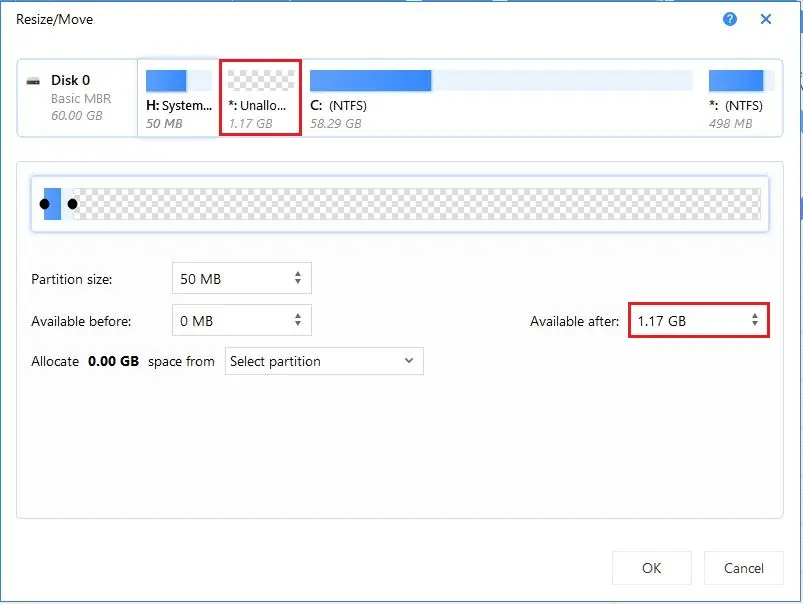
23- The reserved partition size is (1.22GB), click ok.
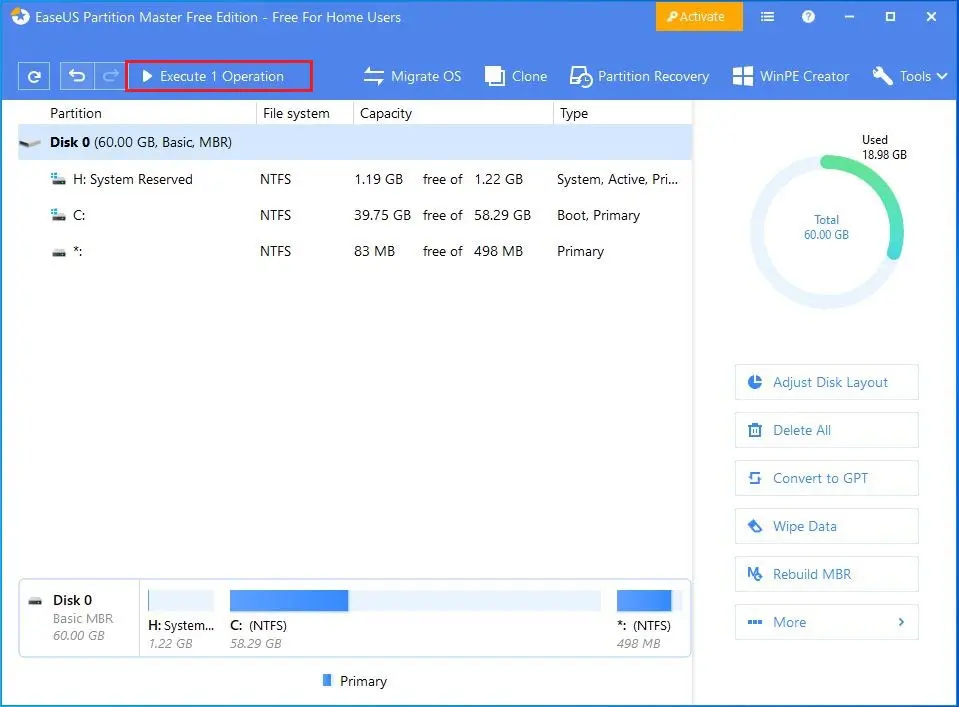
24- Click on Execute I Operation button.
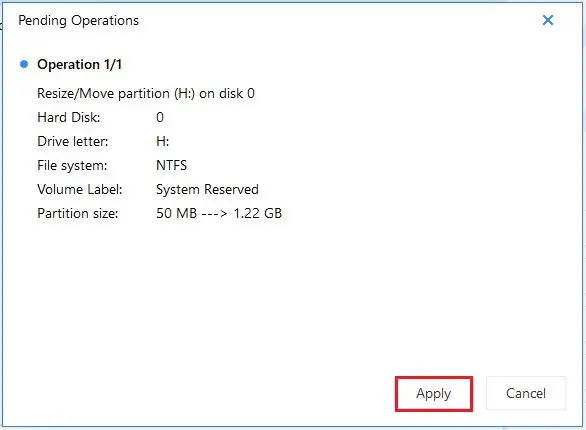
25- Click Apply.
26- Click Finish
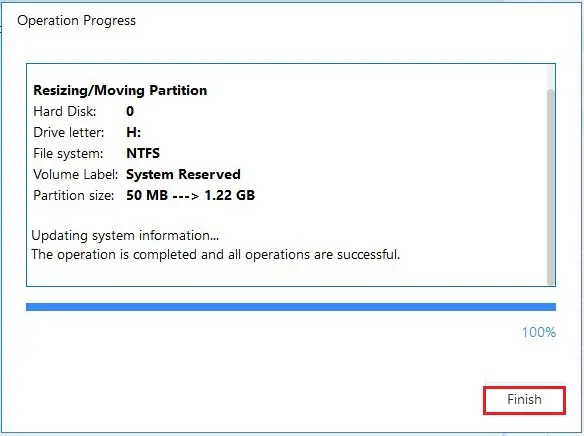
27- The System Reserved partition is 1.19 GB.
Now you can successfully create a new system image in Windows 7/8/10.