In this two-part series, I will cover step by step to install and configure WSUS Role on Windows Server 2019. This guide must help you if you decide to install and configure WSUS from scratch. In this post, I have selected Windows Server 2019 to install and configure WSUS.
What are Windows Updates
Let’s talk about some basics. When we install an operating system, software, or image a machine, we always ensure it is patched with latest updates. Not only operating system but also every software that we use needs to be constantly updated.
Windows updates are released to fix security issues, fix bugs, issues in operating system, and to add new features to OS. The Windows Updates are relying on Windows Update service which is set to start automatically by default.
Windows Update service will downloads & installs recommended and important updates automatically. Microsoft updates can be classified into following categories:-
- Critical Updates
- Security Updates
- Definition Updates
- Drivers
- Update Rollups
- Service Packs
- Tools
- Feature Packs
- Updates
Introduction to Windows Server Update Services
WSUS enables the administrators to install the latest Microsoft product updates. WSUS is a Microsoft Windows Server role and when we install it, you can efficiently manage & deploy the updates.
One of the highly important tasks of system administrators is to keep client pc and servers updated with the latest security updates and Windows software patches. Without WSUS it could be really hard to manage the Windows updates.
When you have a single WSUS server in our environment, the Windows updates are downloaded directly from Microsoft Update. Rather than downloading updates directly from internet letting to multiple computers. We can setup WSUS server and allow the clients to download all the updates from a WSUS server. With WSUS we can save Internet bandwidth and also speed up the Windows update process.
Windows Server Update Services Lab Setup
In the first place let me cover about WSUS lab setup. I consider that the best way to master WSUS is to deploy and configure it in the test or lab setup first. Then we can start working on it and try several things.
I have created 3 virtual machines in my lab.
| Server Name | Operating System | Role Installed |
| DC2019.test.local | Windows Server 2019 Standard | Active Directory, DNS, DHCP |
| WSUS.test.local | Windows Server 2019 Standard | WSUS |
| Windows10.test.local | Windows 10 Professional | Windows 10 |
WSUS System Requirements
When we have decided to implement WSUS in our setup, First we must first look into WSUS requirements. Please visit Microsoft. It will cover all the information required for WSUS requirements.
WSUS Firewall Ports / Exceptions
It is important that the WSUS server connects to Microsoft Update to download updates. If there a corporate firewall between Internet and WSUS server, we might have to configure that firewall to ensure WSUS can acquire updates.
To gain updates from Microsoft, the WSUS usage port 443 for HTTPS protocol. You should allow Internet access from WSUS to the following list of URLs.

Deploy WSUS Role on Windows Server 2019
Log in to your Windows 2019 server on which you want to install the WSUS server role using an account that has an admin rights.
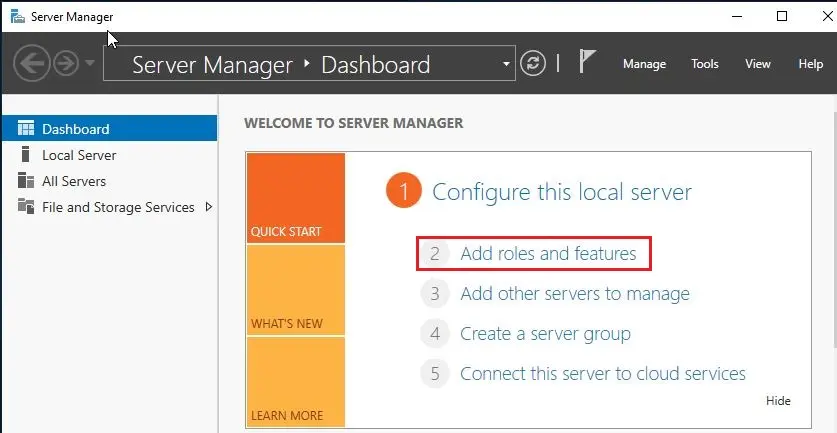
1- Launch Server Manager, click Dashboard and then click Add Roles and Features.
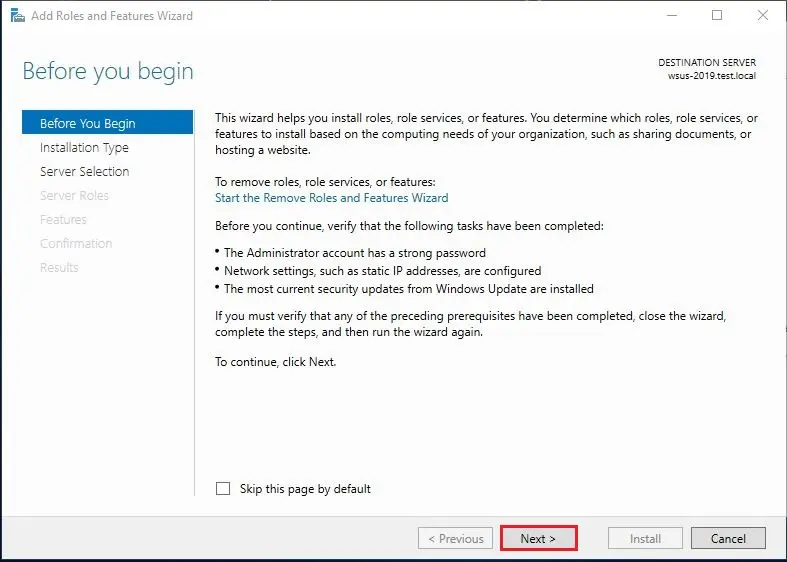
2- Click Next.
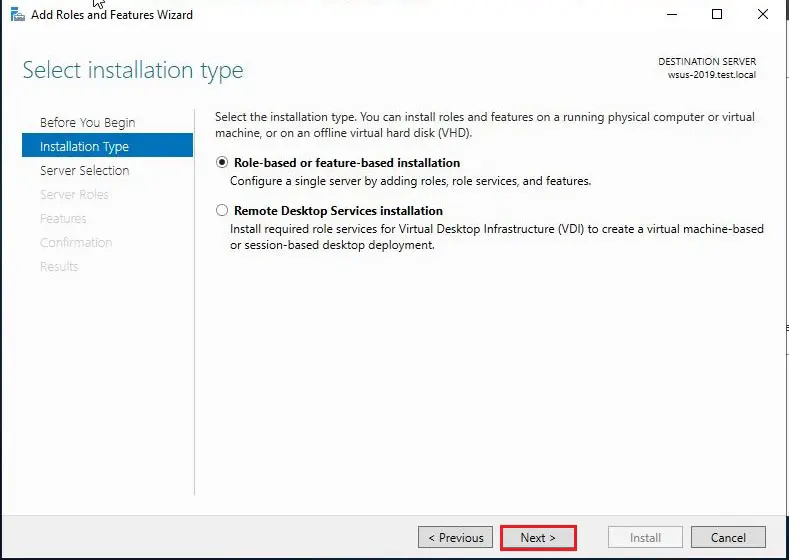
3- Click Next.
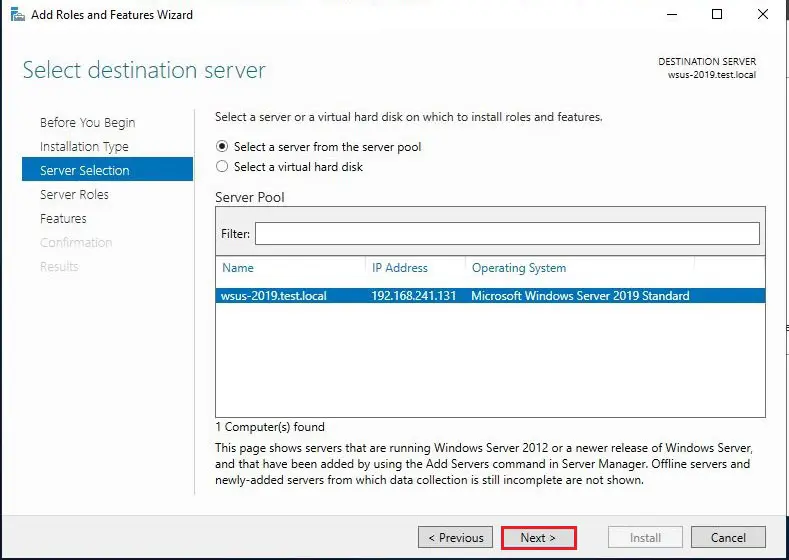
4- Verify the server name on the server Selection page and click next.
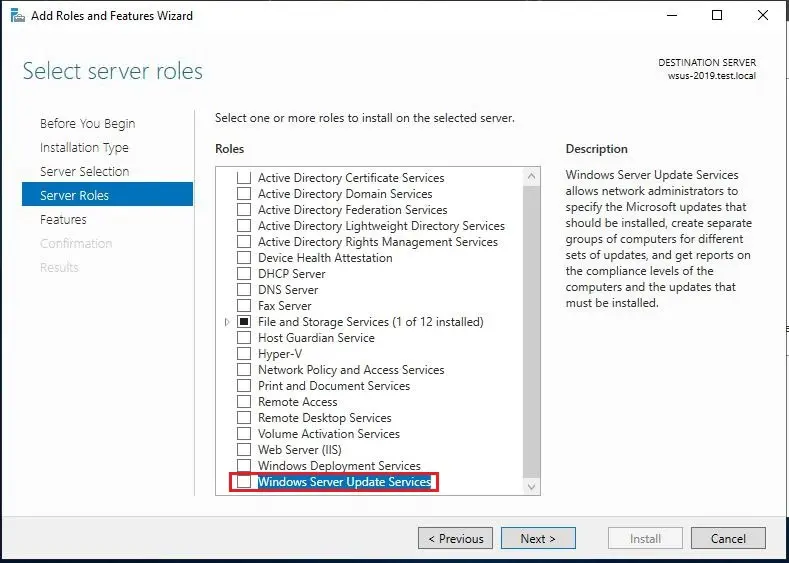
Server Roles – Windows Server Update Services
5- Select the role “Windows Server Update Services“.
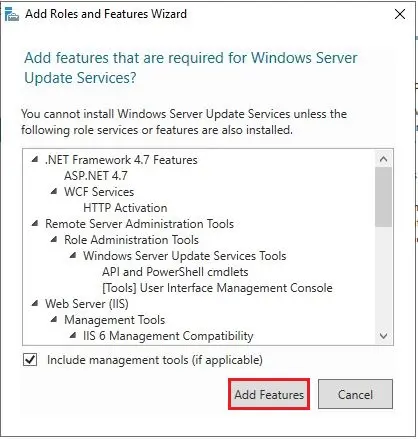
6- Select Add Features.
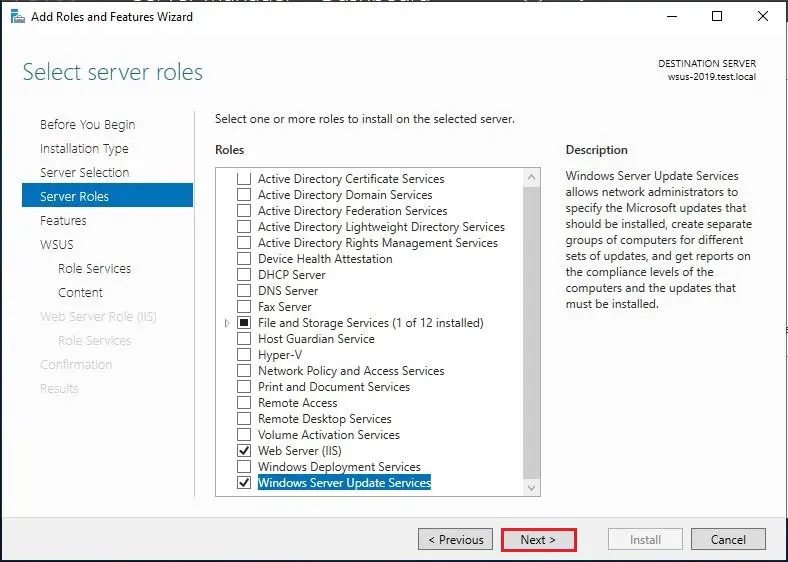
7- Click next.
8- Leave Default and then click next.
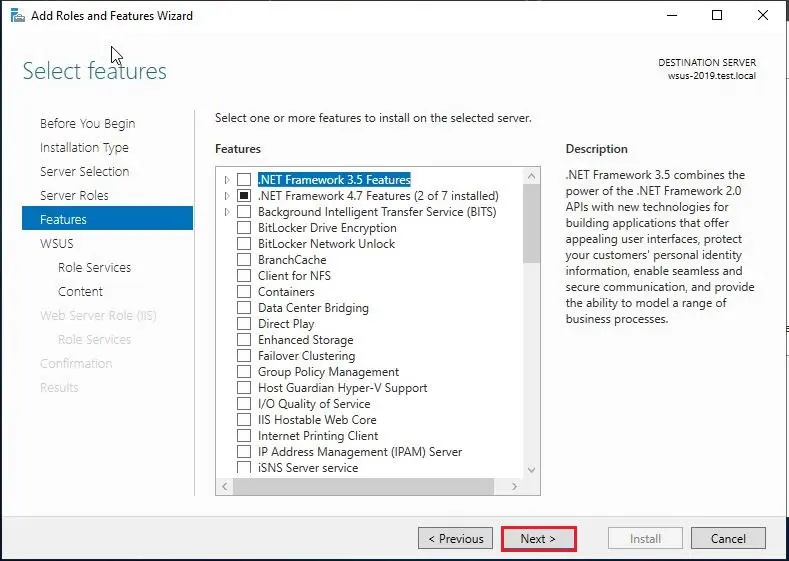
9- Click Next.
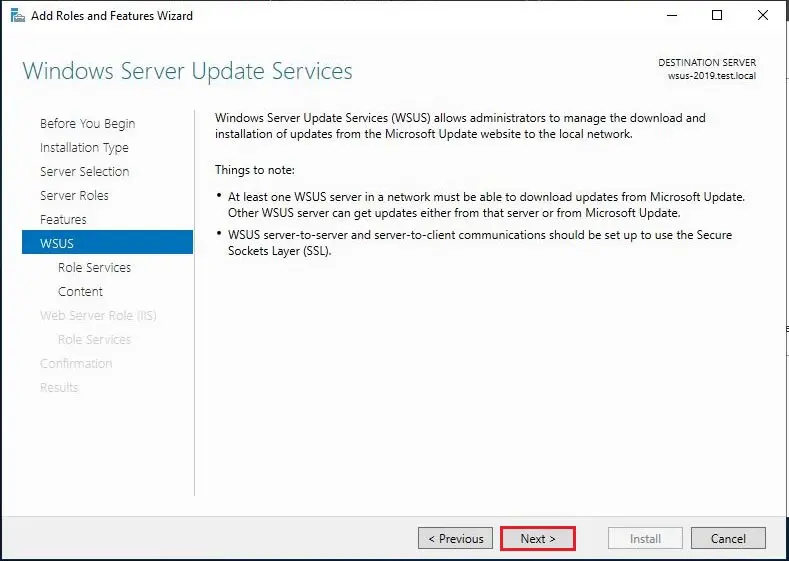
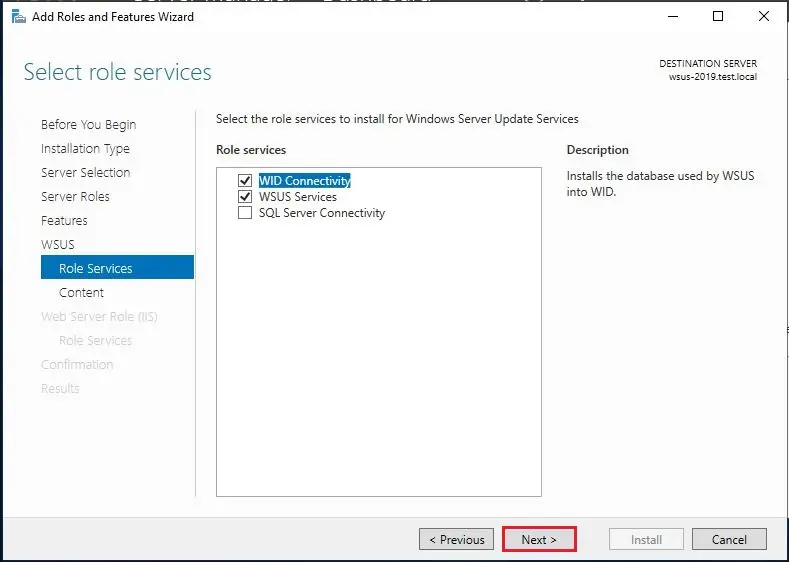
WSUS Database Type – Role Services
10- Role services / Database type to install for Windows Server Update services. Select WID Connectivity / WSUS Services and then click Next.
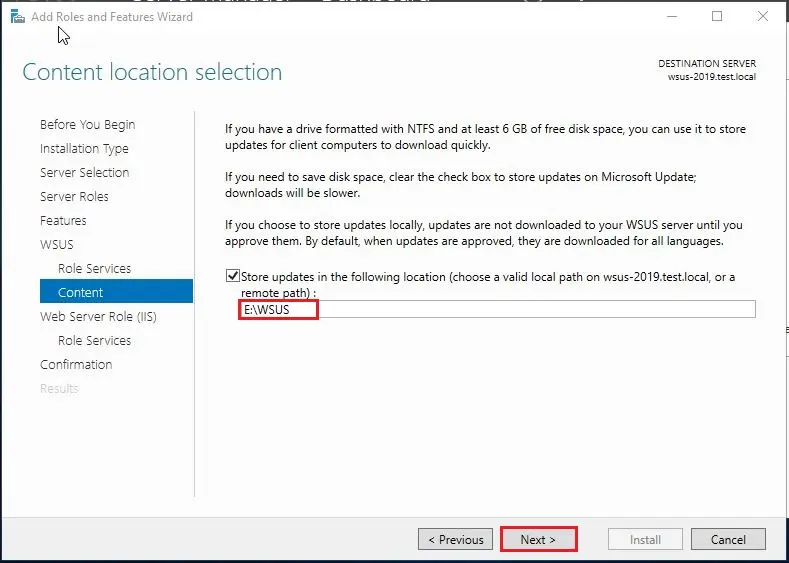
WSUS Content Location
11- Specify a location where you want to store the updates. I would strongly recommend saving the updates on another drive and not on C: drive. Click Next.
12- Web Server Role (IIS) window, click next.
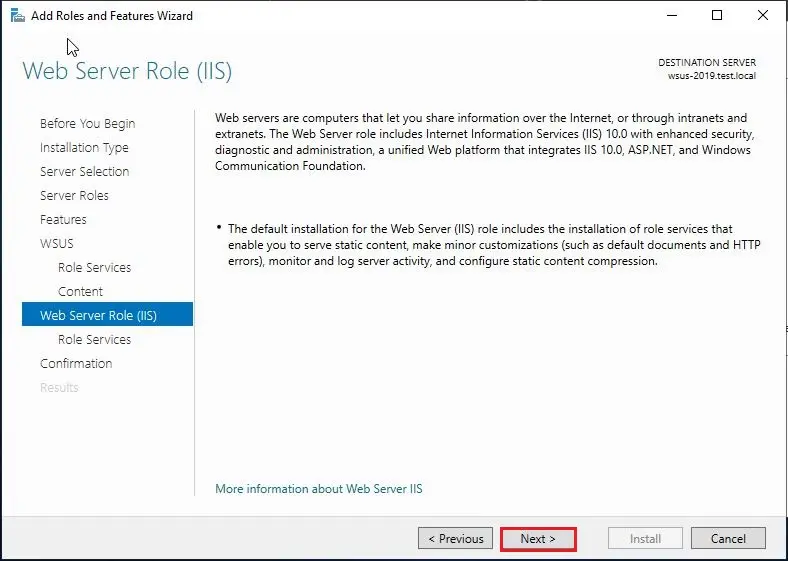
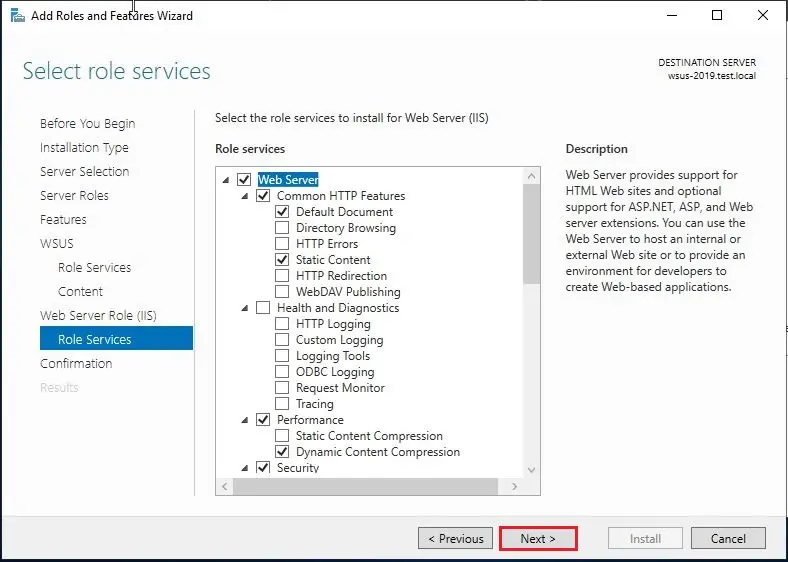
13- Default settings click Next.
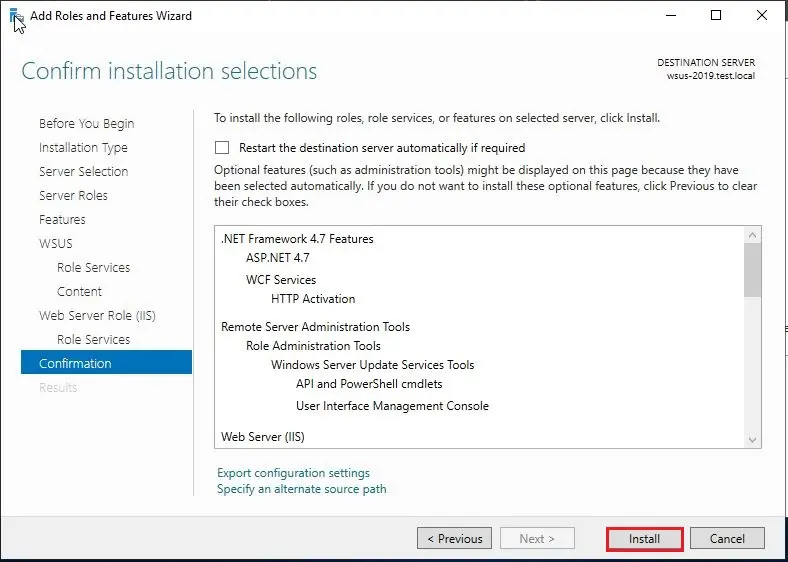
14- Please review the final confirmation before you install WSUS and then click Install.
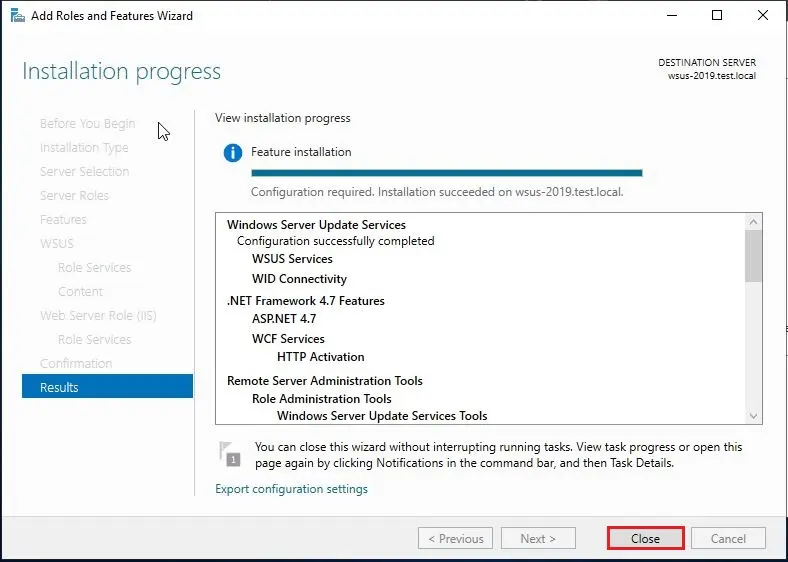
15- The WSUS installation is complete; select Launch Post-Installation tasks.
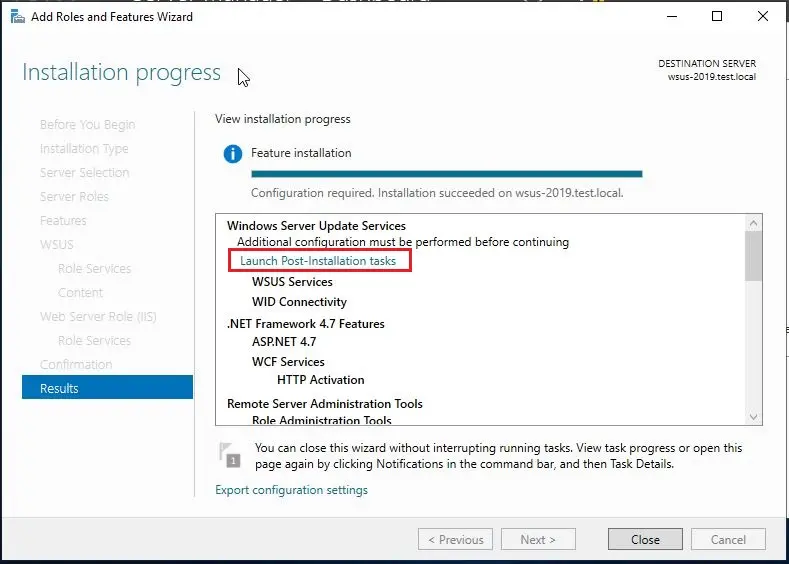
16- Please wait for the message Configuration successfully completed and then click Close.
