
In this article, I am going to explore how to Add MX Record in DNS Manager Server. MX themselves stands for Mail Exchange and is a necessity when configuring the email server
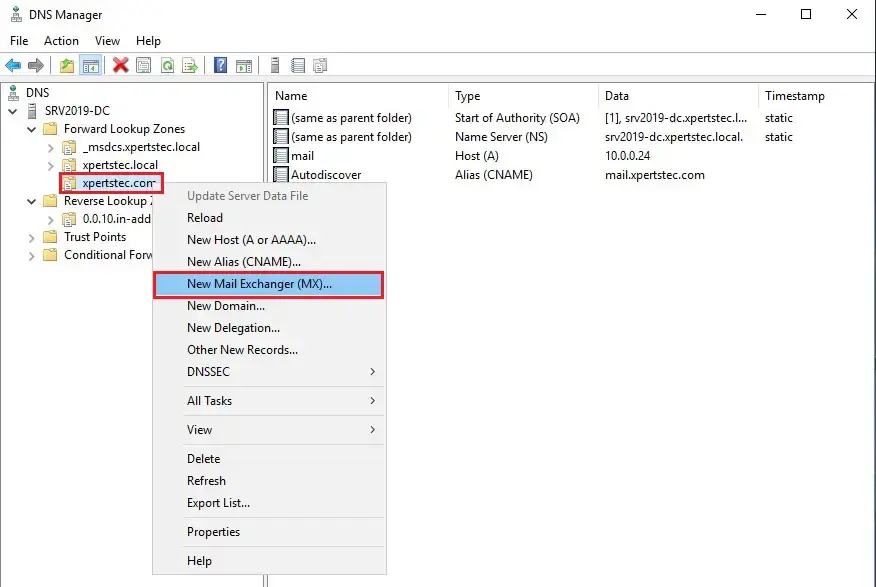
1- Expand Forward Lookup Zones right-click on your external domain (xpertstec.com) and then select New Mail Exchange (MX).
2- So, click browse.
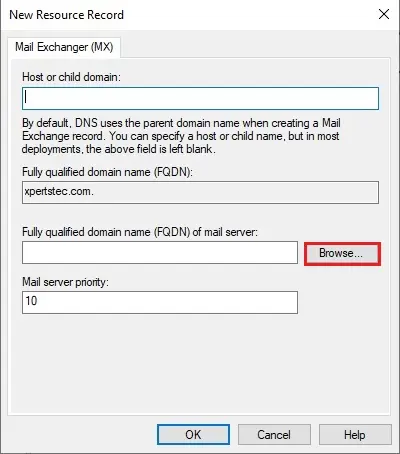
3- Select your DNS server > Forward lookup zones > your external domain (xpertstec.com) > select mail and click ok.
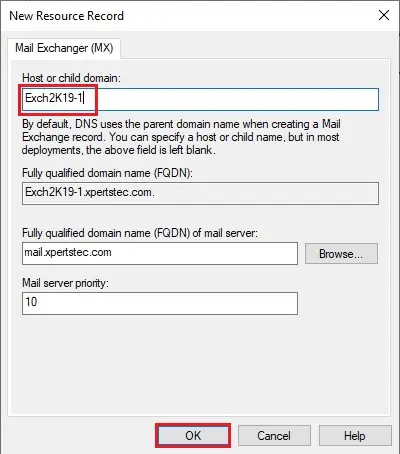
4- Type your exchange server name and click ok.
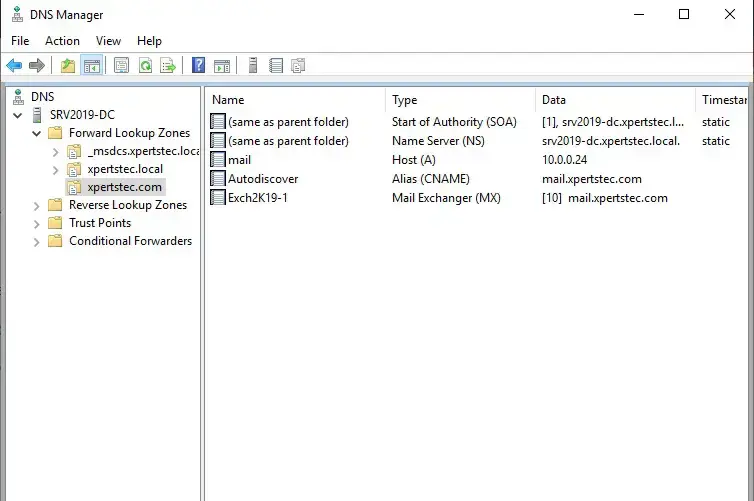
5- After creating Records.
For more details click here