
In this blog, you will learn how to create a Microsoft 365 group with an admin center and PowerShell. Microsoft 365 groups are used to create resources such as teams, outlook inboxes, shared calendars, and access to Microsoft 365 resources. Groups allow your users to share and collaborate with files, emails, and other resources.
Types of Microsoft 365 Groups
There are different types of Groups in Microsoft 365. There are Microsoft 365, Security, Distribution, and Dynamic Distribution groups.
How to Create a Microsoft 365 Group Using the Admin Center
Log into the Microsoft 365 Admin Center
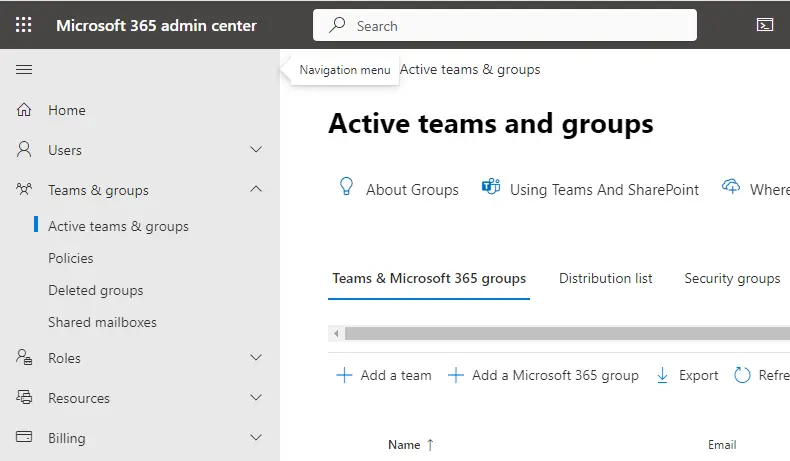
Expand the Teams and groups, and click on Active Teams & groups.
Click on “Add a Microsoft 365 group”.
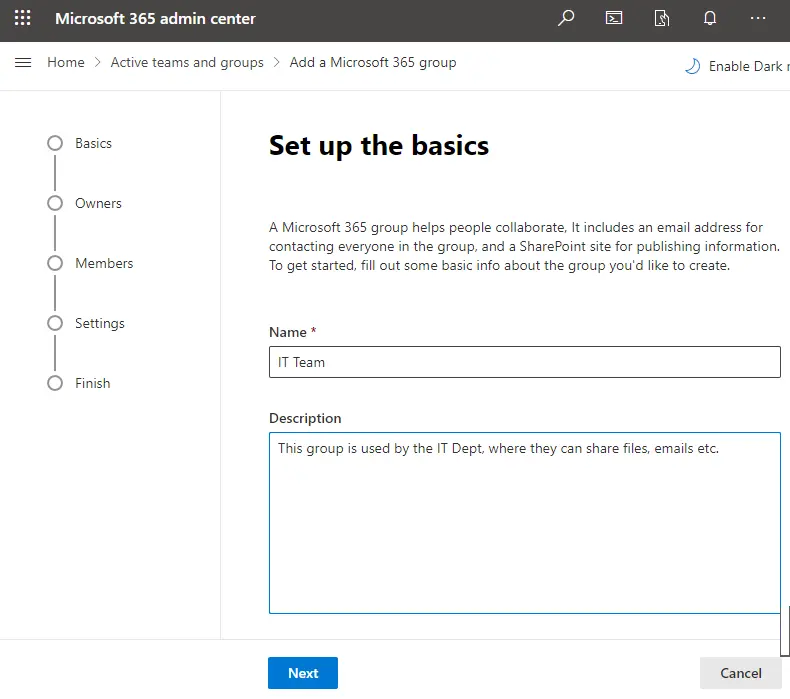
Type a name for the Microsoft 365 group and type in a detailed description in the Description field. In this example, I’m going to name this group the IT Team. Click Next
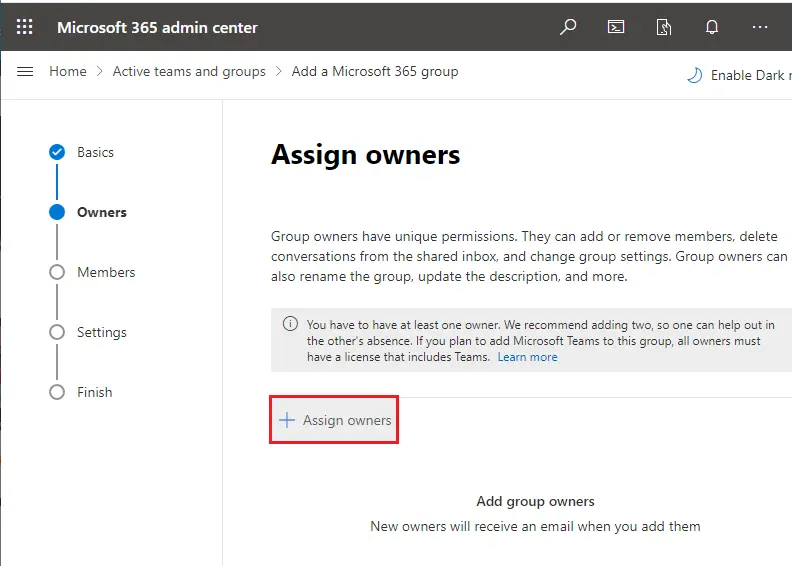
Now, we need to assign owners to the group. Owners have the right to add or remove members to the group, as well as permissions in the resources. Click on + Assign owners.
Search for the owner(s) you want to add to the group, then select the box to the left of the name. Once you have all the owners you want to add, click on Add bottom.
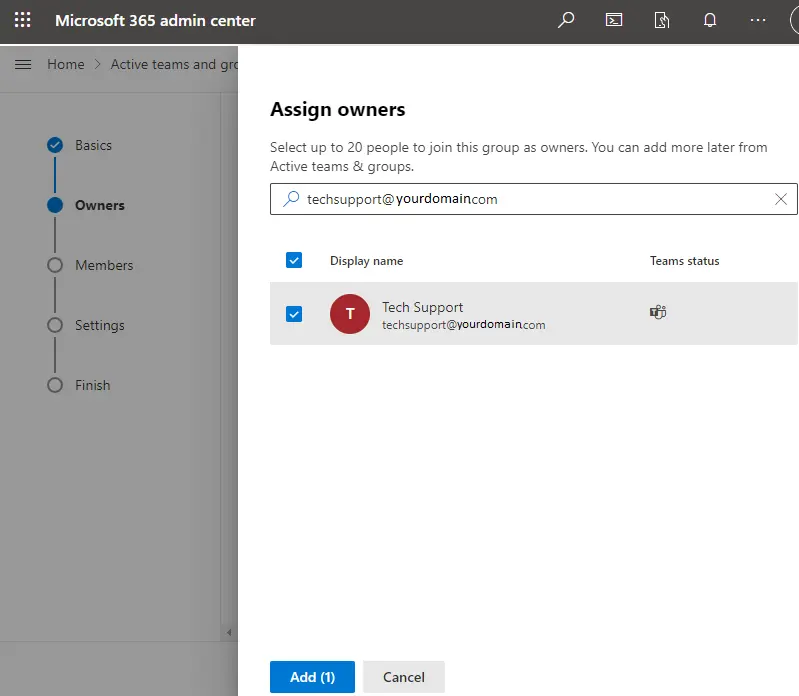
Click Next.

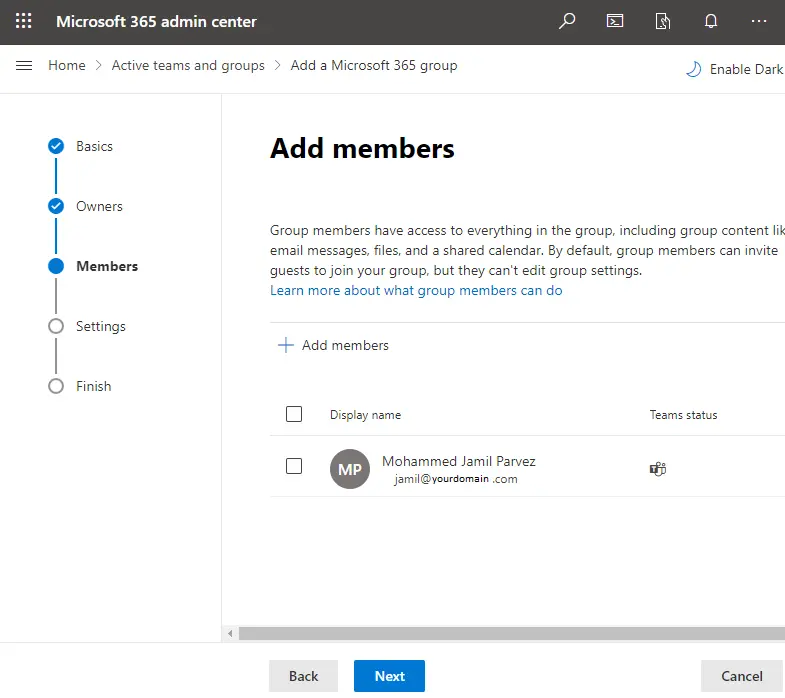
Now, you can add members. Each member of the group has the same rights. The owner of this group is the only member with elevated permissions.
Click on Add Members.
Search for the names of the members you wish to add to the group. Once you have all the members you would like to add, click on Add bottom. Click next
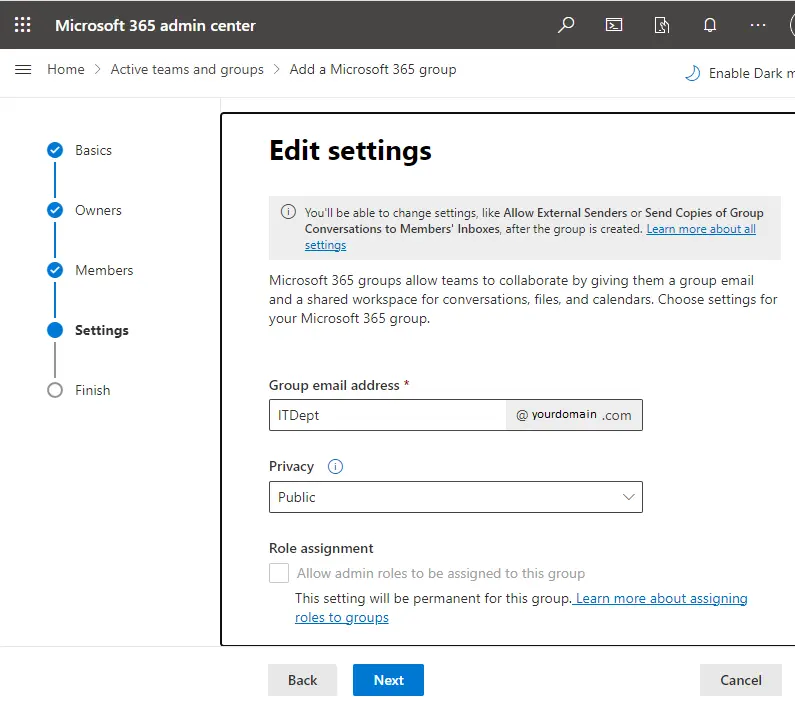
Next, we are going to modify the settings for the group.
Edit Settings Microsoft 365 Group
Group email address
You must select a unique and easily recognizable email address for your group. This will be used by anyone who is emailing this group, including individuals outside the organization.
Privacy
You must select the Privacy level of your group. If you select Public, anyone can join the group without obtaining approval from the owner of the group. If you select Private, only the owner can add members to the group.
Role assignment
Under Role Assignment, you can select to enable Admin roles to be assigned to this group. By selecting this option, you can automatically assign an admin role to members of this organization. In this case, I will not allow this, so I will leave the box unchecked.
Add Microsoft Teams to your group.
You can create a Microsoft Teams Team from this group. It is selected by default. I am not going to create a Team from this group, so I will not check the box. Click next
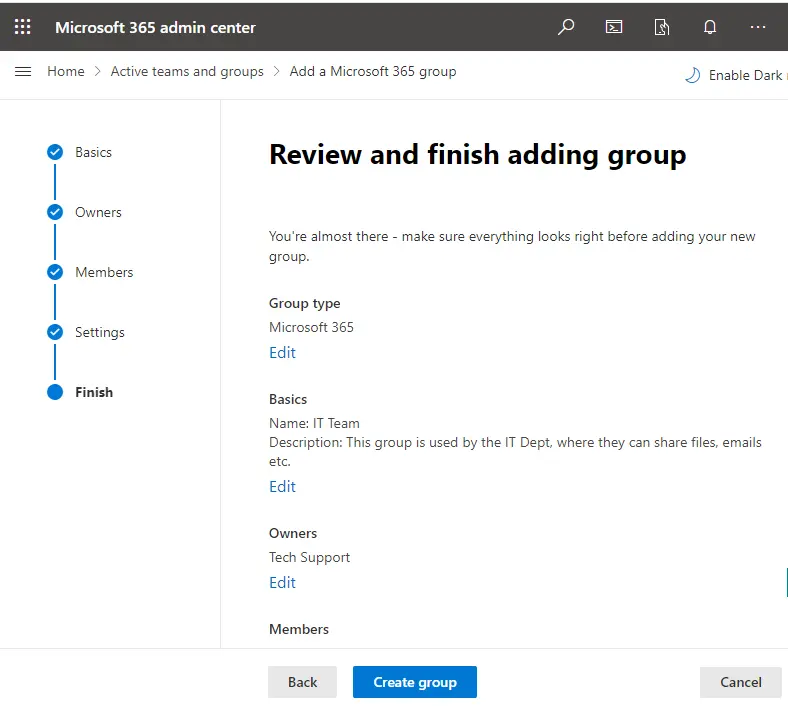
Review your settings. You can edit any settings you require on this page. If everything is what you want, click Create Group. Review and finish adding the group.
You can edit any settings you require on this page. If everything is what you want, click Create Group.
You will find the confirmation page. Click Close.
Create a Microsoft 365 Group with PowerShell
In this example, I will create a Microsoft 365 group using PowerShell. I
Please visit Microsoft to learn more about it.