In this article, I’m going to discuss How to do Veeam Backup to Azure by doing all steps practically. If you are struggling to know the backup process, this article is going to be very helpful for you.
Veeam Backup to Azure is a solution developed for protection & disaster recovery tasks for Microsoft Azure environments.
With Veeam Backup and Replication for Microsoft Azure, we can create image level backups of Microsoft Azure VM (Virtual Machines) and then keep them in the Microsoft Azure storage accounts for long-term storage, cost-effective and high availability. Additionally, to image-level backups, we can protect our data by creating and maintaining a chain of cloud-native snapshots of Microsoft Azure VMs.
System Requirement visit Veeam
Veeam Backup for Microsoft Azure features and more details please visit Veeam
How to deploy and setup Veeam Backup to Azure
In this part, we are presenting a complete step by step procedures on the Veeam Backup to Azure. There are 3 critical areas to take action, at Microsoft’s Azure Portal, to deploy the appliance, the Veeam Backup for Microsoft Azure appliance, to configure & enable the services, & finally, the Veeam Backup & Replication console, to connect the service with an on-premise platform if required.
First of all, make sure to create and configure an Azure Storage account, as is required to create the backup containers. One more critical thing to do is to enable the Client IP address to permit access from Veeam to the Azure service. At the end, this configuration is going to permit Veeam to archive on-premises data to Azure. Further specifically, to the Microsoft Azure Blog Storage service.
Microsoft Azure Portal for Veeam Backup
First, we need to log into your Azure account. We are moving to have some options to deploy the Veeam Backup and Replication for Microsoft Azure appliance/VM.
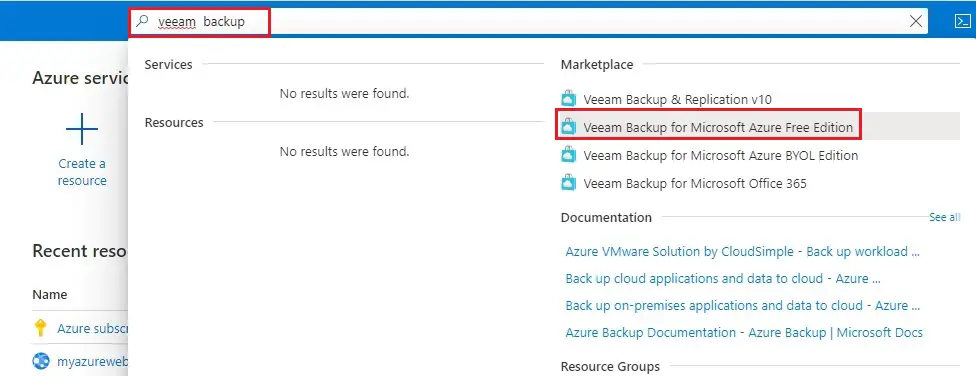
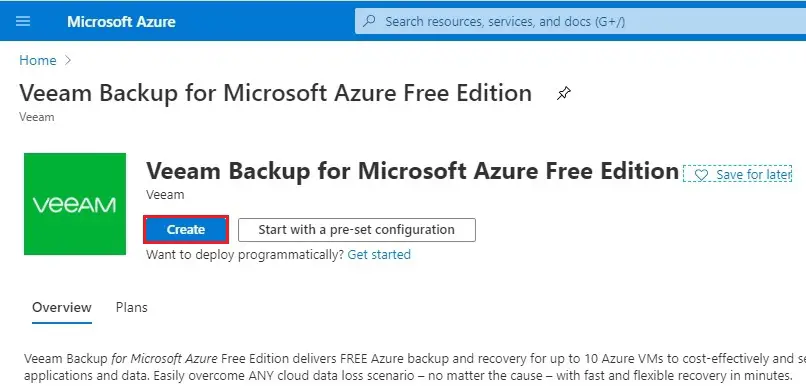
1- Microsoft Azure portal type Veeam backup in the Azure search box and then select the Veeam Backup to Microsoft Azure Free Edition option.
2- Veeam Backup for Microsoft azure free edition, click on the Create button to deploy this Veeam appliance.
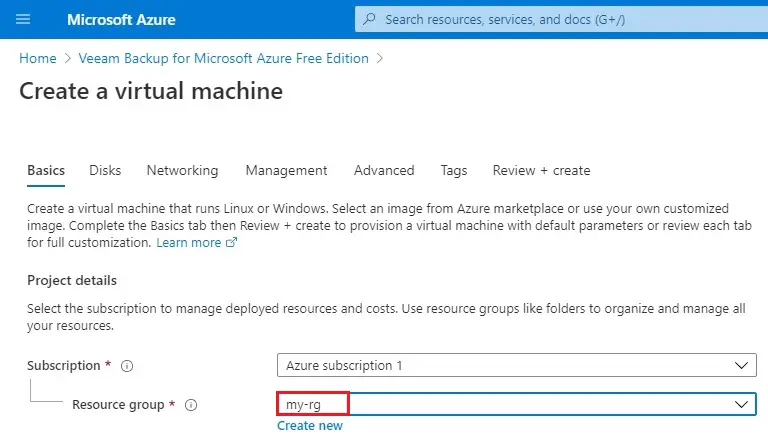
3- Select your subscription and a resource group (existing my-rg). If you don’t have created a resource group, then click on create new.
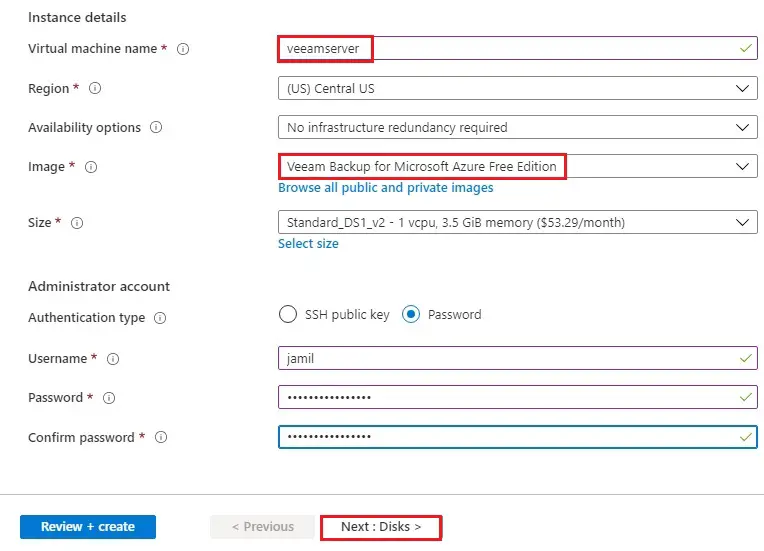
4- Instance details
Virtual machine name – type a name (Veeam server)
Region – Select a region
Image – select Veeam Backup for Microsoft Azure free edition
Administrator account
Authentication type – select password
Username – type a username (Jamil), password and then click Next: Disks >
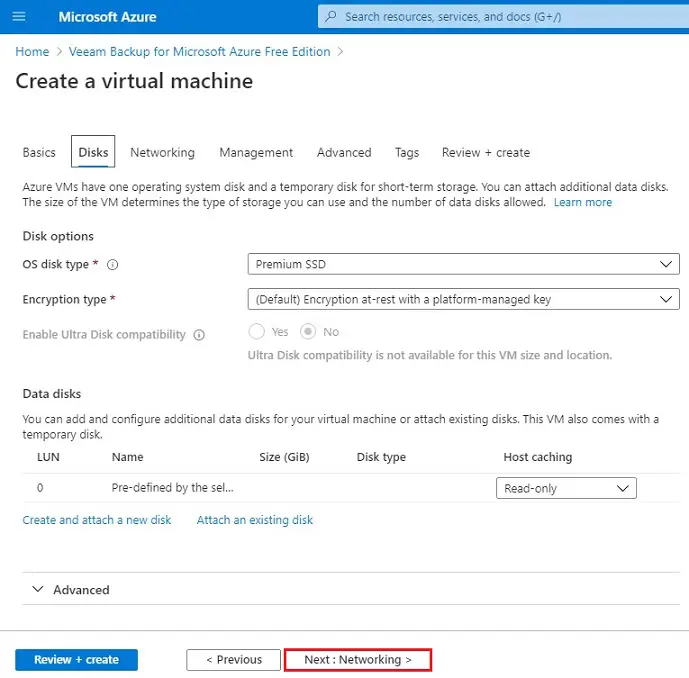
5- Leave as default in Azure Backup and then click Next: Networking >.
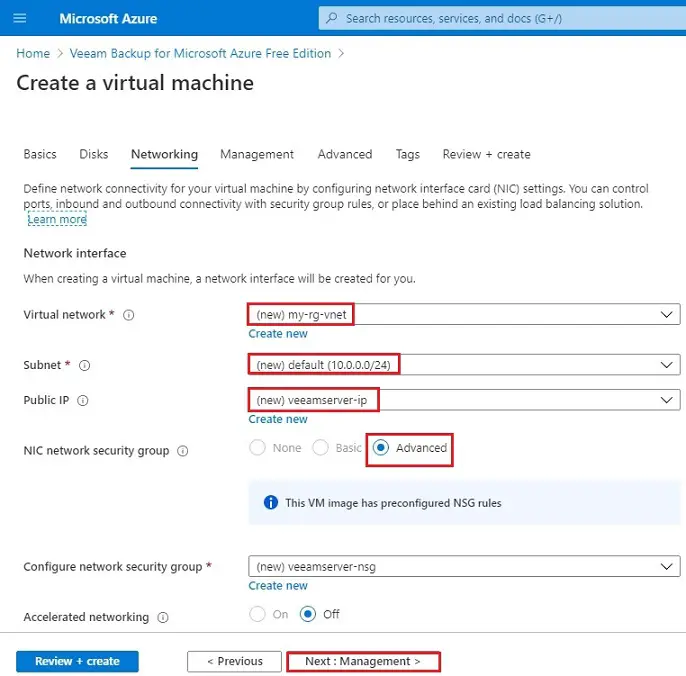
6- Networking tab in Microsoft Azure, choose the options based on your Virtual Network, Subnet, and Public IP.
NIC network security group – select advanced and then click Next: Management >
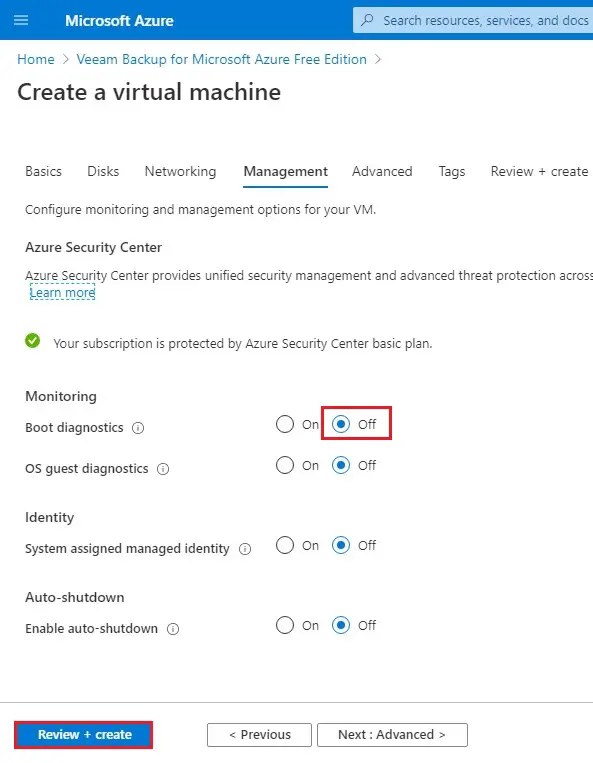
7- Management tab, Monitoring option select boot diagnostics off and then click Review + create for Veeam to Azure Backup.
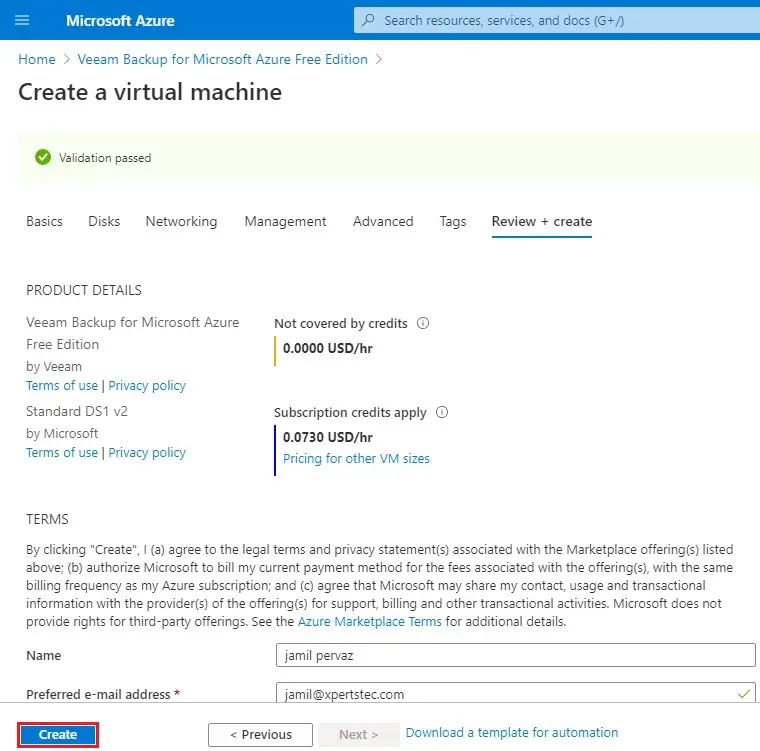
8- Click Create to start deploying the appliance.
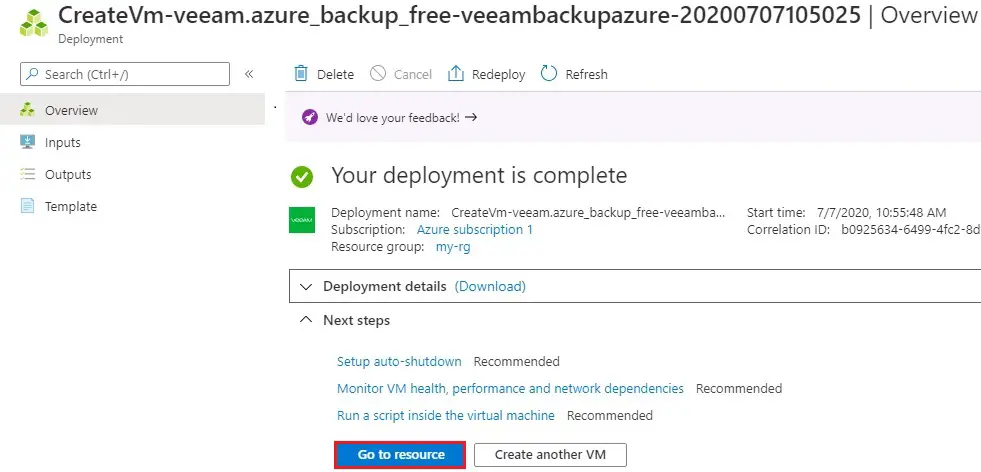
9- Now we see the new Veeam appliance created and then click Go to resource.
10- Copy the public IP address.
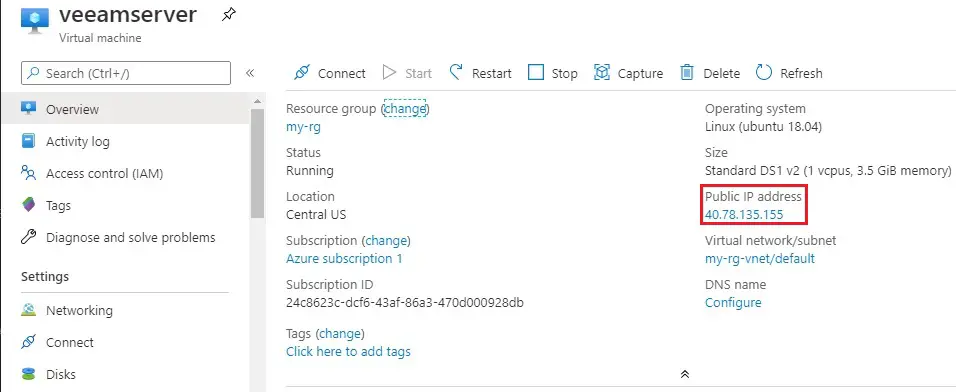
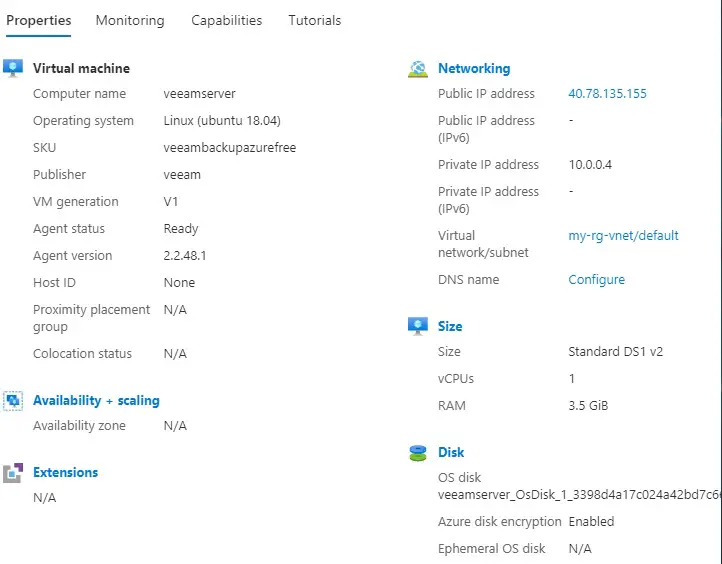
11- VM details, properties, monitoring and etc.
Veeam Backup for Azure Appliance
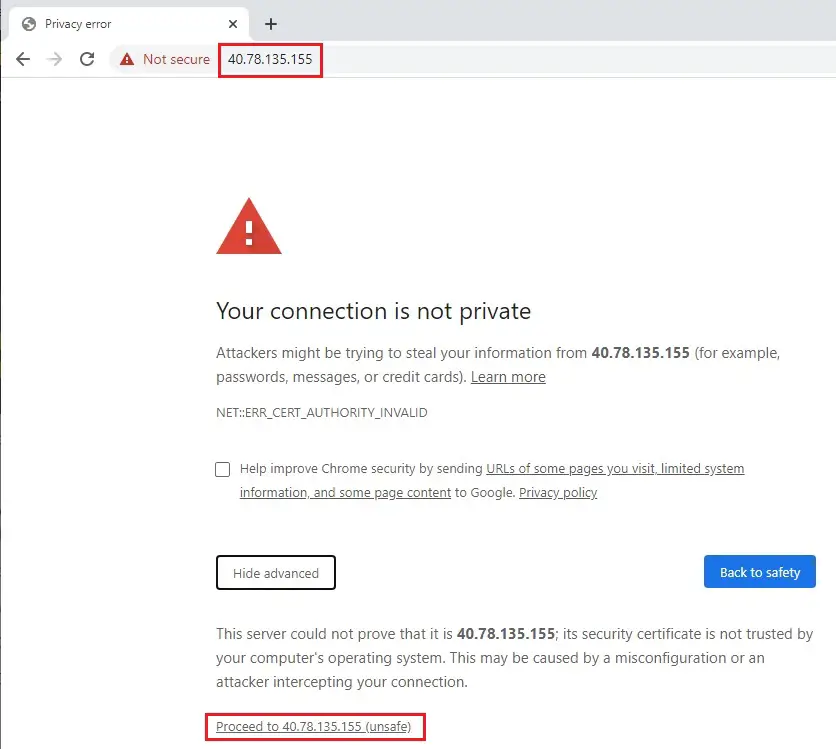
1- Copy its Public IP address (we already copied it). Open your web browser tab and then paste this IP address to access the appliance. Click advanced and then proceed for Veeam to Azure Backup (Ignore the security warning by the web browser).
2- Insert the credentials we previously configured during the creation of this appliance.

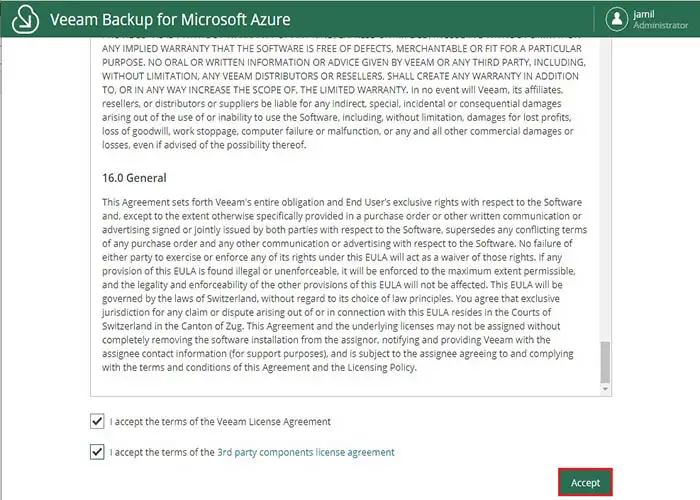
3- Accept the Veeam license for Backup
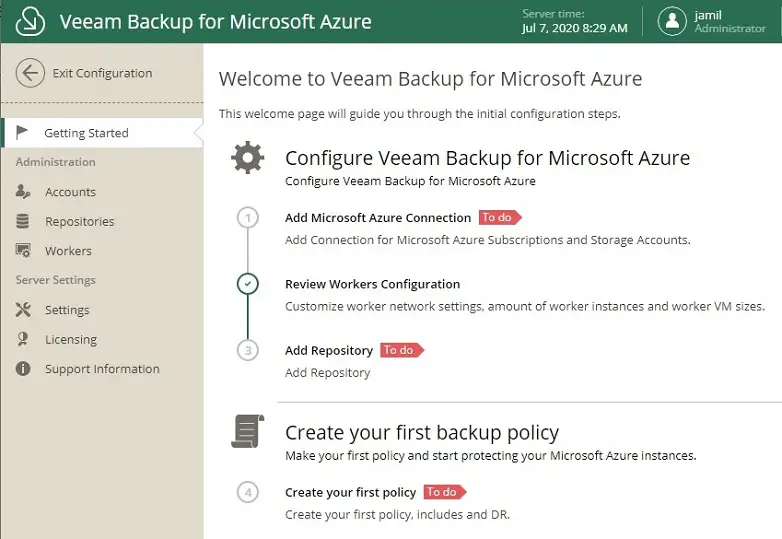
4- This is the first time we access this appliance, we are going to be welcomed by the Getting Started page. There are 4 initial steps that we want to configure to make our Veeam backup service ready to roll. As follows are Add Azure Connection, Workers Configuration, Add Repository, and then create your first policy.
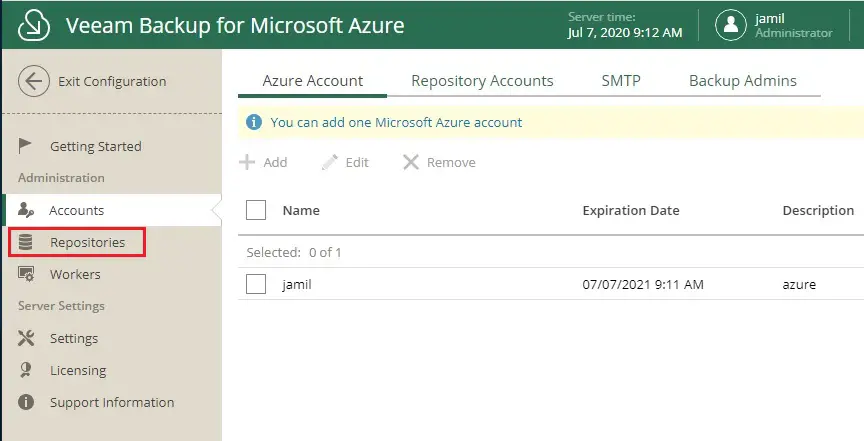
How to Add Azure Account
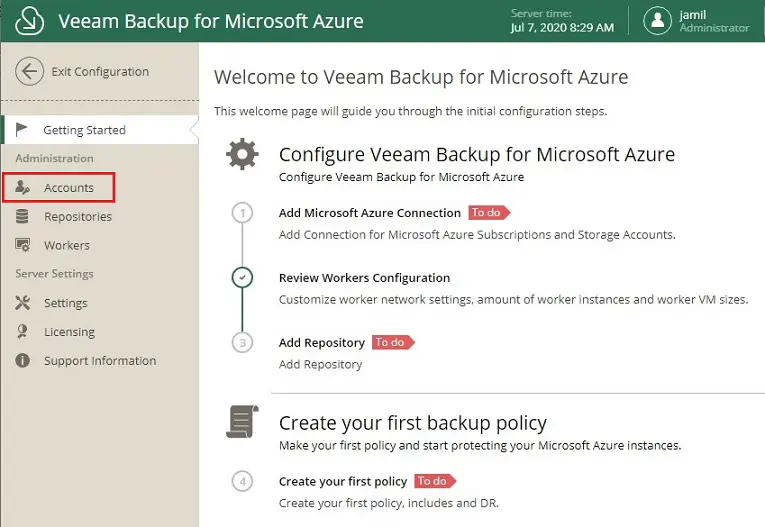
1- Select Account
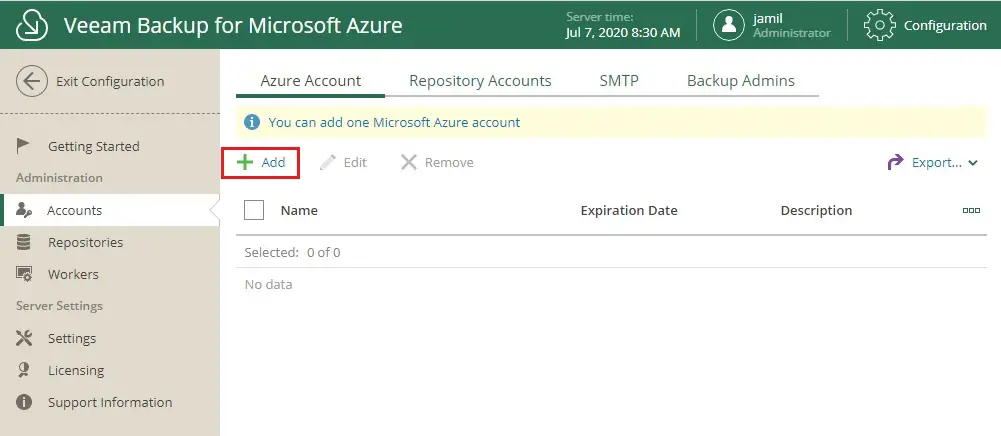
2- Select the + Add to start the Add Azure Account wizard.
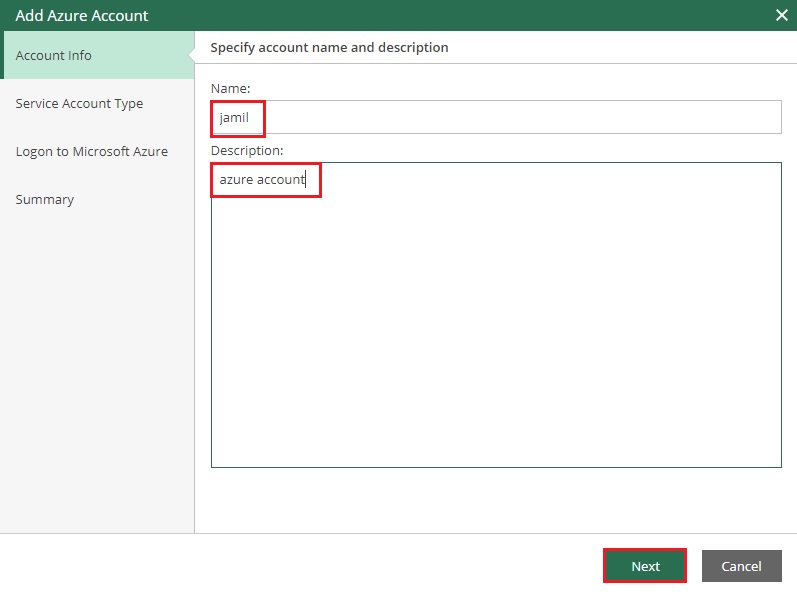
3- Enter a name this service account, description and then click next.
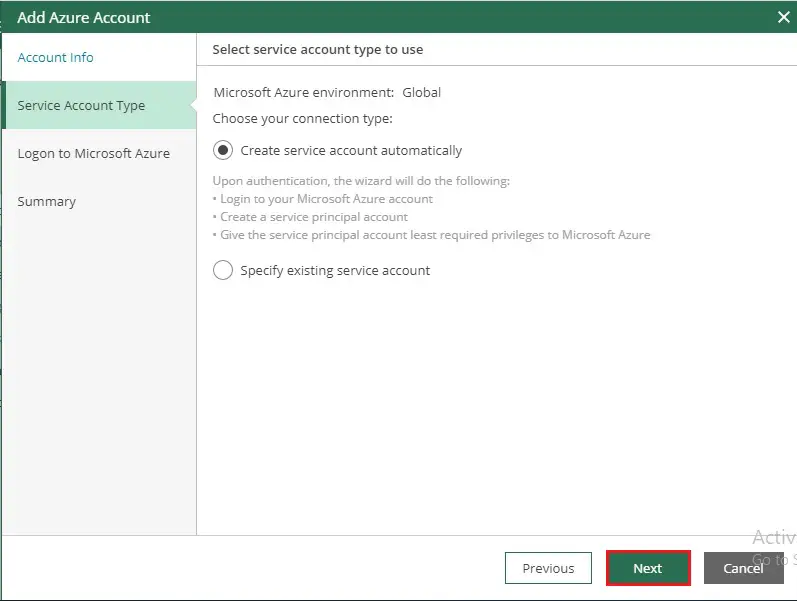
4- Click next.
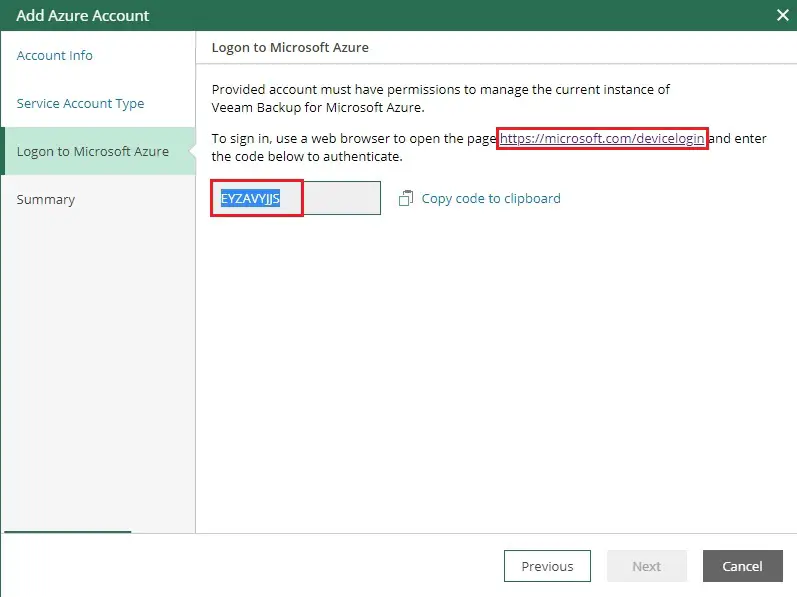
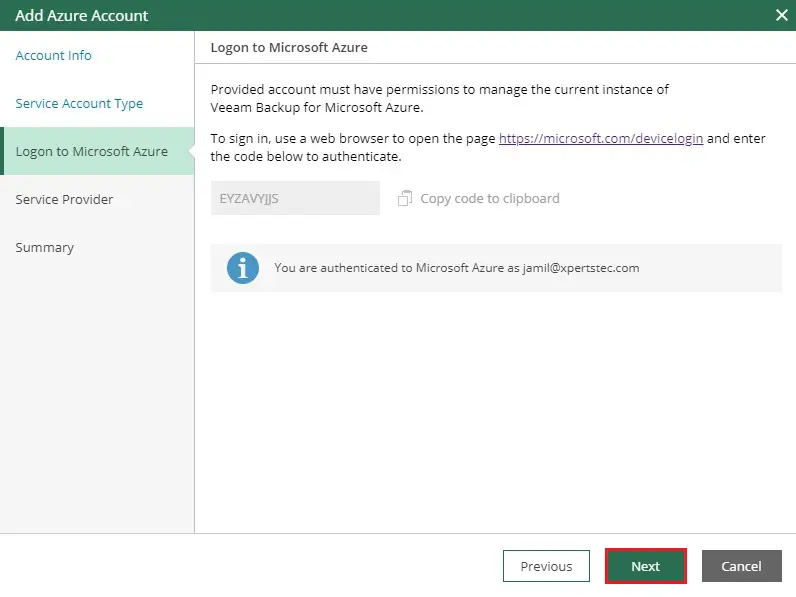
5- Copy code and then click on this link to sign in.
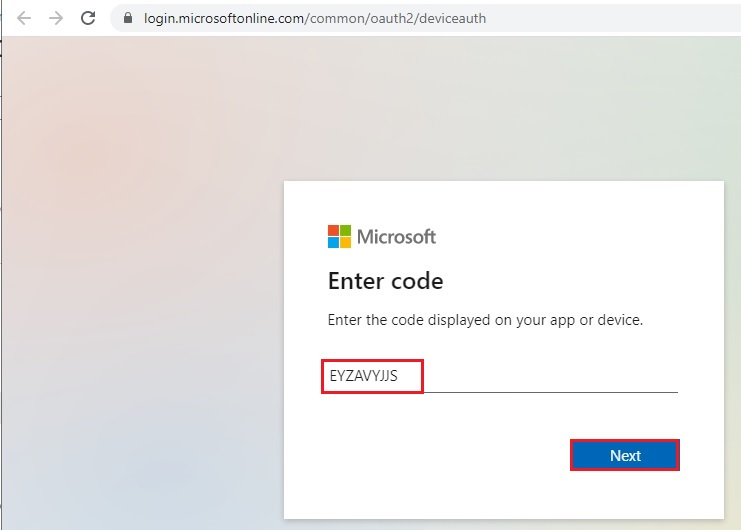
6- Paste code here and then click next.
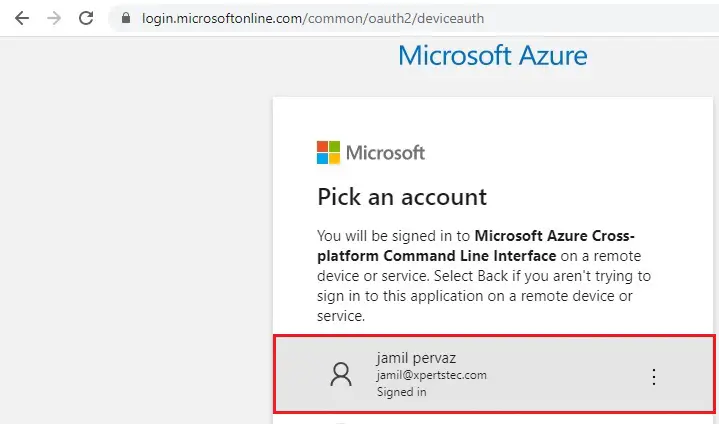
7- Select your Microsoft Azure account.
8- After successfully login to your Azure account, click next.
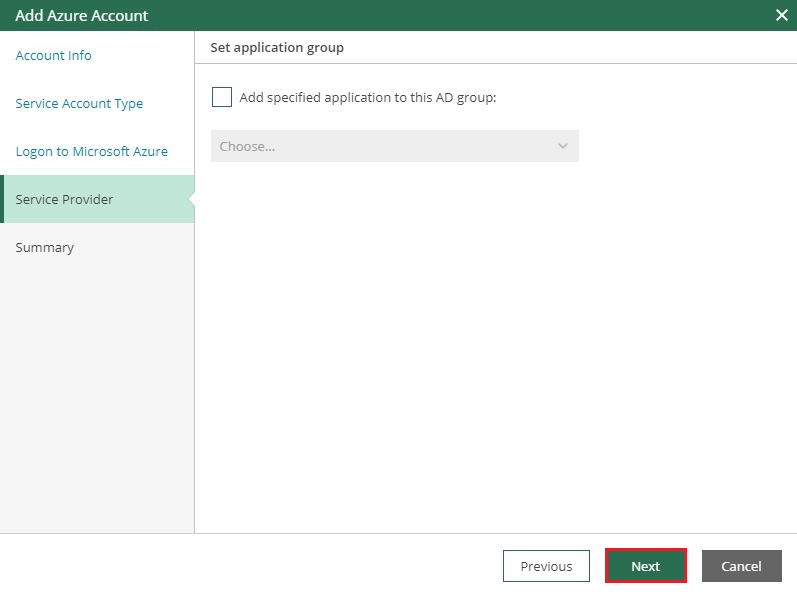
9- Click next.
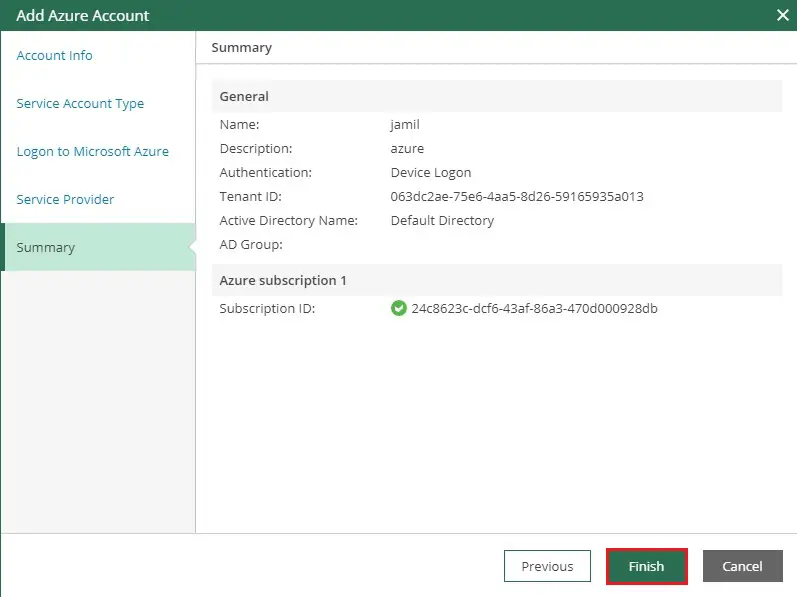
10- Review the account summary and then click next.
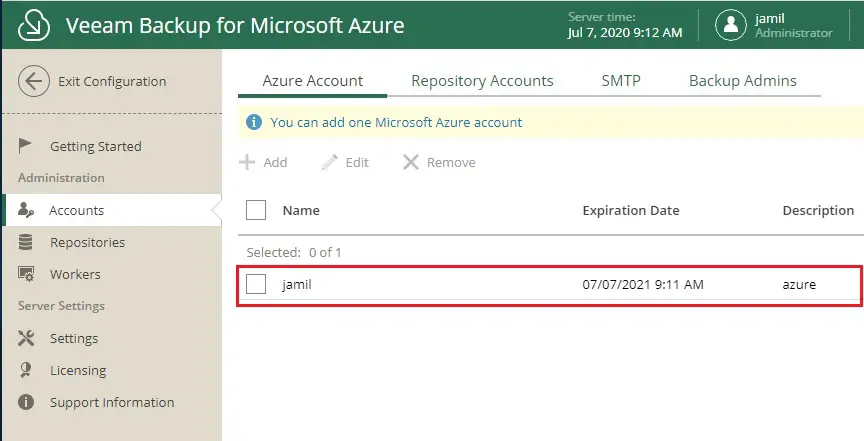
11- Azure account has been added.
Veeam Backup for Microsoft Azure – Configure a Repository
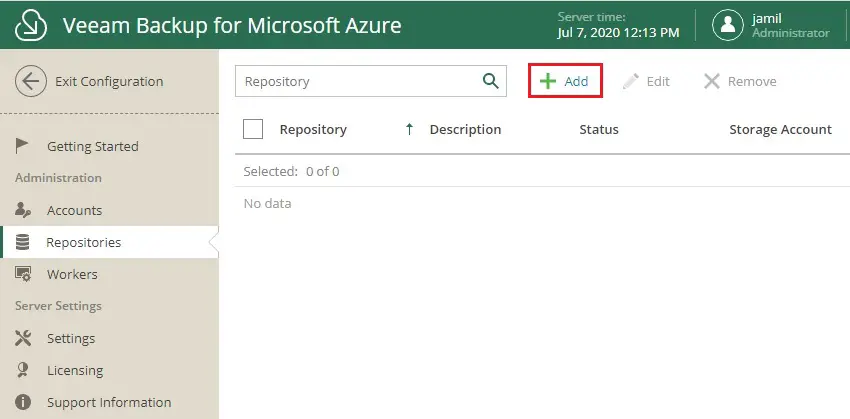
1- Select Repository under administration.
2- Select the + Add button, to start the Add Repository wizard.
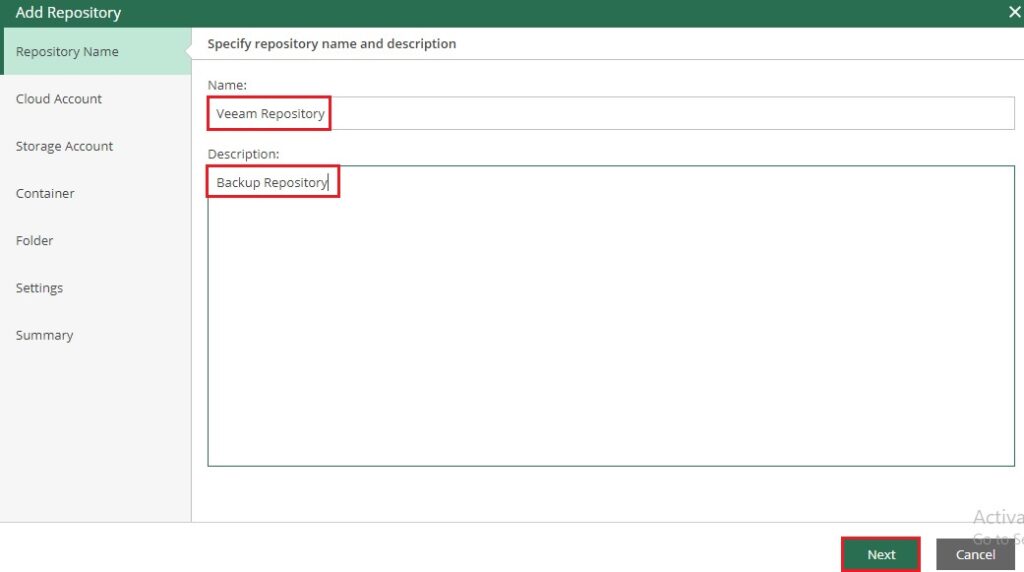
3- Veeam add azure account repository and then click next.
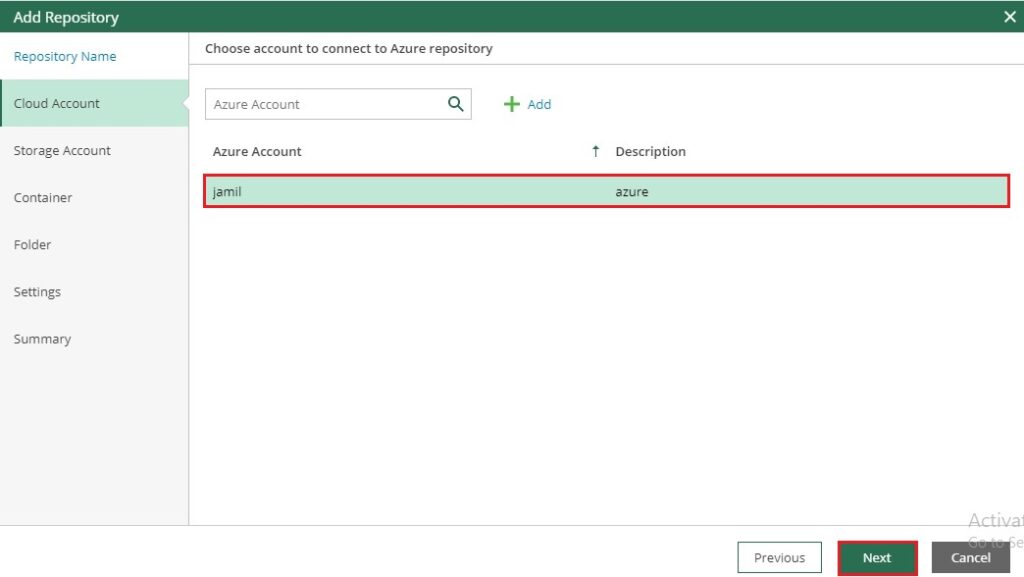
4- Select the cloud account and then click next.
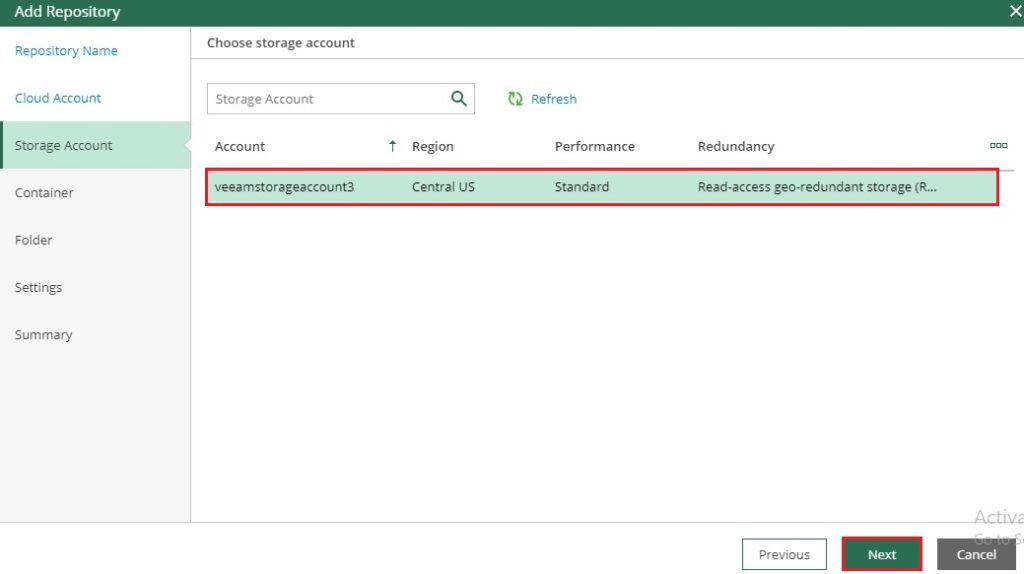
5- Select the storage account and then click next.
6- Select container and click next.

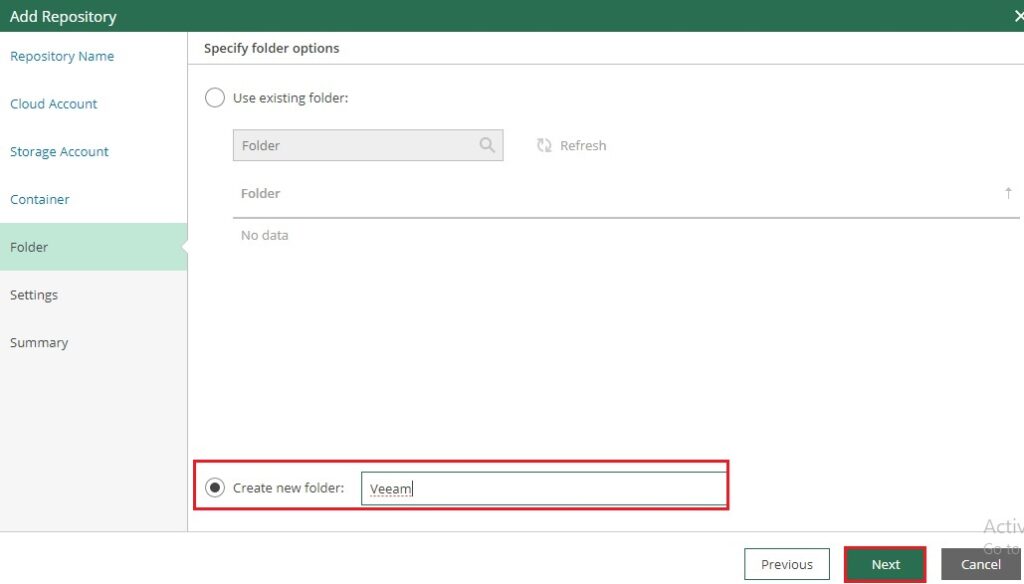
7- You can use an existing folder, in this guide, I am creating a new folder name (Veeam) click next.
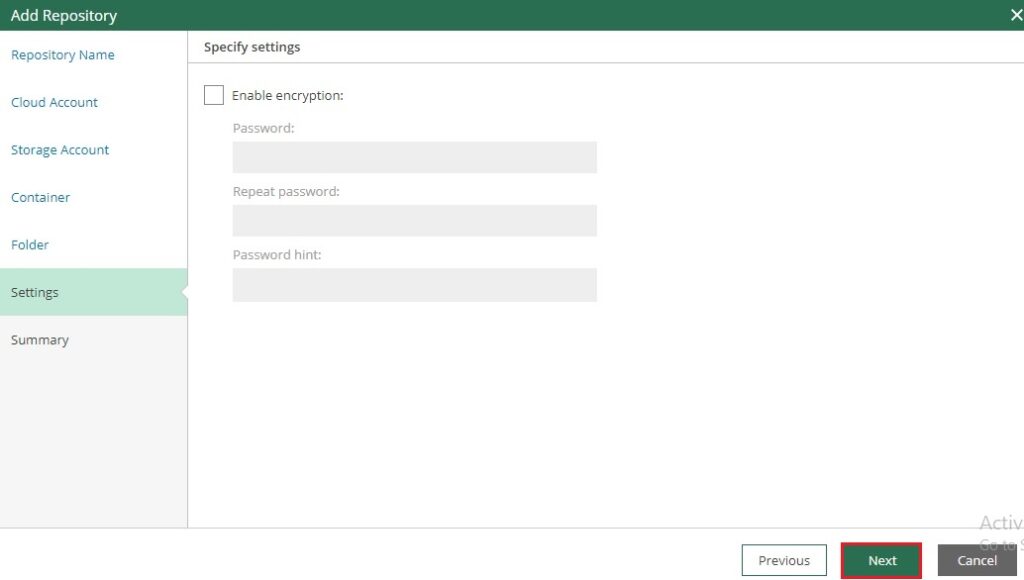
8- If you want to enable encryption you can or click next.
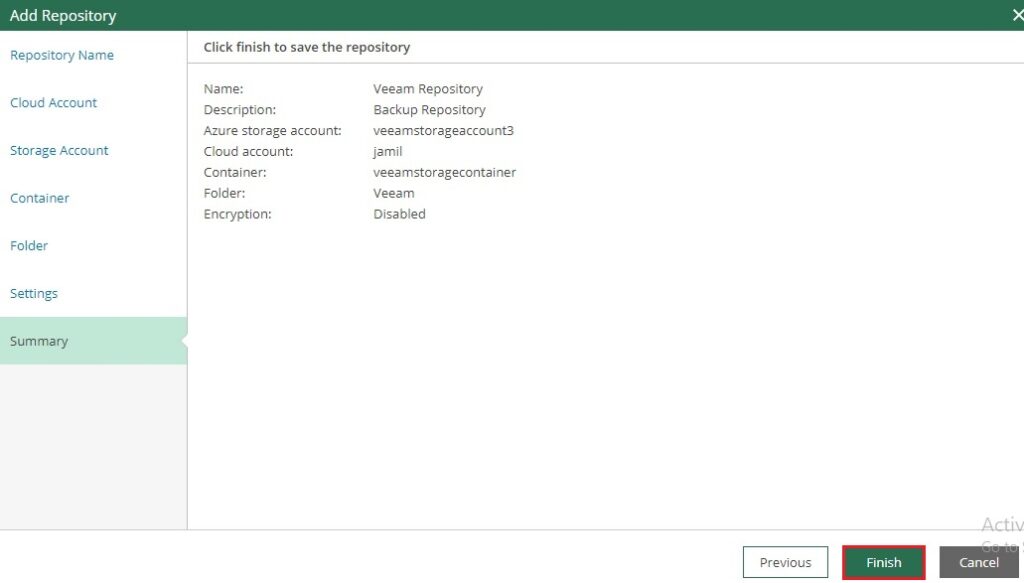
9- Review the add repository summary and click finish
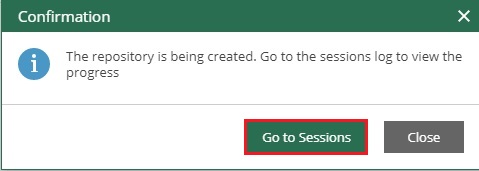
After these steps, the new Repository is created.
10- Click go to sessions.
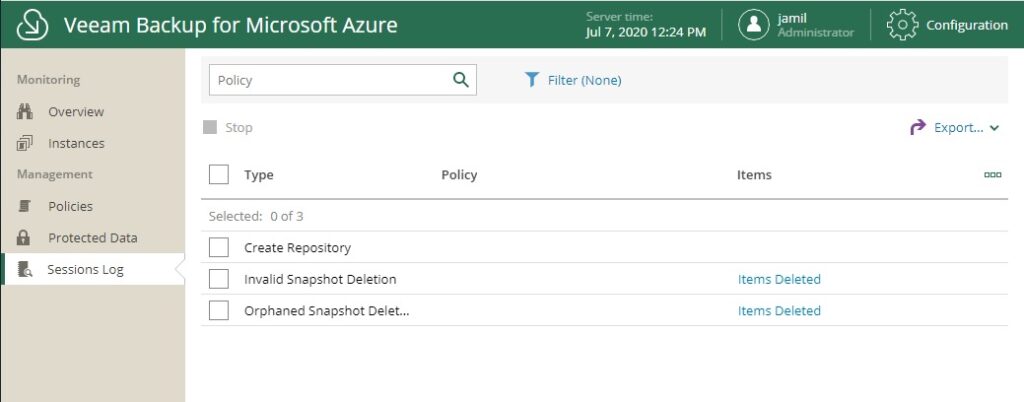
11- Review the sessions log.
How to Add Veeam Azure Workers
Under the Getting Started option, is to add workers (as we don’t have any at the moment). Veeam Azure Workers are supplementary Linux-based machines deployed for the scaling purposes and transfer fee reduction.
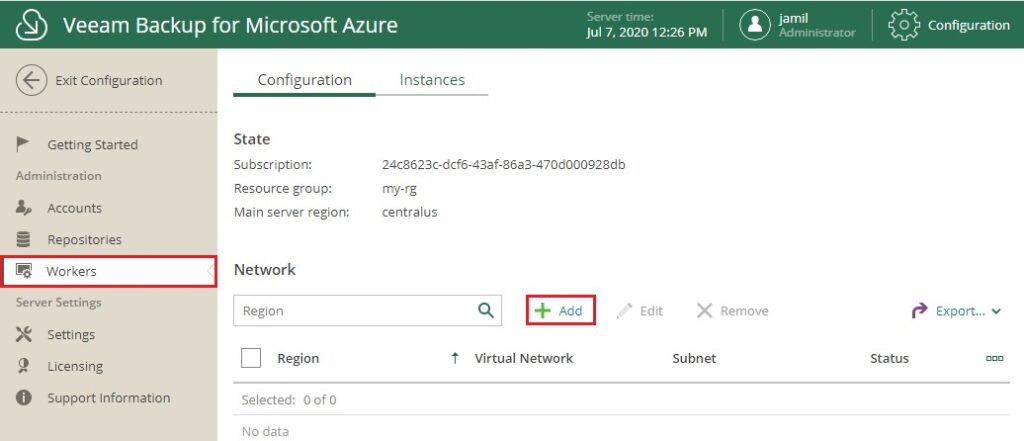
1- Select Workers and then click on + Add, to add a new worker.
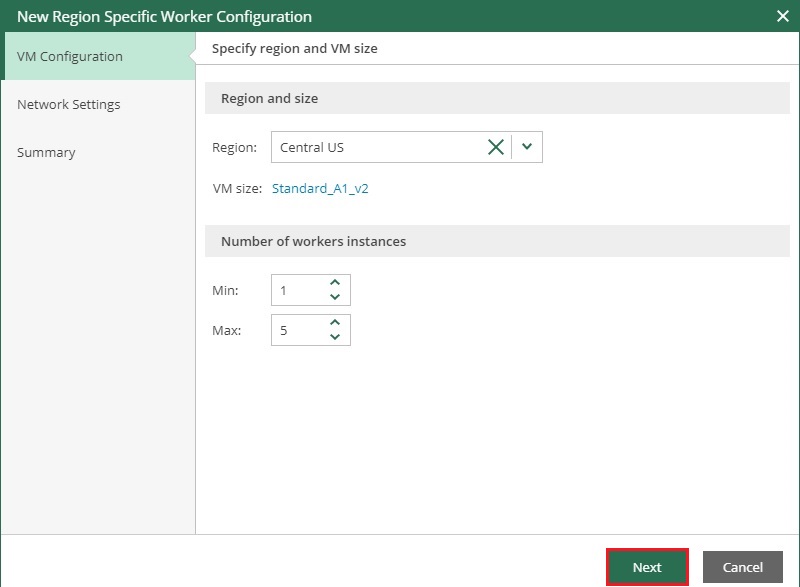
2- New Region Specific Worker Configuration. Follow the below steps to configure this worker.
Select region, number of workers instances and click next.
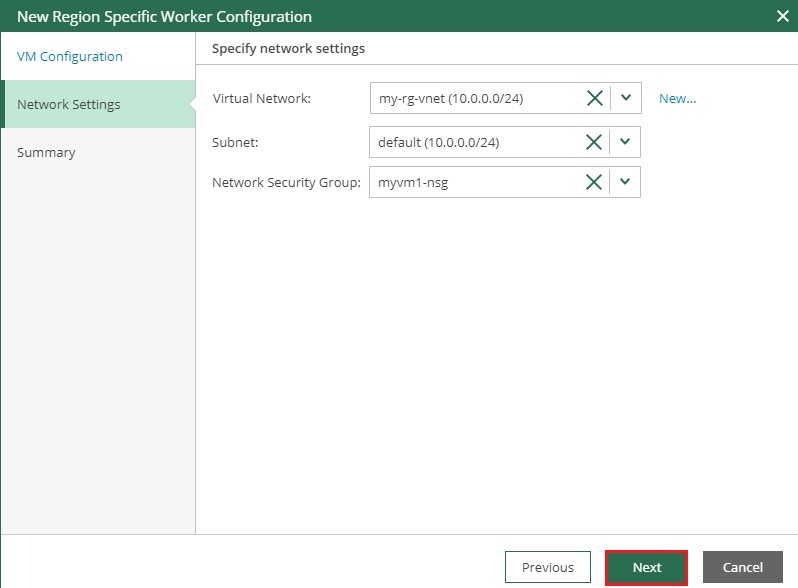
3- Specify network settings, Virtual network, Subnet, network security, and then click Next.
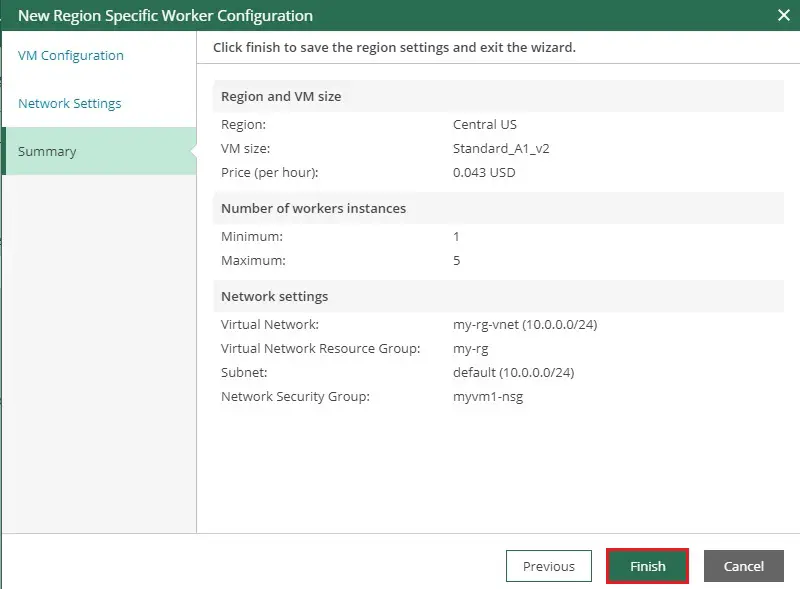
4- Review the workers summary and then click finish.
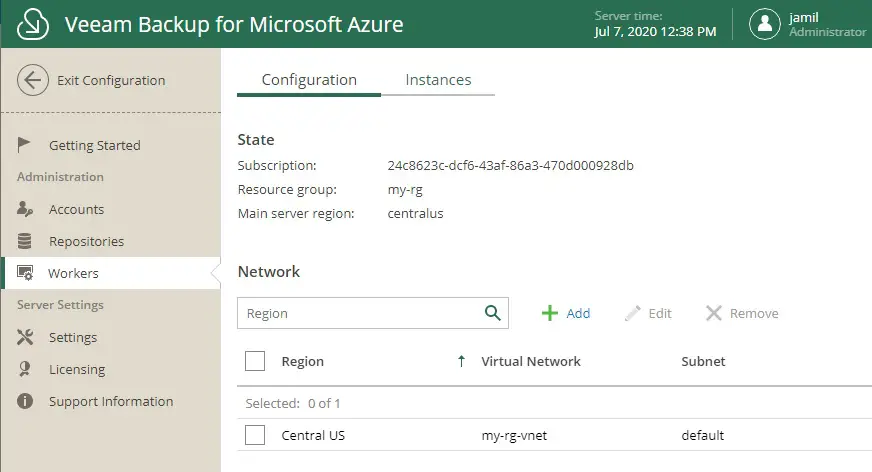
5- Workers configuration.
How to create first backup policy
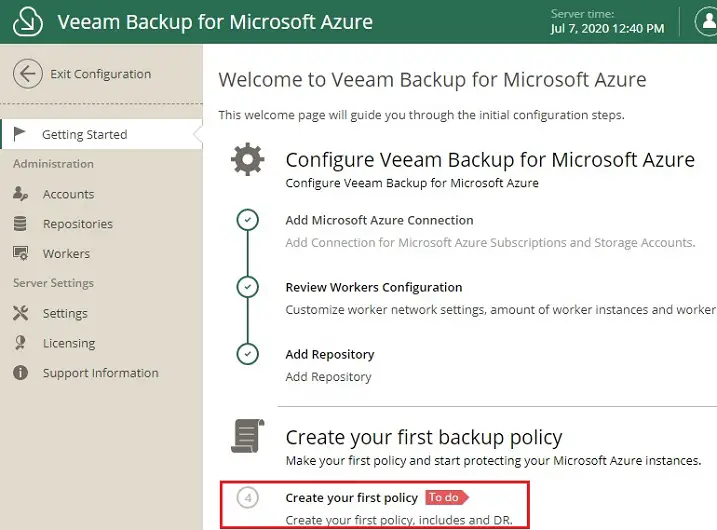
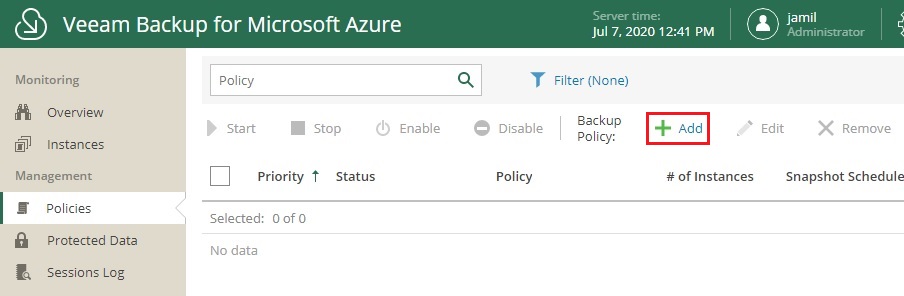
1- In this final step, under the Getting Started page need to create a policy click on Create your first policy.
2- Policies page, select the + Add button to start the Add Policy wizard.
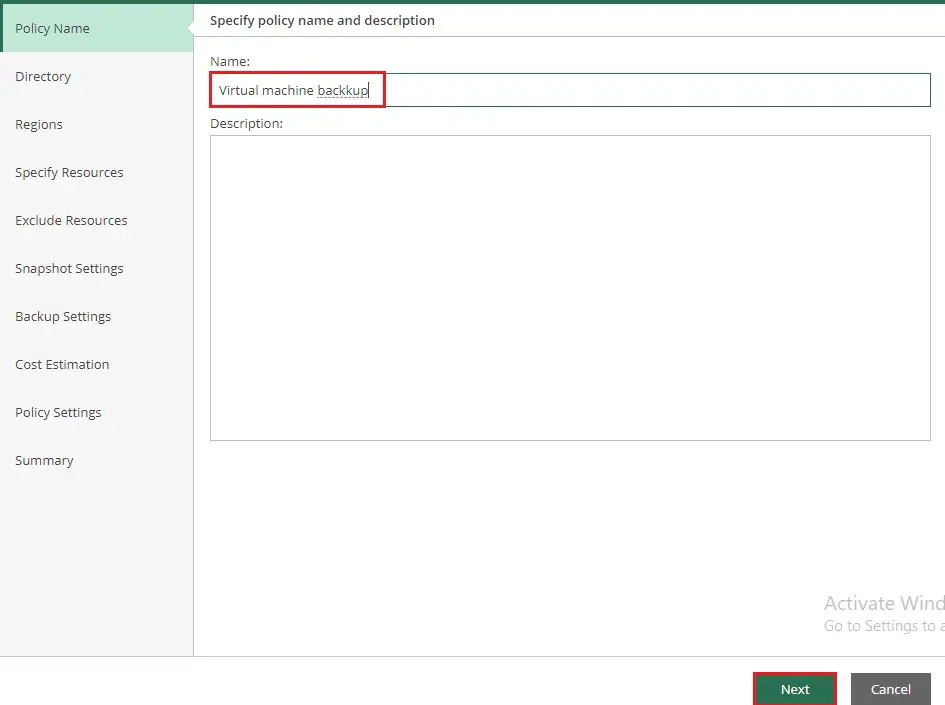
3- Type a name of your policy, and click next.
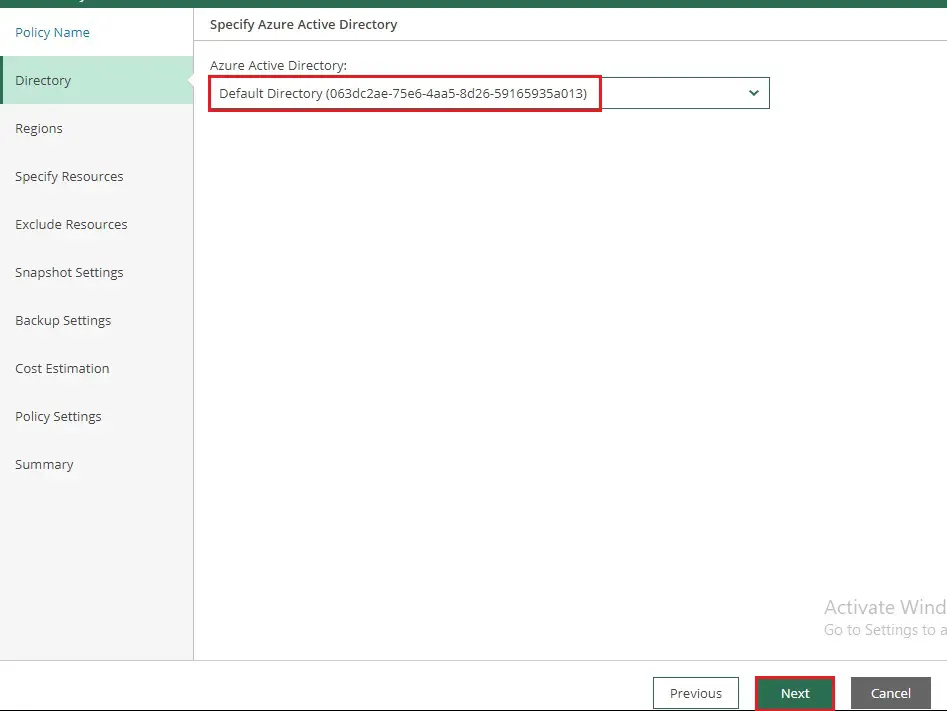
4- Directory, select an Azure Active Directory and then click next.
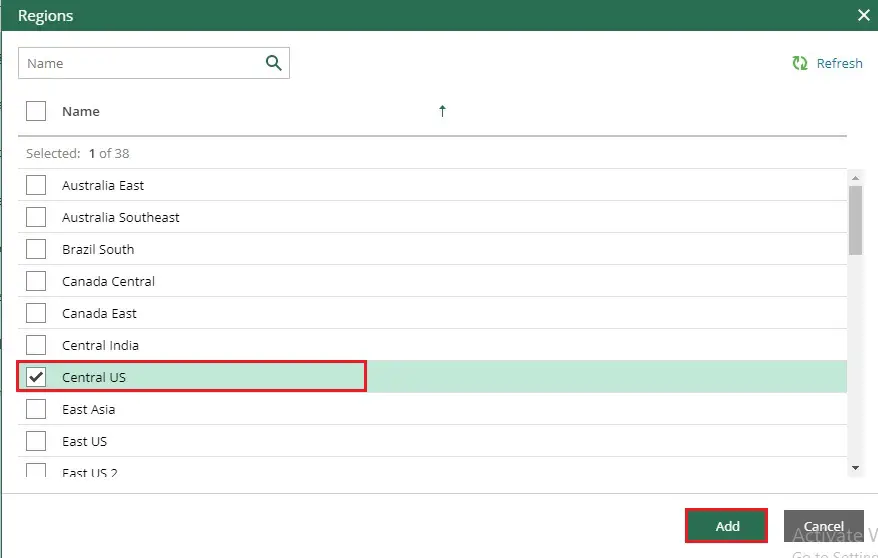
5- Under the Region tab, select + Add to select the regions we want to back up.
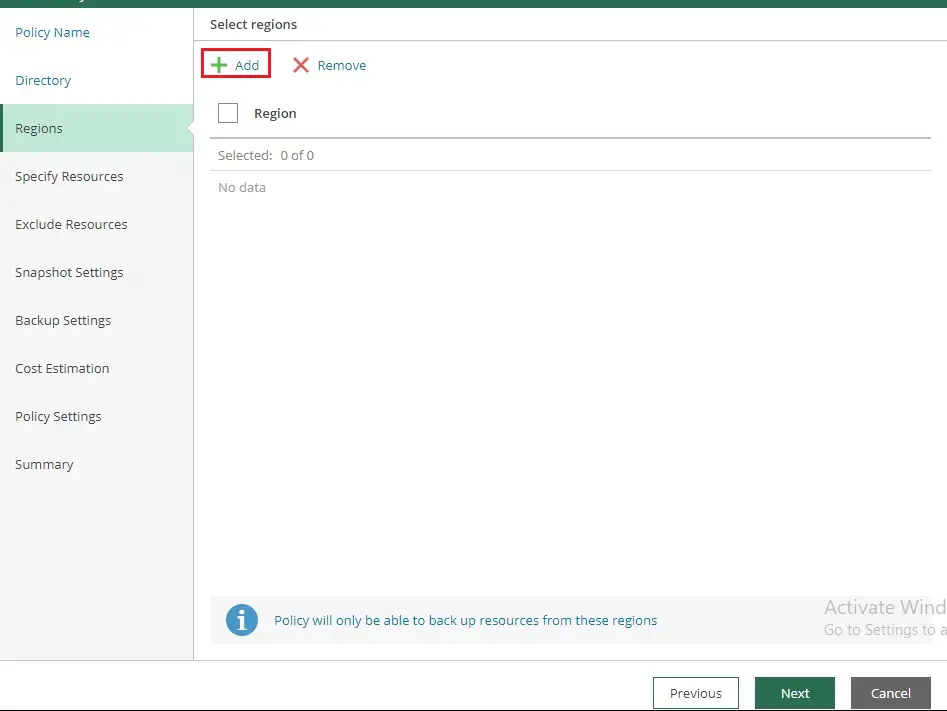
6- This first policy will only be able to backup resources from the selected region here
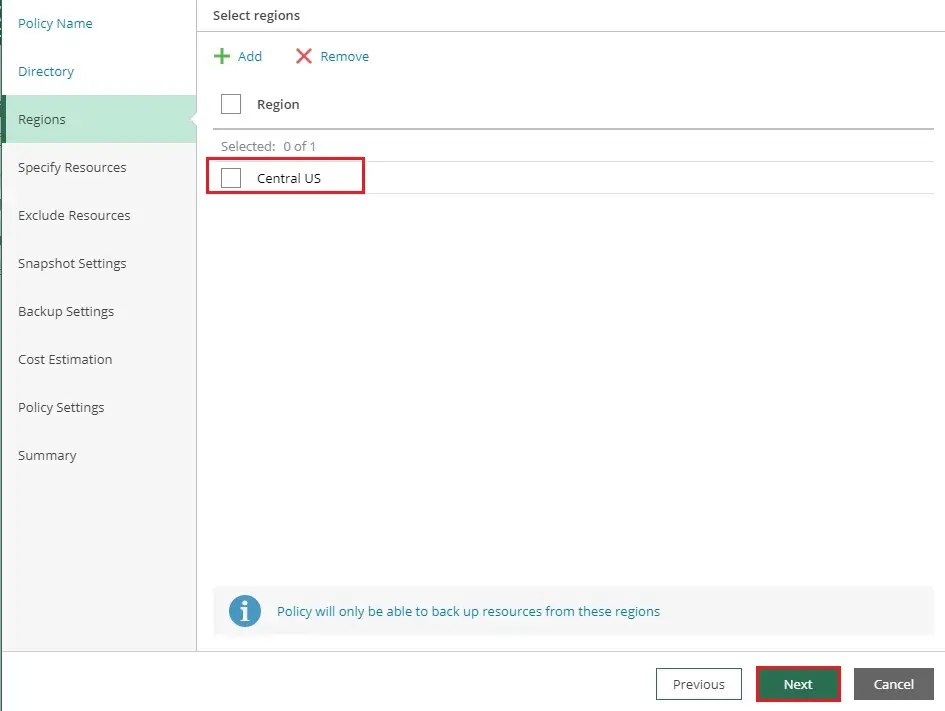
Select a region and then click Next.
7- Click next.
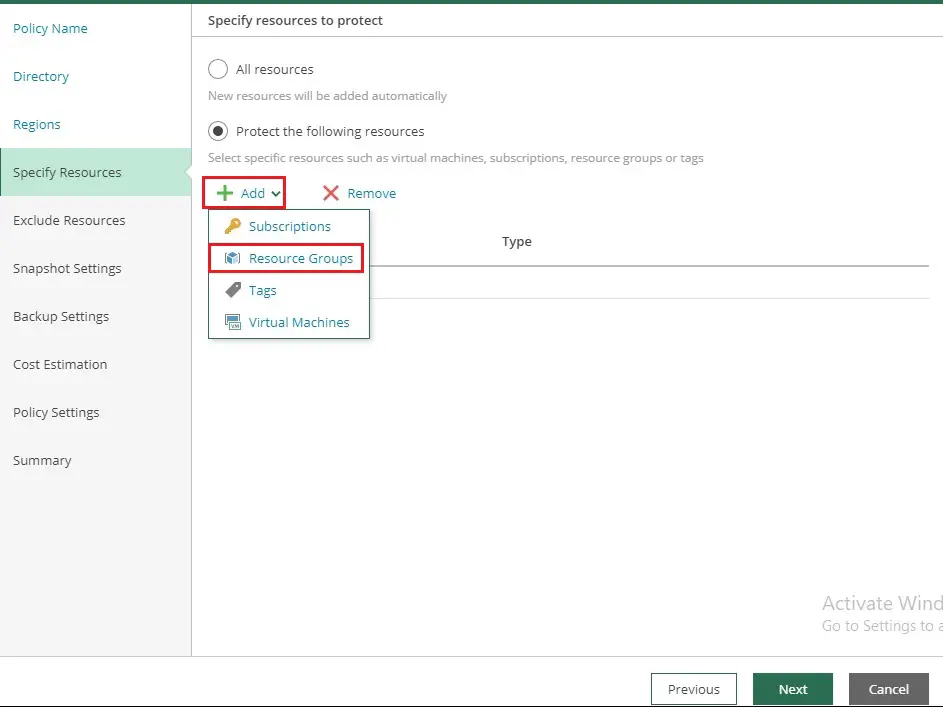
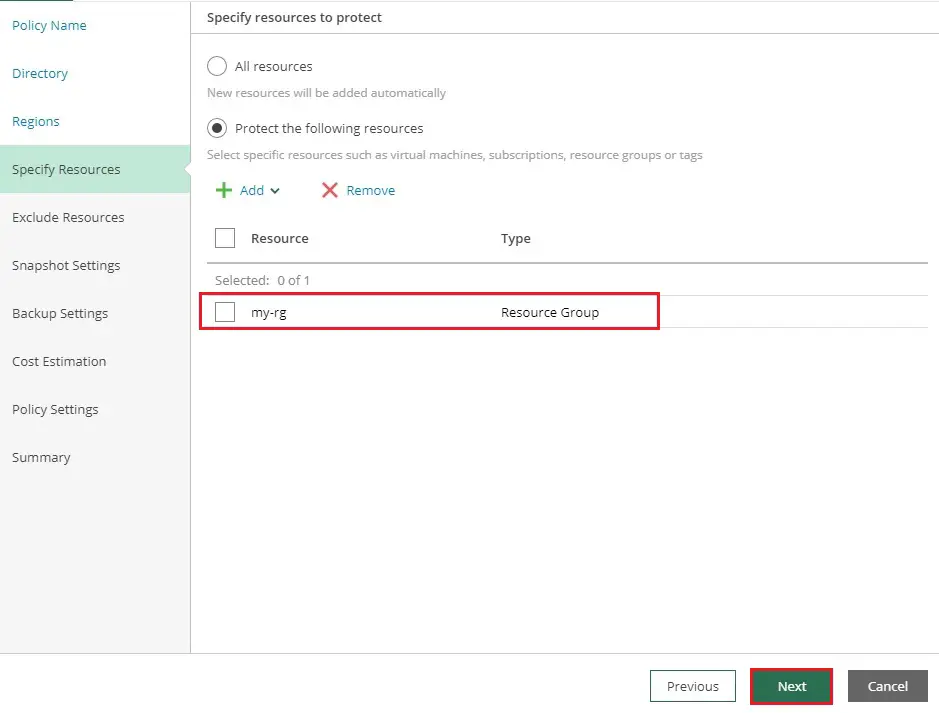
Specify Resources tab, we can either choose all the resources or select specific resources. In these specific resources, we can set a very granular backup.
8- Select + Add and then resource group.
9- Select your resource group and then click next.
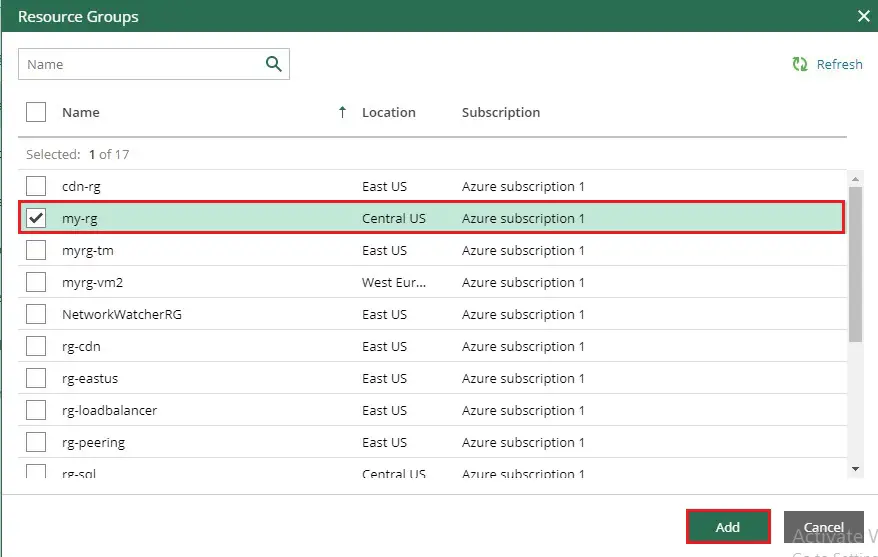
10- We have selected our Resource Group as the resource we want to protect during this example. Click next.
11- Exclude Resources step, click the + add button.
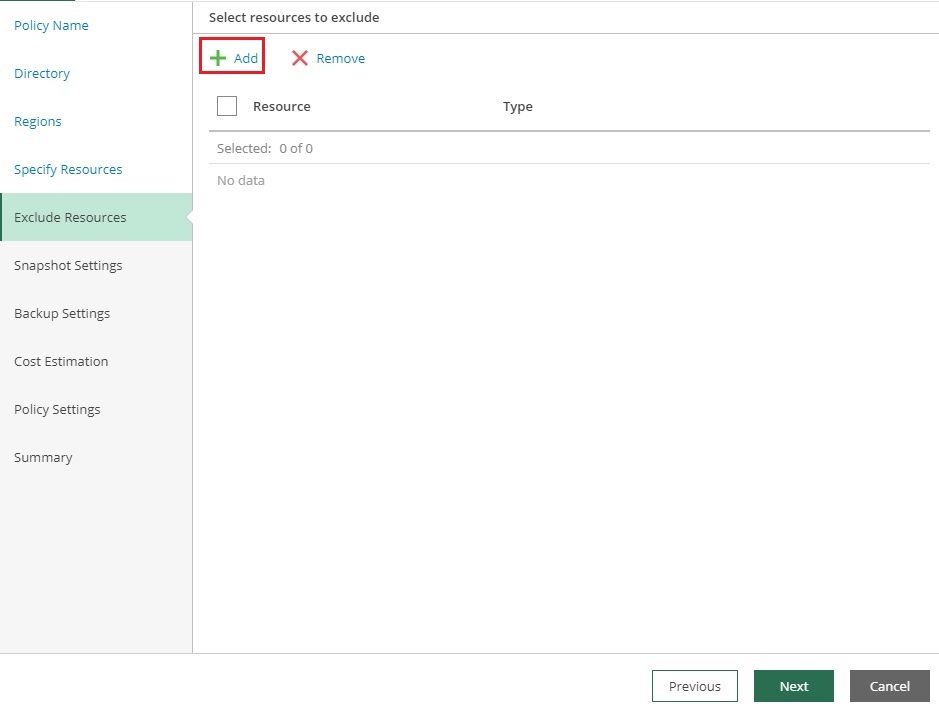
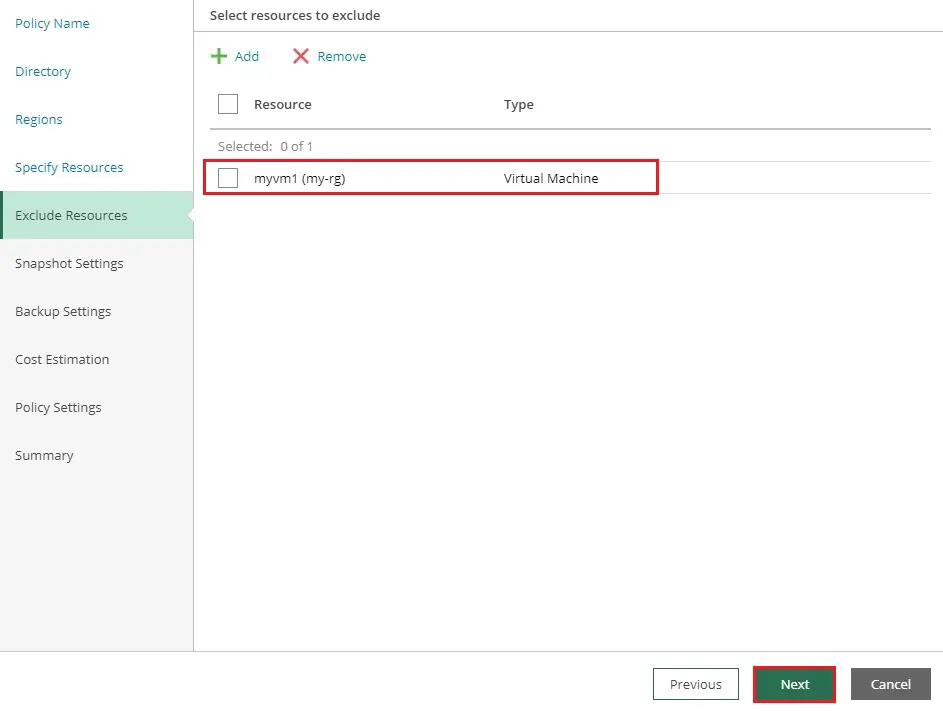
12- This option is ideal if we selected a subscription containing several VMs in the previous step, and we do not want to protect all these VMs. Click add.
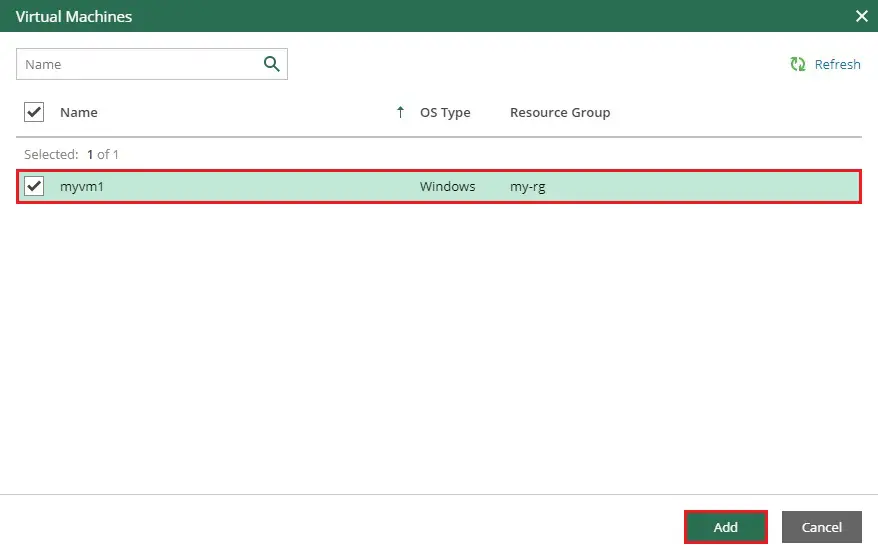
13- Click next.
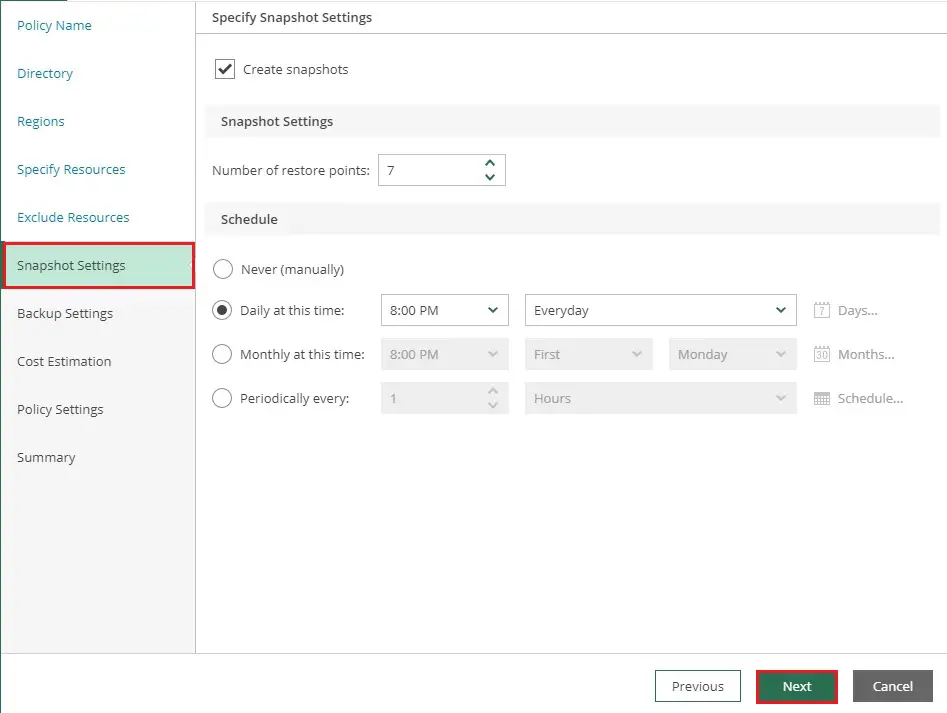
Snapshot Settings
14- Snapshot Settings tab, you can enable the creation of snapshots, set the number of restore points, and configure the snapshot schedule. These specify snapshots are suitable when rapid recovery points are needed, as these can be rolled-back quickly. Click next.
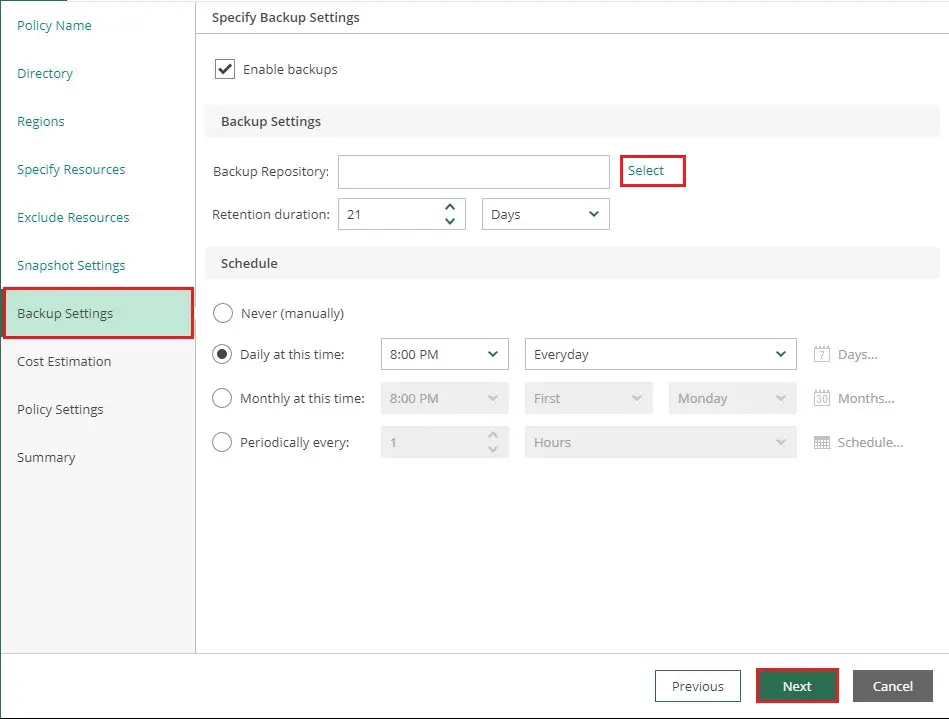
15- Backup Settings, we are going to have more configurations to protect our data using the Azure Blob Storage service. For this choice, remember to have the Azure storage account adequately configured. Then, we must select a Backup Repository and configure a schedule. Click on select next to backup repository.
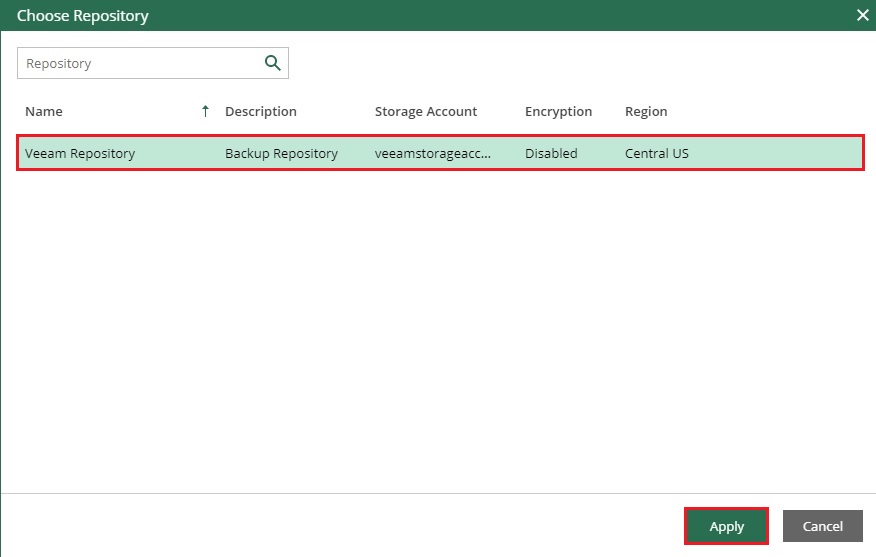
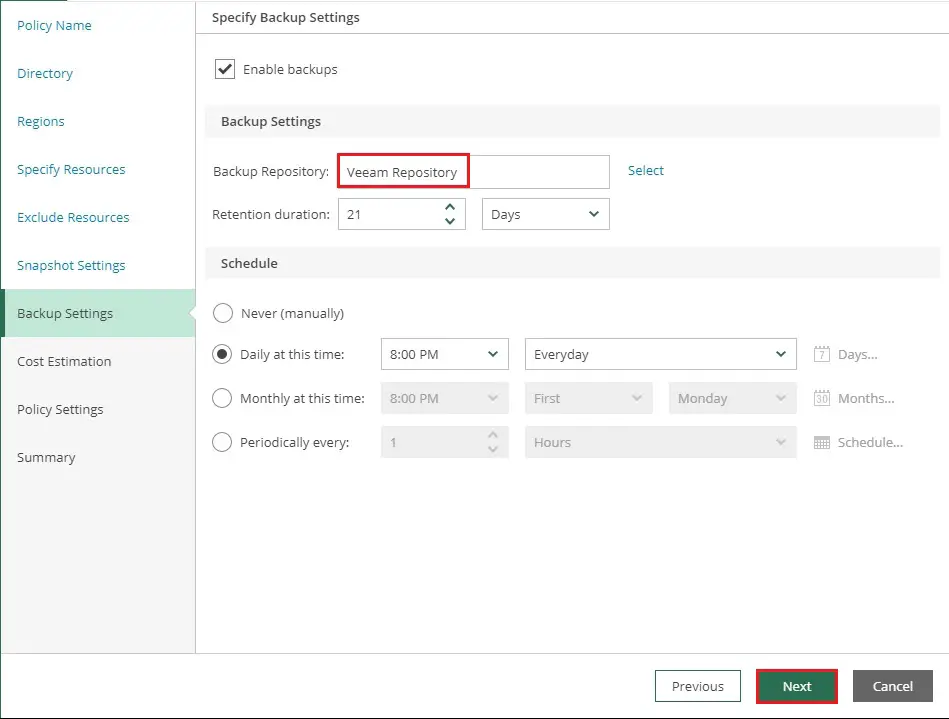
16- Select repository and then click Apply.
17- Click next.
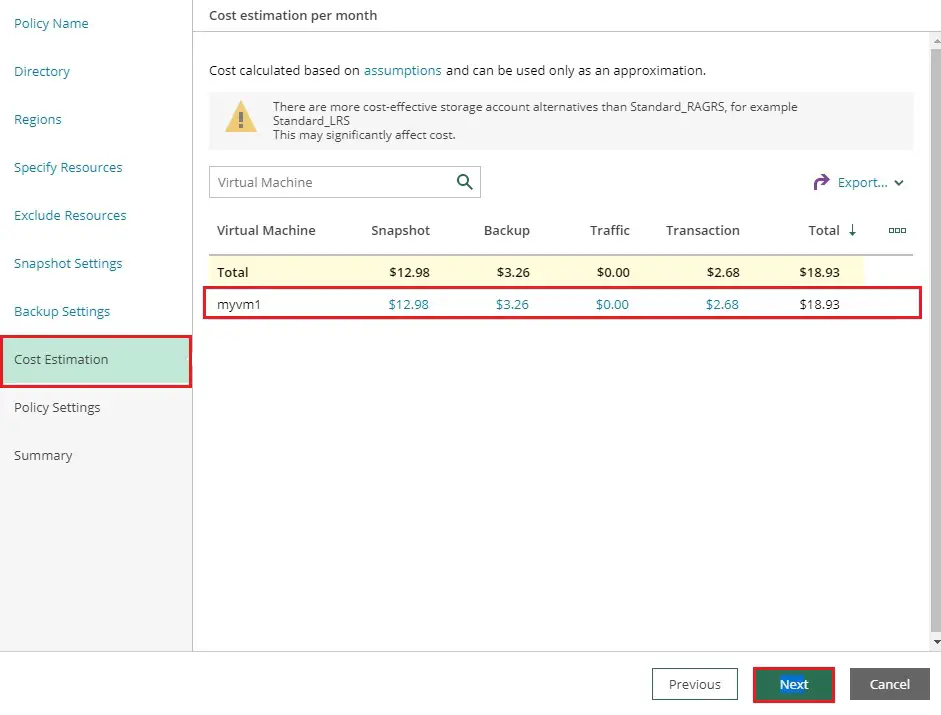
18- Cost Estimation tab, you can have a reasonable assumption and understanding of what is going to be the overall cost based on the amount of time that we are going to keep our backup. Click next.
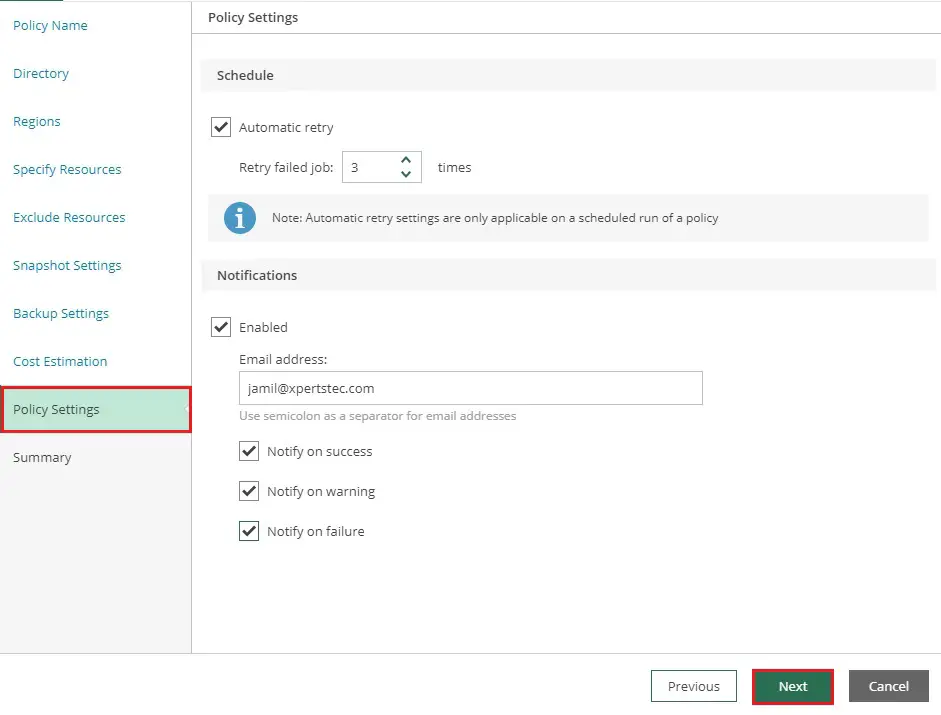
19- Policy Settings option, an Email notification can be set here. Click next.
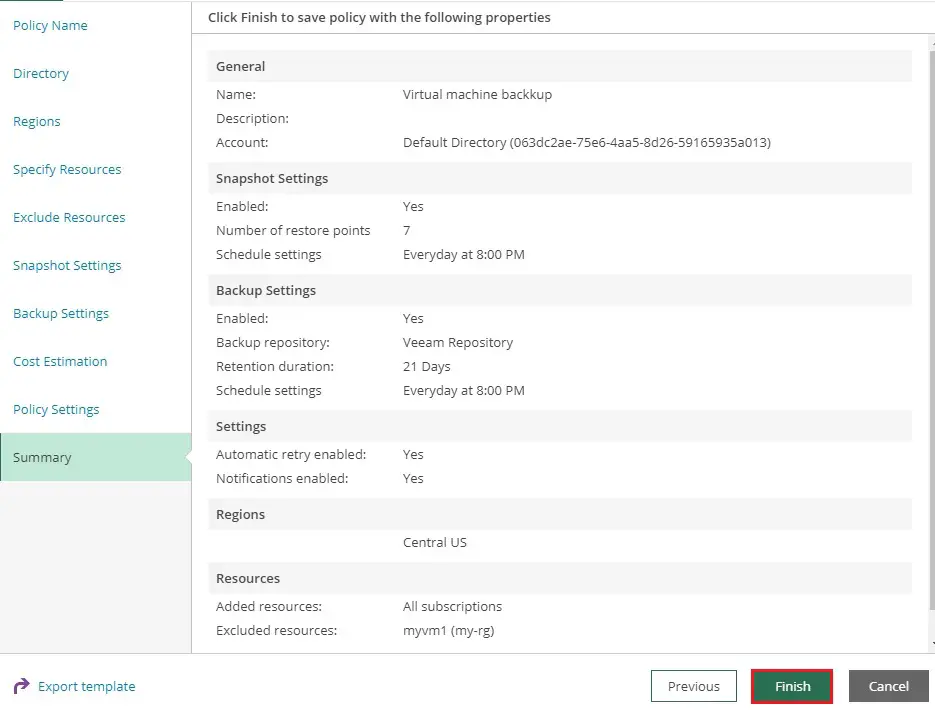
20- Review the Summary, check all the policy properties and then click Finish.
Start Backup Job
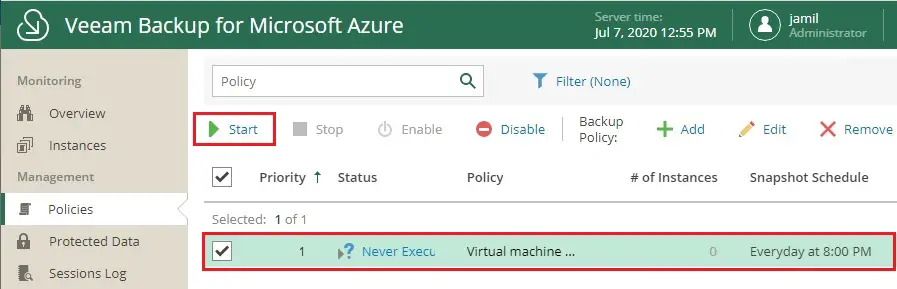
21- Now our new policy has been created. Some of these steps are optionally such as snapshots and backup settings. Therefore, you can be allowed to create an elegant policy (or policies) that fits our backup needs.
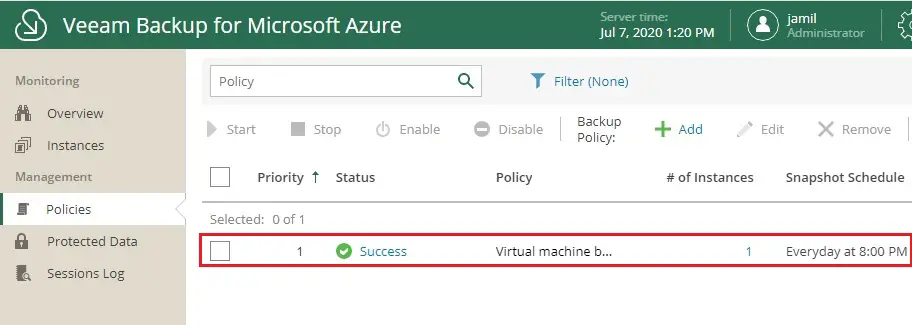
The new policy is visible under Management – Policies, Notice that this policy is only rolled out once you click on the Start button. You also have some other options for the policy, Stop, Enable, Disable, Edit, Remove, and etc.
22- It’s in running status.

23- Now the policy is marked now as a Success in Veeam Backup for Azure.
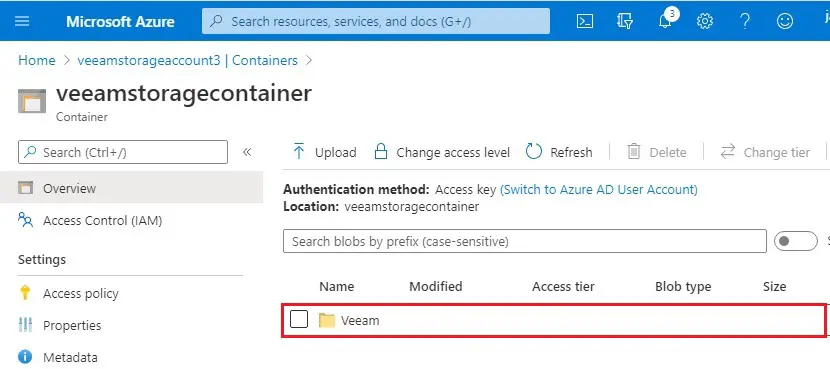
24- Now you can see in the azure portal under you storage container.
Once this appliance is successfully configured, it can be integrated into Veeam Backup & Replication. This consolidation one that provides a single platform for hybrid cloud organizations to manage and migrate cloud workloads.