Capture a managed image azure in this article I will show you how to Capture a virtual machine (VM) and Create a new VM from that Image with Managed Disk.
A managed image resource possible created from a generalized virtual machine (VM) that is stored as either a managed disk or an unmanaged disk in a storage account. The captured image can be used to create multiple VMs.
Capture Managed Image in Azure steps-
Sysprep Virtual Machine
Capture Virtual Machine
Create Virtual Machine from image
Sysprep Virtual Machine steps click here
Capture Virtual Machine
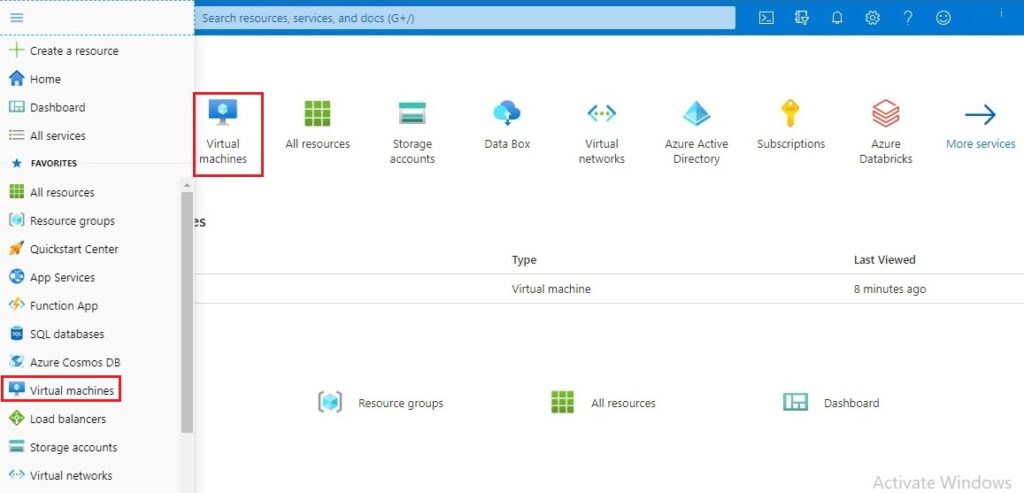
1- Login to the Azure Portal and then select virtual machine.
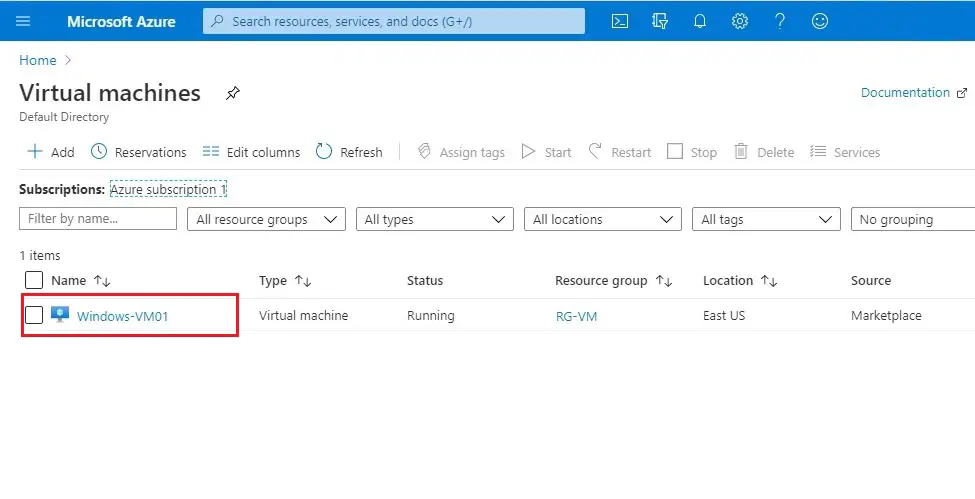
2- Select the VM you want to capture image.
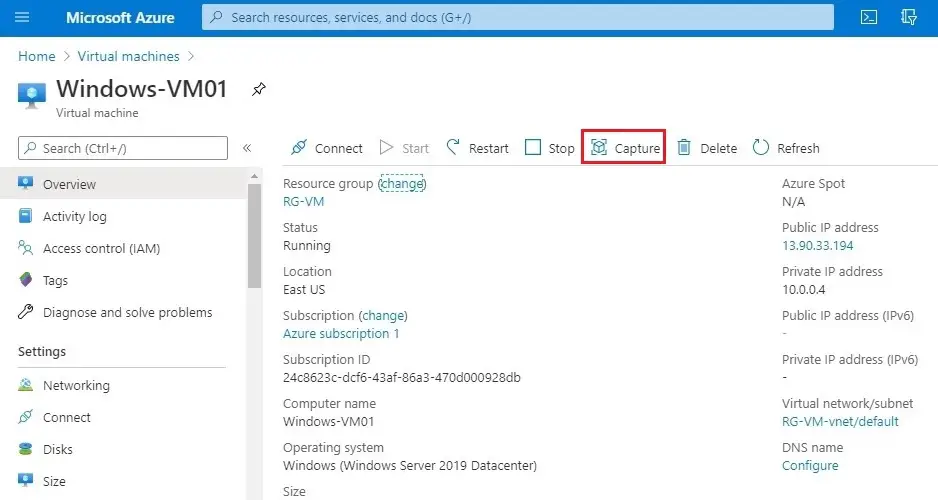
3- VM’s Details pane click on Capture
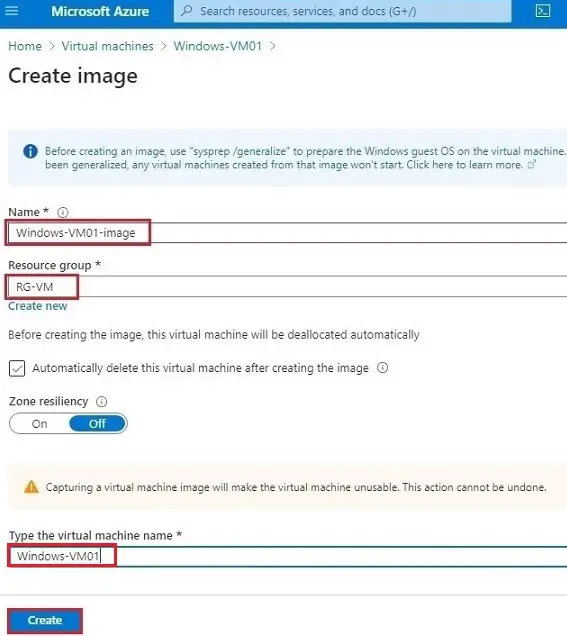
4- Type a name to your new Managed Image and select an existing Resource Group. Please select to delete this VM after creating the image is created or leave it to delete later.
Type the virtual machine name and then click create.
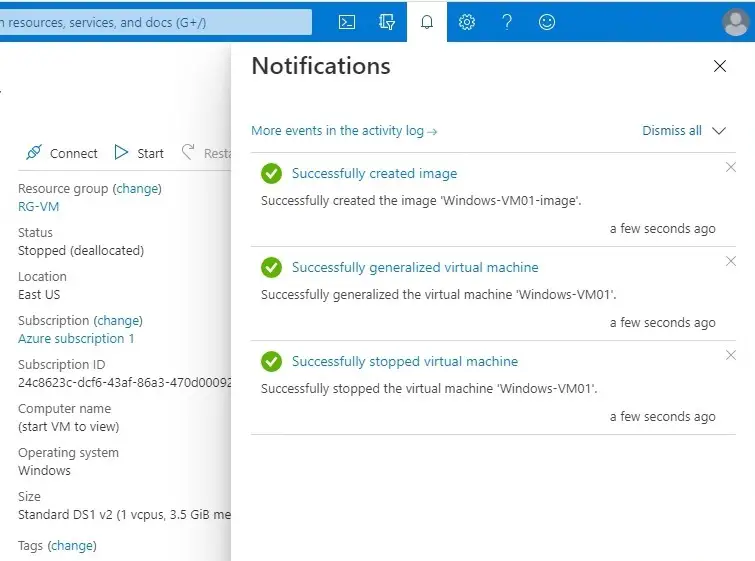
5- Now you can see in the notification successfully created image.
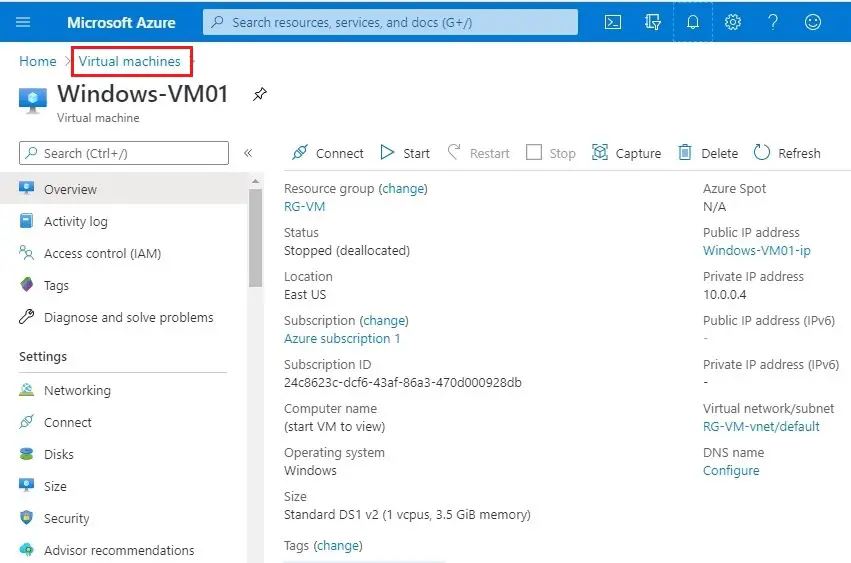
6- Click on virtual machine.
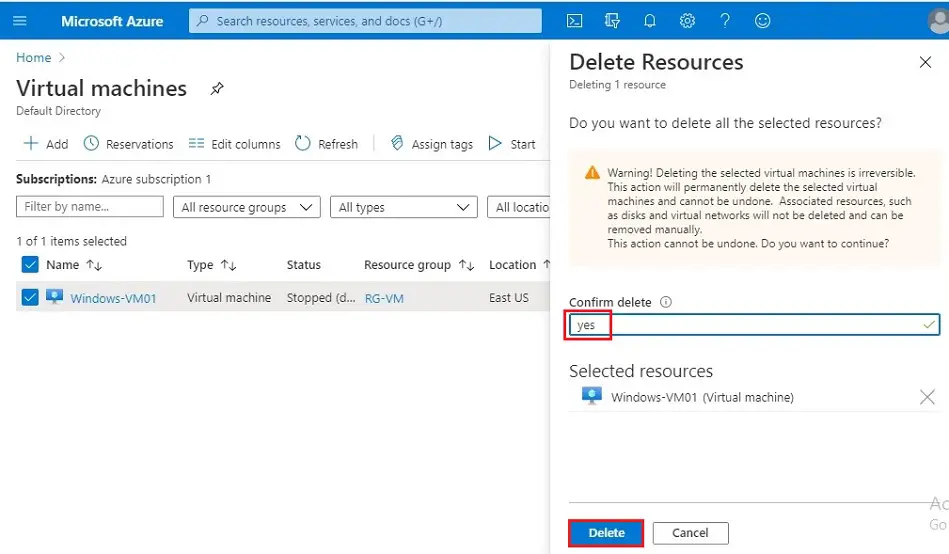
7- Select the virtual machine and then click on delete.
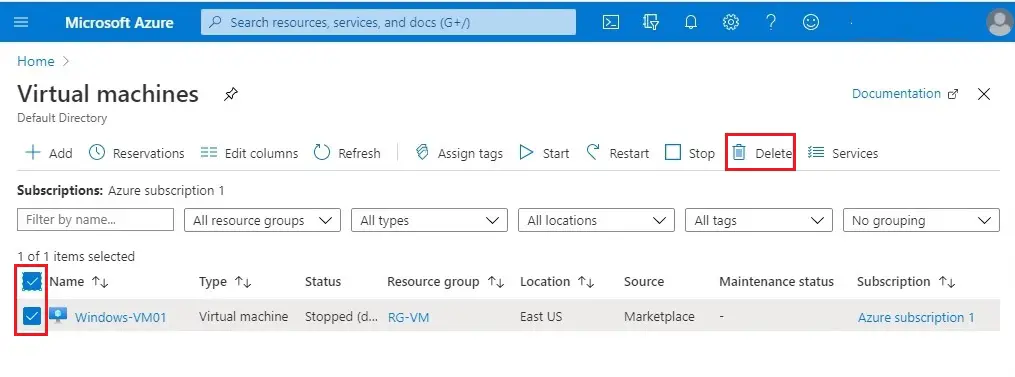
8- Click yes under confirm delete and click the delete button.
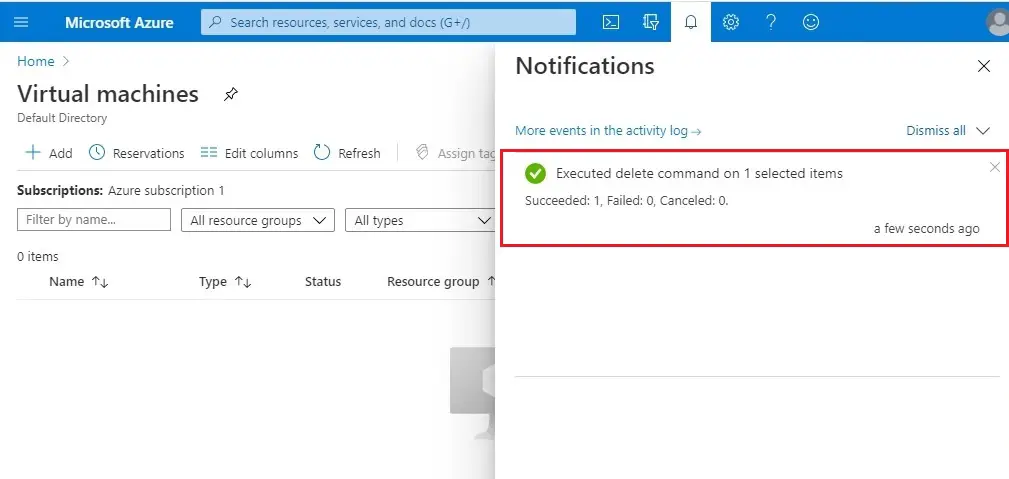
9- VM successfully deleted.
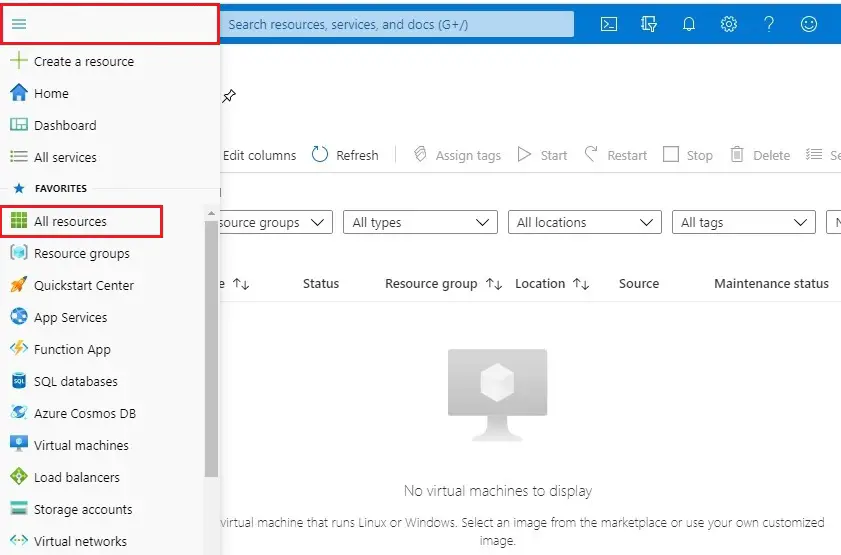
10- In the Azure portal, go to the all resource.
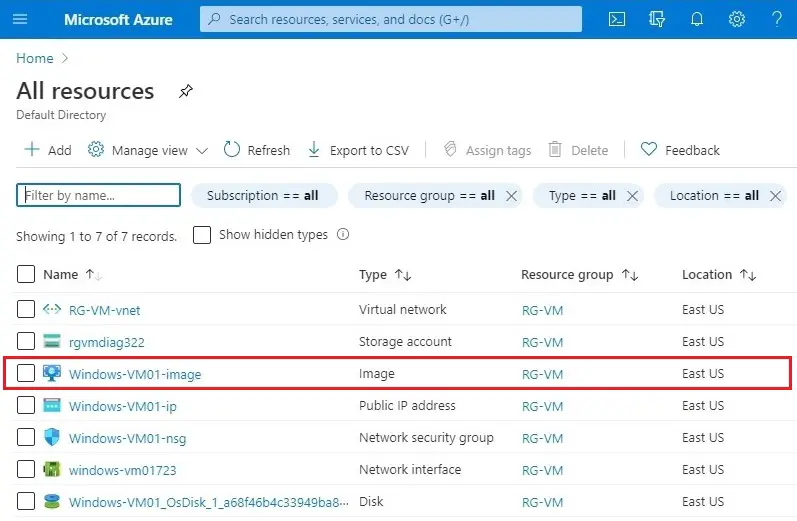
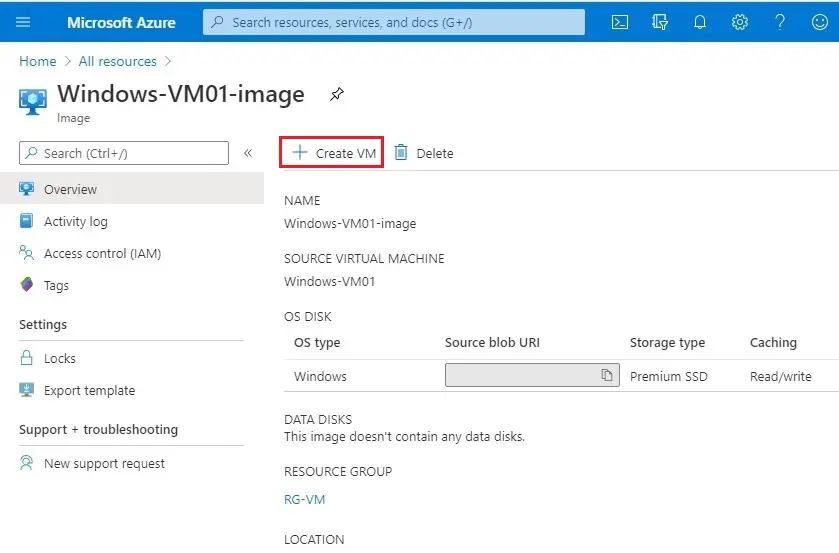
11- Click on newly captured image.
12- Choose + Create VM
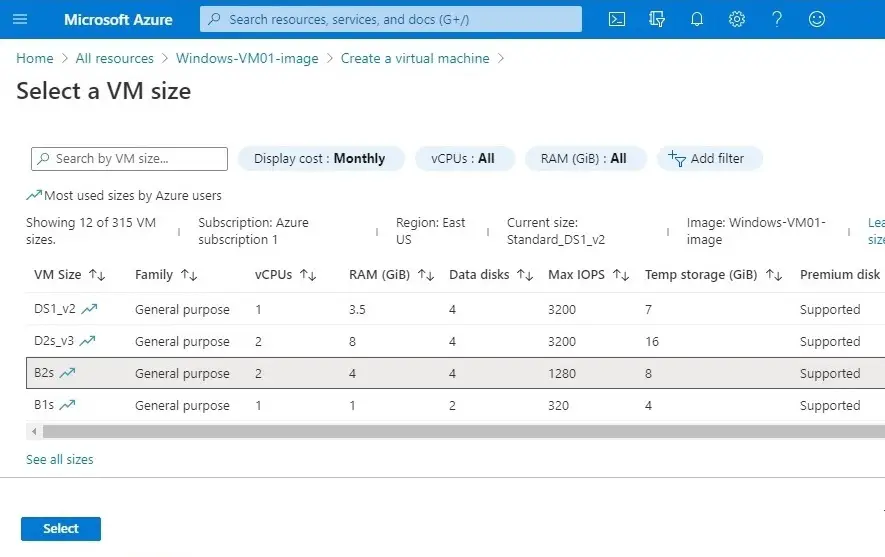
13- Select resource group, type VM name if you would like to change the VM size then click select size.

14- Choose a VM size and then click OK.
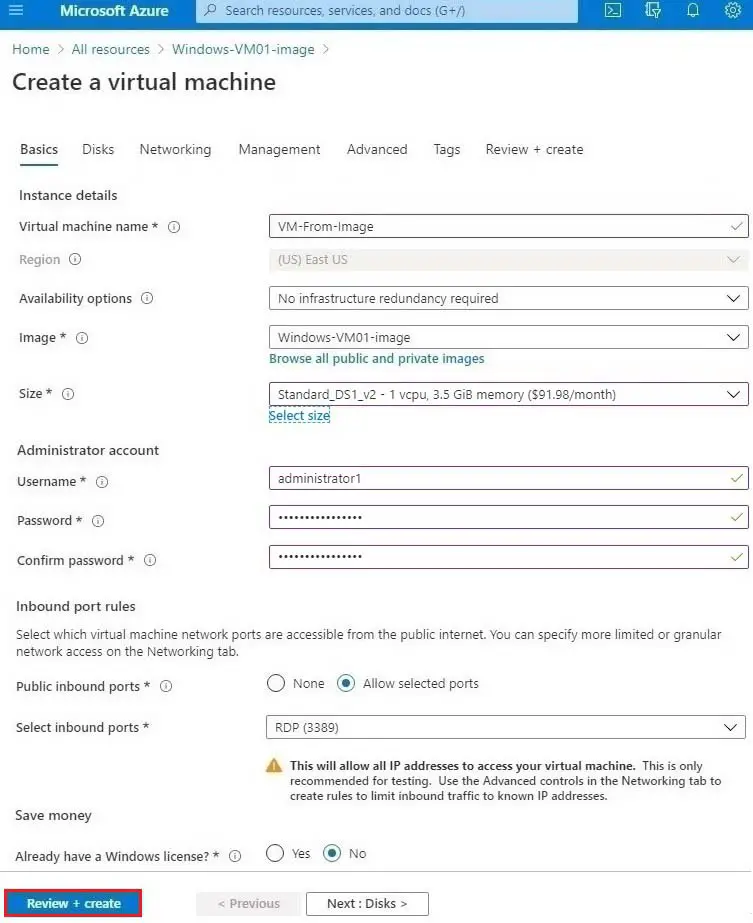
15- Type administrator account username, password, select inbound port RDP and then click review + create.
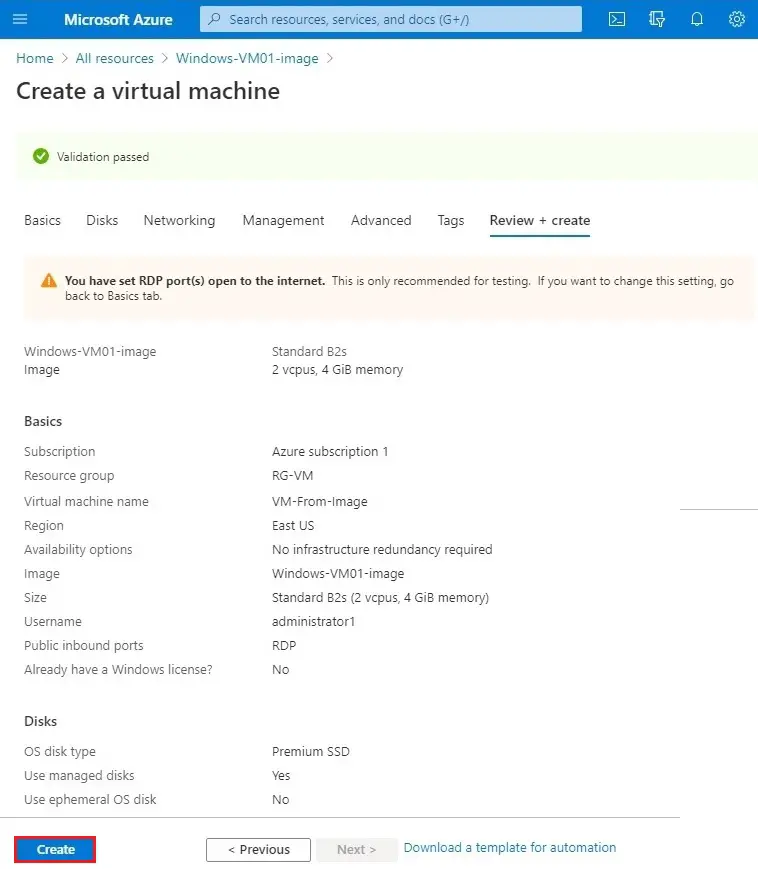
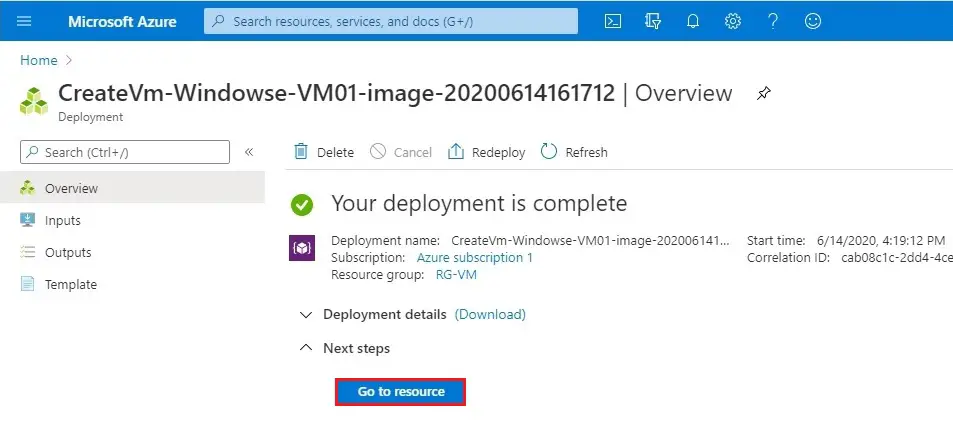
16- Virtual machine validation passed review the details and then click create
17- Click on go to resource.
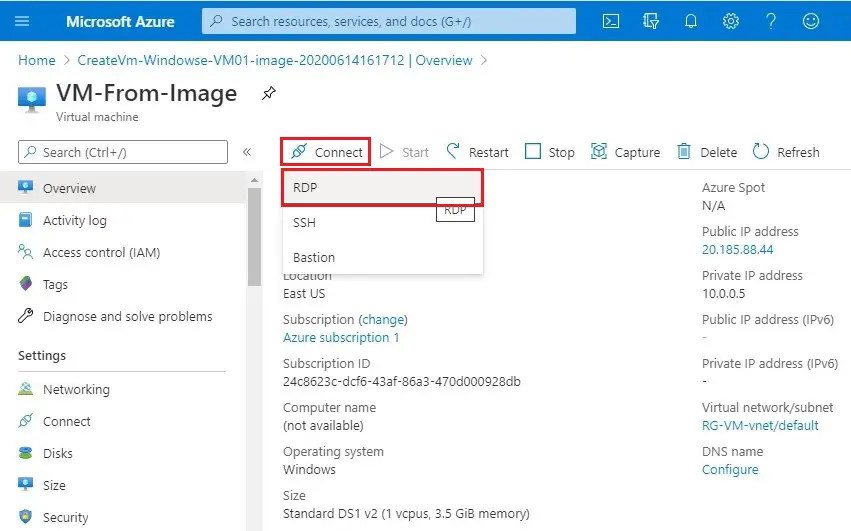
18- Select connect and then the RDP.
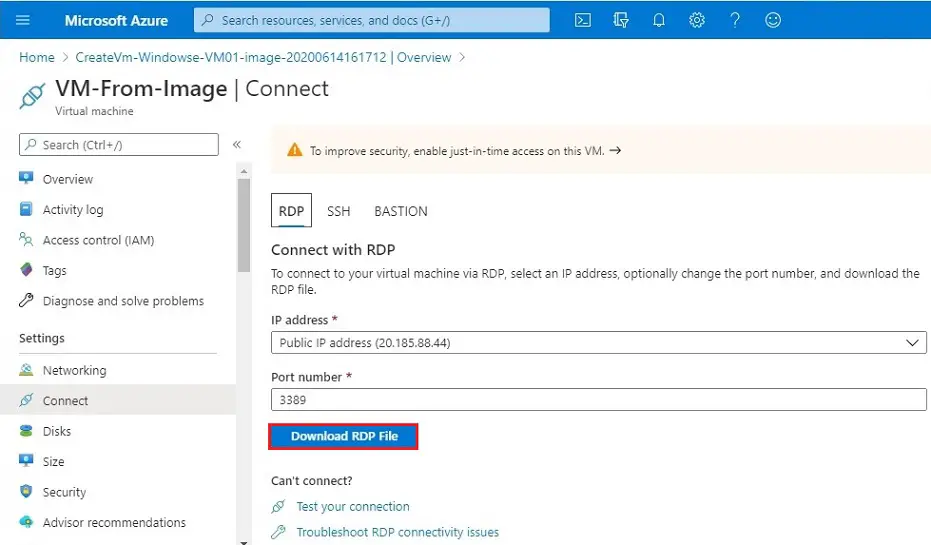
19- Click on download RDP file.
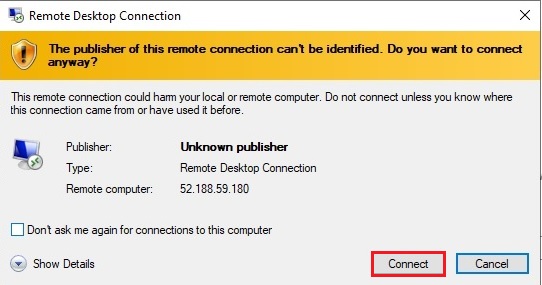
20- Remote desktop connection click connect.
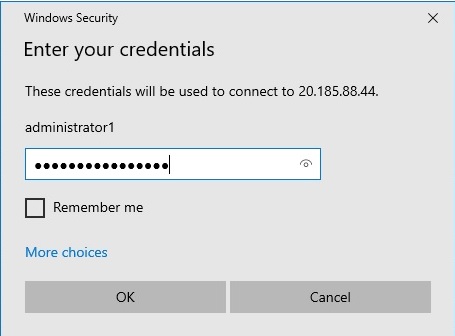
21- Enter your credentials and then click OK.
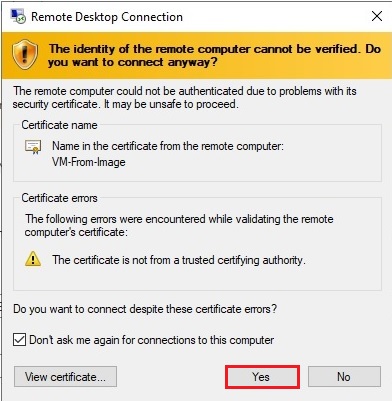
22- Click Yes.
23- Now you can see windows server 2019 successfully login.


Like!! Thank you for publishing this awesome article.
thank you