How to Install Windows Assessment and Deployment KIT
Install Windows Assessment and Deployment KIT. In this article I will cover the steps to install the latest version of Windows ADK for SCVMM (System Center Virtual Machine Manager). Windows ADK is an external dependency when you install SCVMM. There are 2 ways to install the Windows ADK. Via GUI and via command line.
We have to download ADK – Windows PE and install them one by one. We install Windows ADK first and then add Windows PE to our ADK installation.
Download Windows ADK and Windows PE click here
How to Install Windows ADK for SCVMM
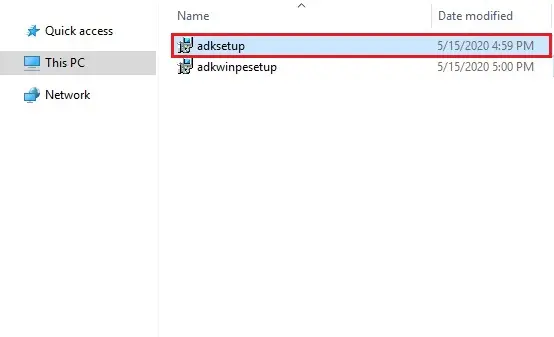
1- To install Windows ADK for SCVMM, download adksetup.exe. and then double click to run file.
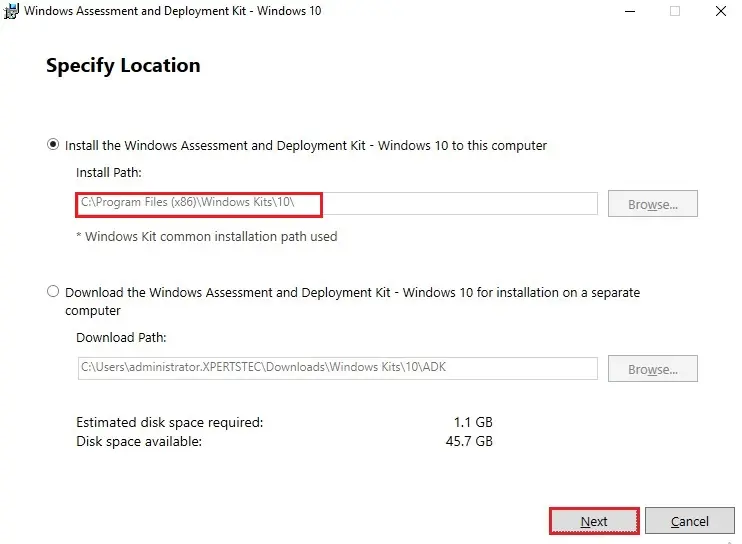
2- Windows Assessment and Deployment kit install wizard.
Select the Install Windows Assessment and Deployment Kit and then click next.
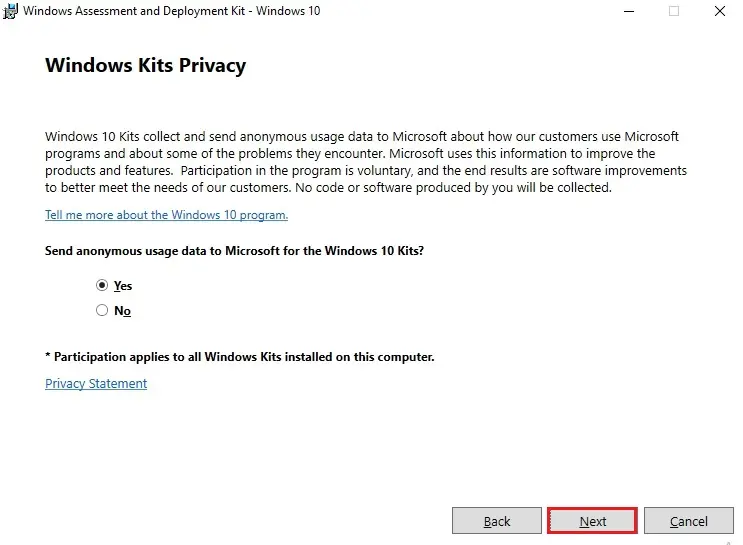
3- If you want to send or not to send anonymous usage data to Microsoft, then click next.
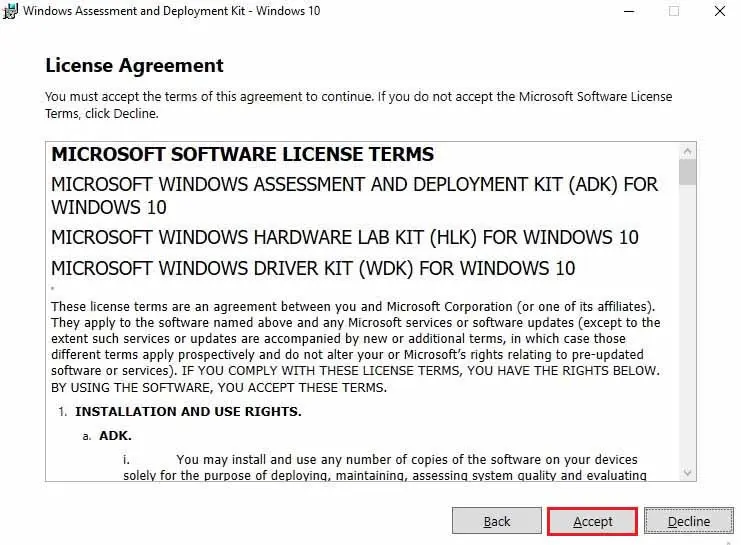
4- Windows assessment and deployment Click accept the license terms.
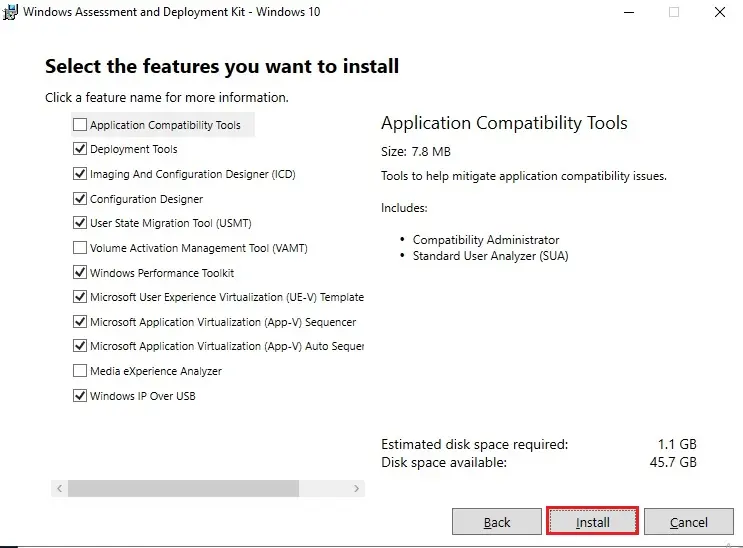
5- To install Windows ADK for SCVMM, Select the features you want to install and then click on Install.
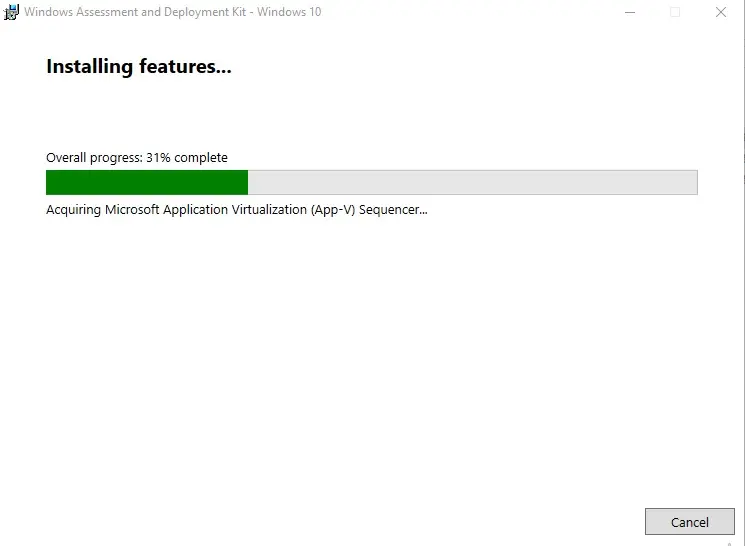
6- Windows assessment and deployment kit installing features.
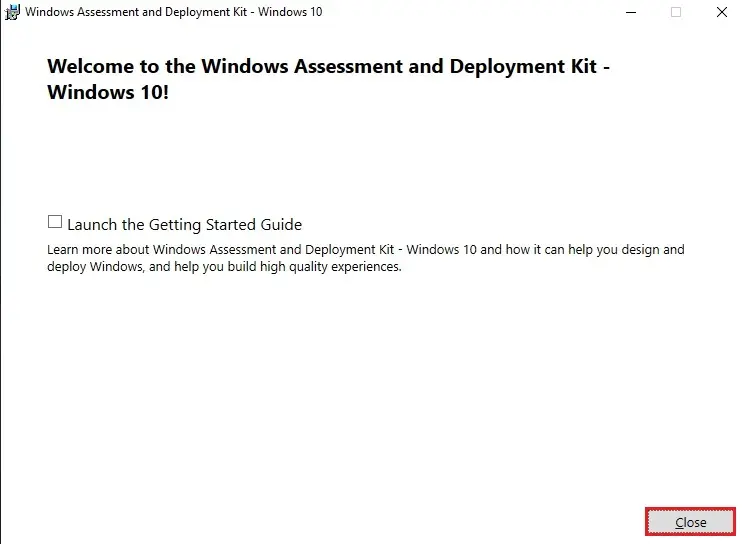
7- The Windows ADK installation is complete. Click the close button.
Install Windows PE Add-on for Windows ADK
8- In the above steps, we installed Windows ADK. Now we will install the Windows PE add-on for Windows ADK. Download adkwinpesetup.exe and then double click on it to run.
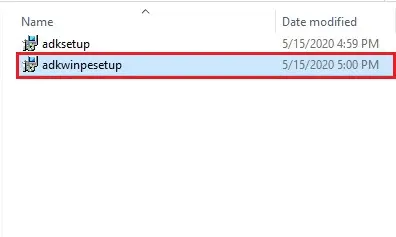
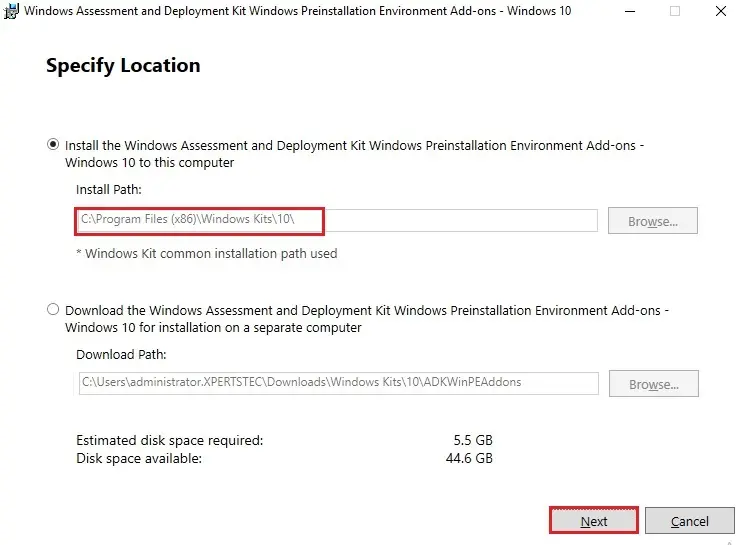
9- Select Install ADK Windows Preinstallation environment add-ons and then click next.
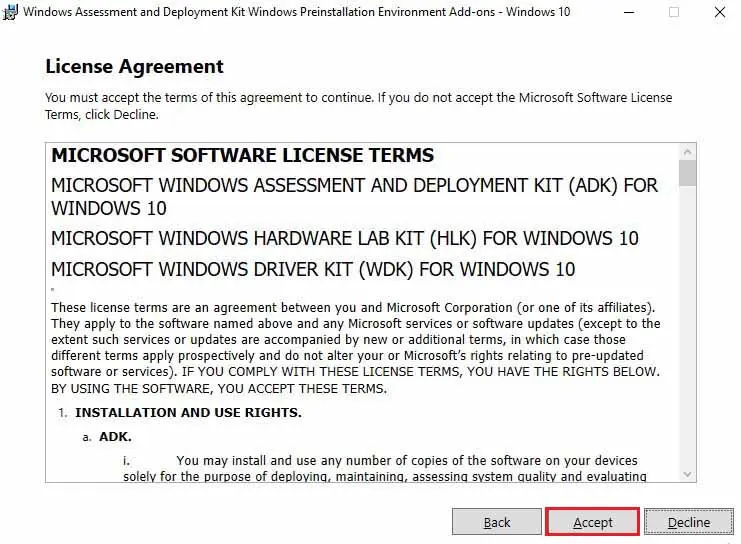
10- To accept license terms, click the Accept button.
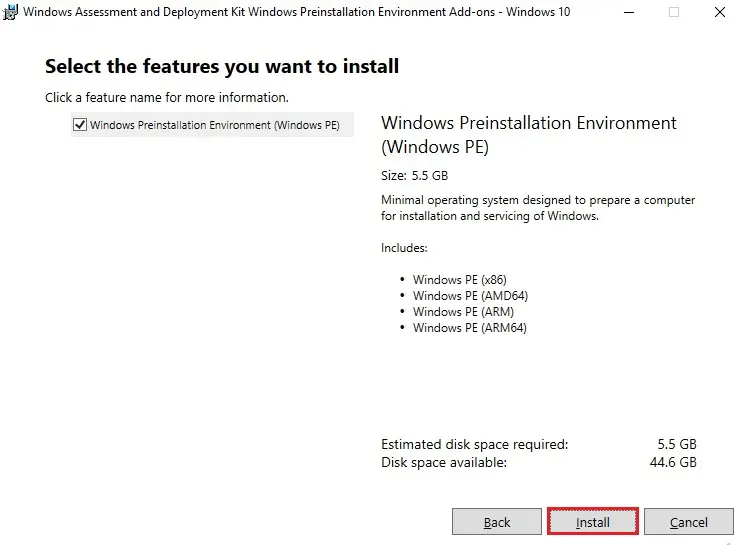
11- Now you can see there is only a feature that is included which is the Windows Preinstallation Environment (Windows PE).
Click the Install button.
12- Installing Windows preinstallation environment is in progress.
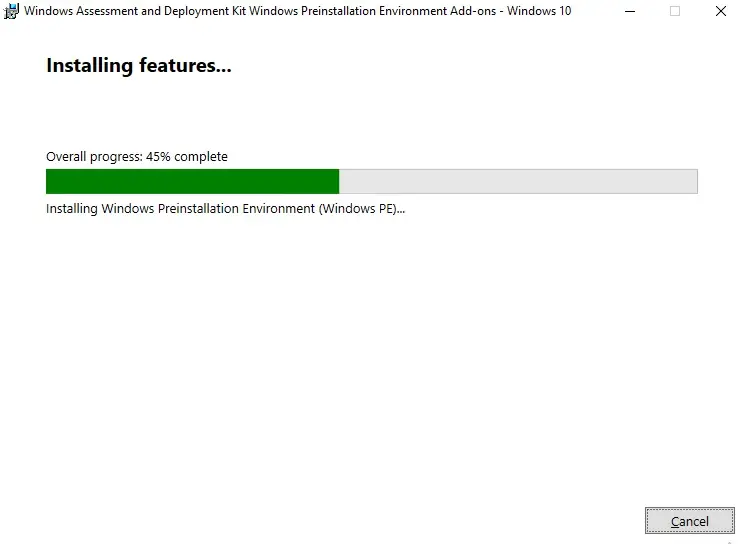
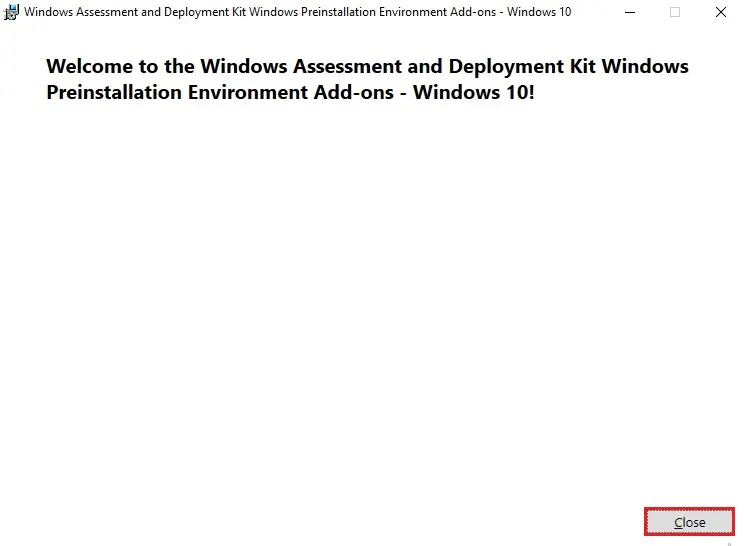
13- The Windows PE installation is complete. Click the Close button.


It’s enormous that you are getting ideas from this post as well as from our dialogue made here.|
Dear Halina,
thank you
You actually make it appear really easy along with your presentation but I to find this matter to be actually
something which I believe I would by no means understand.
It kind of feels too complicated and very wide for me.
I am looking forward for your next publish, I will
attempt to get the hold of it!
Thank you
If you wish for to grow your experience just keep
visiting this website and be updated with
the latest news update posted here.
Thank you