Quick Migration Virtual Machine
Quick migration allows you to migrate Virtual Machine or virtual disks between VMware vSphere ESXi hosts and Datastores. If you need to use VMware vSphere vMotion to relocate VMs between hosts or VMware vSphere Storage vMotion to relocate VM disks between datastores, make sure that you have a VMware vSphere license covering these features.
Quick migration prerequisites and limitations click here
Watch this video on XpertsTec YouTube.
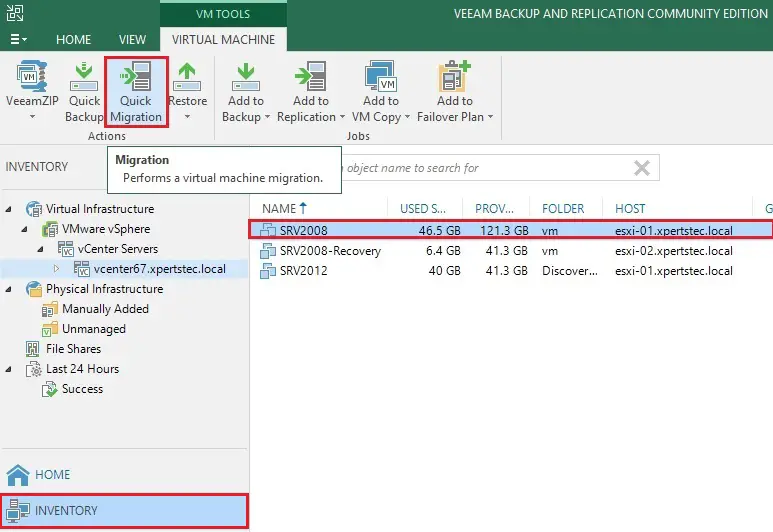
1- Login with Veeam Backup & Replication, Select the Inventory option, under virtual infrastructure expand VMware vSphere node and then select a VM container in which the Virtual Machine that you want to relocate reside.
Select the Virtual Machine that you want to migrate and then click Quick Migration from the Veeam menu.
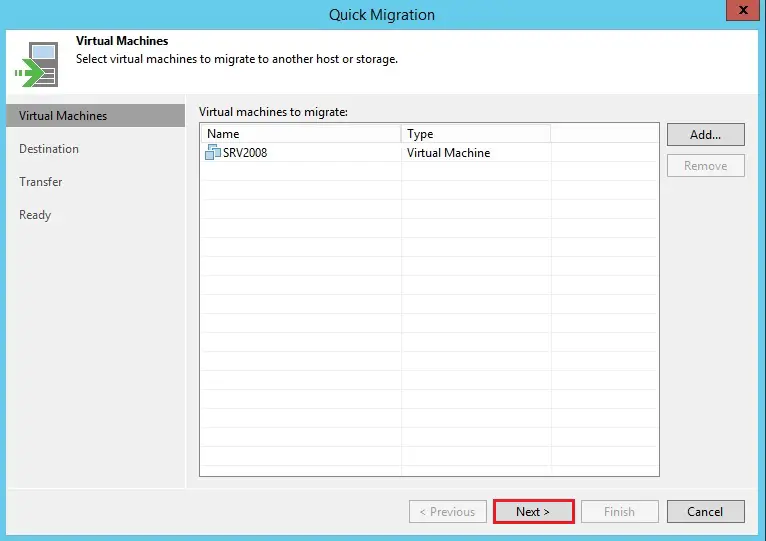
2- Quick migration Virtual Machines wizard, select the VM and then click next.
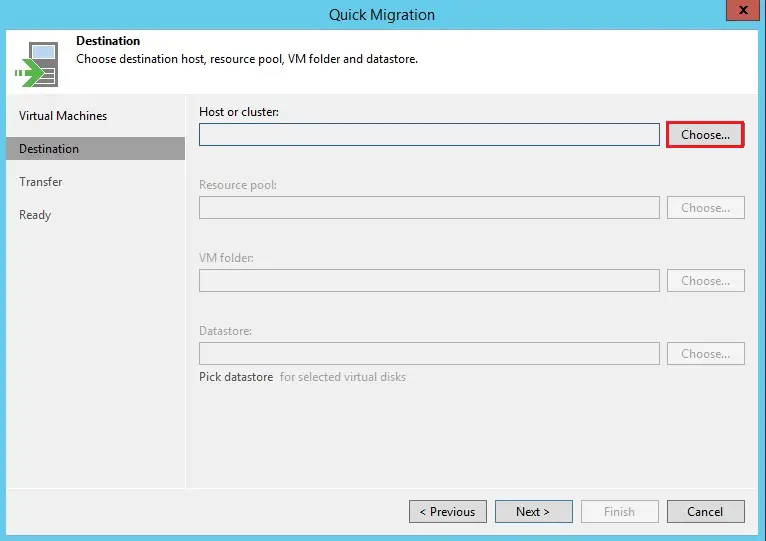
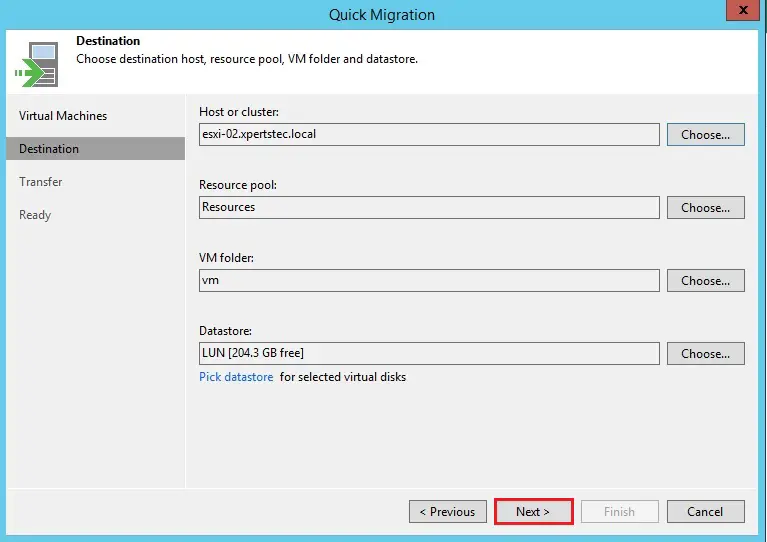
3- Select the destination to which the VMs must be relocate and then click on the Choose button next to the Host or cluster field.
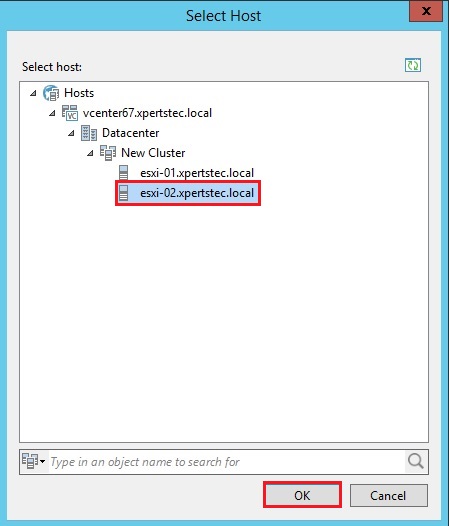
4- Select an ESXi host or cluster where do you want to the relocated VM must be registered and then click OK.
5- Select the Choose button next to the Resource pool field and then select the target resource pool. If you want to place relocated Virtual Machine to different resource pools.

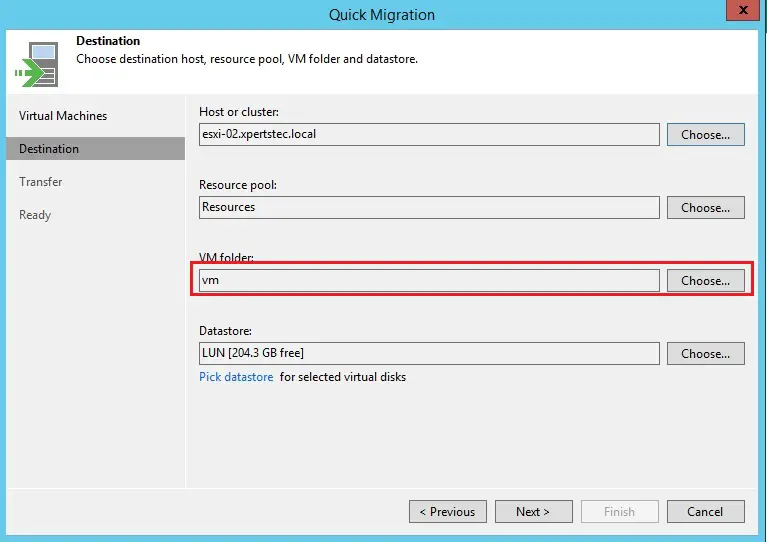
6- Select the Choose button and select the folder, if you want to place relocated VMs to different folders.
7- Under datastore select the choose button if you need to change the datastore. The Veeam displays only those datastores that are accessible by the selected ESXi host.
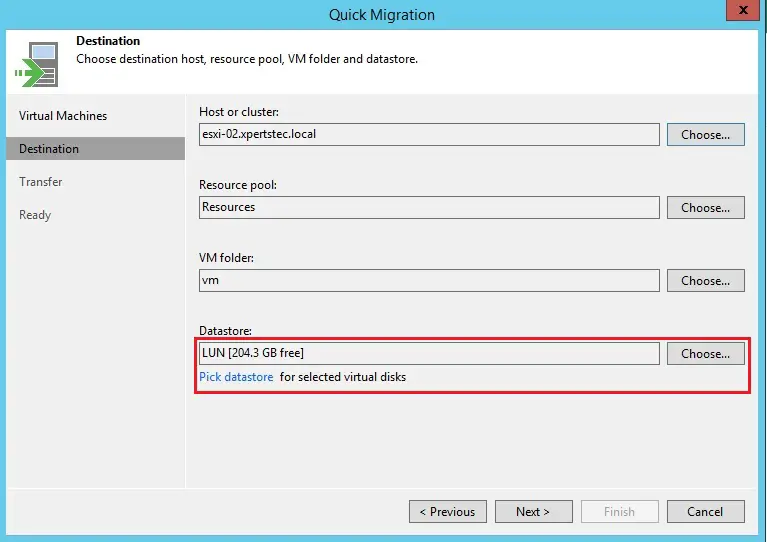
8- By default, Veeam Backup saves disks of relocated VMs in the thin format. You can change the disk format and then click Next.
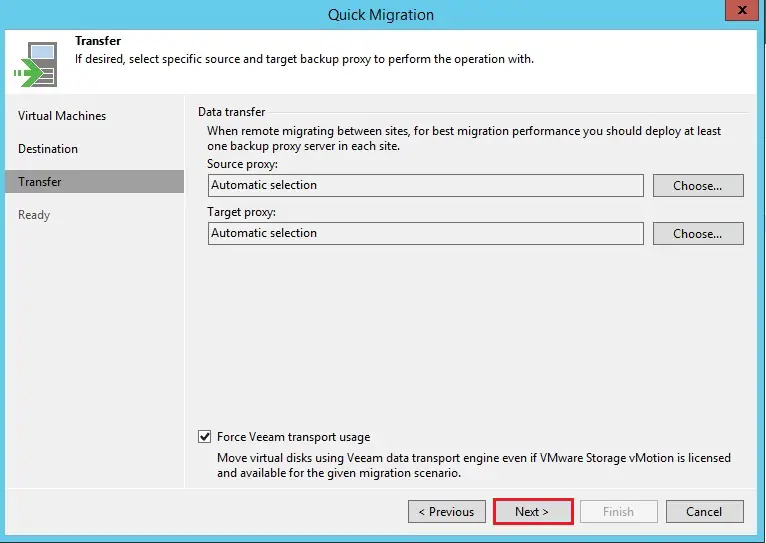
9- Quick migration transfer option click next.
Quick Migration Virtual Machine
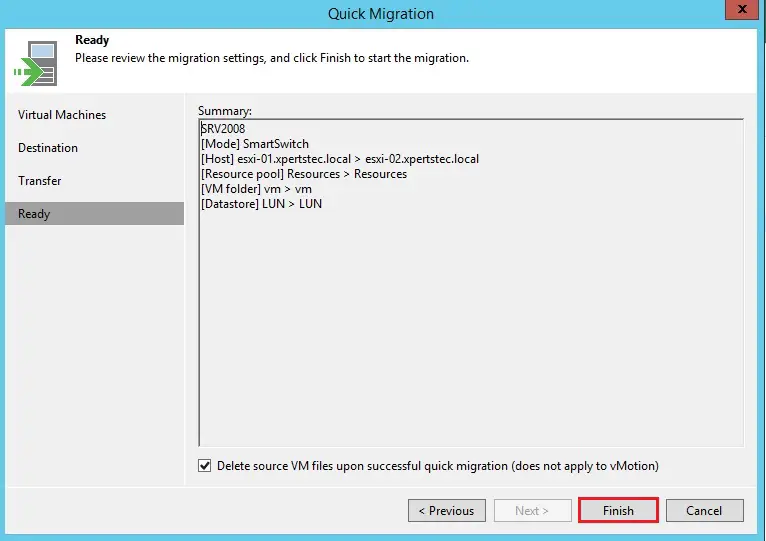
Quick migration Ready option wizard, Review details of the quick migration task.
Disable the Delete source VM files upon a successful migration option, the source VM will not be deleted. All jobs to which one the virtual machine is added will continue to process the source VM.
Enable the Delete source virtual machine files upon a successful migration option, the source VM will be deleted. All the jobs to which the Virtual Machine is added will switch to the migrated VM. The backup sequence will be continued, thus, the next job session for the Virtual Machine will be incremental.
10- Now click the Finish button to close the wizard and start the migration process.
11- Now quick migration is in progress