Install Veeam Agent for Microsoft Windows Free, In this article, I will provide a step by step guide to install Veeam Agent for Microsoft Windows.
This Veeam Free agent delivers Windows backup and recovery for your desktops and laptops running on premises, in home or offices
Download Veeam Agent for Microsoft Windows Free click here
Install Veeam Agent Free
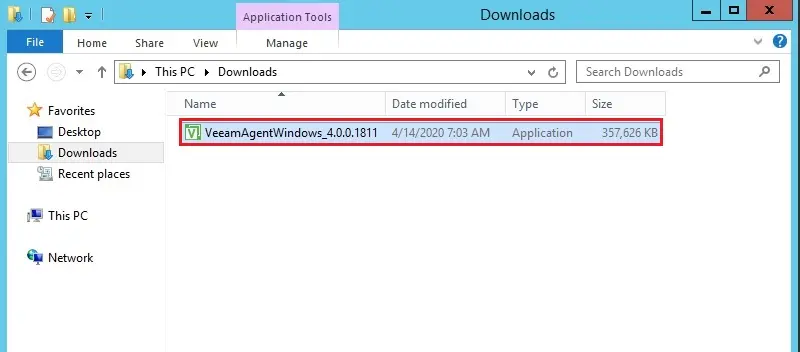
1- After downloading Veeam Agent for Windows, double click to run the installation file VeeamAgentWindows_4.0.0.1811.exe.
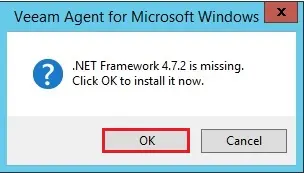
2- Click the Ok button to start the missing .net framework 4.7 for Veeam Agent
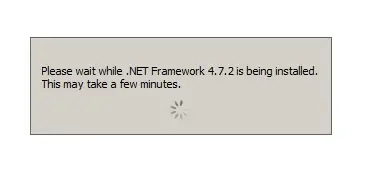
3- .Net framework 4.7 installation is in progress
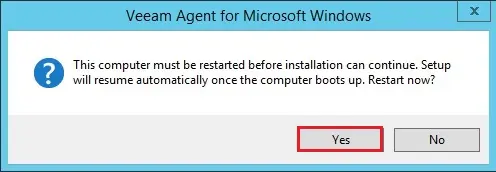
4- Veeam Agent for Microsoft Windows, then click yes to restart computer
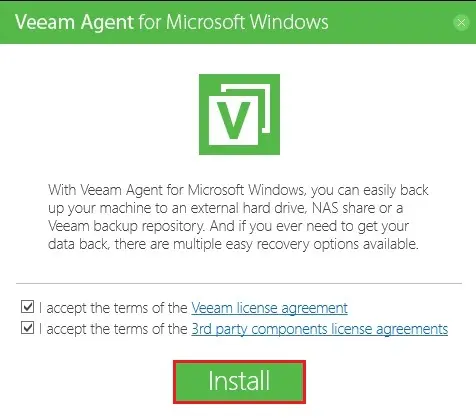
5- Run the Veeam Agent setup exe file again, please accept the terms in the Veeam license agreement and then click on Install button.
6- So, installing required components
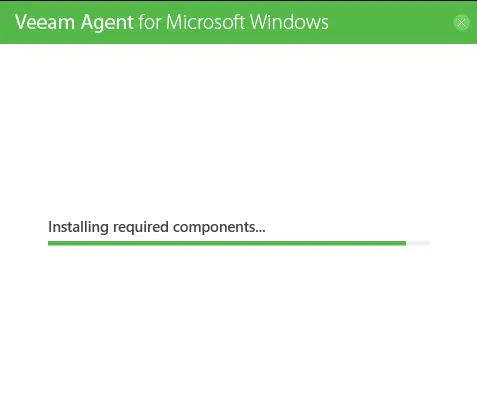
7- Default running process

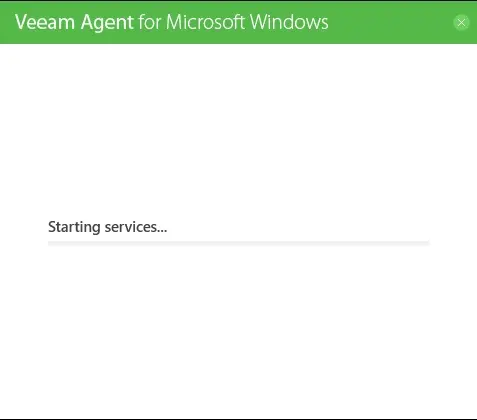
8- Veeam Agent for Microsoft Windows, starting services
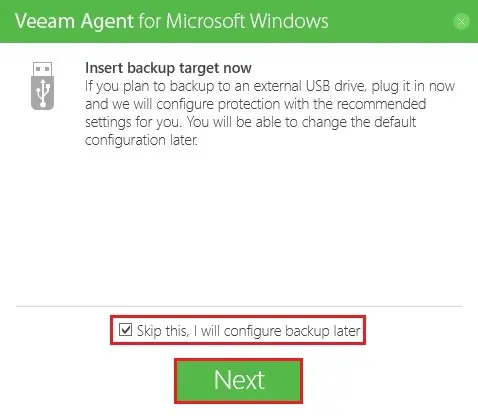
9- Veeam Agent, a screen is pop up and the propose is to insert backup target as USB disk. If you want to backup your workstation or server on the USB drive, then you can insert it.
You need to back up your system data to a Veeam Repository, Cloud Repository, a NAS or Shared location. Then you should choose to Skip this. I will configure back up later checkbox and then click on the Next button.
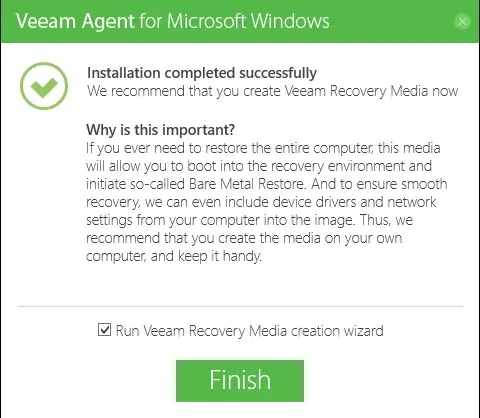
10- Veeam Agent for Windows Installation is completed
Like and subscribe XpertsTec YouTube channel to watch updated videos.


