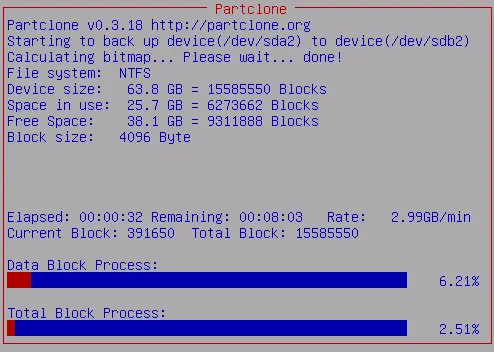
This article shows how to create image backup using Clonezilla. To create a backup image of a system drive as well as restoring from a backup image. Clonezilla is a free software for disk cloning and imaging. Here is all the steps you wish to know about how to use Clonezilla to clone a hard drive in the simplest way.
When you purchase a new system, you need to move your old data to your new system. You can use Clonezilla to clone the entire system drive to a new drive. Drive cloning using Clonezilla is simple, fast, and free of cost.
Create Image Backup using Clonezilla
Preparation
Download the Clonezilla ISO file from their official website.
Create Bootable USB or a CD/DVD media. The CD/DVD is used to boot the system to backup full disk data. Some systems come without a CD/DVD drive. In this case, the best way is you can use a USB flash drive to boot Clonezilla live.
Full Disk Backup using Clonezilla
Boot the computer with the Clonezilla live CD/DVD or USB.
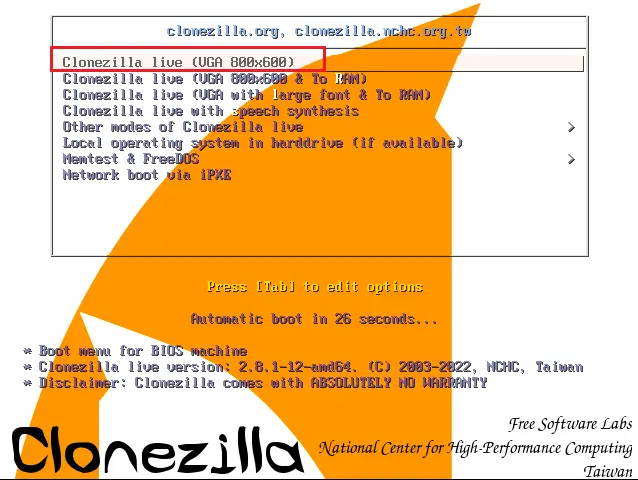
Choose Clonezilla to live (Default setting and then hit enter.
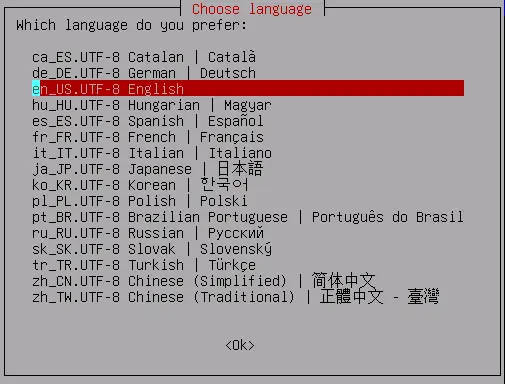
Select the language then select ok.
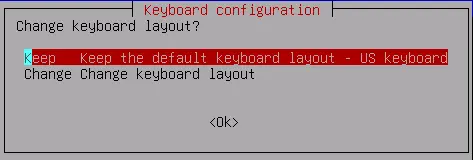
Leave default settings.
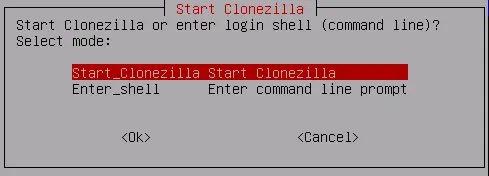
Start Clonezilla window, press enter.
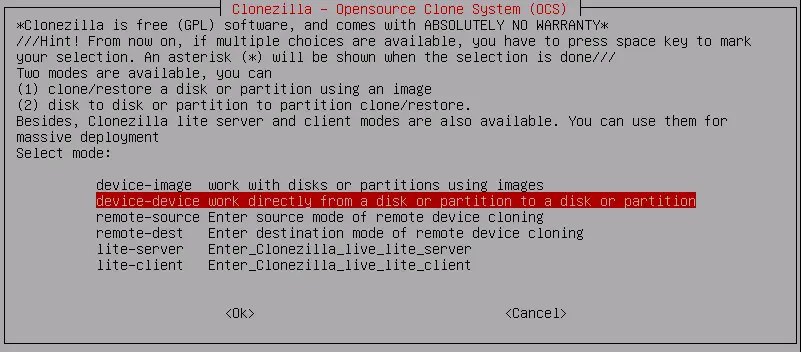
Select Device-image work directly from ….. and press ok.
Then choose Beginner mode.

Click on disk_to_local_disk ……….. and press enter.

Review the size of the disk. It would be the size of the disk to save the image. Press enter

Select your target disk, I select an external drive, and press enter.

Select Skip checking/repairing source file system and then hit enter.

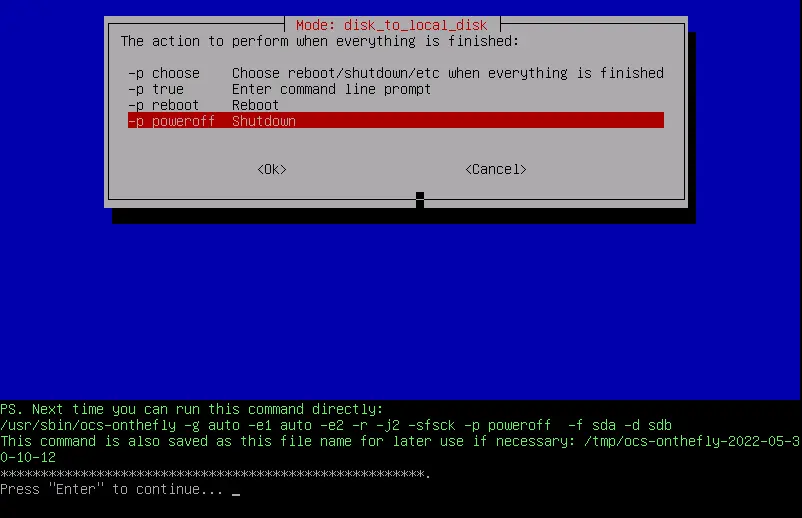
Choose the action to perform when finish and then click ok to continue.
Review the summary (the disk size) and then type Y twice to continue. Wait the backup image procedure is completed.
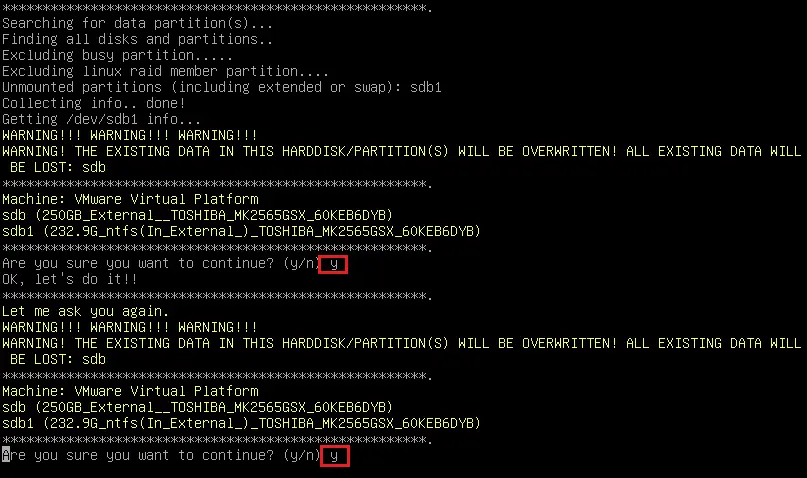
Start creating disk image backup Clonezilla.
