In this article, we will learn how to clone a disk with Macrium Reflect. We can clone to a hard disk installed in our system or to a hard disk installed in a USB pin drive. It is possible to clone an entire system or specific volume on a hard drive. Macrium Reflect is a useful tool if you are upgrading to a larger hard drive. Using Macrium Reflect we can boot the target drive on the same computer after cloning a hard drive. Cloning the hard drive creates a bootable new hard disk with the state of our system at the time we undertook the clone.
If we clone our computer disk to a USB-connected external drive then, to boot our clone, the system physical disk should be removed from the USB exclusion and then attached to the Motherboard SATA port.
Clone a Disk with Macrium Reflect
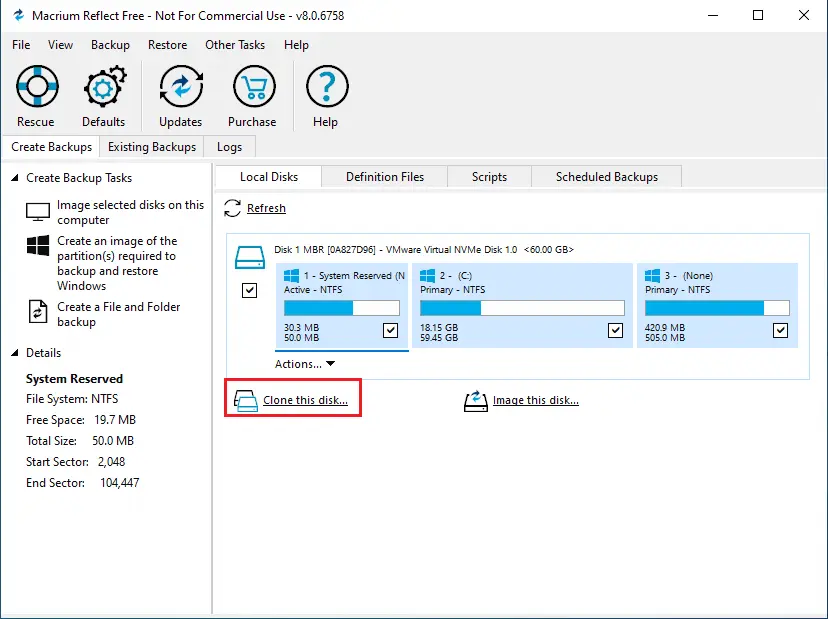
Click on the disk you want to clone in the main Macrium Reflect window and then click on Clone this disk..
In the Cloning Macrium reflect wizard, click on Select a disk to clone to…
Click on the hard disk you want to clone to. In this case, I have only one disk available.
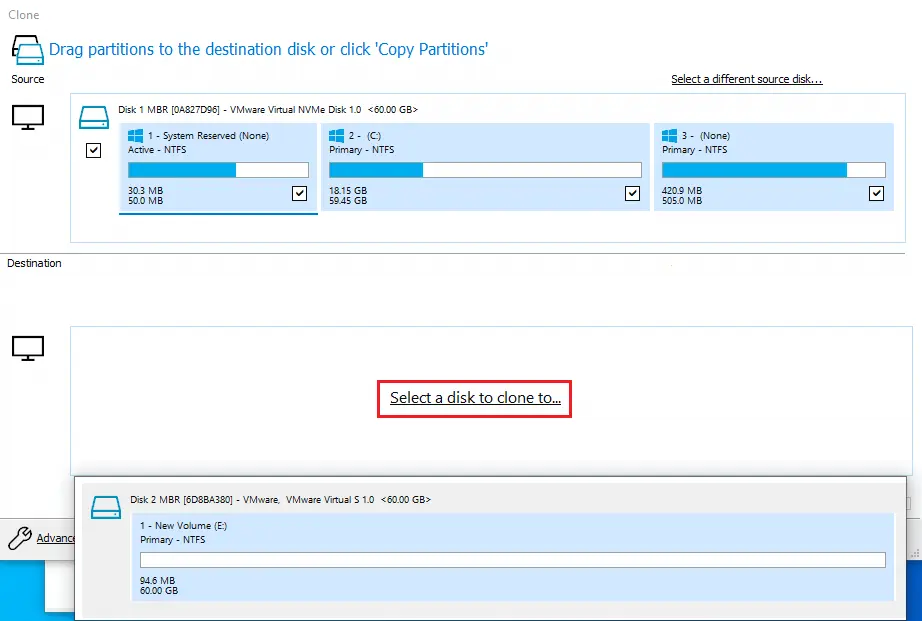
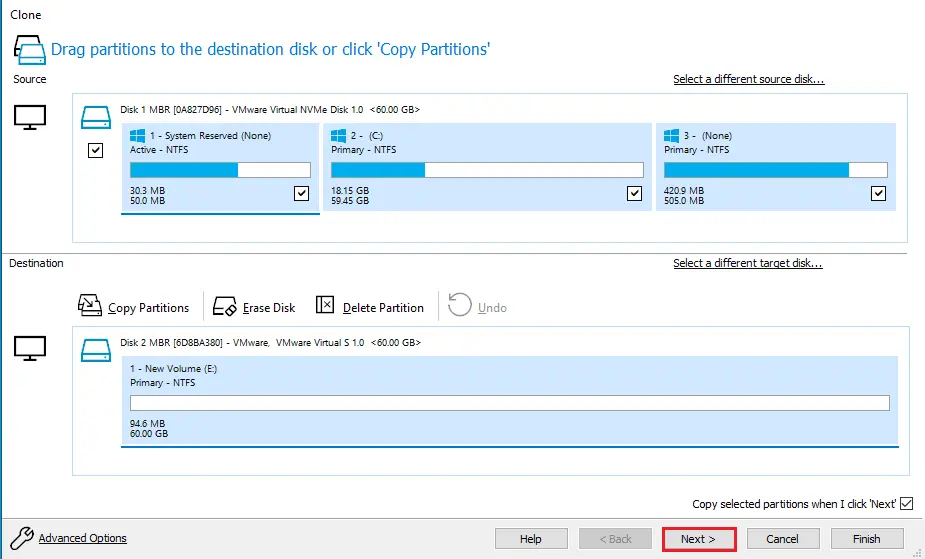
After selecting the disk, click on next.
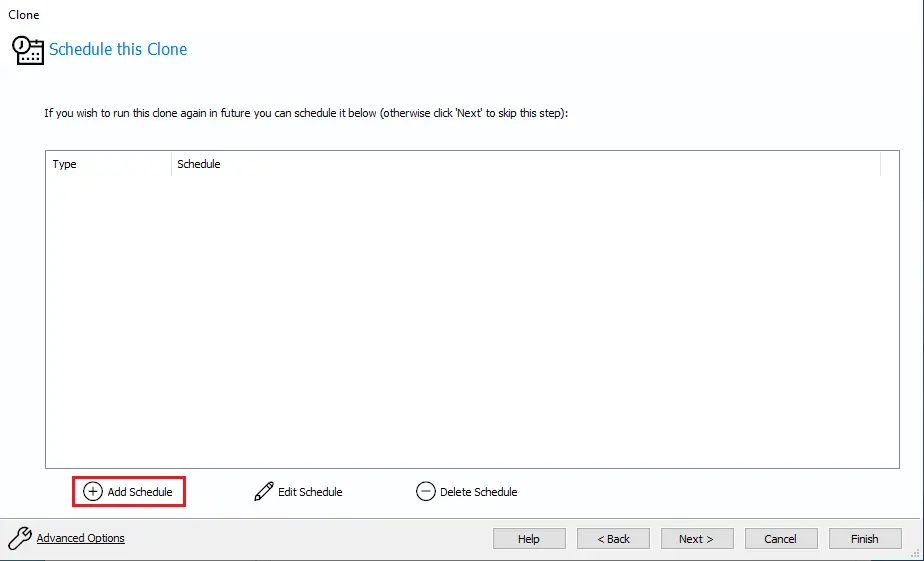
Schedule this clone window, the options are available (Add Schedule, Edit Schedule, and Delete Schedule). Click on add schedule.
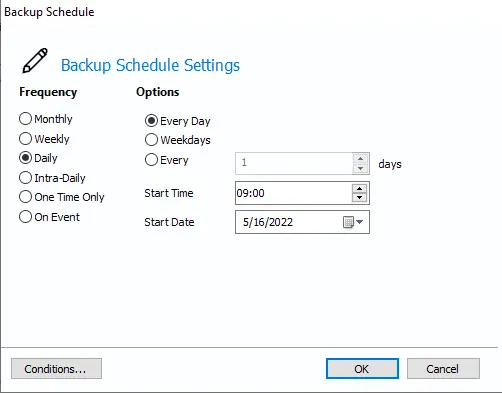
Configure backup schedule settings and then click ok.
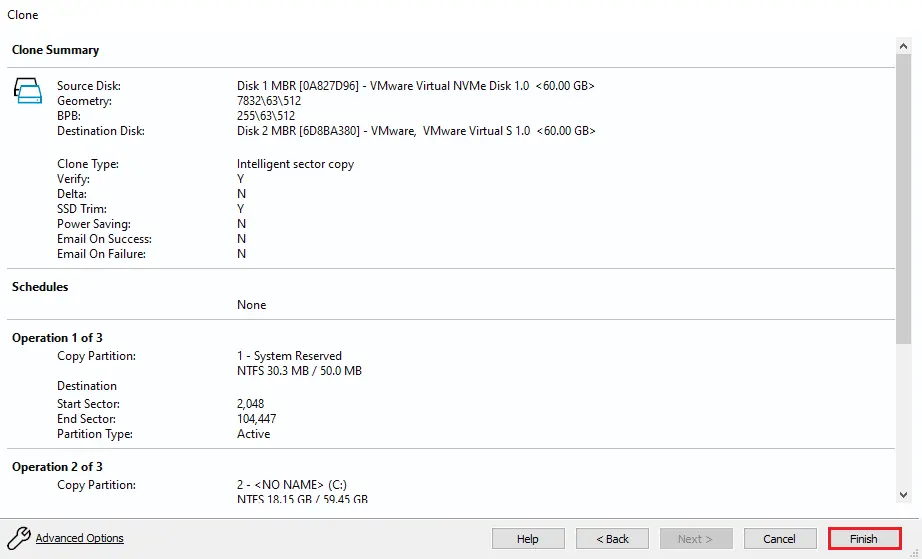
Review the clone summary settings and then click Finish.
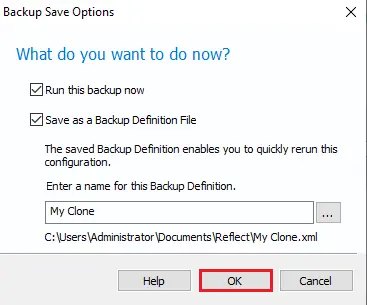
In the Backup Save Options, verify the settings.
If you wish to run the clone right now then choose Run this backup now option.
Select save as a backup definition file option and then click ok.
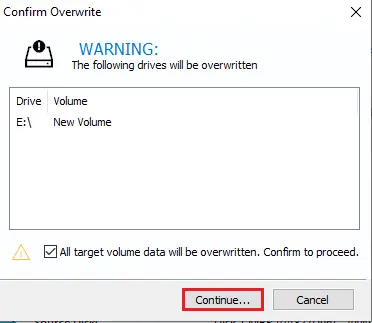
A Warning will appear, if appropriate click Continue.
The target disk will be overwritten. This is unrecoverable, so please make sure that the target disk has no data.
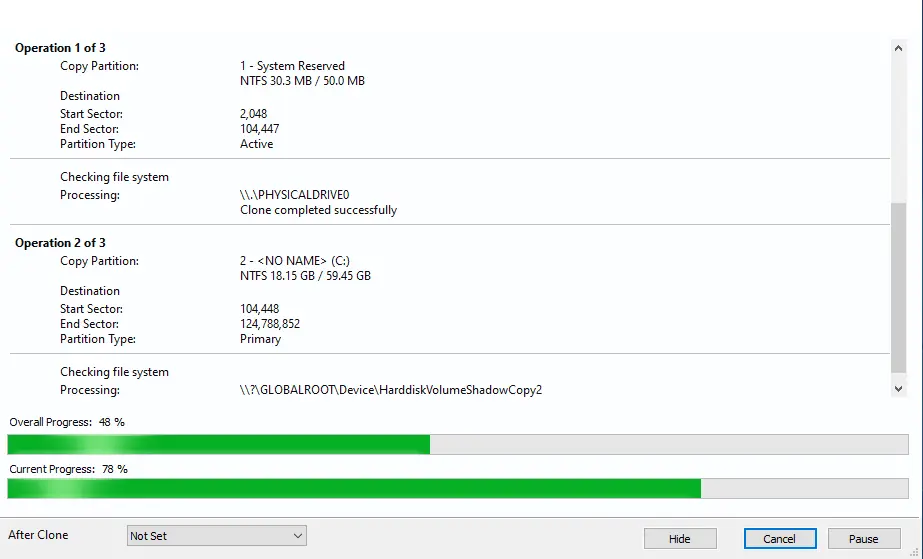
The clone operation now starts.
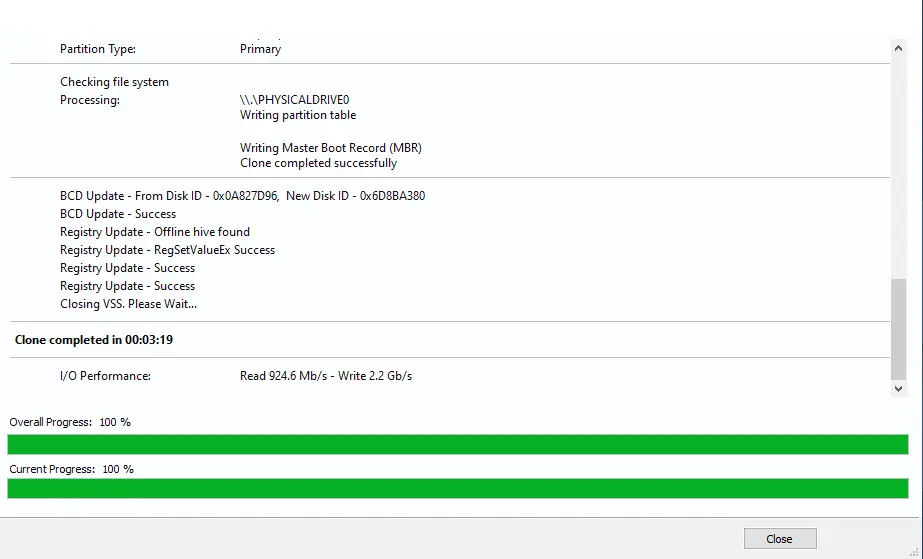
Macrium Reflect clone completed, click ok.

Click close.
