Using Acronis Disk Director, We can create basic & dynamic volumes, Also we can Move, Resize, Split, Copy & merge volumes without any data loss, We can assign volume and label letters, format and set volumes active.
Minimum Requirements Recommended
Computer processor 800 MHz or faster 1 GHz 32-bit (x86) or 64-bit (x64) processor
System memory 256 MB 512 MB or more
Screen resolution 800600 pixels 1024768 pixels or higher
Installation disk space 150 MB
Another hardware mouse, CD/DVD recording drive, or a flash disk for bootable media creation
Supported operating systems
Windows XP/Vista/7/Windows8/Windows10
Windows Server 2003/2008/2012/2016
Download Acronis Disk Director 12, Click Here
Install Acronis Disk Director
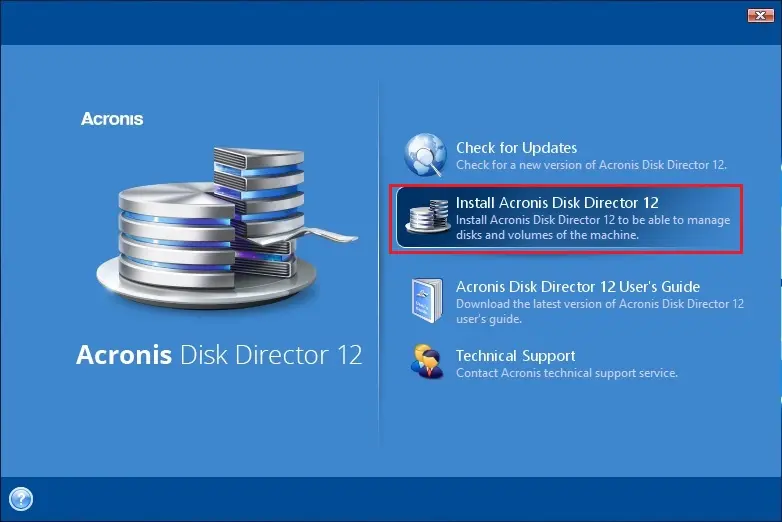
1- Run the Acronis Disk Director 12 installation file and then click Install Acronis Disk Director 12.
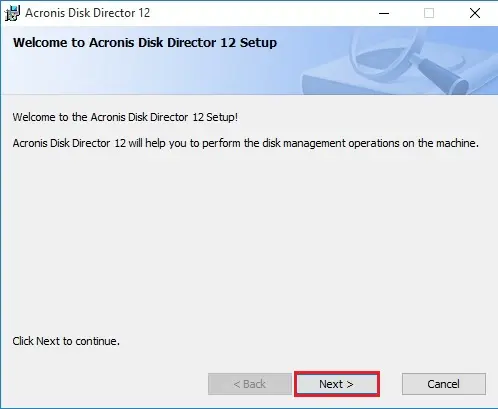
2- So, click on Next.
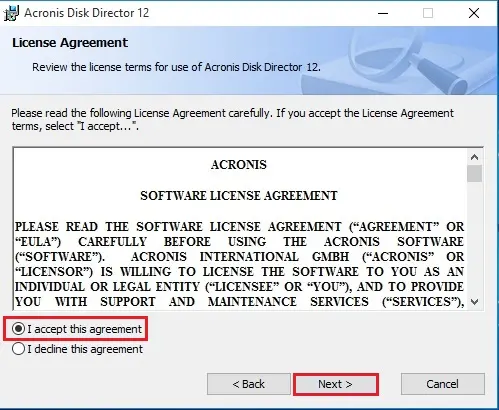
3- Select I accept this agreement and then click Next.
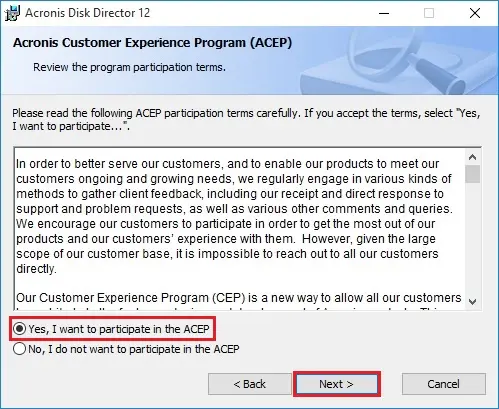
4- Select Yes, I want to participate in the Acronis Customer Experience Program (ACEP) and then click on next.
5- Enter the license key and then click Next.
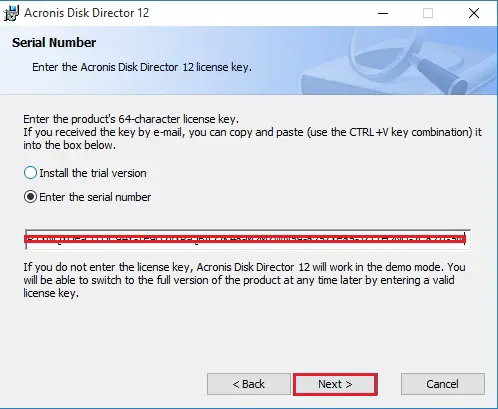
6- Enter the license key and then click Next.
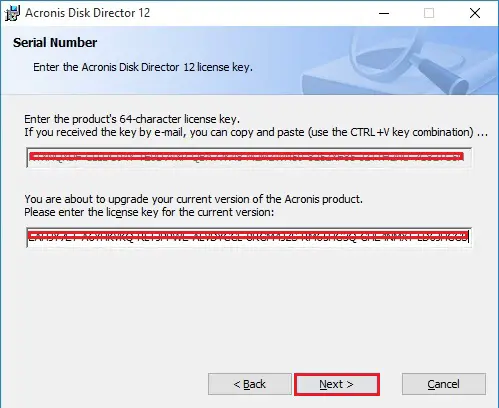
7- Click Next.
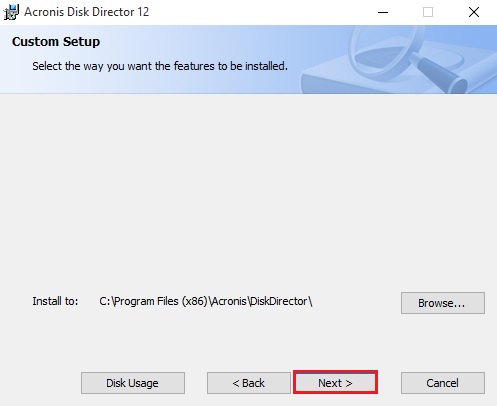
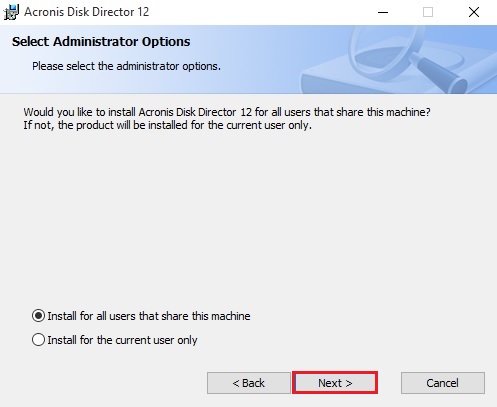
8- Select install for all users that share this machine and then click Next.
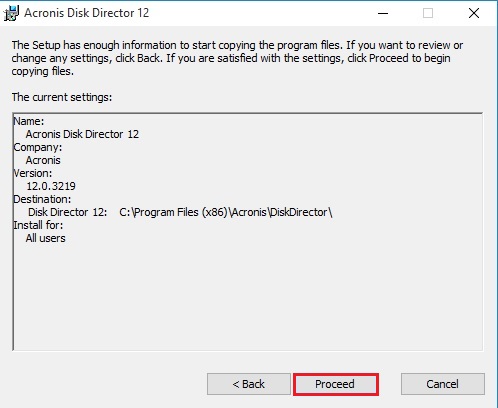
9- Review the installation information and then click Proceed to start the installation.
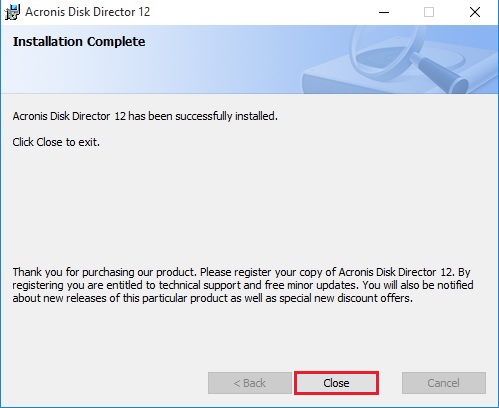
10- Acronis disk directory installation completed, so click Close.
Resizing a volume in the Acronis disk directory.
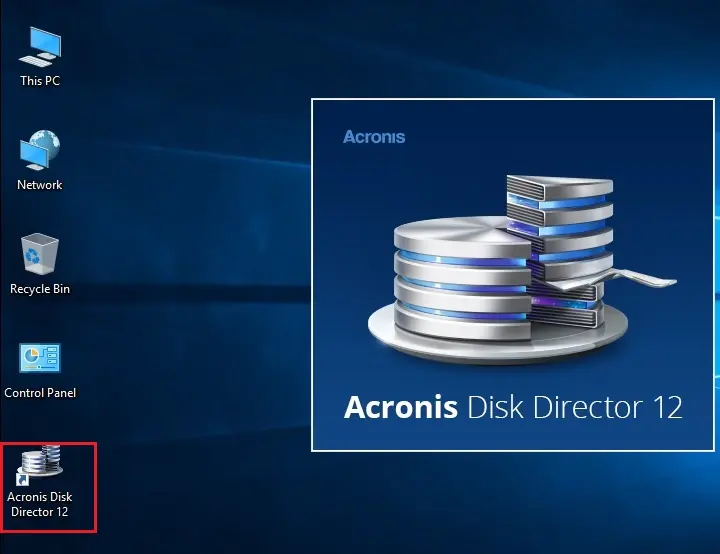
1- Double click on Acronis Disk Directory to open.
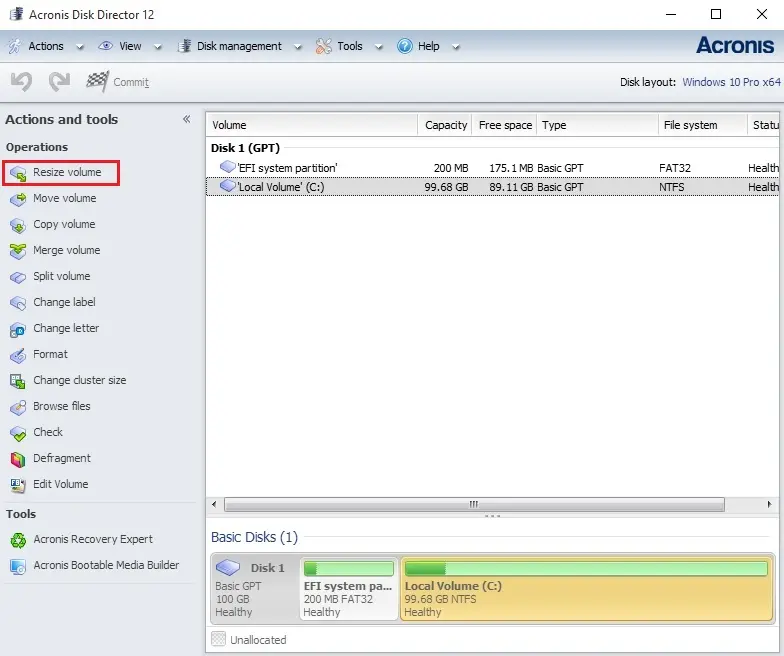
2- Select the volume that you want to resize, and then click Resize volume.
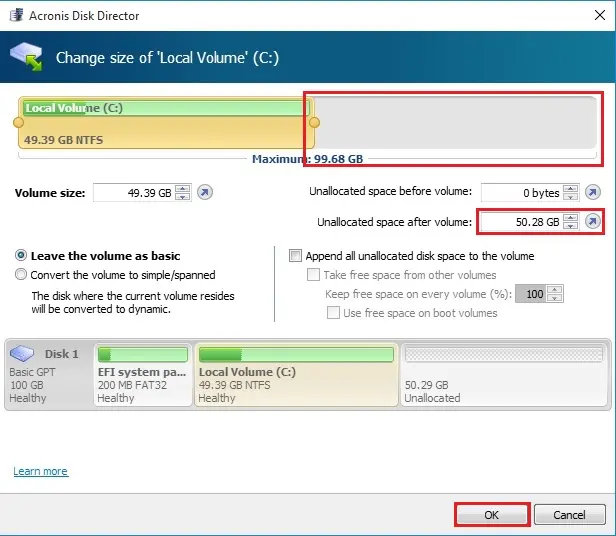
3- Specify the new size of the volume, by typing it or by moving the slider and then click ok.
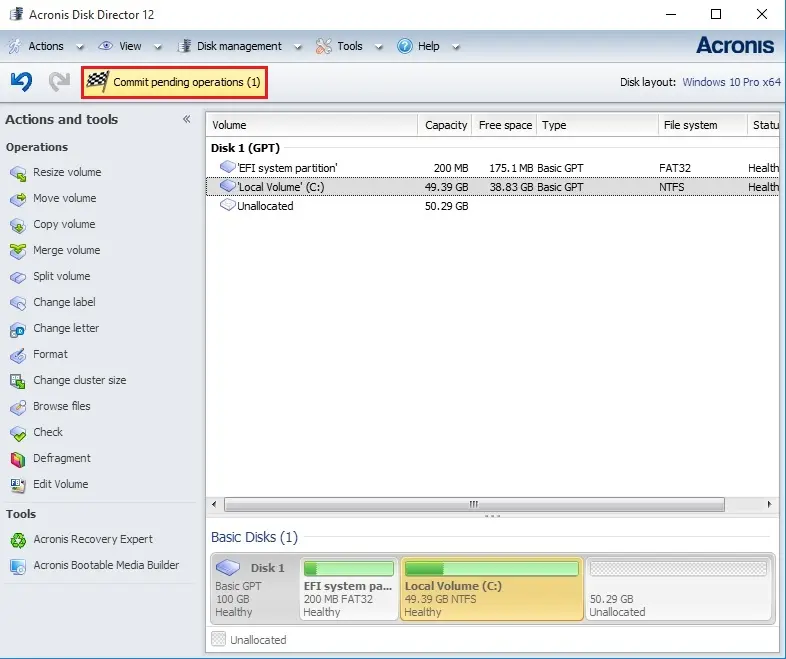
4- Click Commit pending operations.
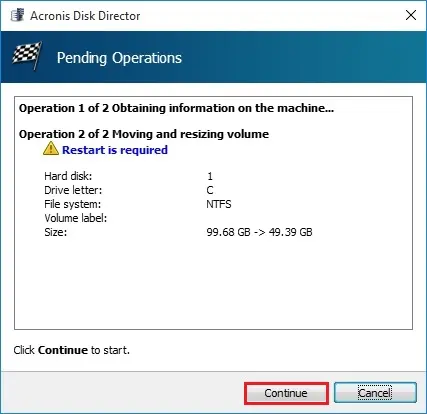
5- Review the volume details and then click continue.
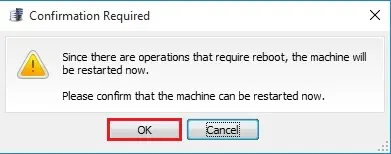
6- Click ok to add the pending volume resizing operation.
7- After restarting.
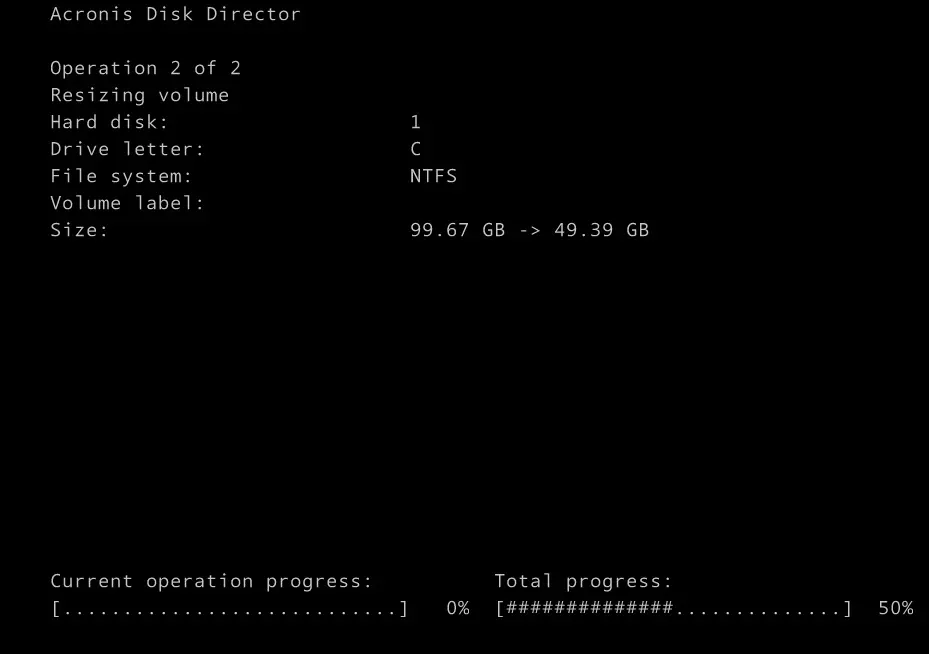
8- After Restarting.
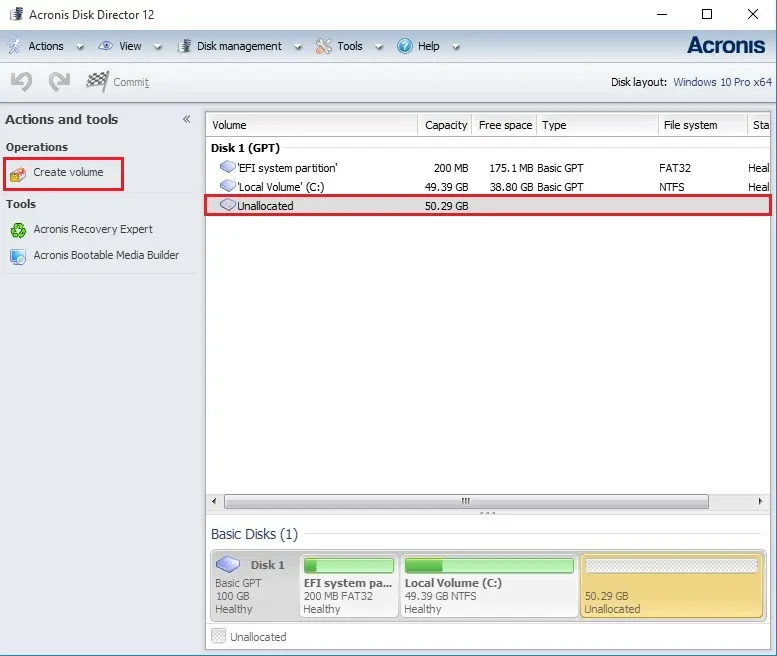
How to Create a volume in Acronis Disk Director.
1- Open Acronis Disk Director > Select unallocated space and click Create volume.
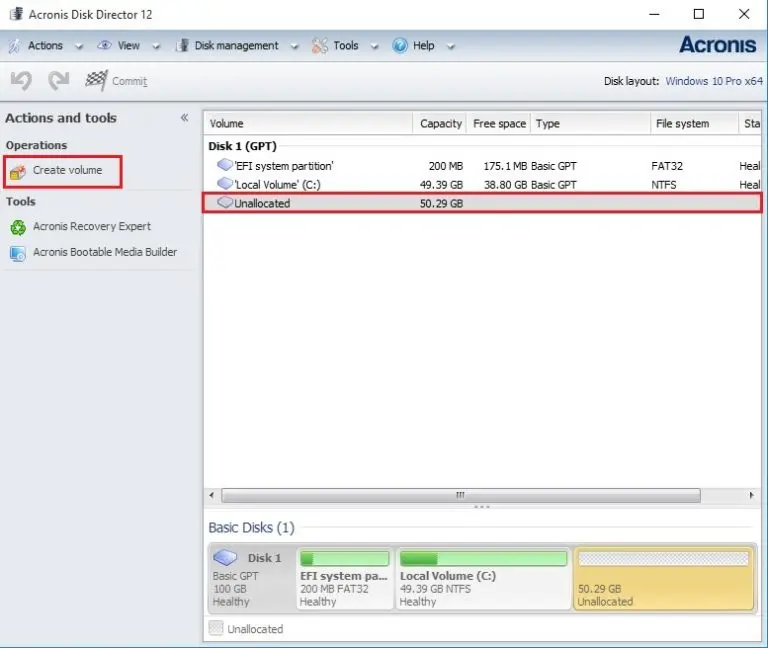
2- Click Next.
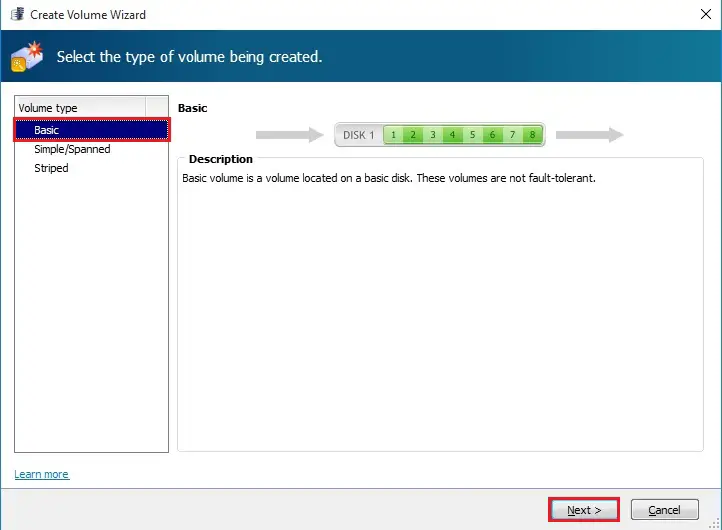
3- Select the unallocated volume, Maximum volume size and click next.
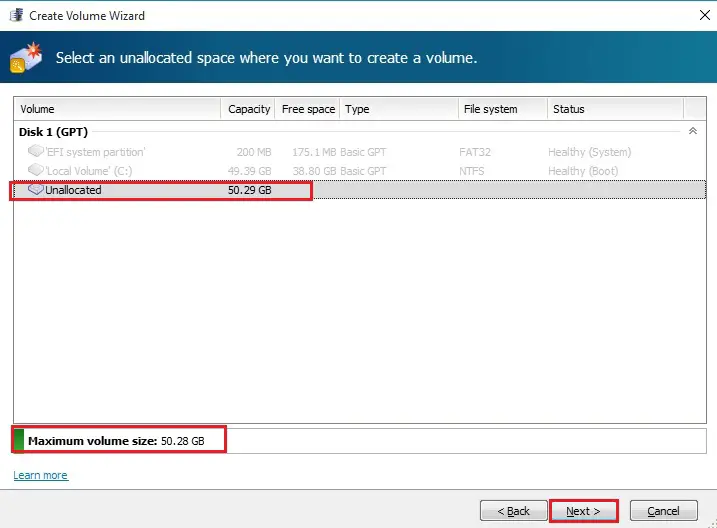
4- Click Finish.
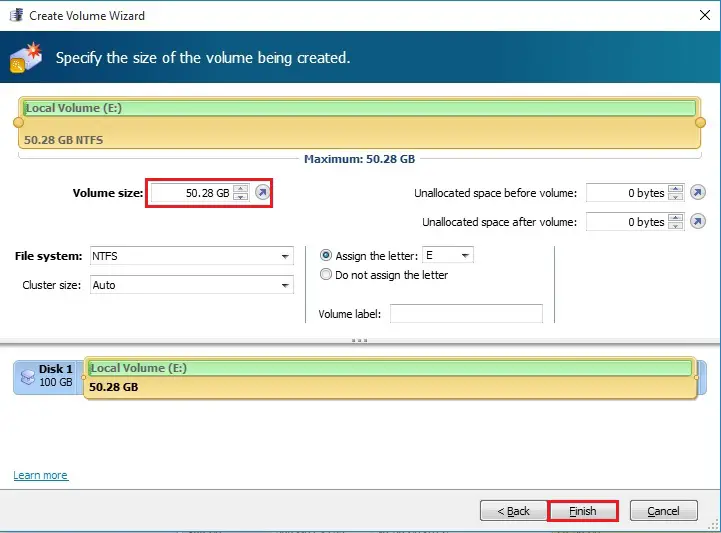
5- Click Commit pending operations.
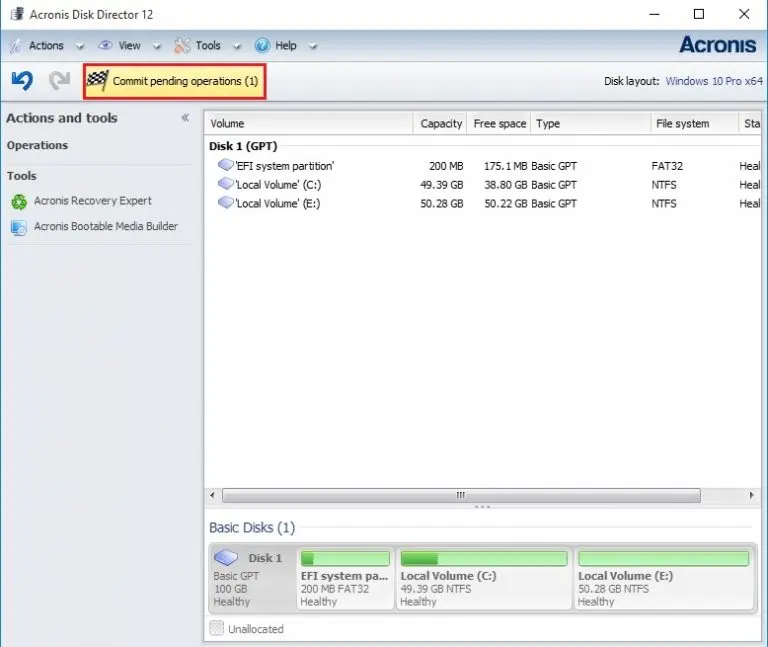
6- Review the newly created volume details and click continue.
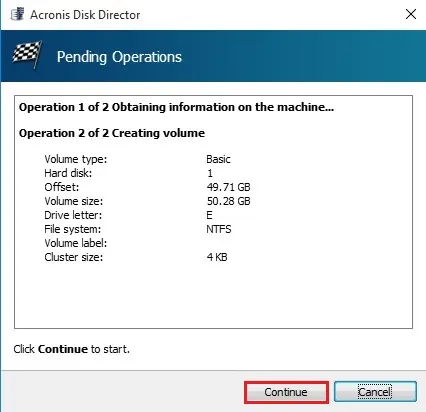
7- Volume Created Successfully.
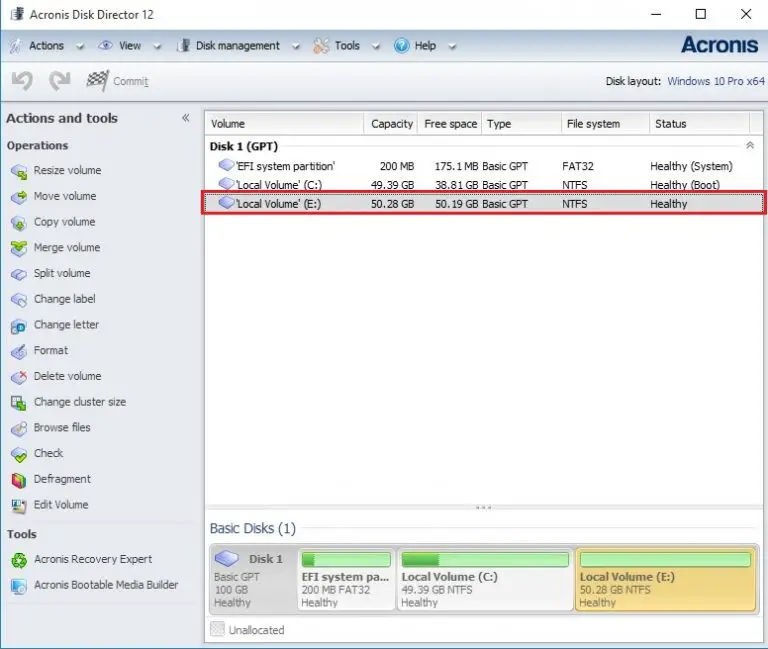
Merging basic volumes using Acronis disk director.
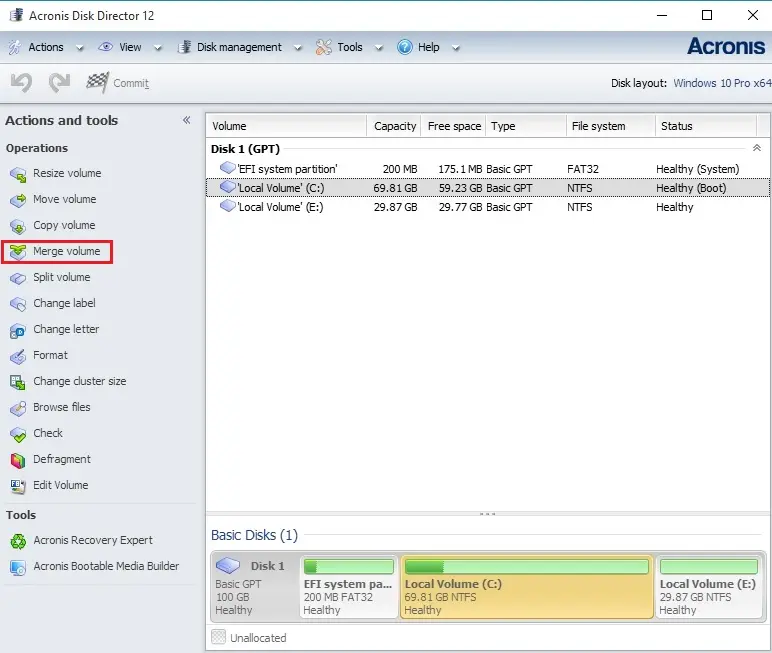
1- Select the volume that you need to be merged and click Merge volume.
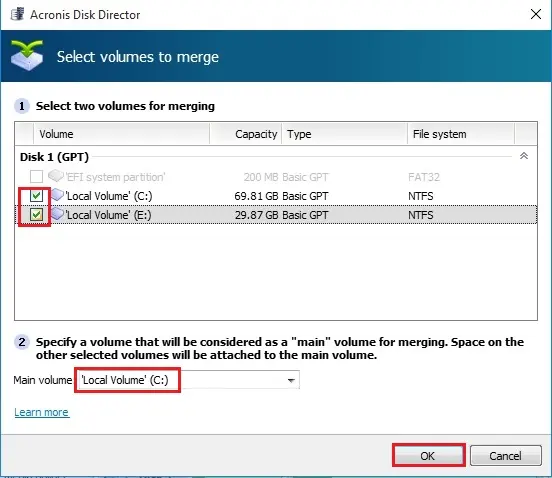
2- Select another volume you need to merge Select main volume and click ok.
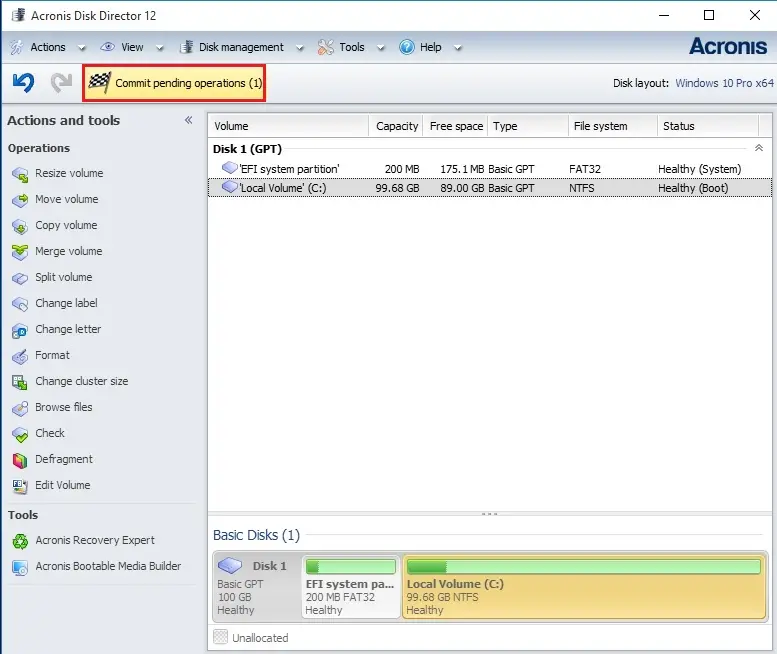
3- Select Commit pending volume.
4- Click continues.
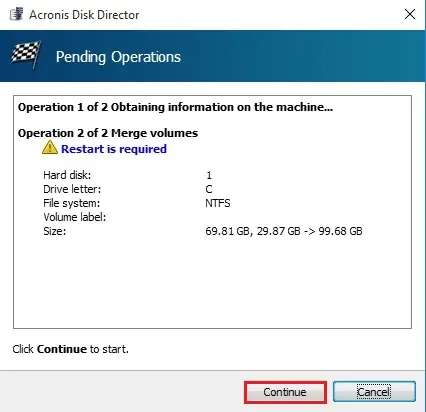
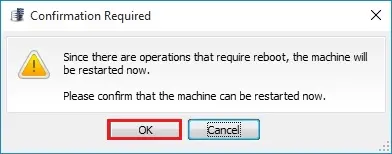
5- Click OK.
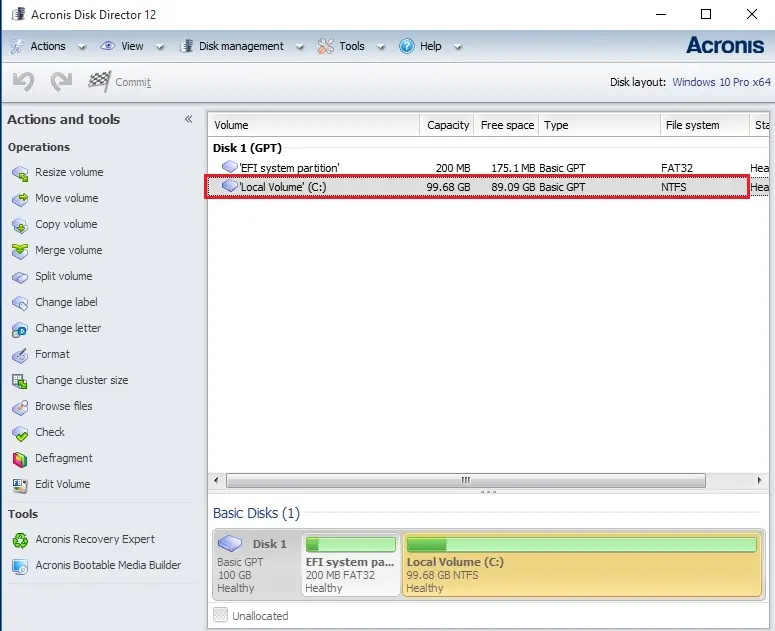
6- After Merge Volume.
Read more: Acronis Disk Director: Comprehensive Guide.
How to partition using AOMEI Partition Assistant for FREE.


No Comments
I like this web site because so much utile material on here : D.
Dear Hupman
Thank you for your comments