This article will show how to install Deepin OS in VMware Workstation. Deepin is a user-friendly Debian-based Linux distribution. It is a free and open-source operating system mostly used at the desktop level. The recently stable version of Deepin 20.2 has been released. Deepin 20.2 comes with stable kernel version 5.10 and Debian 10.6 package repositories.
Deepin is an interesting Linux distro developed in China. The Deepin Desktop Environment is Windows-like and is currently optimized for desktop use. Some of the Deepin inbuilt apps such as the screen recorder are well thought out. Deepin is presently lacking in features for touchscreen; for Instance, it does not auto-rotate 2 in 1 adjustable tablet/laptop devices and lacks a utilizable touchscreen keyboard making it meaningfully behind the Zorin/GNOME Desktop Environment for these devices.
Table of Contents:
- Download VMware Workstation
- Download Deepin 20.1 ISO file
- Deeping Installation Requirements
- Bootable USB Drive
- Create Bootable USB Drive for Deepin 20.2
- Create Bootable USB using Deeping Boot Maker
- Video
- Create a Virtual Machine
- Install Deepin
- Deepin Configuration
Below are the links for downloading VMware Workstation 16 and the Deepin OS ISO file.
Download VMware Workstation
From VMware
Download Deepin 20.1 ISO file
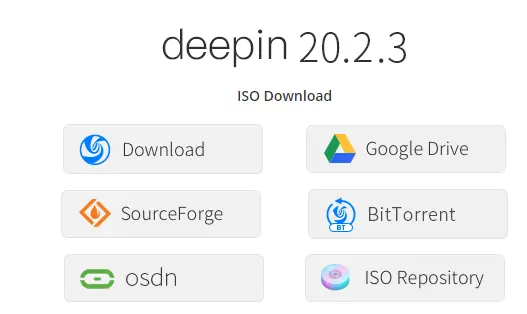
Download Deepin 20.2 ISO file on your system from their official website.
Deeping Installation Requirements
Make sure your system meets the following requirements.
CPU: Intel Pentium IV 2GHz or higher
Memory: 2 GB of RAM, 4GB is recommended
Disk: 25 GB free disk space or Higher
Bootable USB Drive
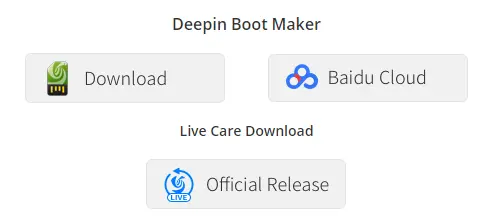
Deepin Boot Maker is a bootmaker developed by Deepin Technology Team. It is very easy to interface and easy to operate. It helps users to simply make a deepin boot disk.
Aside from that, you need to make ready a USB flash drive, or a disc and CD/DVD drive, then visit the Deepin website to download the latest ISO file and then create a boot disk.
Create Bootable USB Drive for Deepin 20.2
Once an ISO file is downloaded on your computer then burn it into a USB pin drive to make it bootable. Here is one third-party Rufus tool to create a bootable USB drive.
Create Bootable USB using Deeping Boot Maker
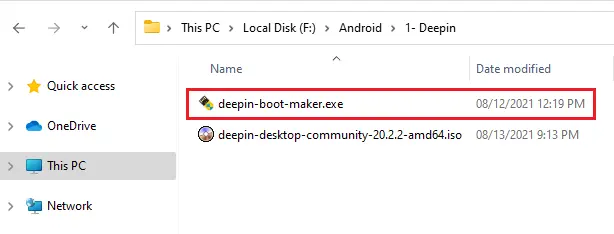
Go to your download folder, run the deepin-boot-maker.exe file.
Deepin boot maker wizard, click on select an ISO image file.
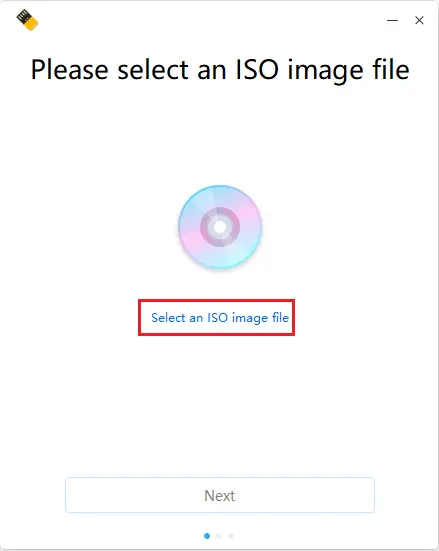
Click on deepin desktop community and then click open.
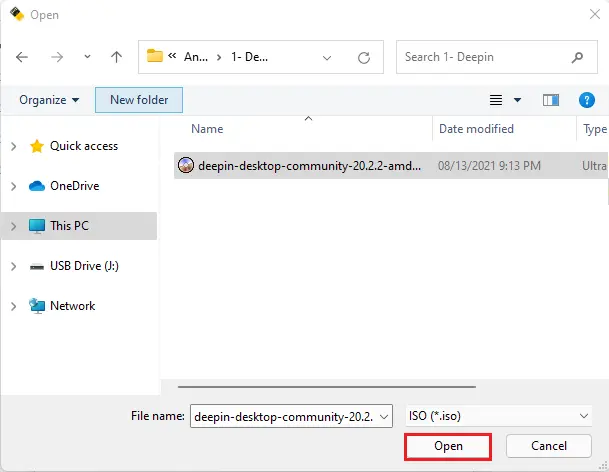
After select deepin ISO file click next.

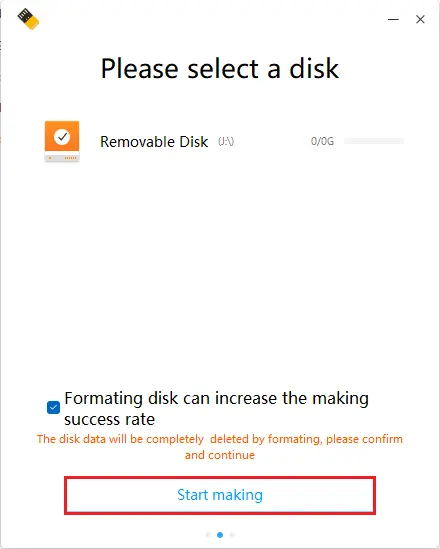
Select your USB media and click start making.
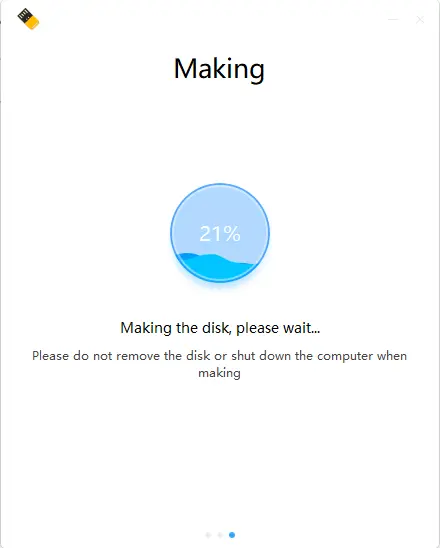
Making bootable is in progress.
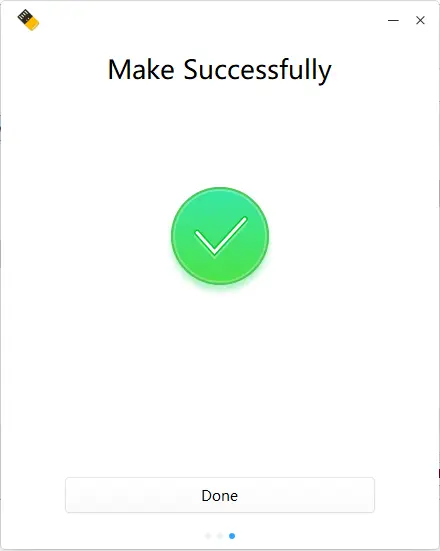
Make successfully USB bootable deepin boot maker.
Create a Virtual Machine
How to create a virtual machine for the android emulator in VMware Workstation.
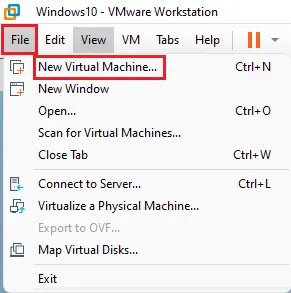
Launch VMware Workstation, select file tab, and then select New Virtual Machine.
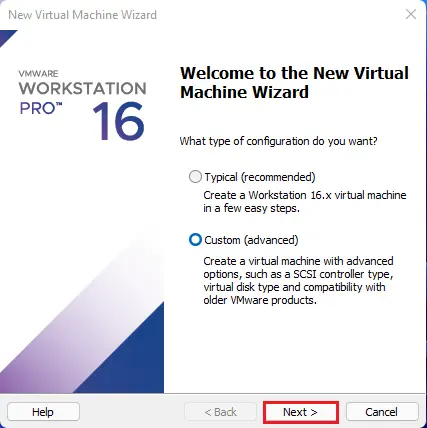
New virtual machine wizard, click next.
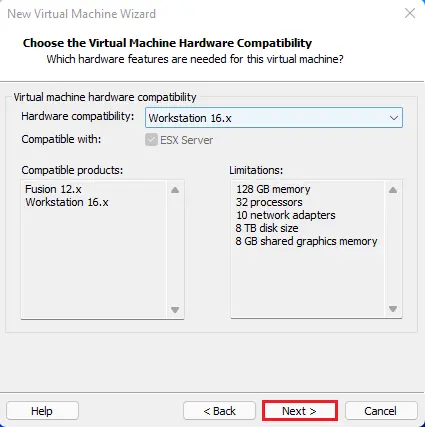
Virtual machine hardware compatibility, click next.
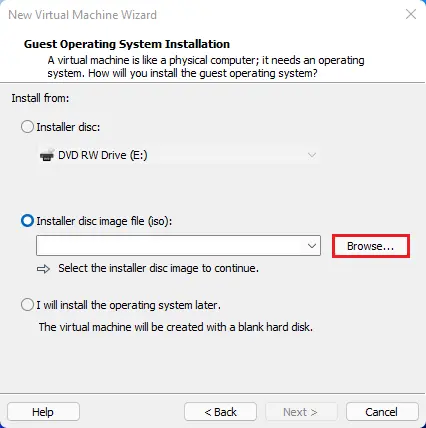
Click the browse button to select a guest operating system installation (deepin desktop community 20.2 ISO file).
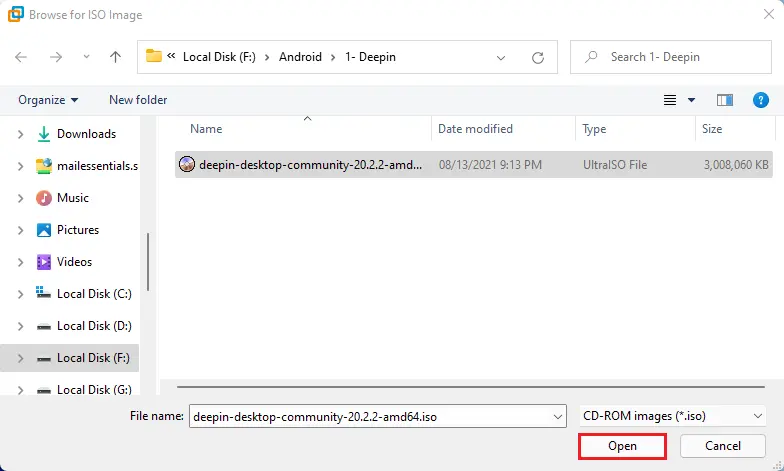
Select deepin desktop community 20.2 ISO file and then click open.
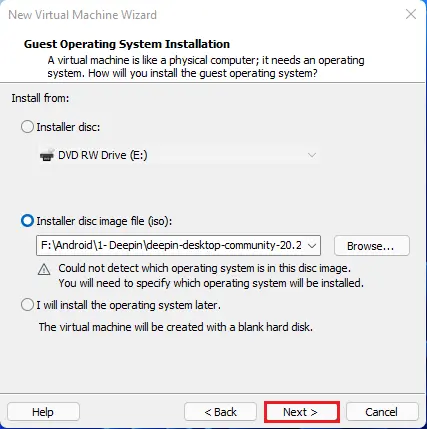
Click next
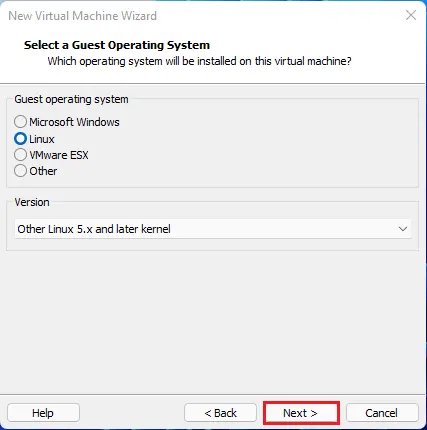
Select the operating system, its version, and then click Next.
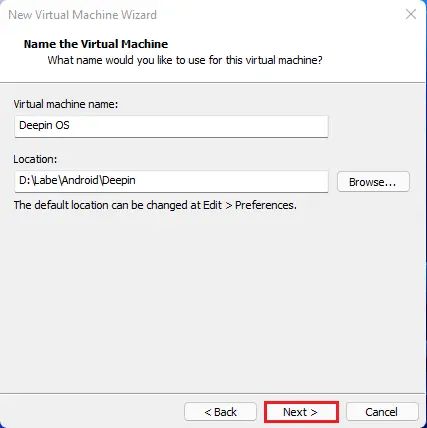
Type a virtual machine name, location and then click Next.
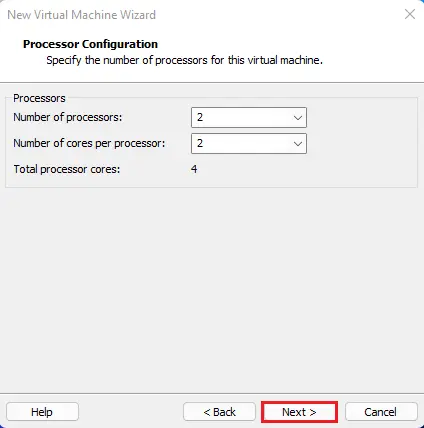
Click next
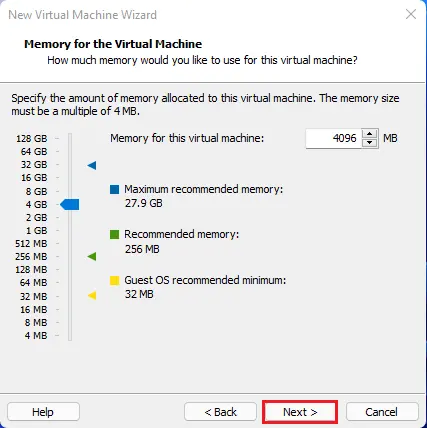
Select memory for the virtual machine and click next.
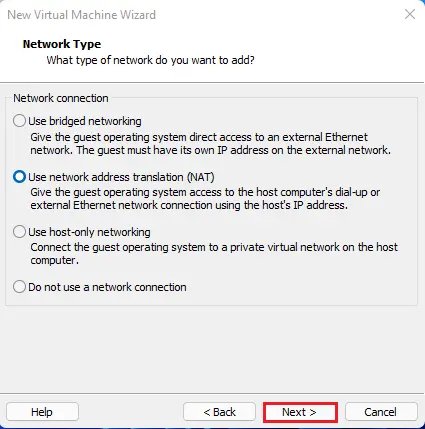
Virtual machine network type, click next.
Click next
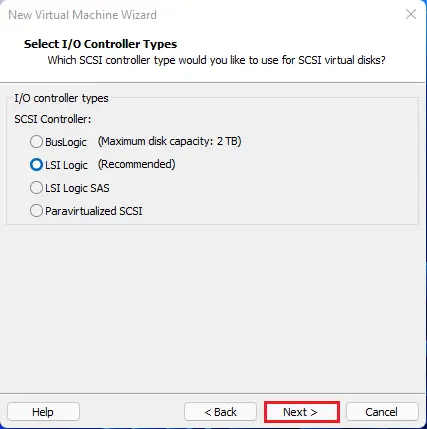
Disk type, click next.

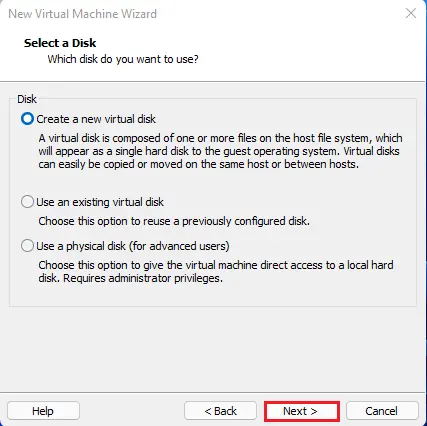
Choose to create a new virtual disk and then click Next.
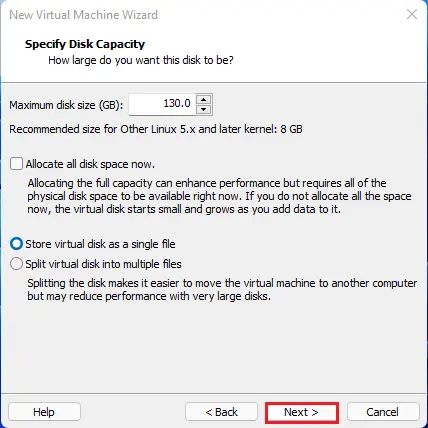
Specify disk capacity and then click next.
Click next.
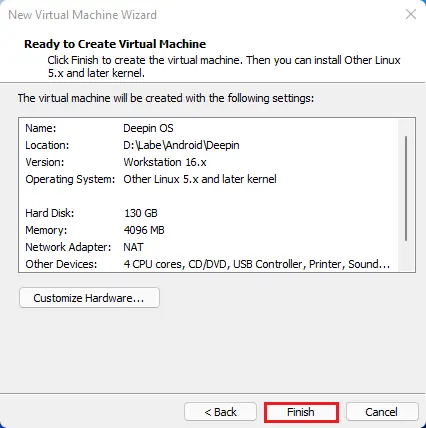
Ready to create a virtual machine, click finish.
Usually, the system boots from a hard disk, so before deepin OS installation, you must enable system BIOS to set boot priority from CD/USB flash drive.
For a desktop computer, press the Delete key, and for a notebook, press the F2, F10, or F12 key to enter BIOS settings.
install Deepin OS in VMware Workstation
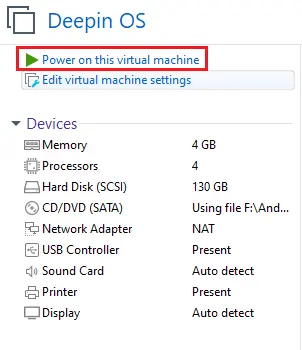
Click power on this virtual machine.
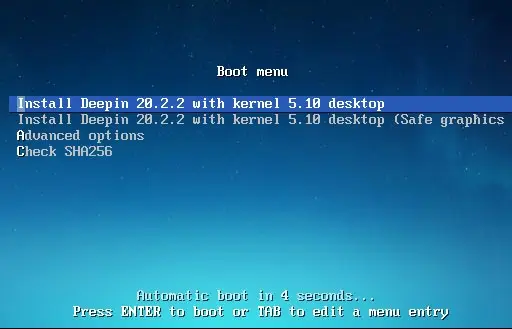
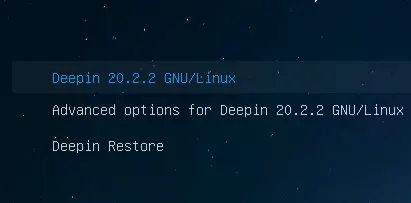
On the first boot, so select install Deepin.
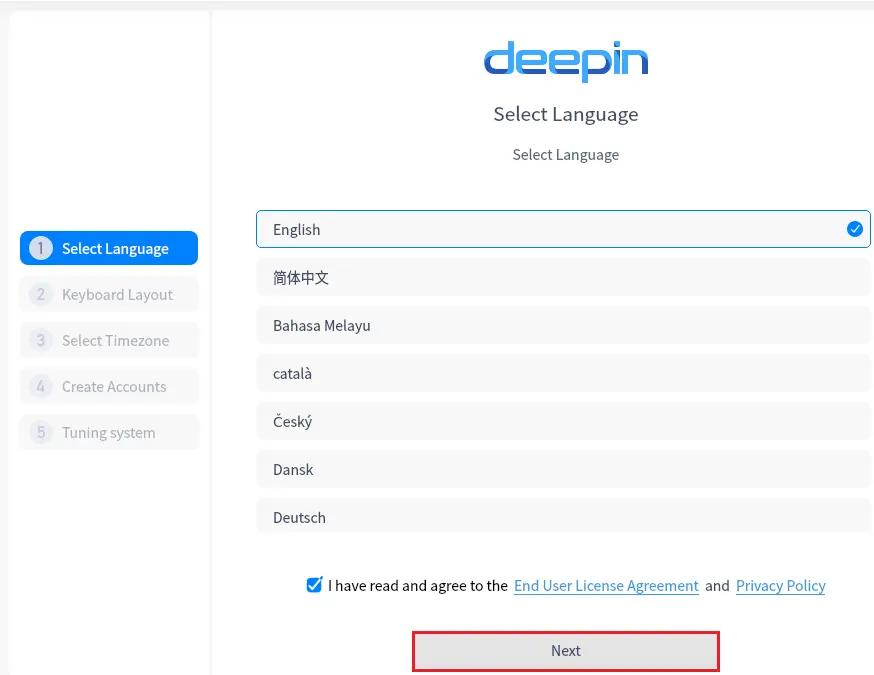
Select the installation language from the list, select I even have read and comply with deepin the software end-user license agreement and then click on next.

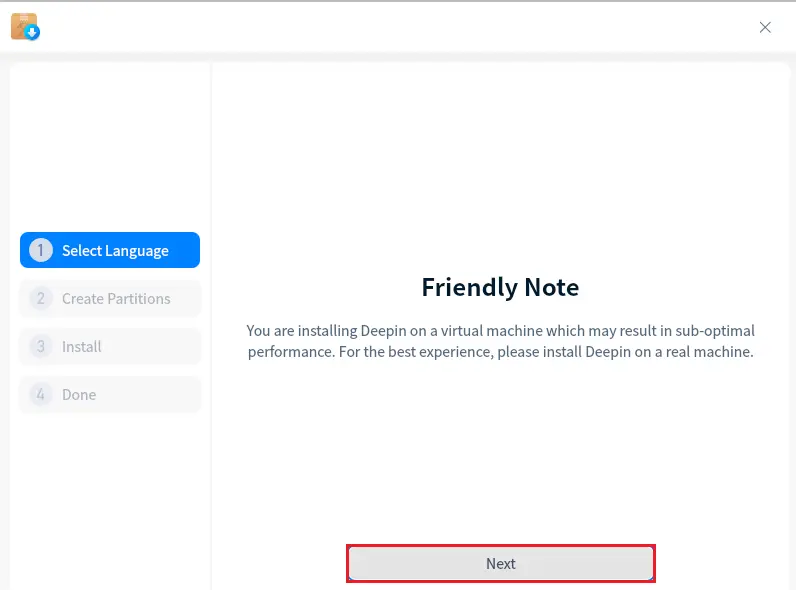
Friendly page, click next.
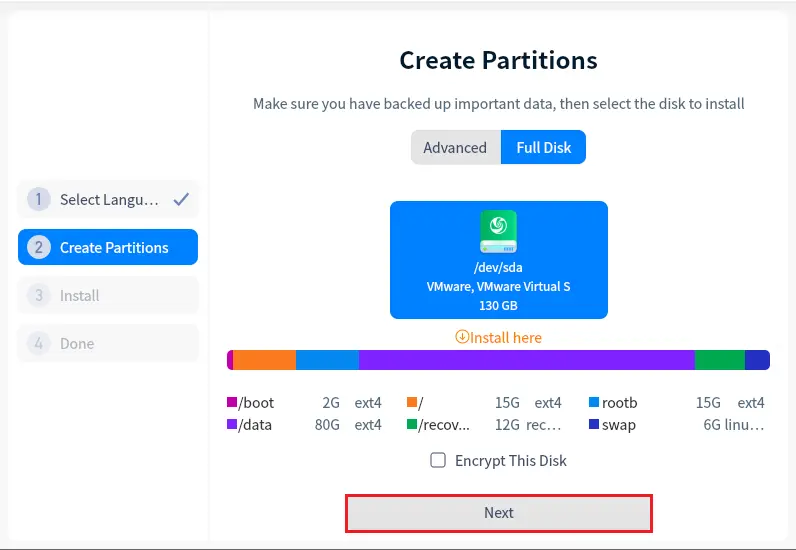
Create partitions deepin OS, select the installation disk, and then click next.
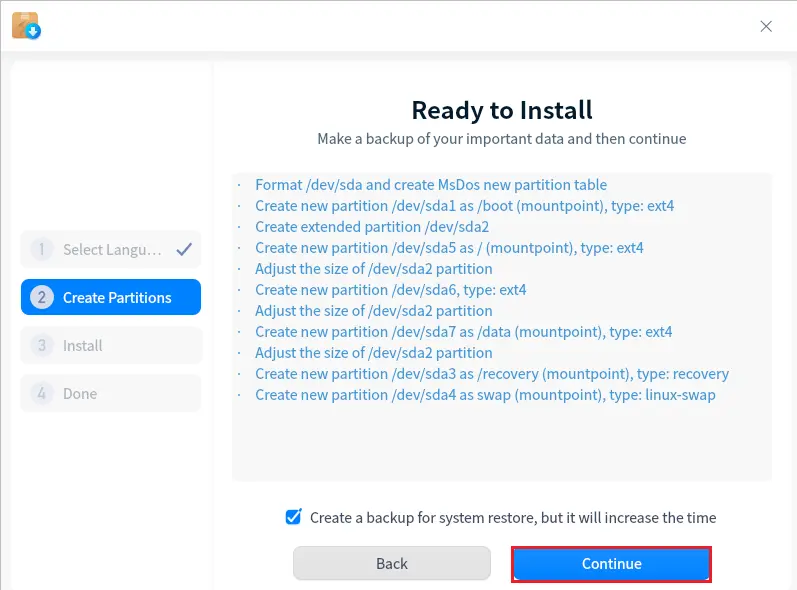
Deepin emulator ready to install, click continue.
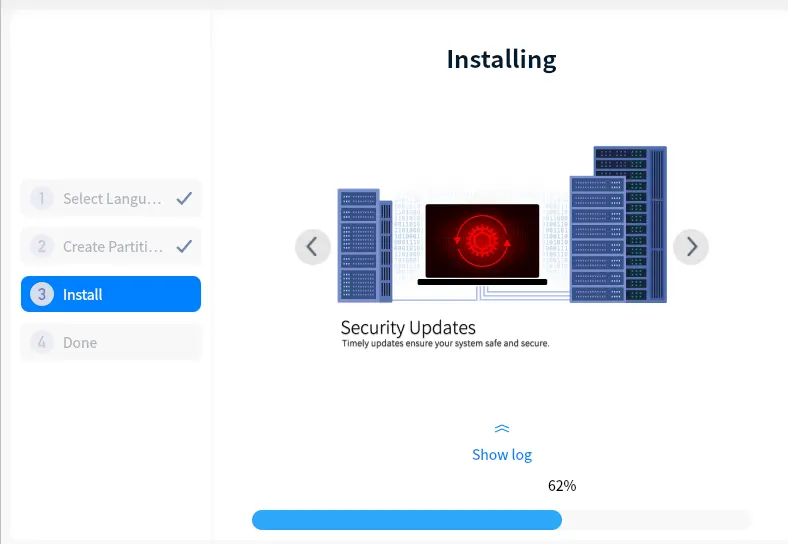
Deepin 20.2 installation is in progress, It will take some time. Wait until the installation process completes.
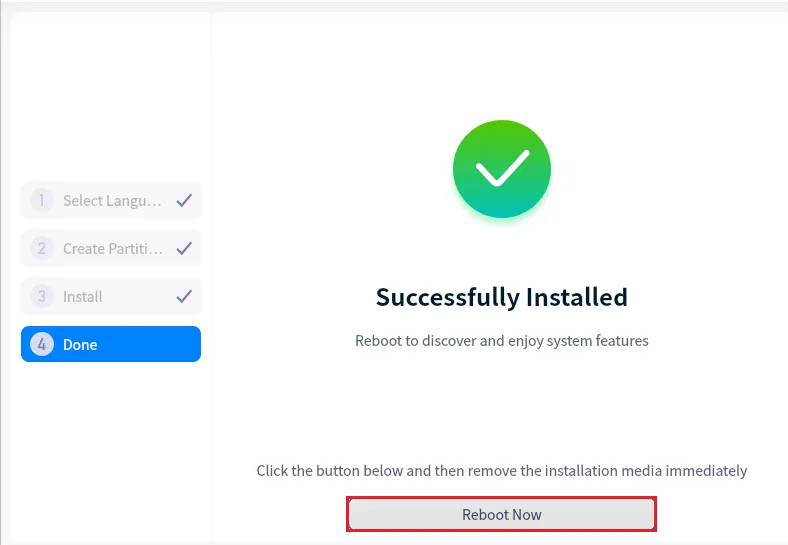
Deepin Android OS 20.2 successfully installed, Remove the installation media before reboot.
Click reboot now to reboot the virtual machine.
Deepin booting.
Deepin Configuration
Select language, accept deepin end user license agreement and then click Next.
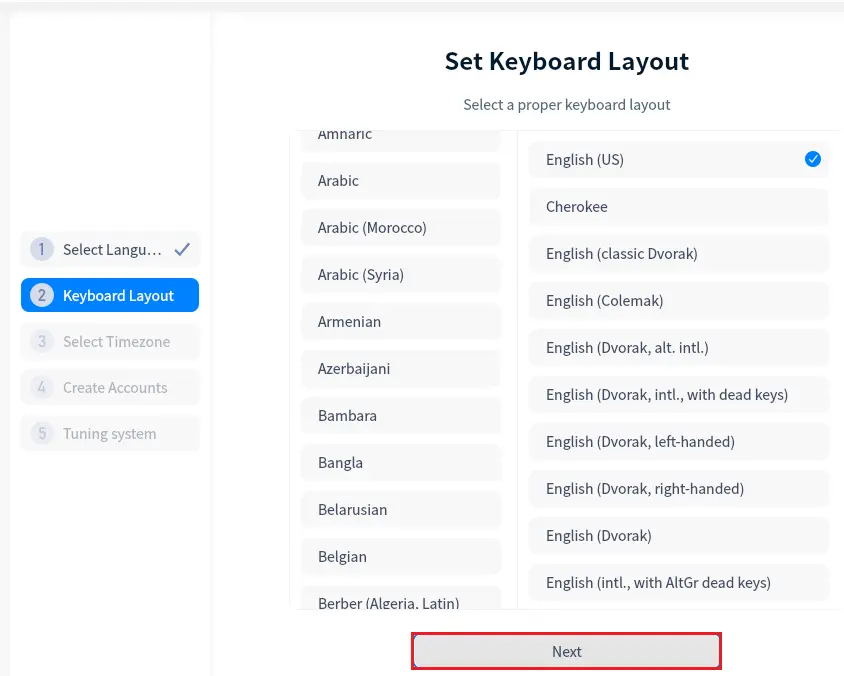
Select a keyboard layout and click Next.
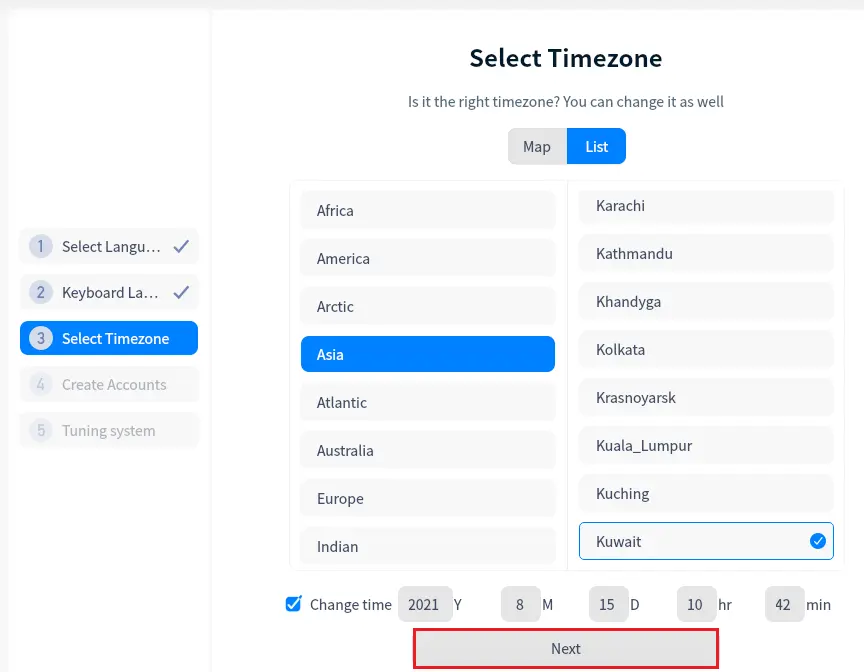
Choose your time zone and then click next.
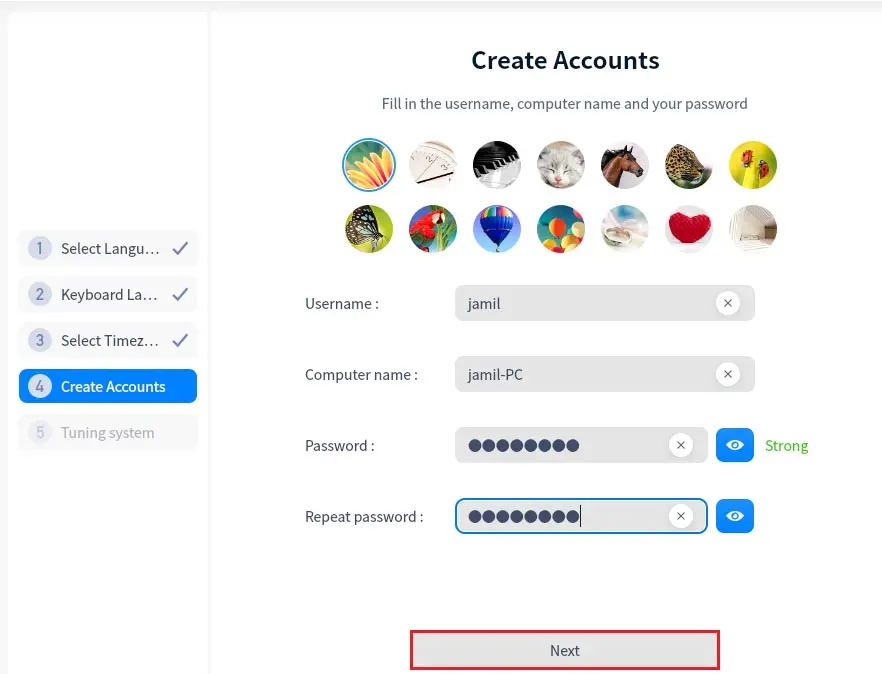
To install Deepin 20.2, create a new user type password (repeat password) and then click next.
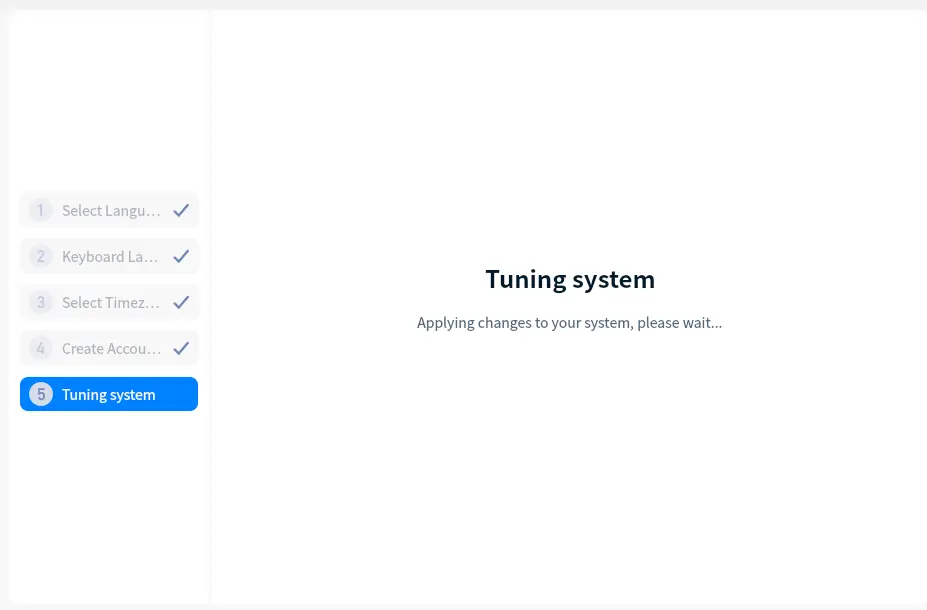
Applying changes.
After rebooting Deepin OS, type your Deepin OS password and then hit enter.

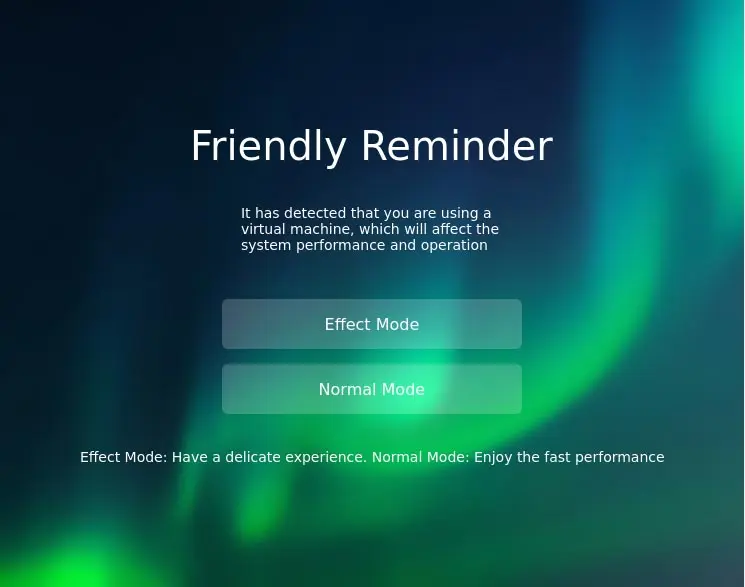
Deepin will detect. You need to choose between two modes, Effect Mode and Normal Mode.
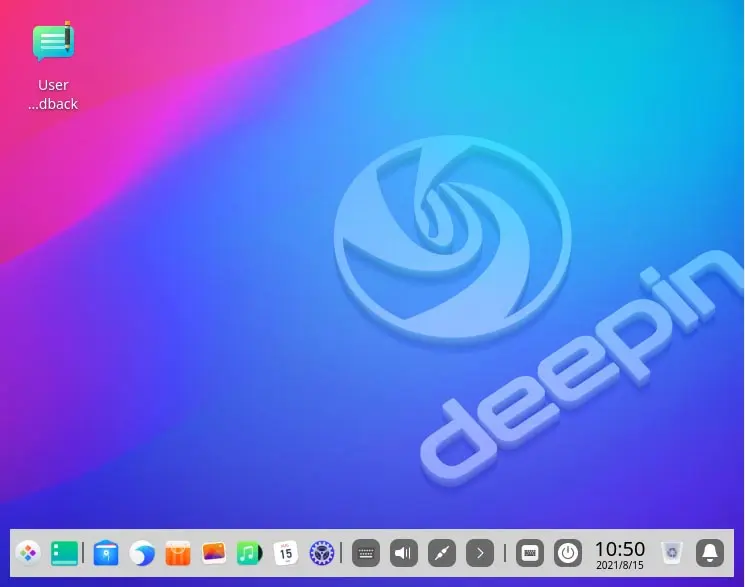
Deepin OS home screen.
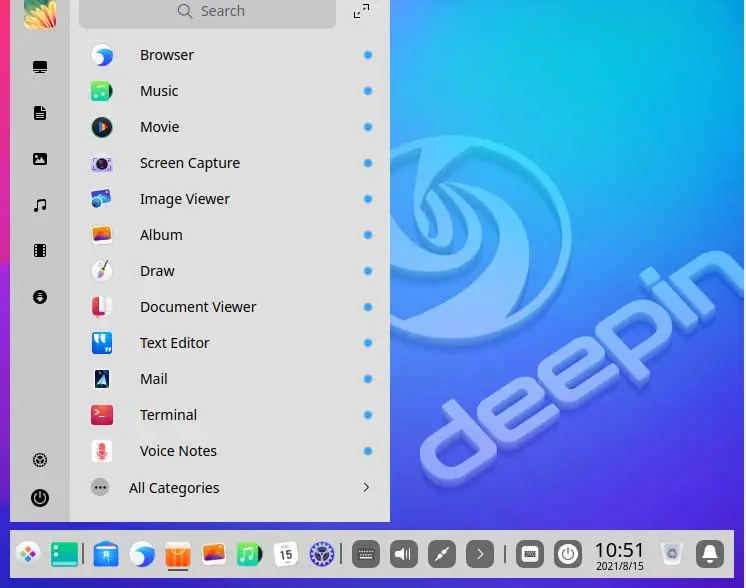
Deepin OS apps.