In this guide, I will show you how to install Deepin in VMware Player. VMware Workstation Player is a perfect software for running a single virtual machine on Linux and Windows-based PC. A free version of VMware Player is available for non-commercial. The VMware Workstation 16 Player for Deepin Linux OS enables you to easily, quickly create, and run virtual machines.
Install Deepin in VMware Player
Table of contents:
- System Requirements
- Download VMware Player
- Install VMware Player
- Enable Virtualization Technologies (VTx)
- Download DeepIn OS 20.2 ISO
- Create a bootable disk/USB
- Create a Virtual Machine
- Install DeepIn 20 in the Virtual Machine
- Remove Installation Media
- Deeping Configuration
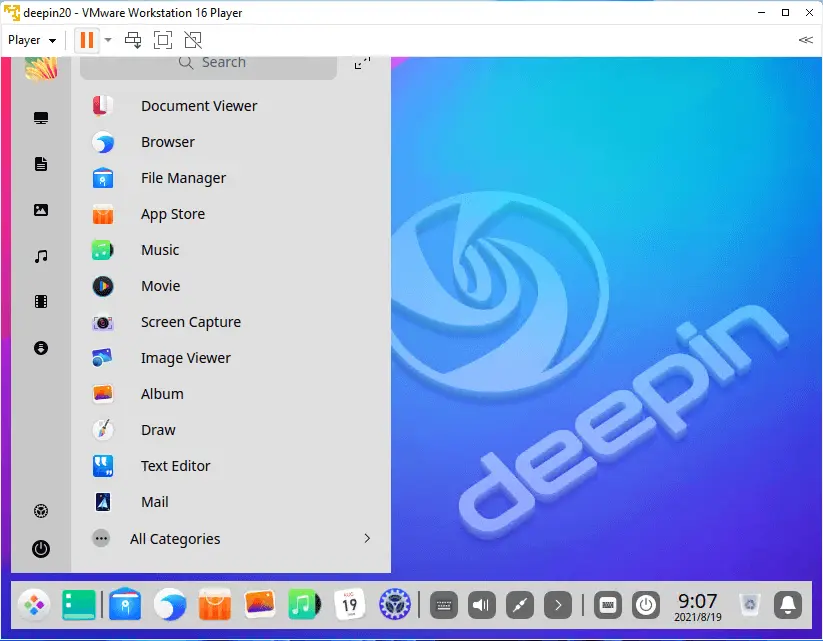
- Start Menu
System Requirements
Intel i5 or later
Ram 8GB (4GB for the Virtual Machine)
250GB HDD (120GB for the Virtual Machine)
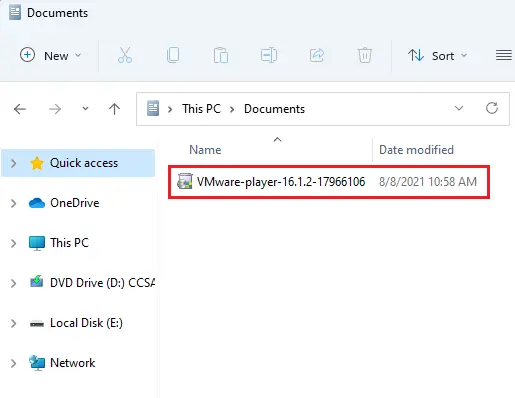
Download VMware Player
Download the VMware Workstation Player from VMware
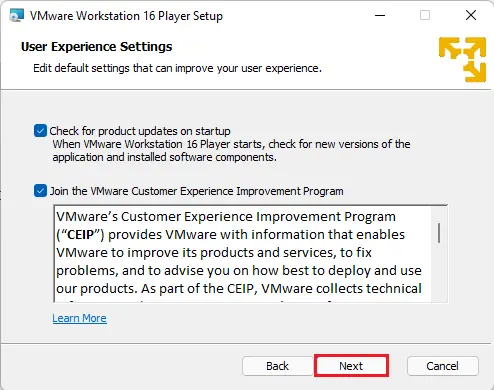
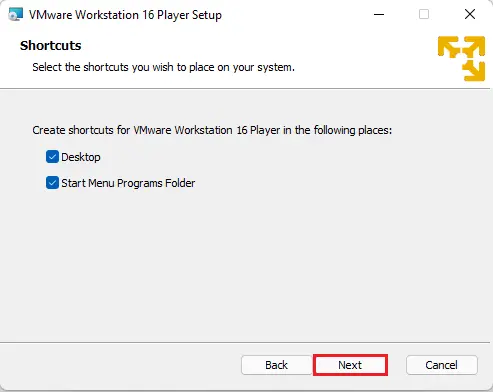
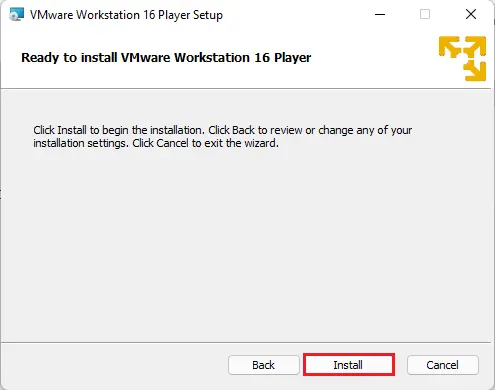
Install VMware Player
Open the download location, double click on the VMware-player-16.exe file to launch the VMware Player setup.
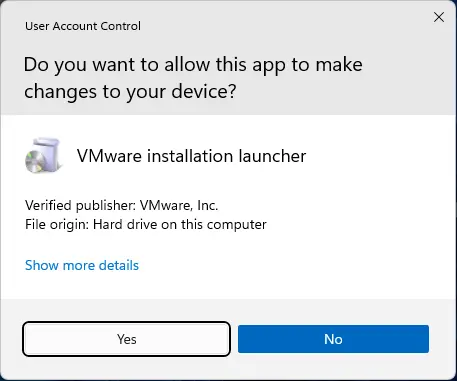
Accept the User Account Control Prompt.
Select Next

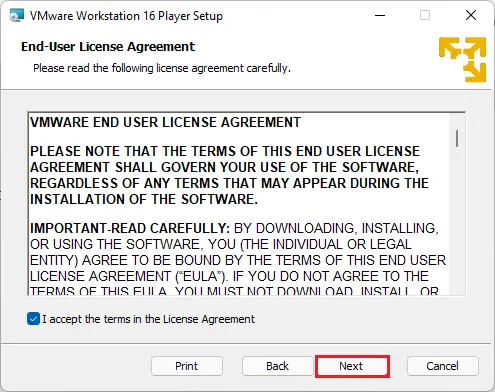
Accept the License Agreement and then select next.
Select Next
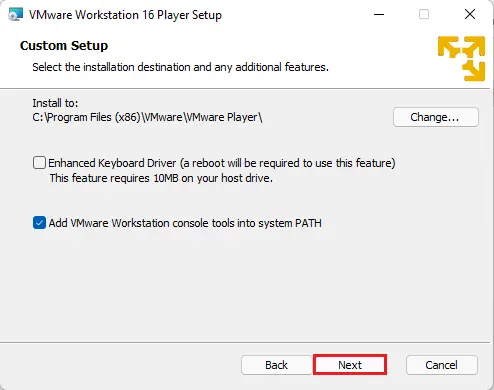
User Experience settings, click next.
VMware player setup desktop shortcuts, click next.
Select Install
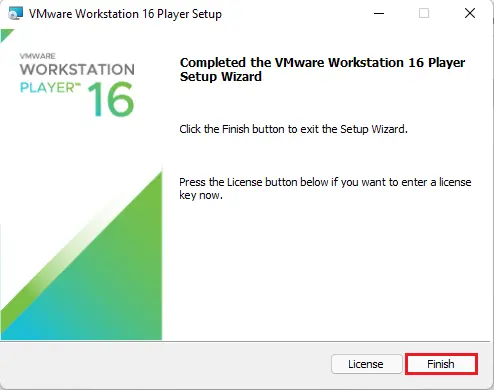
Select Finish
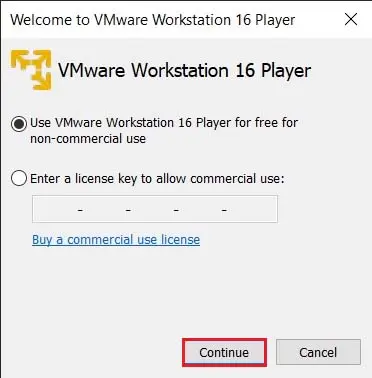
Open VMware Player from Windows desktop and then select continue.
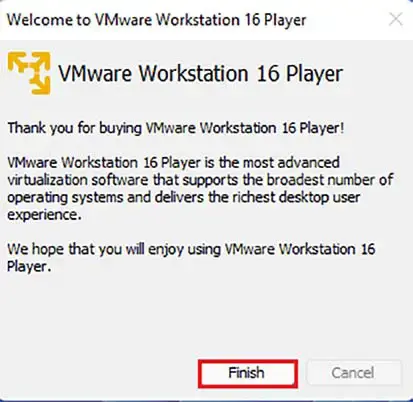
Click Finish
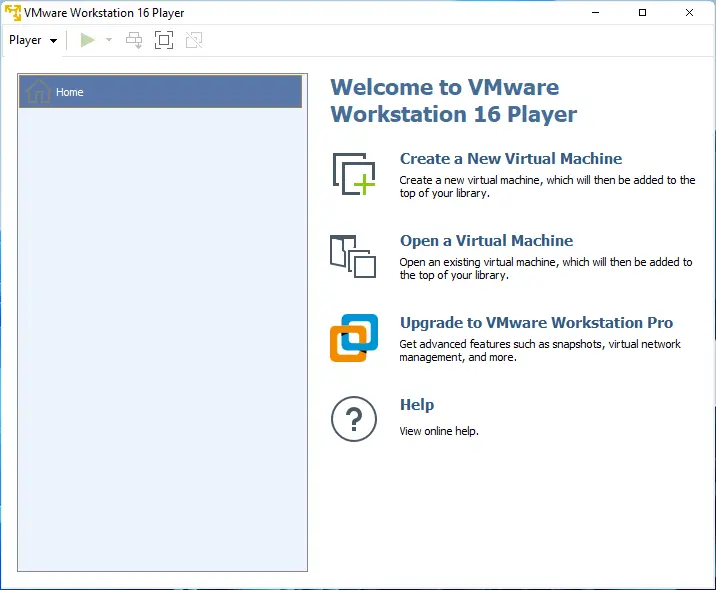
VMware Workstation 16 Player.
Enable Virtualization Technologies (VTx)
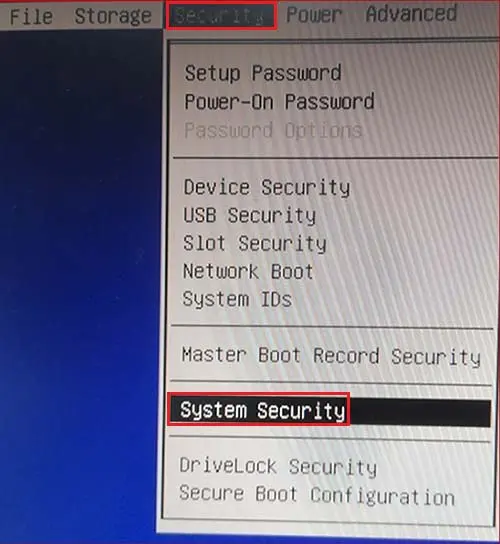
You need to enable CPU Virtualization Technologies (VTx) from system UEFI BIOS to create a Deepin 20.2 virtual machine. Restart your system and then press (Dell, Esc, F2, or F10) F10 if using an HP 800ED.
Select the Security tab and then system security.
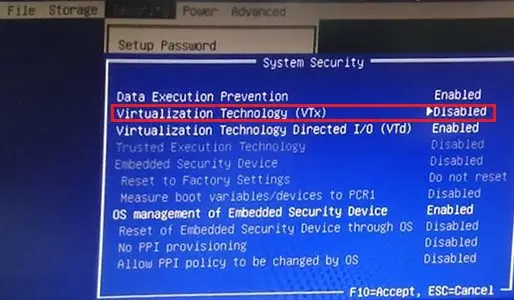
To enable Virtualization Technology, press the right arrow key.
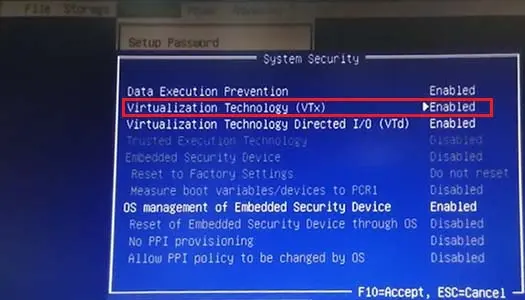
Enabled Intel Virtualization Technology, press F10 key.
Select Save Changes and exit.
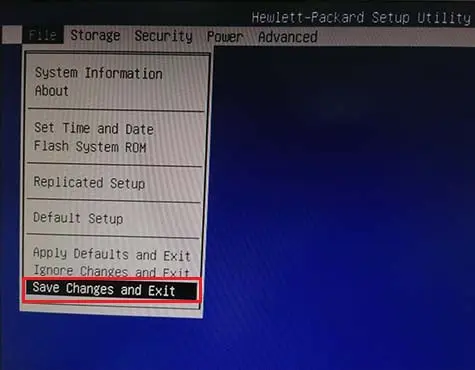
Click the ok button to exit the UEFI BIOS Setup.

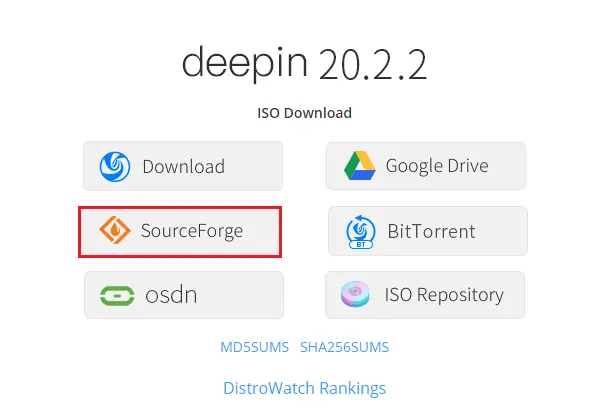
Download DeepIn Linux 20.2 ISO
You can download DeepIn OS ISO from their website.
I recommend select SourceForge
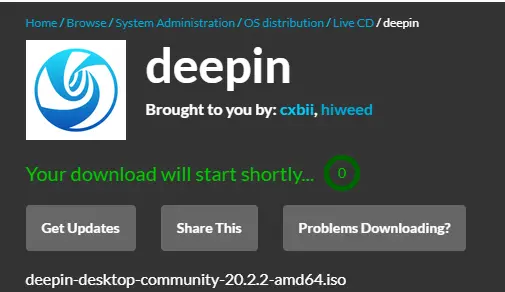
Deepin downloaded will start shortly.
Create a bootable disk/USB
To create a bootable drive download the free software (Rufus) and then create a bootable USB drive.
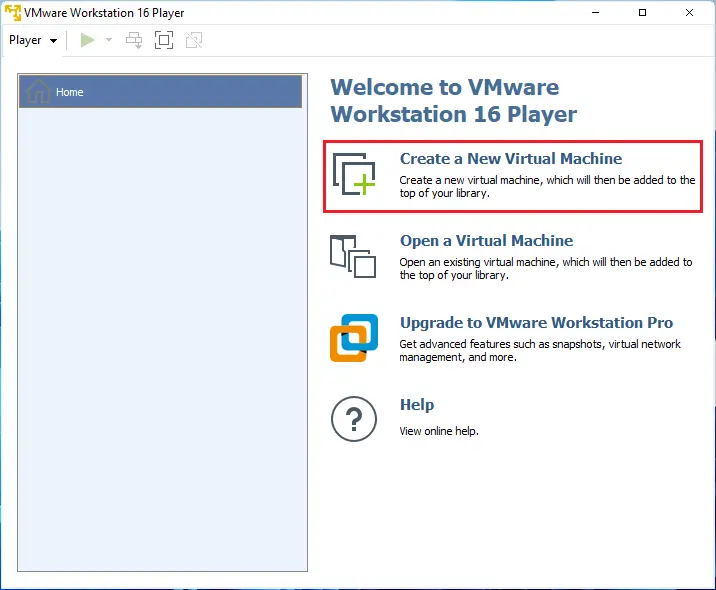
Create a Virtual Machine
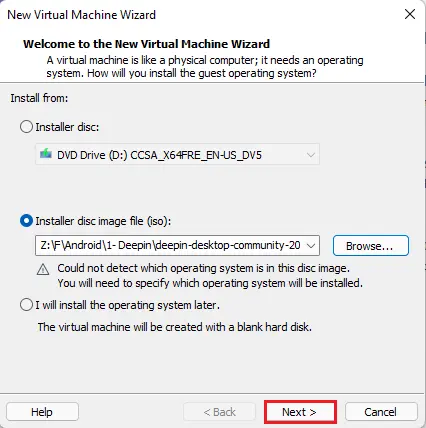
Select Create a New Virtual Machine.
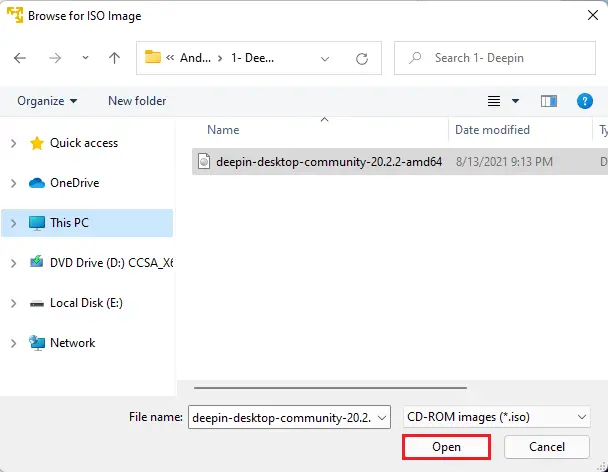
Select Browse.
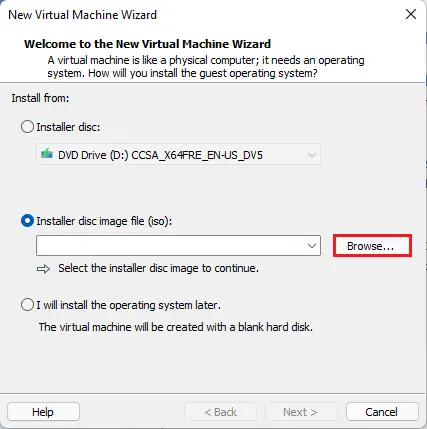
Then select your Deepin 20.2 ISO and then select open.
Select Next
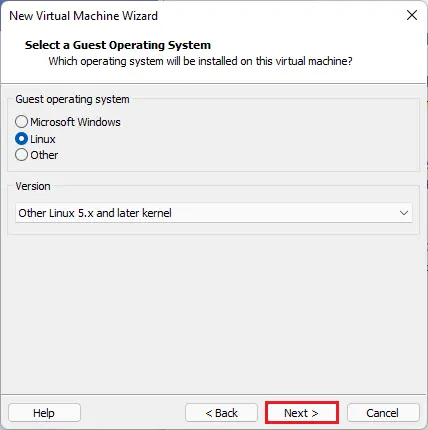
Choose the Linux radio button and then the other version of Linux 5.x.
Select Next
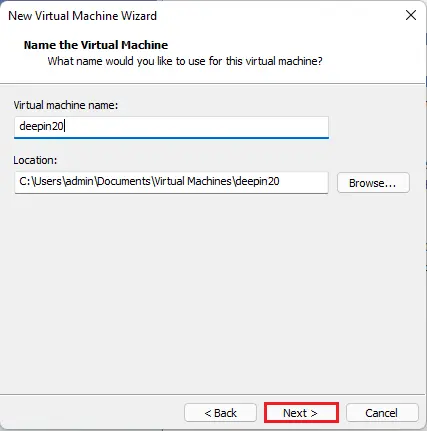
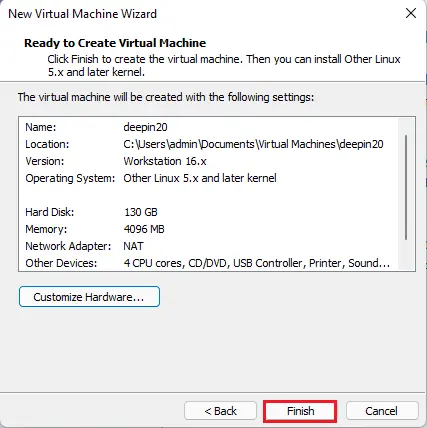
Name it deepin20, leave the location default and then click Next.
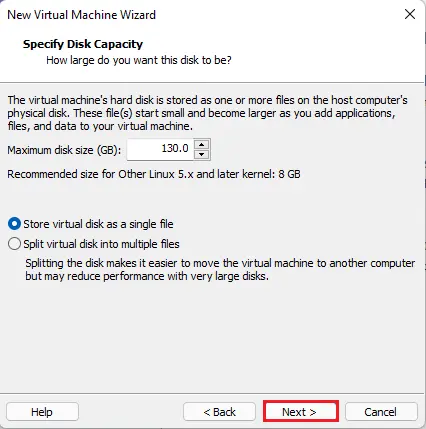
Select 130 GB disk size and then select next.
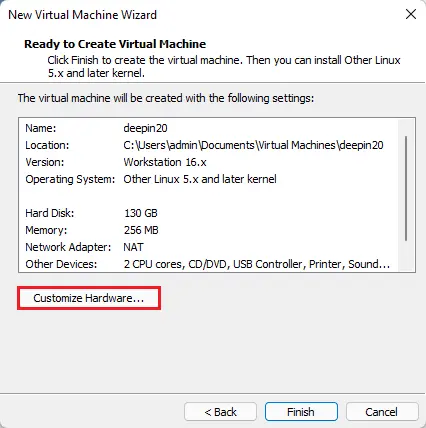
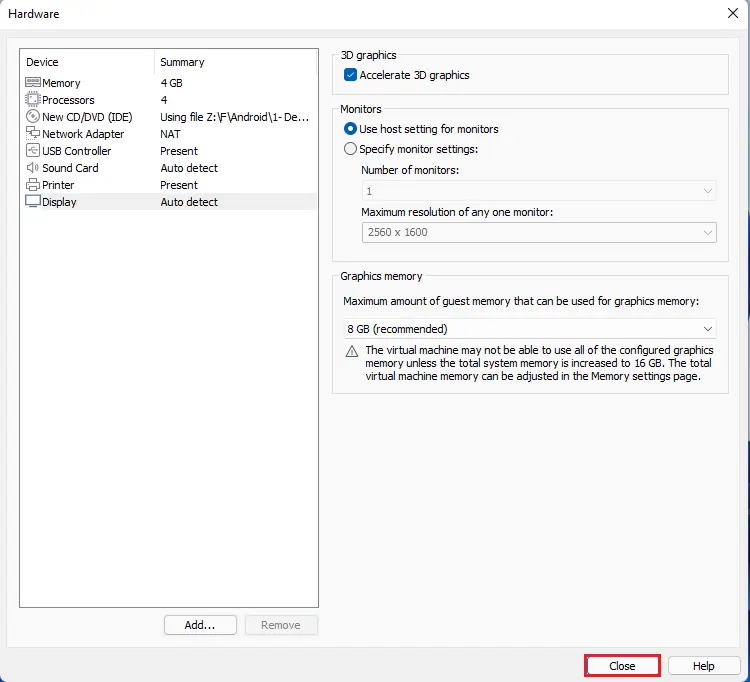
The default Virtual Hardware settings and review the system requirements for Deepin, Select the Customize Hardware.
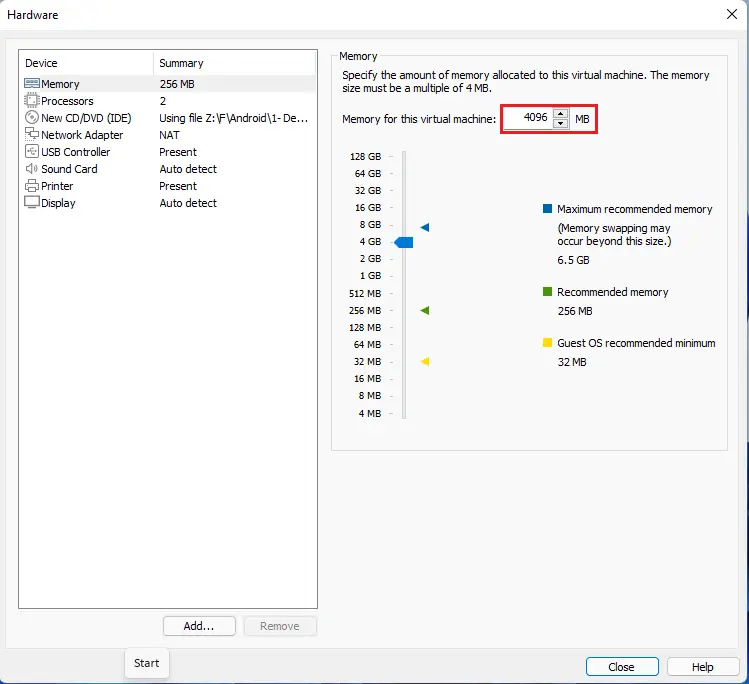
At least 4GB of RAM is required for the Deepin 20.2 virtual machine. If you have more than 8GB Ram installed in your Host system you can increase this for higher performance.
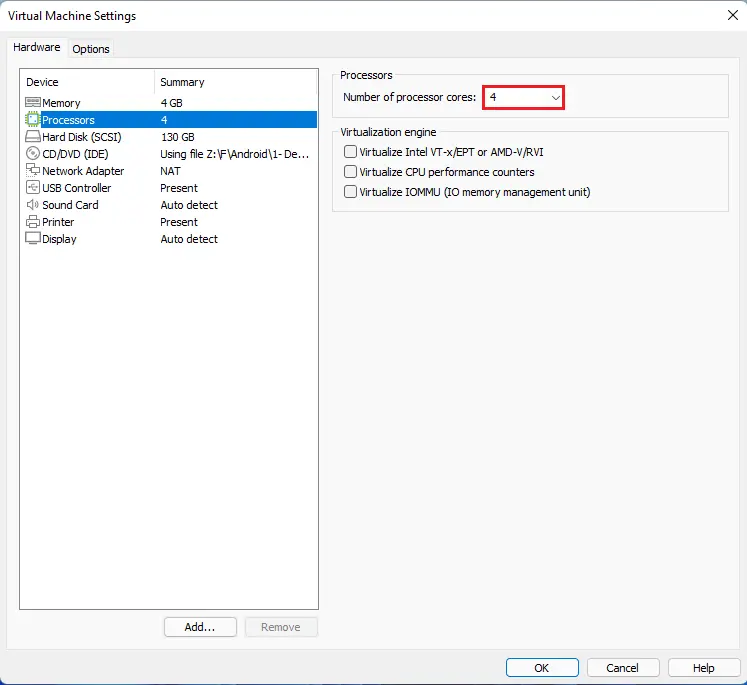
Virtual machine settings, select a number of cores.
Display: select Accelerate 3D Graphics and the Graphics memory should be set to recommend.
Click on Close to exit the Virtualized Hardware Customization window.
Select Finish.
Install Deepin 20.2 in the Virtual Machine
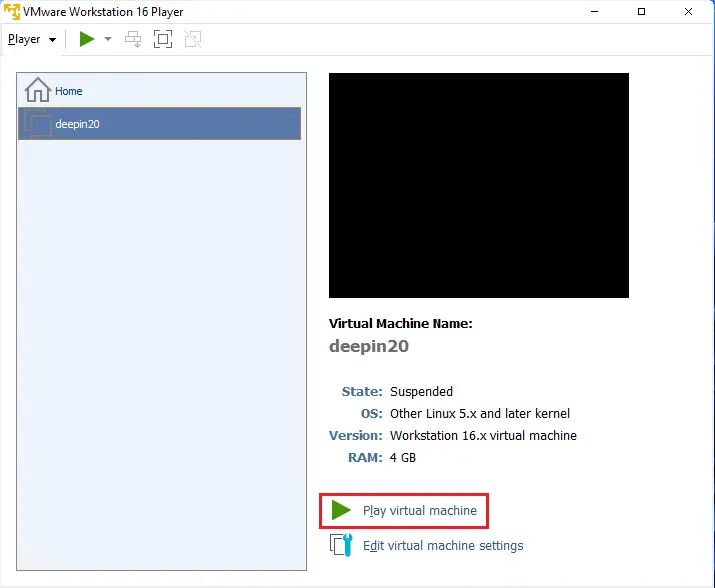
Select the deepin20 VM and then click on Play virtual machine.
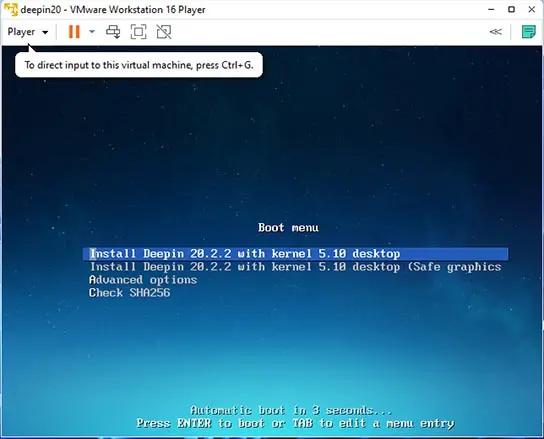
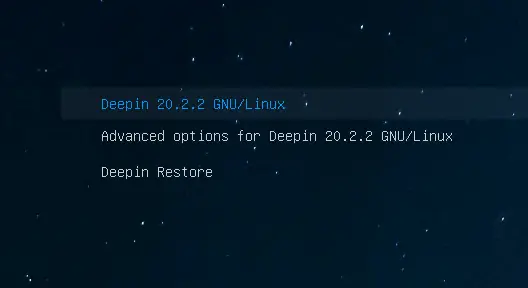
Choose the default boot menu “Select Install Deepin 20.2.2”.
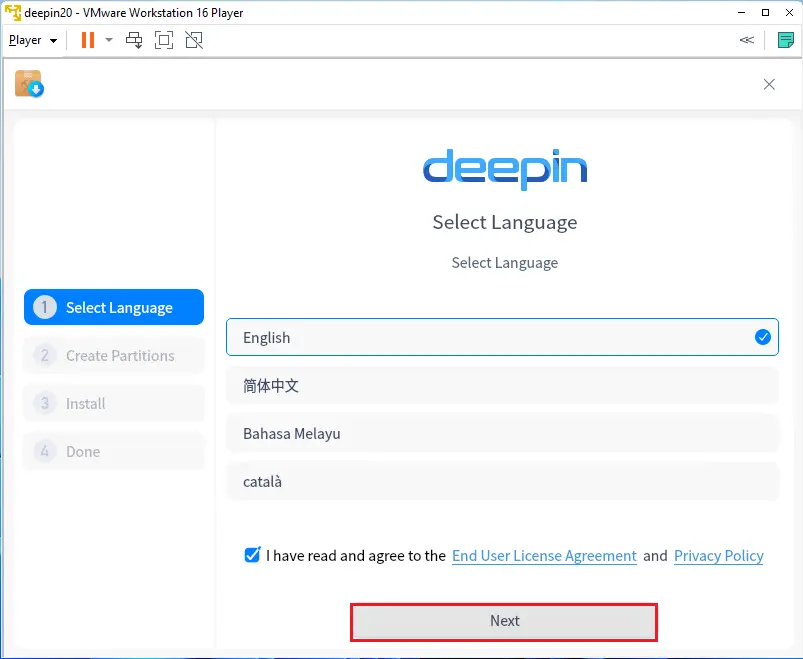
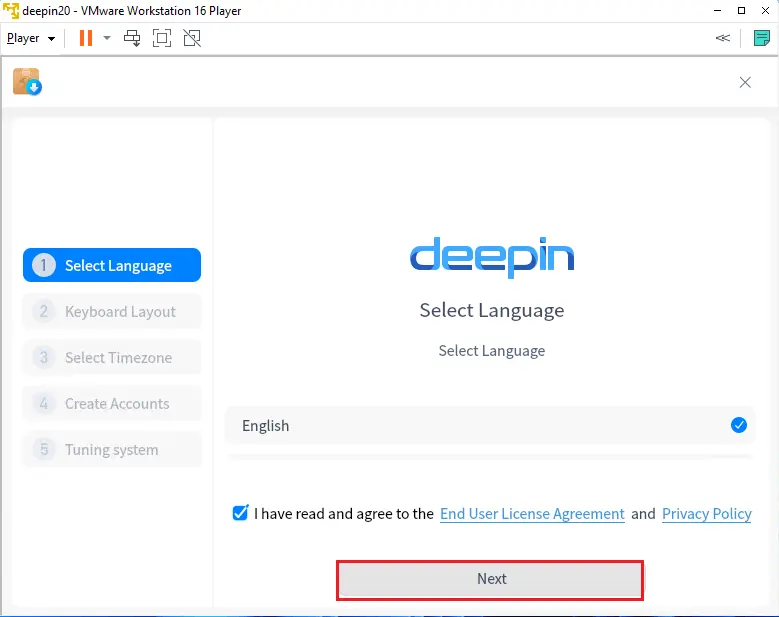
Select your language (English), then select the License Agreements, and then click
Next.
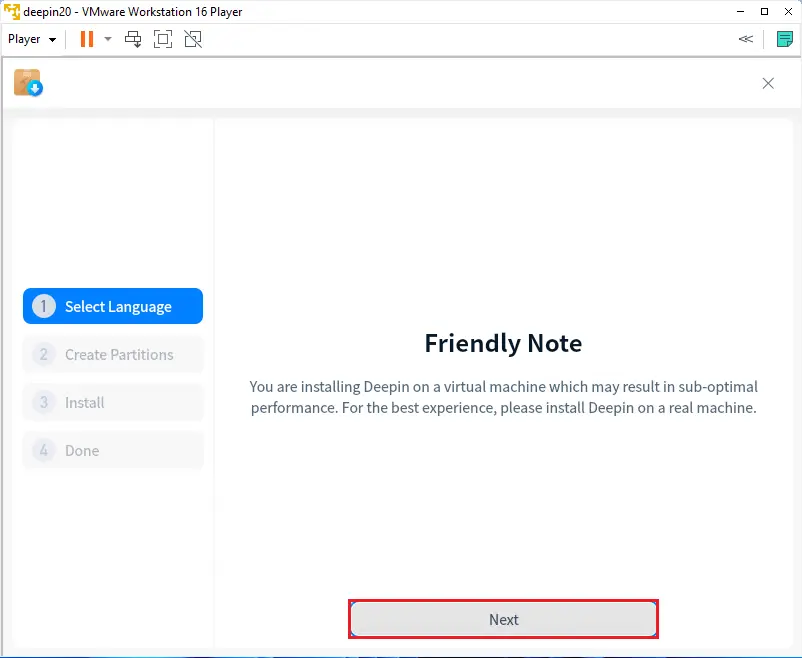
Read the friendly notes and then select next.
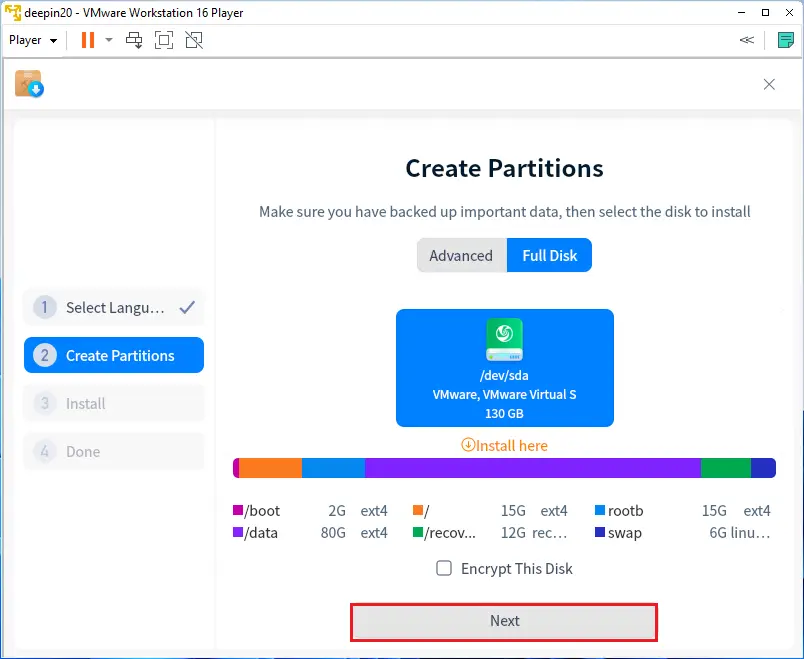
Create partitions, select the Virtual Drive to install deepin Linux and then select next.
Select Continue.
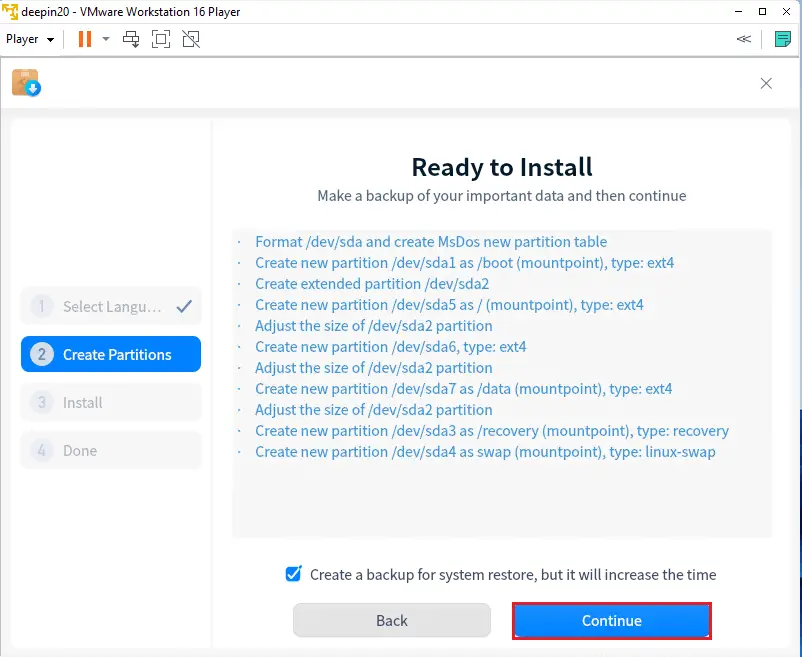
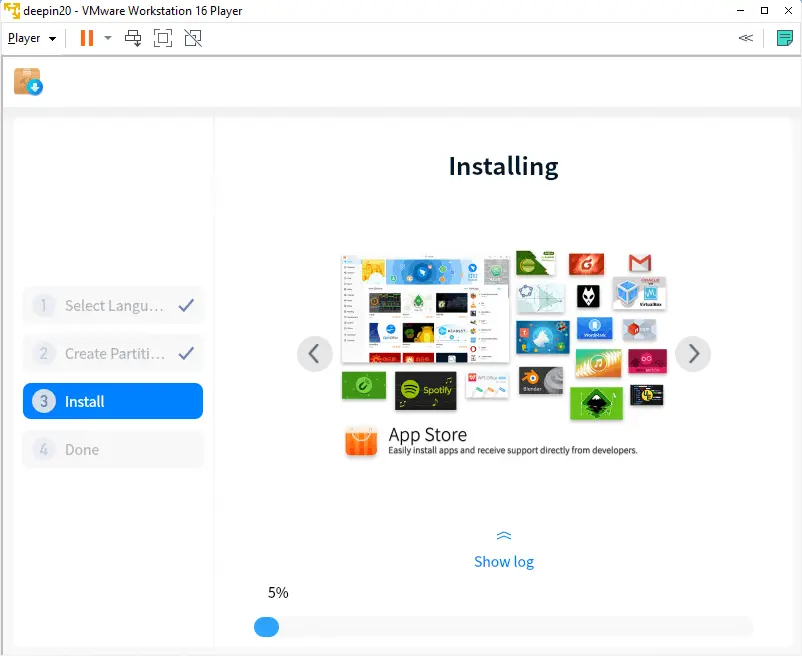
Deepin 20 will now start the installation.
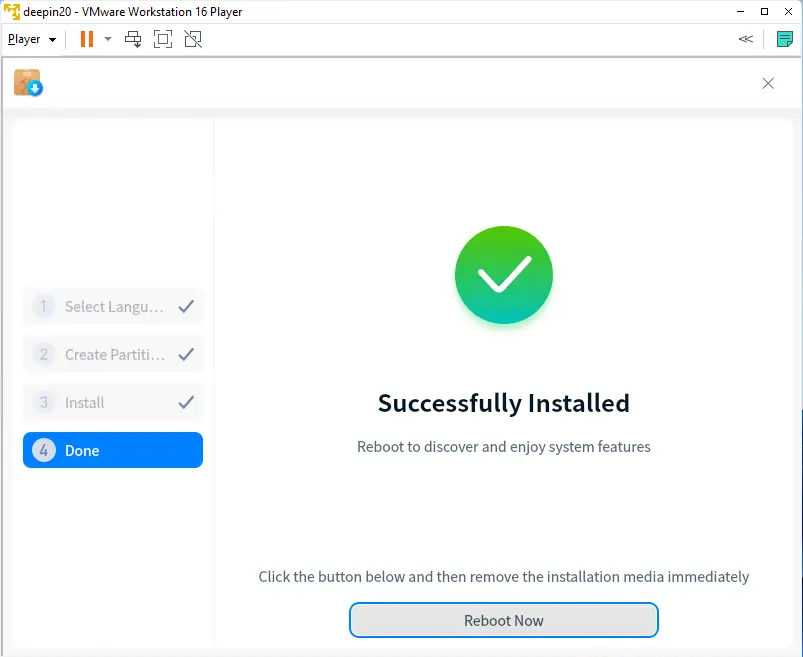
You need to remove the installation Media and then select Reboot Now.
Remove Installation Media
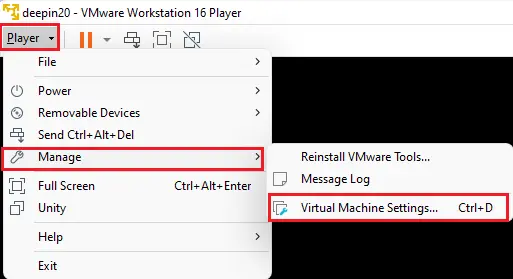
Select the Player tab, select Manage, and then Virtual Machine Settings.
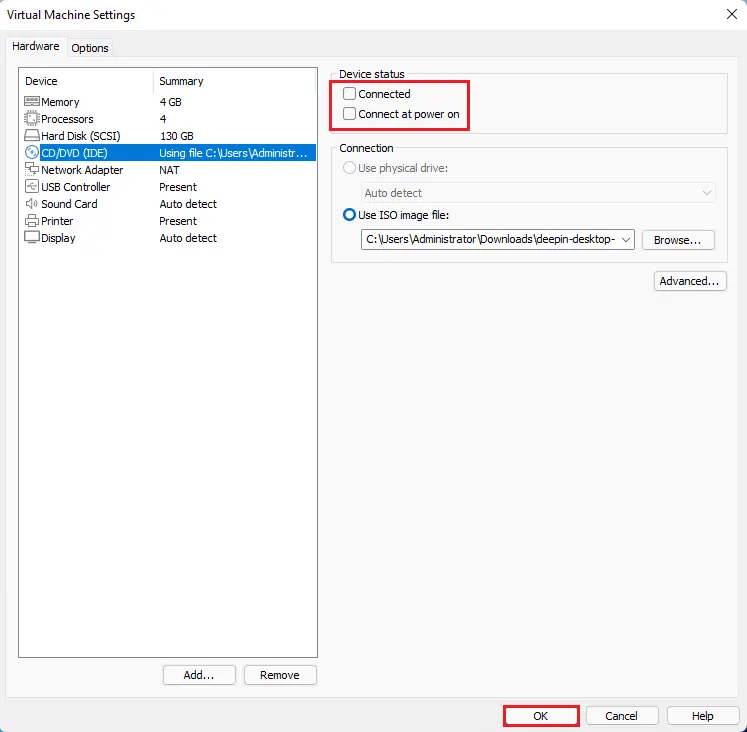
Uncheck Connected and Connect at Power On and then select ok.
Select Yes
Choose Reboot Now.

Select DeepIn 20 GNU/Linux.
Deeping Configuration
Choose deepin language, accept the license agreement and then click Next.
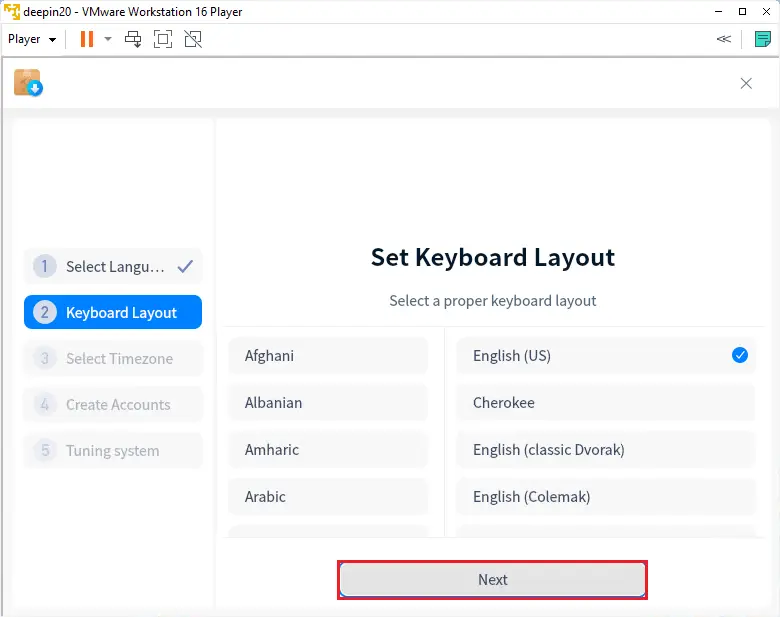
Select your Keyboard Layout, (I will selecting English (U.K.). Click next
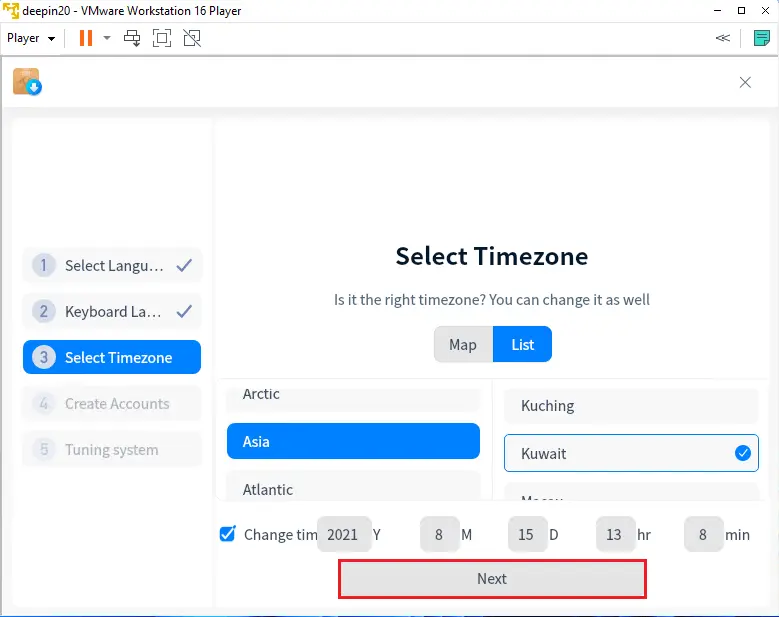
Select your Location on the Map or from the list timezone and then select Next.
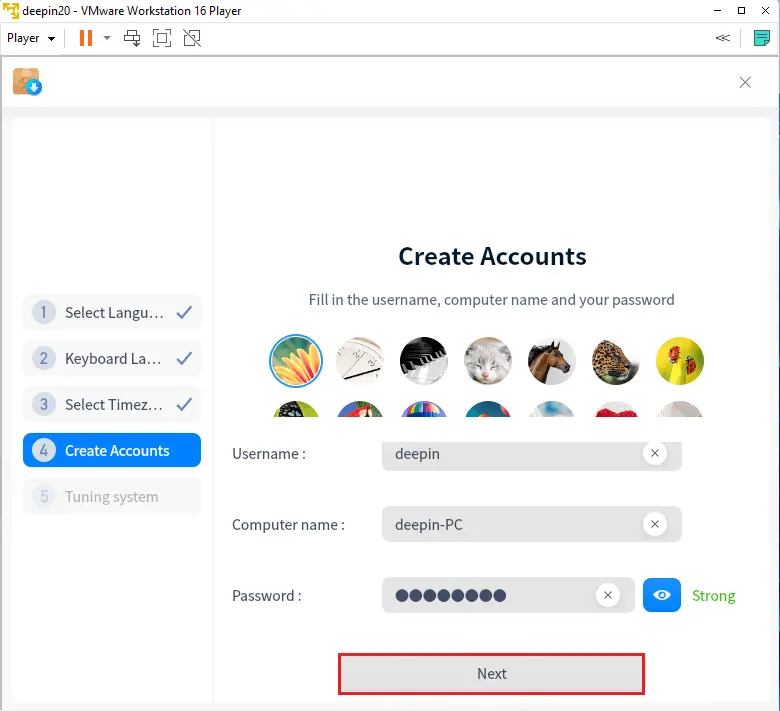
Enter a username, a PC name will be created from your username but you can change it. Then type a password, confirm the password. Select next.
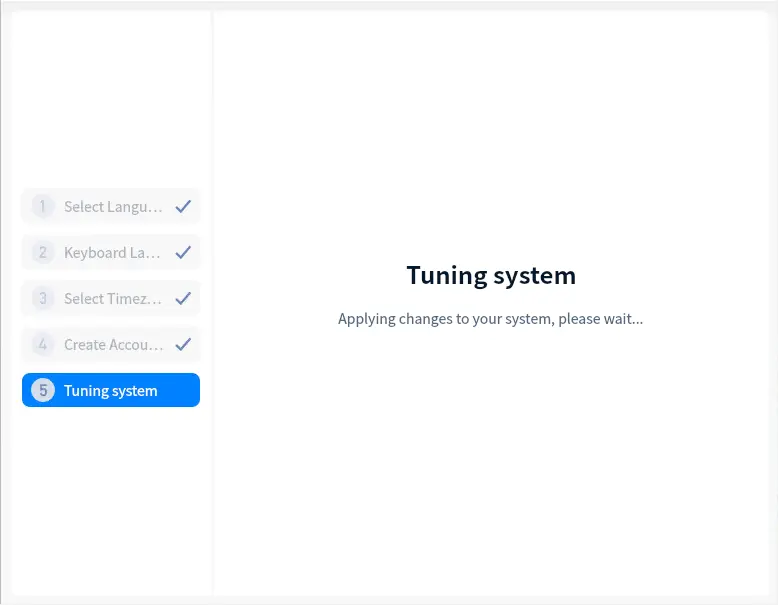
The setup will take some time tuning system.
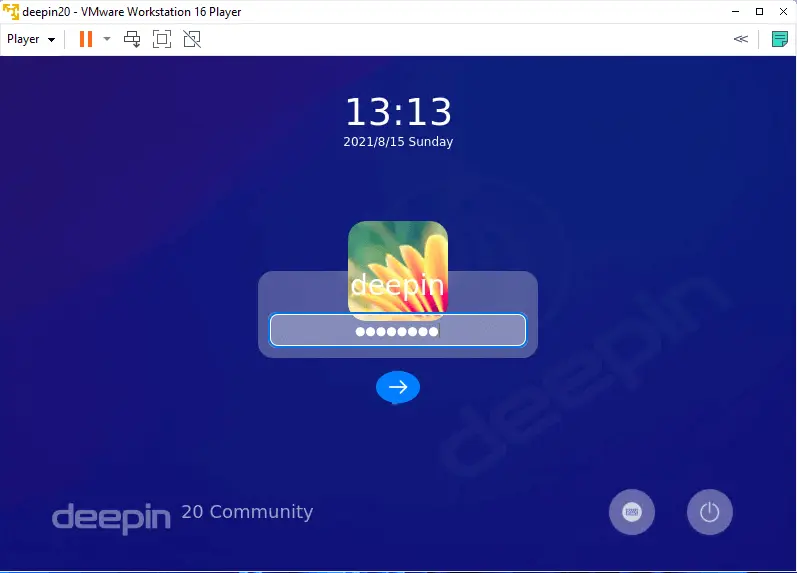
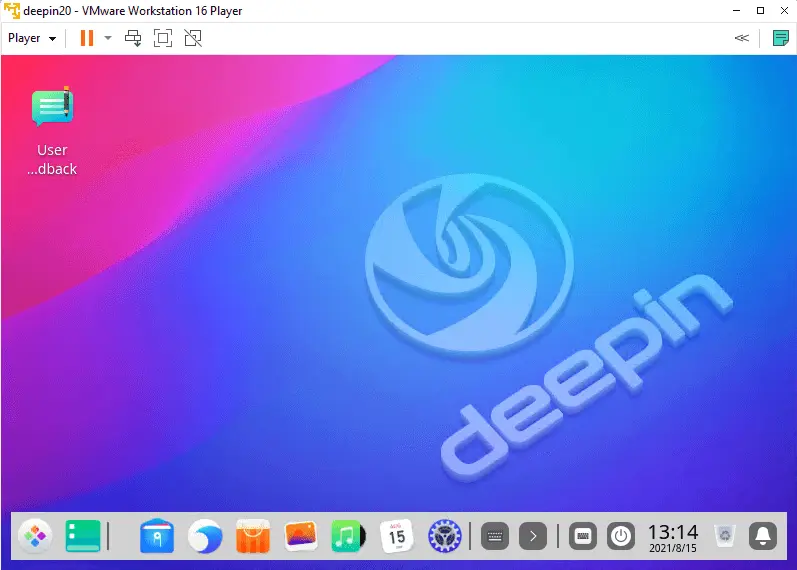
Deeping Linux login screen, type your password and hit enter.
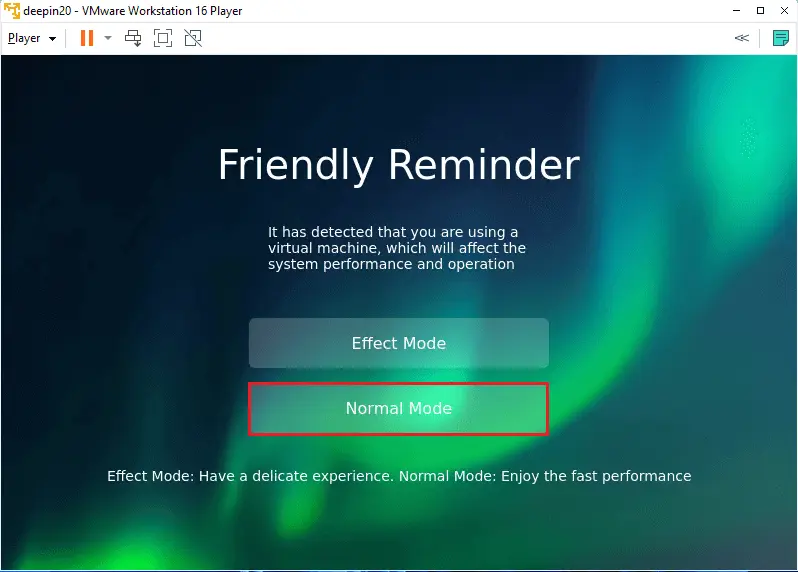
The Deepin Android is installed on a Virtual Machine, you can use Normal Mode which is less graphics-intensive and has good performance on a Virtual Machine.
Deeping Android Emulator home screen.
Start Menu