
This explanatory article will guide you How to Install Android Lineage OS on VMware Workstation as a Virtual Machine. The guide is well explanatory and will lead you to the Lineage OS Release in VMware Virtual Machine on your computer. The Prerequisites for This are Lineage OS x86 ISO Image and VMware Workstation from Android Project. So read this article and enjoy Lineage OS on your computer with a Virtual Machine.
As you all know that Android system is very popular these days and open source. Android Emulator has secured the highest place in the market of Smartphones. Now, you can use the Android environment in the computer world using virtualization software. This is the beauty of Android.
Enjoy Android OS in your computer in a Virtual Environment.
Below are the links for downloading VMware Workstation 15 and the Lineage OS ISO.
Download Android lineage OS Download Lineage OS or click here
VMware Workstation Download
Download VMware Workstation from their Official Website.
Steps to create a virtual machine for the Android Emulator in VMware Workstation
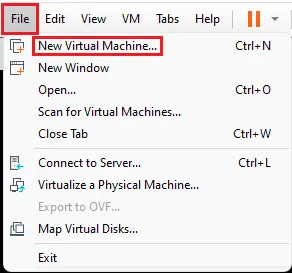
Open VMware Workstation, click on File menu and then select new virtual machine.
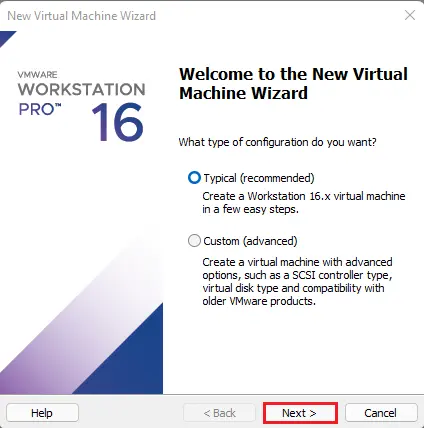
Select typical and then click next
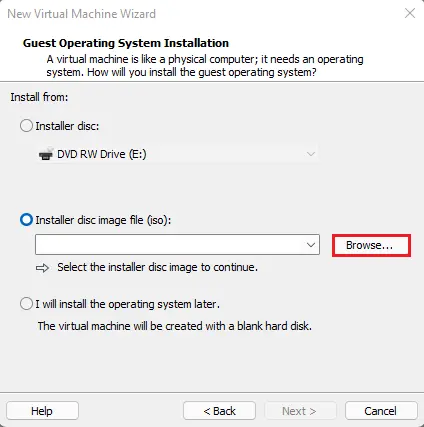
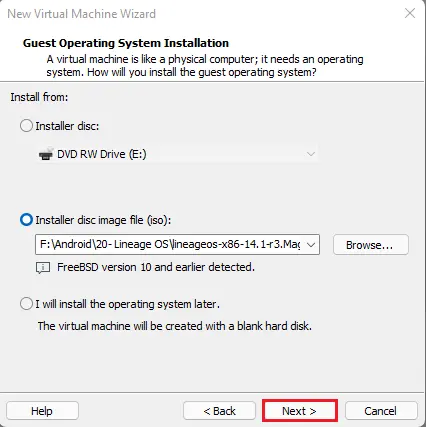
Select browse
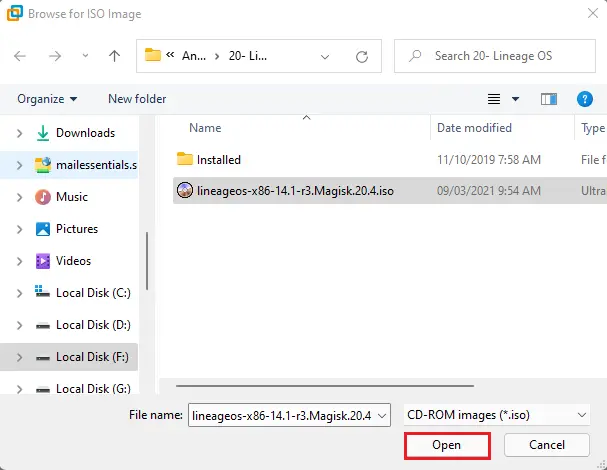
Browse Leanageos ISO file, click open.
Click next
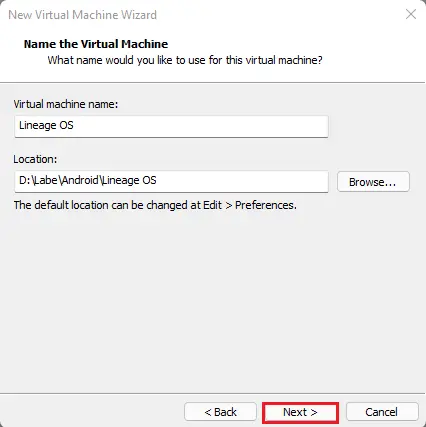
Enter the virtual machine name
Choose a location where you want to save or leave it to default and then click Next.
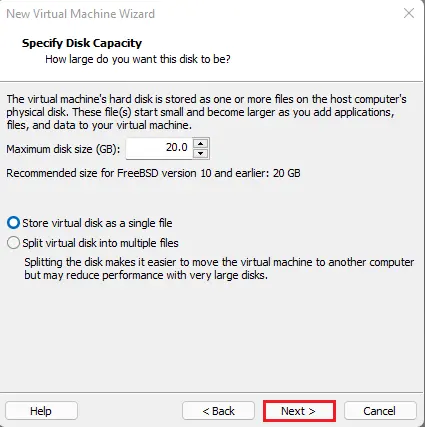
Select disk size and then click Next.
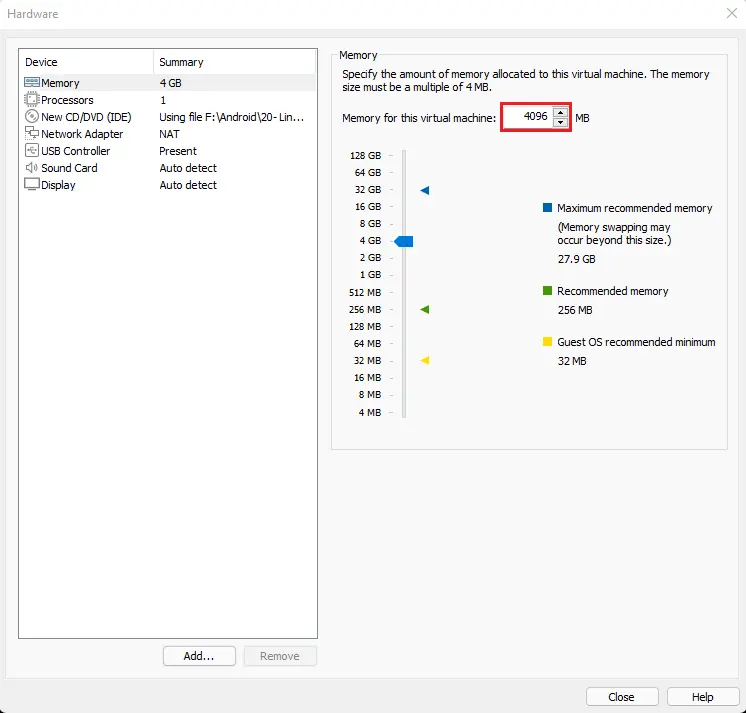
Click customize hardware
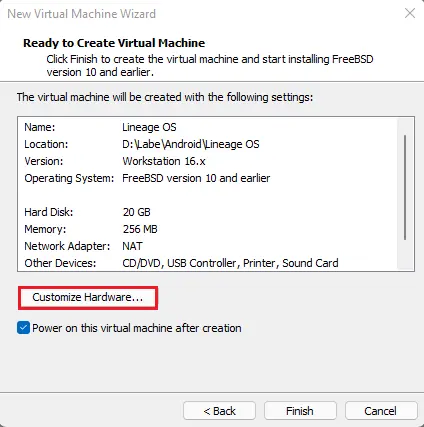
Click on memory and select RAM 4 GB.
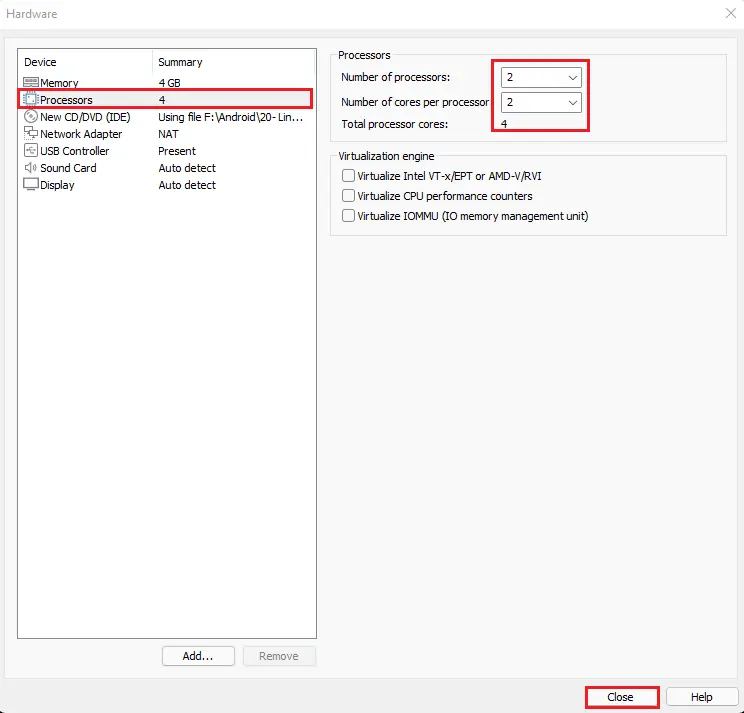
Select a number of processors and then click Close.
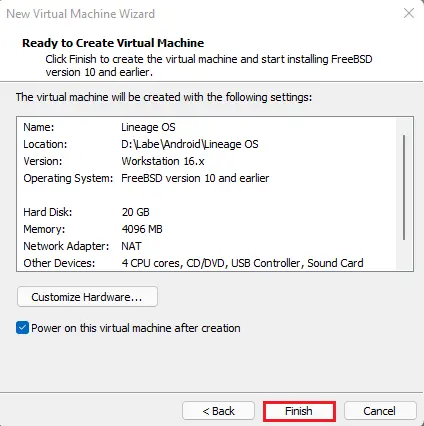
Click the finish button to start the virtual machine.
Install Android Lineage OS
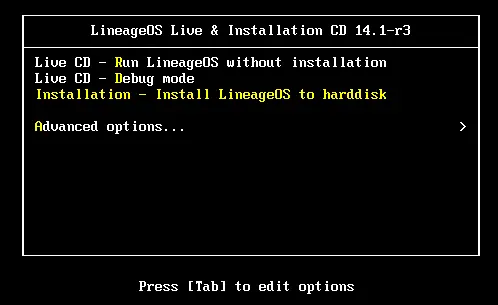
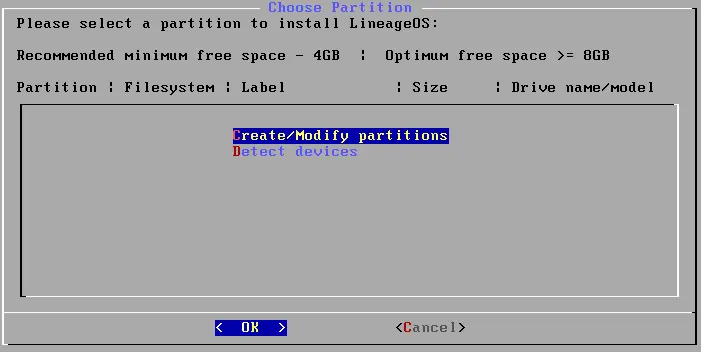
Select Installation – install LineageOS on hard disk and hit enter.
Select Create/Modify Portions and hit enter.
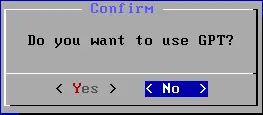
Click no for the use of GPT and then hit enter.
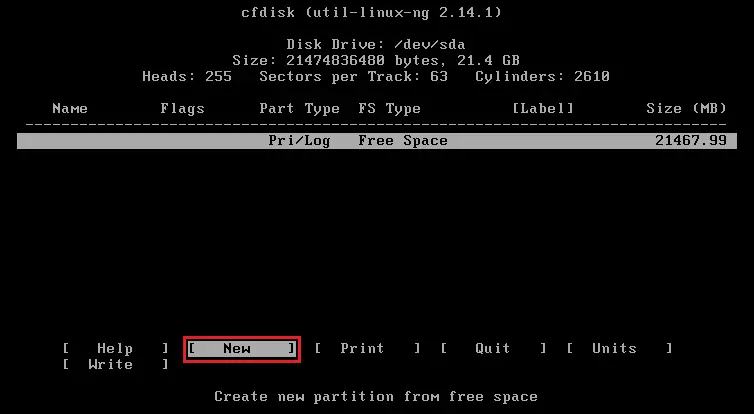
Now we need to create a new partition, so select New and hit enter.
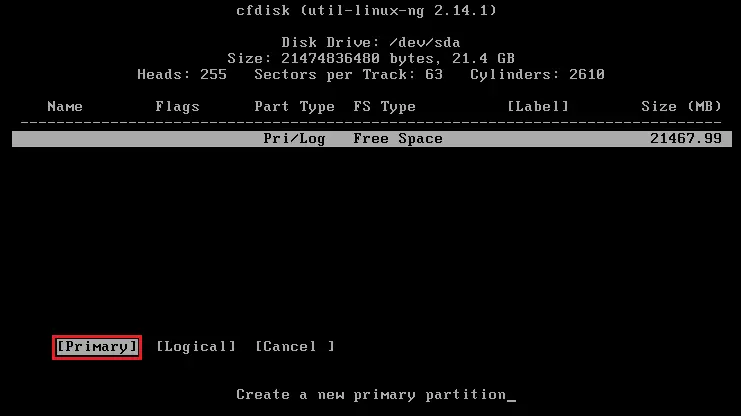
Select Primary and then hit enter.
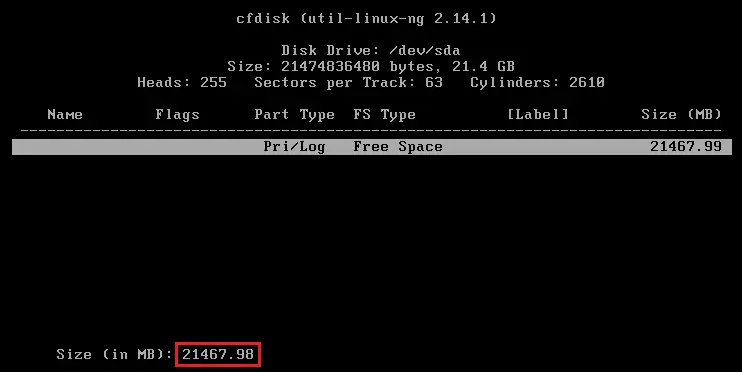
Select the size that you want for the new partition. I have selected all and then hit enter.
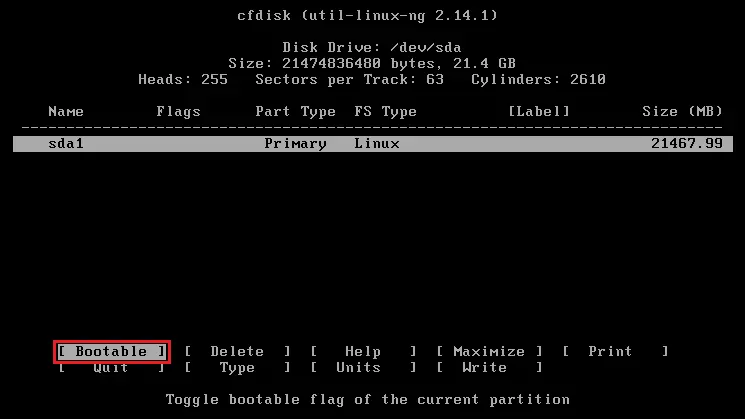
Select Bootable and hit enter, under the head Flags it should show Boot.
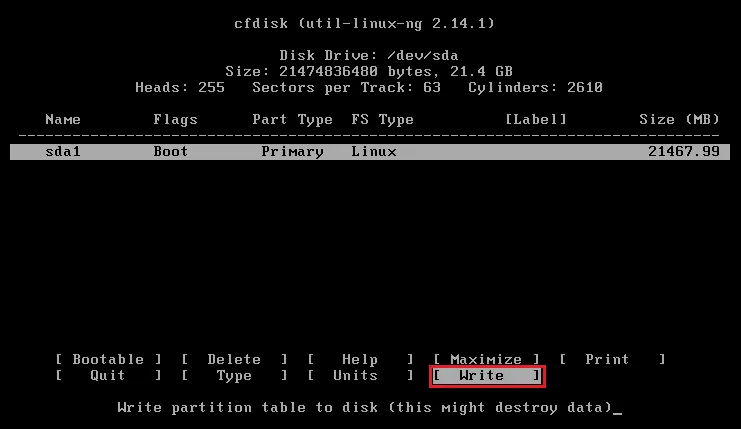
Select Write tab. This will create the partition table, which makes sure that you can use the new partition for the installation of Lineage OS.
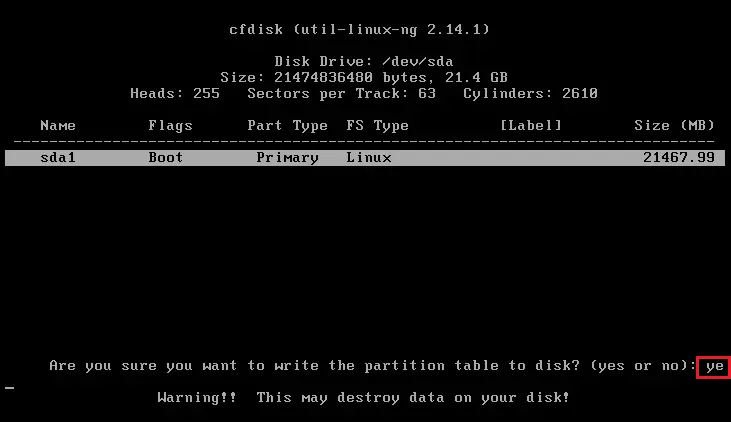
Type yes and then hit enter.
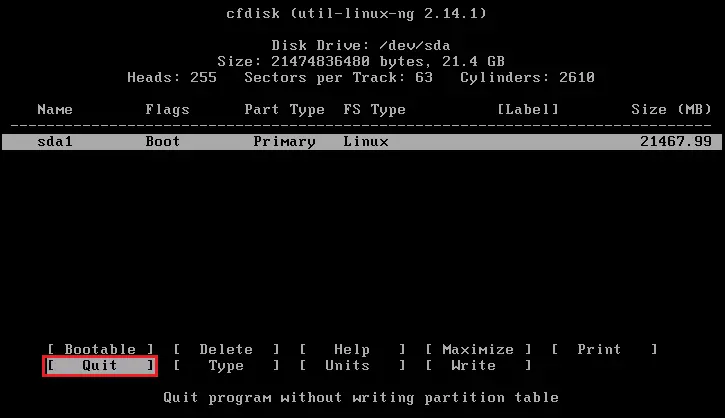
Select Quite and you will return to the installation screen of Lineage OS, with a partition available called sda1.
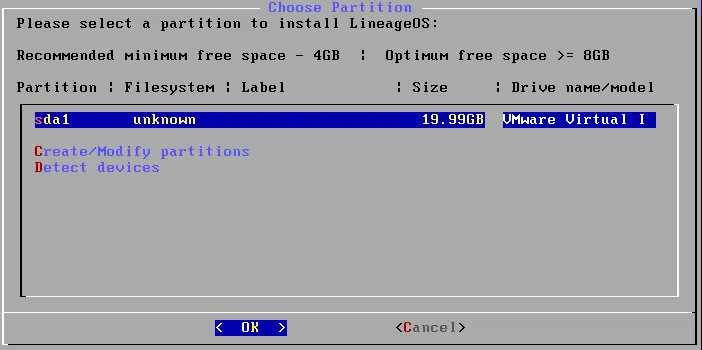
Select sda1 and press enter for the installation.
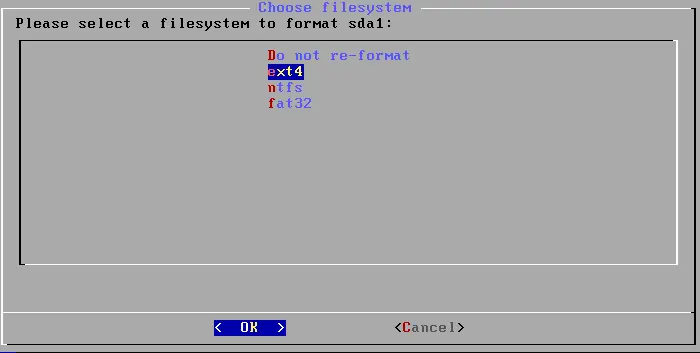
Choose ext4 as the filesystem and then hit enter.
Select Yes and then hit enter.

Install the boot loader GRUB, select yes, and then hit enter.

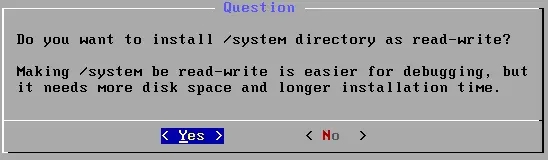
Select Yes and hit enter to make the system Read-Write.
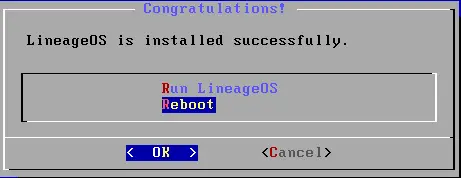
Once it is finished.

Go to the virtual machine settings and then disconnect CD/DVD.
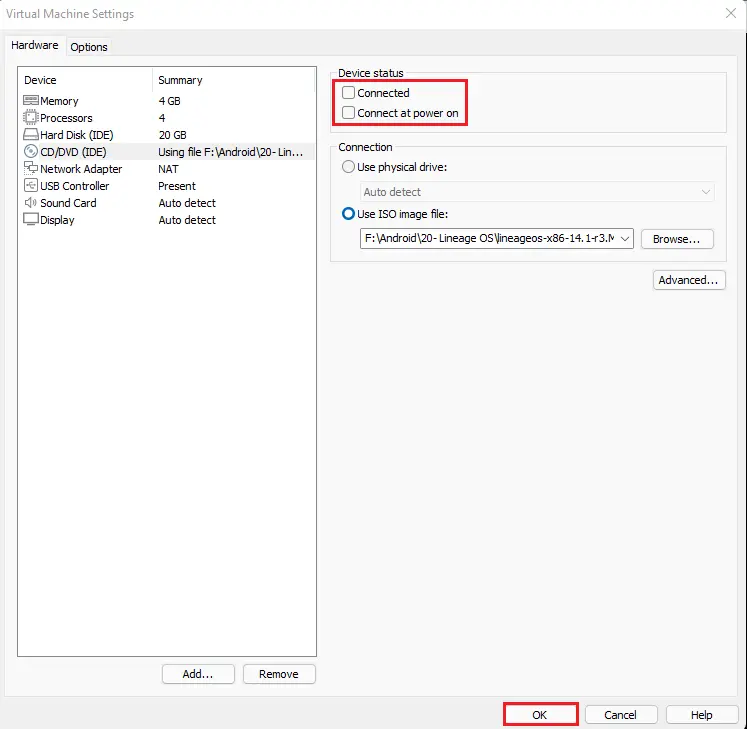
Click Yes.

Select the Reboot option and then hit enter to restart LineageOS.
LeaneageOS Configuration
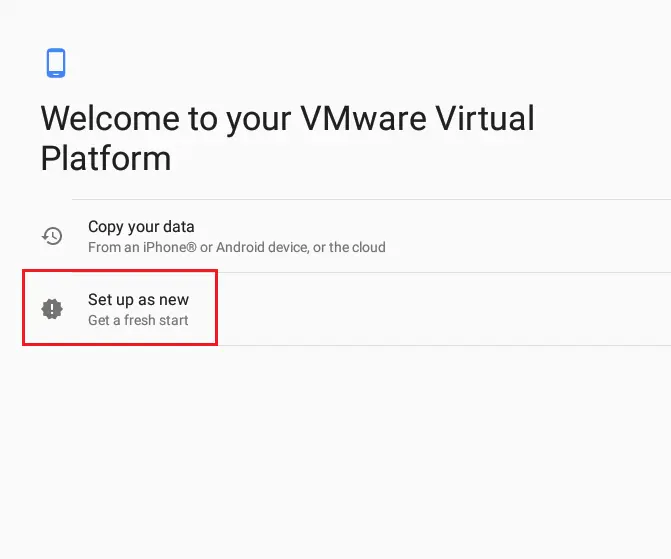
The lineage OS welcome screen will appear, so click next.

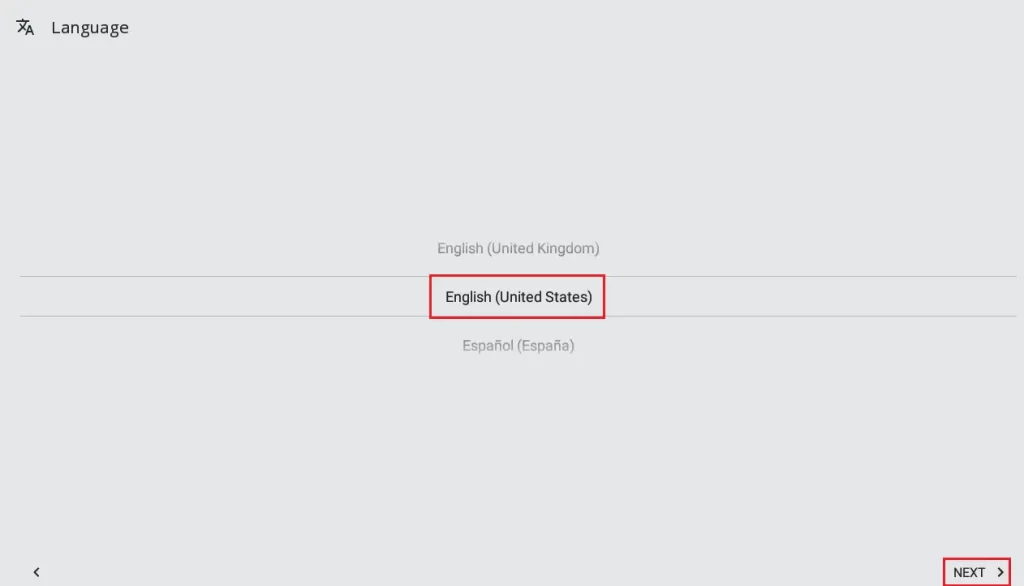
Select your language and then click Next.
Select set up as new.
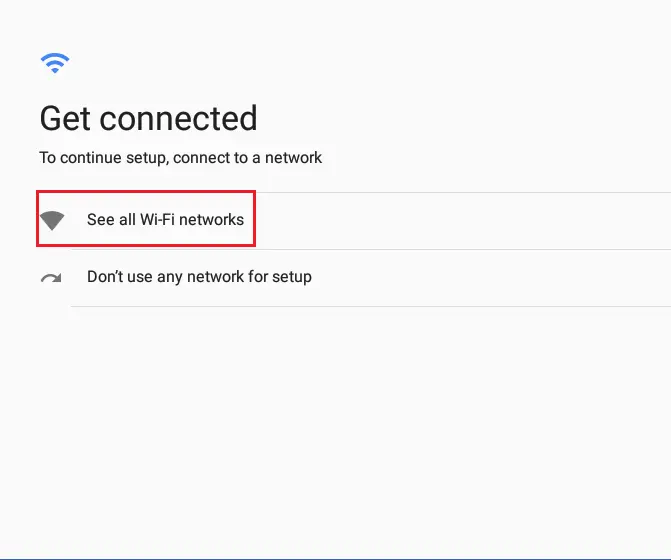
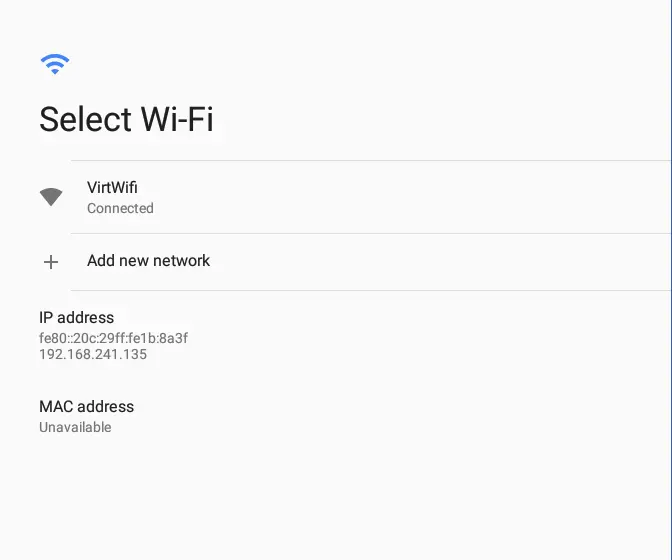
Connect your device to the Wi-Fi network.
Network connected
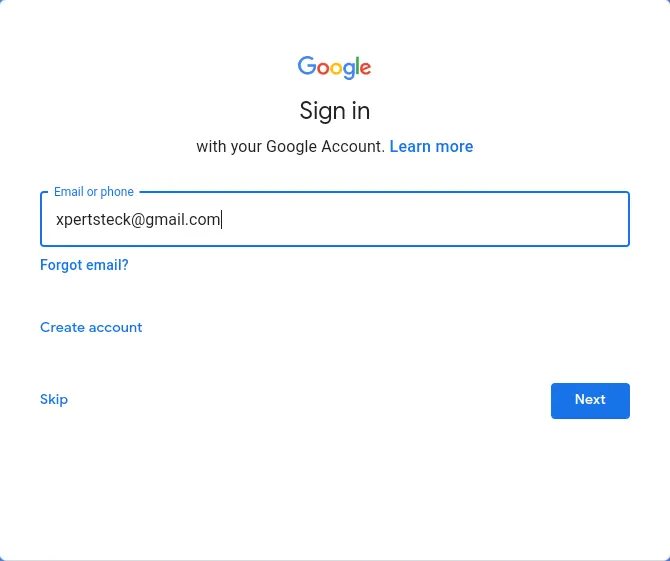
Skip Google sign in to log in with a local account or you can log in with your Gmail account.
Type Gmail account and then click Next.
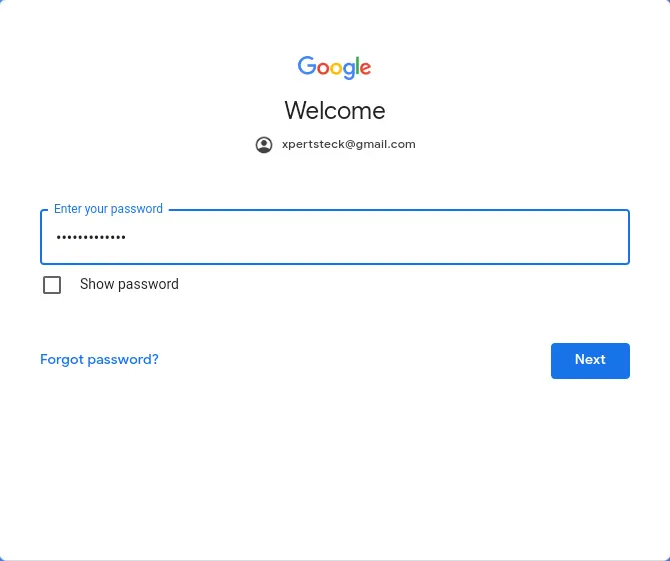
Enter account credentials and then click next.
Accept Google’s terms of service.
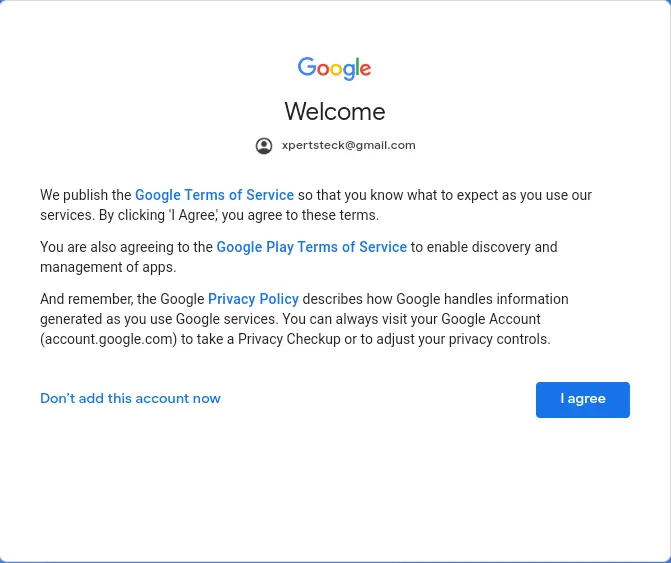
Click next
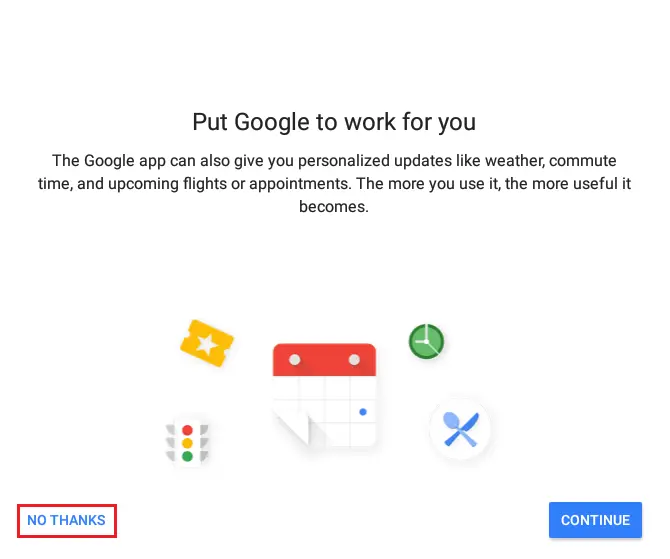
Select no thanks
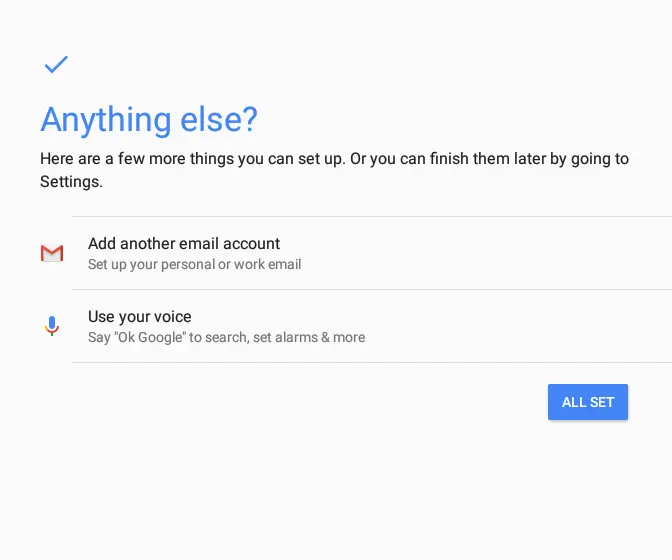
Click All Set.
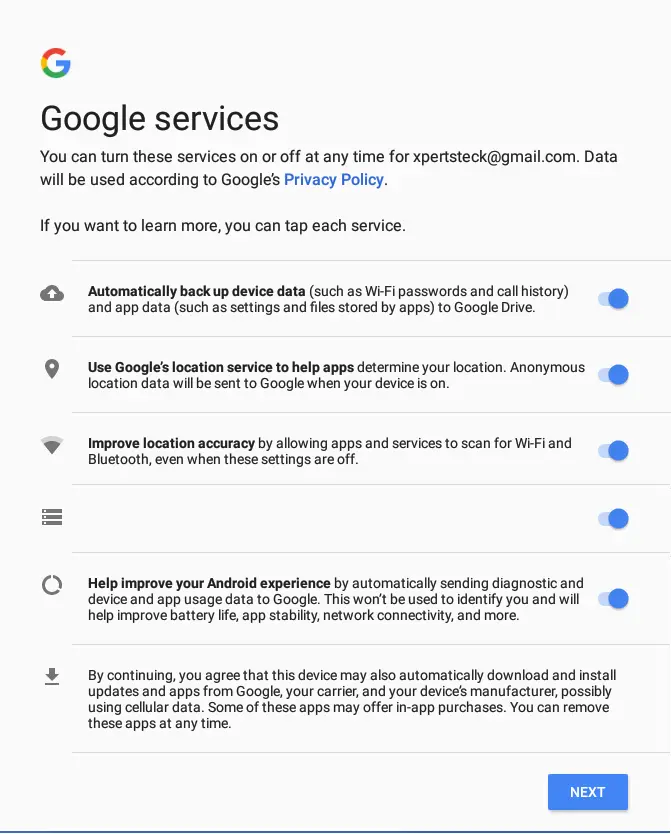
Select next.
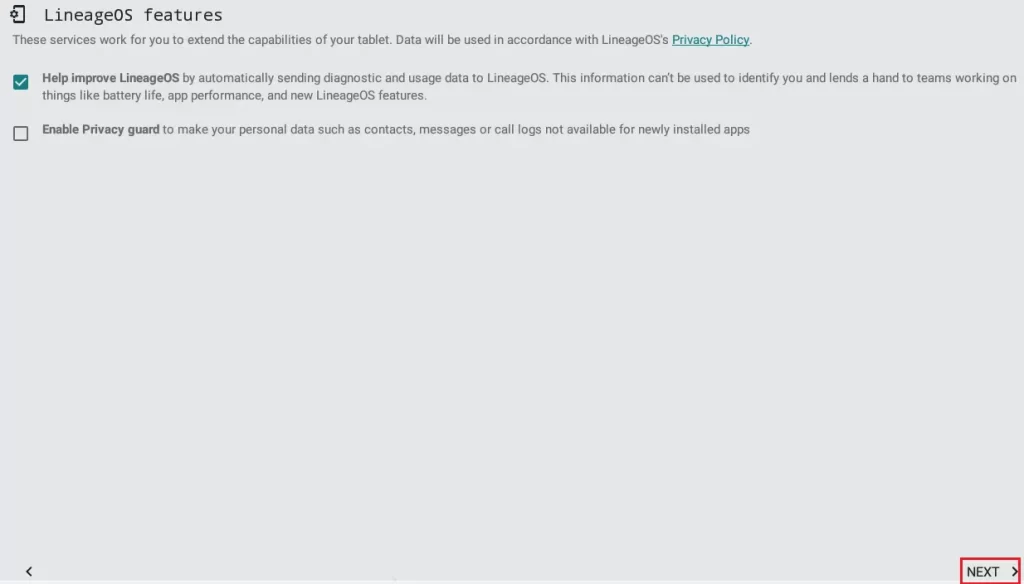
Click the start button.

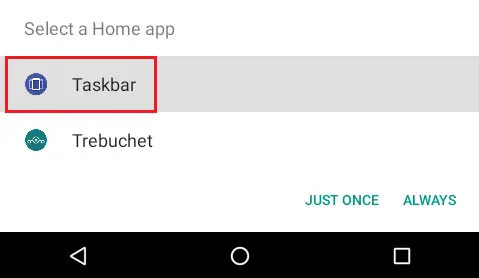
Select a home app.
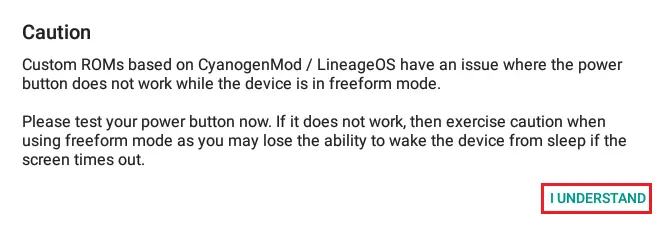
Select I Understand
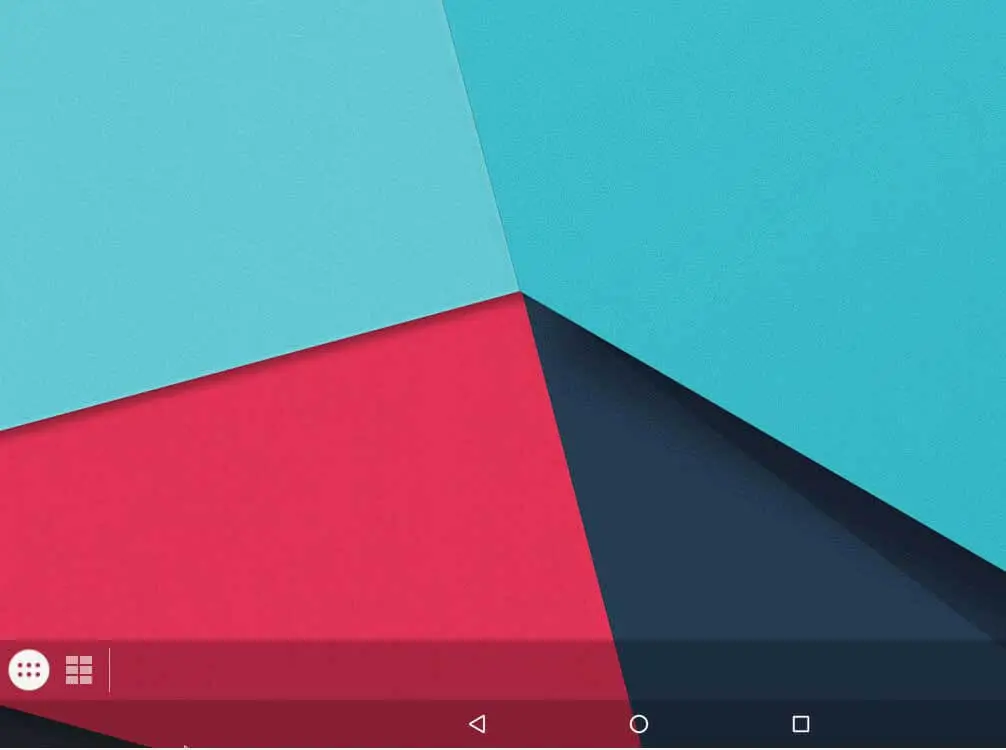
After completing the configuration, you will see the Lineage OS home screen.
Related: How to Create Lineage OS Bootable USB Drive.
No Comments
Best view I have ever seen!