In this blog, we will learn how to create Phoenix OS U-Disk USB Bootable. Phoenix Android is an operating system designed to pass us to run Emulator on any type of computer, whether it’s workstation or laptop, for the purpose of getting the most out of the OS of Google on any type of computer.
One of the best Phoenix emulator features is that you can run it on Mac, Windows. furthermore, it is not required formatting and we don’t need any specific hard disk for installation. We can copy Phoenix OS to a USB drive and boot the computer from it. We may as well install it on our hard disk (it doesn’t involve the main OS) to have better performance.
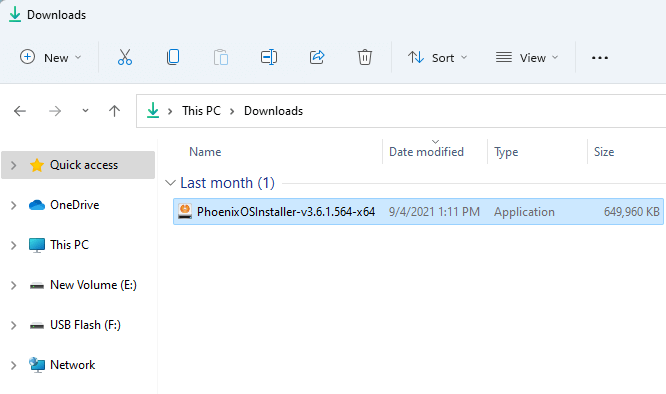
First, you need to download this operating system’s latest version (Installer) from their Official Website.
Create Phoenix OS U-Disk USB
Once downloaded the installer, we can run it and follow the process.
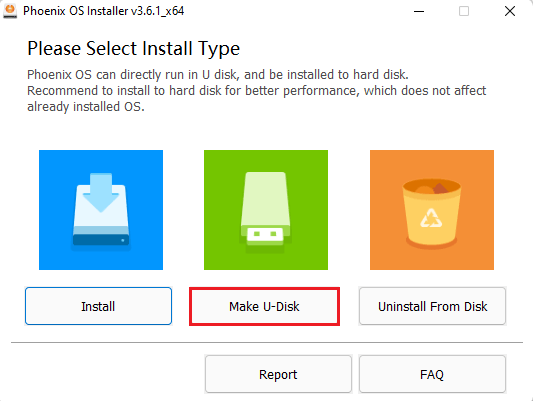
In this Write Phoenix OS to U-Disk window, we can select either to create a USB disk with this operating system, or you can install it directly on our main system hard disk with the operating system (but without partitions or dangers). If we want to install it on a hard drive, it will give us the option of the unit where we wish to install it.
Phoenix OS Installer, click on Make U-Disk.
Watch Video: How to Create Phoenix OS U-Disk USB Bootable
I am going to install it on a USB stick, we need to select the USB stick, connected to the computer, where we will do it.
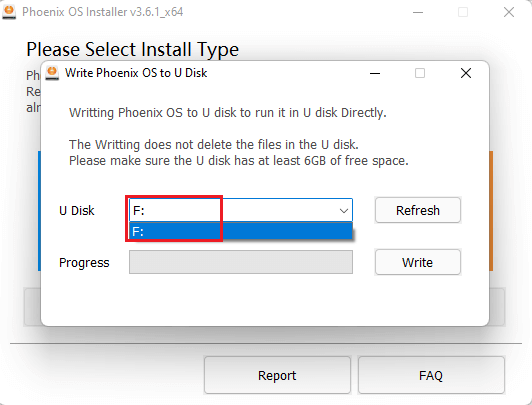
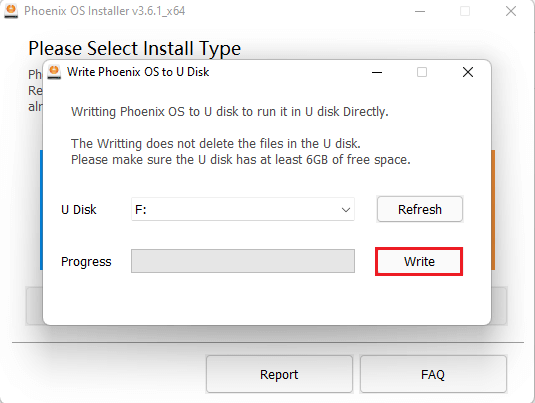
What we have to bear in mind is that Phoenix OS doesn’t run with Secure Boot, so we need to disable it from the computer BIOS to be able to use this system on our PC. Click on Write
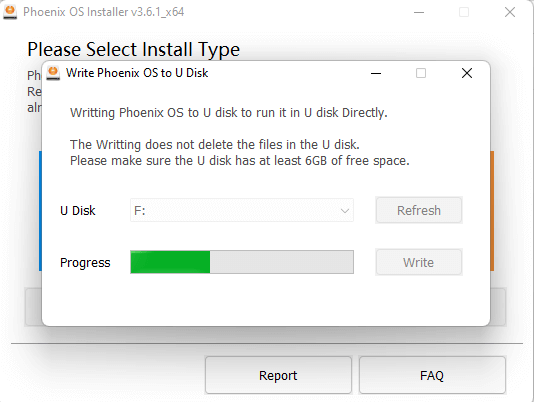
Installing Phoenix OS U-Disk is in progress.
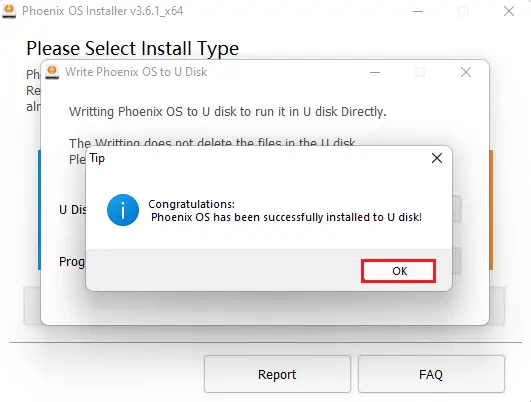
The Phoenix OS has been successfully installed on a U disk.
If you have selected to use ISO, when you boot the PC with it we can see the Phoenix OS boot screen where it will show us if we need to load Phoenix OS in Live mode or install it on disk. If you installed it on the USB drive or on the hard drive you will not see it.
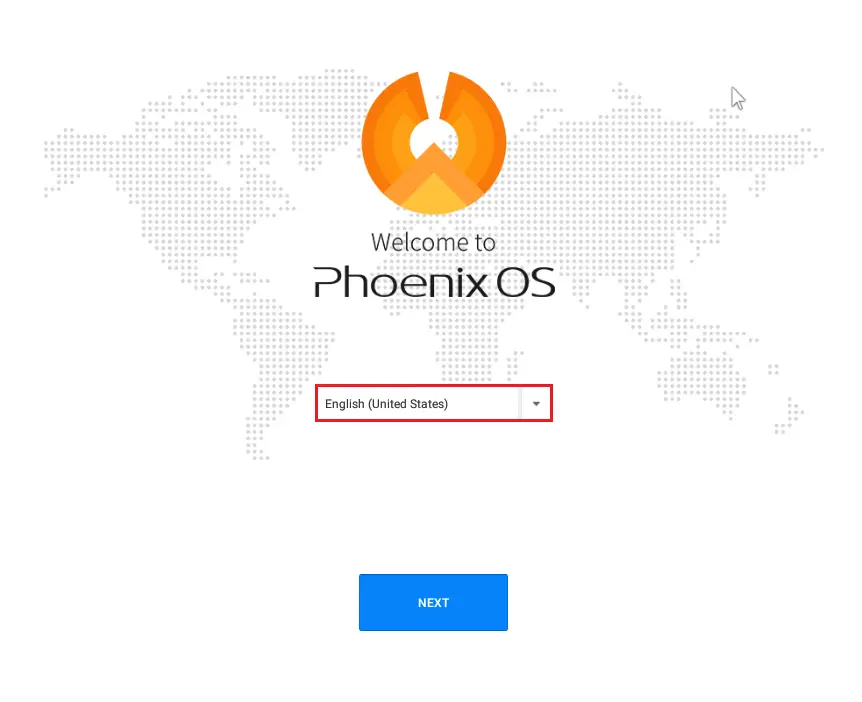
Select Phoenix OS language and then click Next.
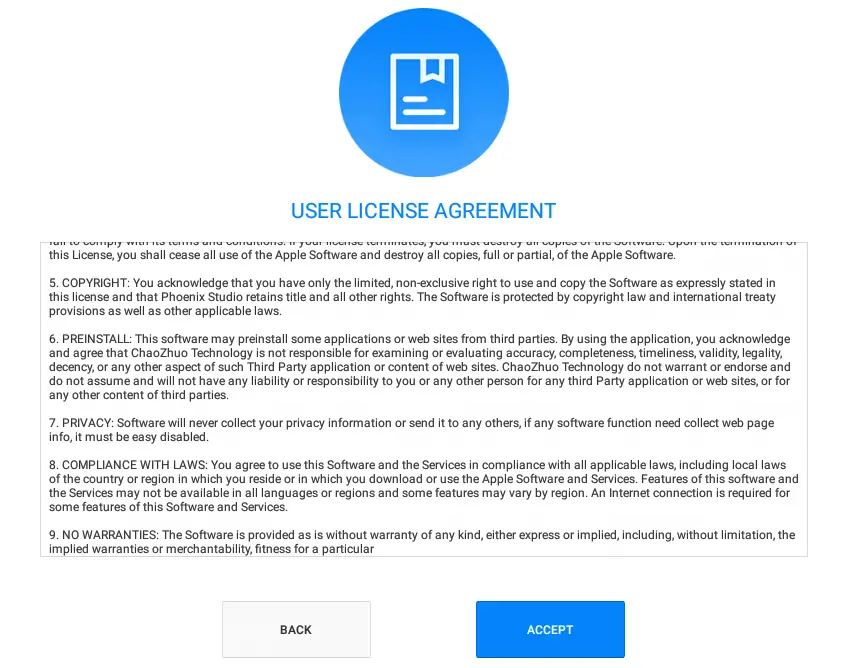
Accept the license agreement.
Phoenix OS network successfully connected, click next.

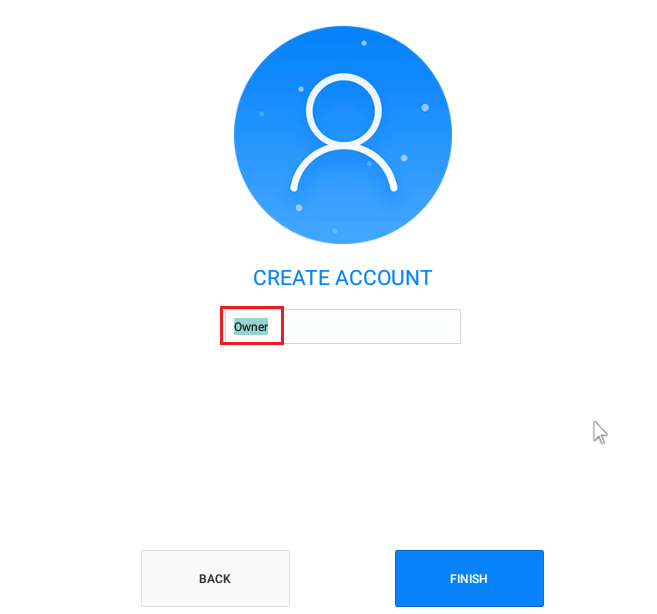
Enter an account name and then click finish.
Phoenix OS home screen.