In this article, I will show you the steps to create a VPC peering connection same region in AWS environment in same region.
AWS VPC Peering Connection Same Region
How to Create VPC
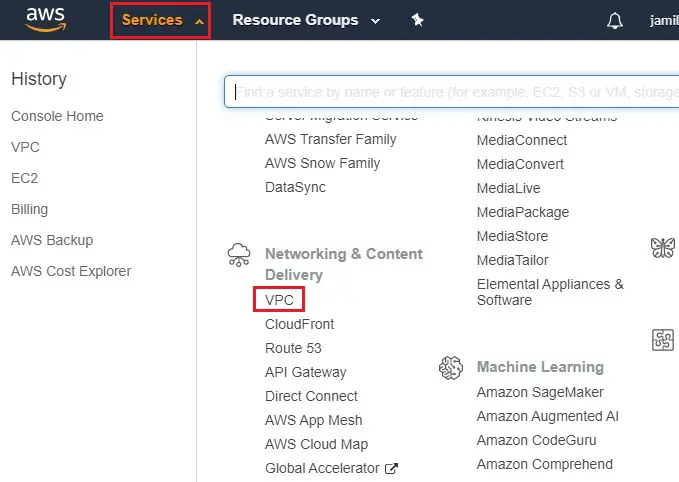
1- Login to your AWS account and go to the AWS Services tab and then select VPC under Networking & Content Delivery.
1st VPC
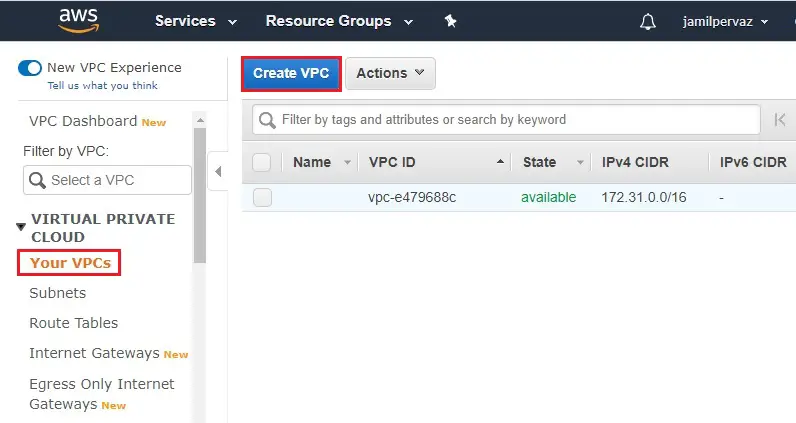
2- Under Virtual Private Cloud select Your VPCs
Click on Create VPC.
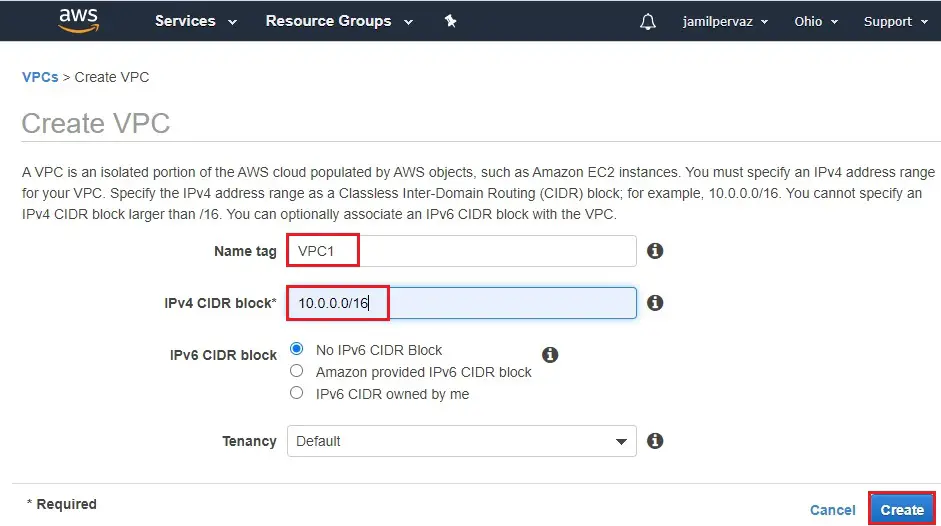
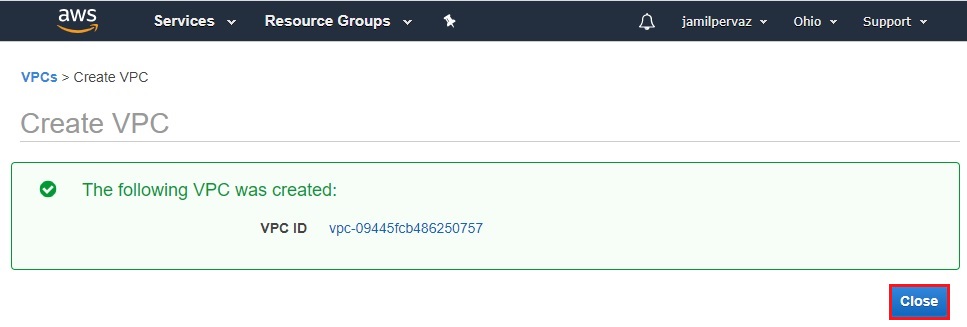
3- Create VPC wizard,
Name tag – VPC1.
IPv4 CIDR block – 10.0.0.0/16.
Tenancy – default
Click Create
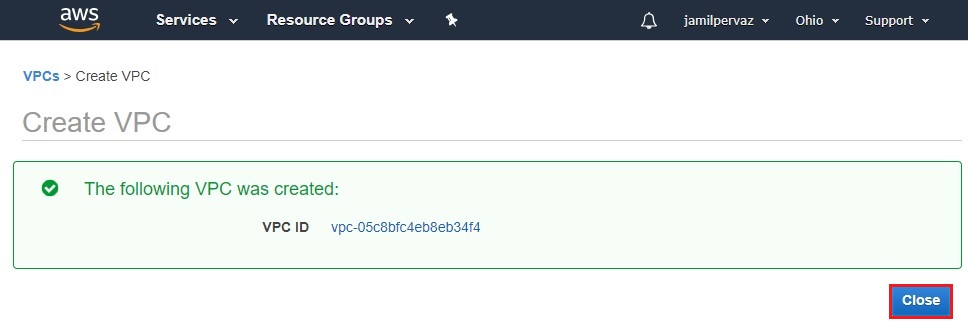
4- Click close.
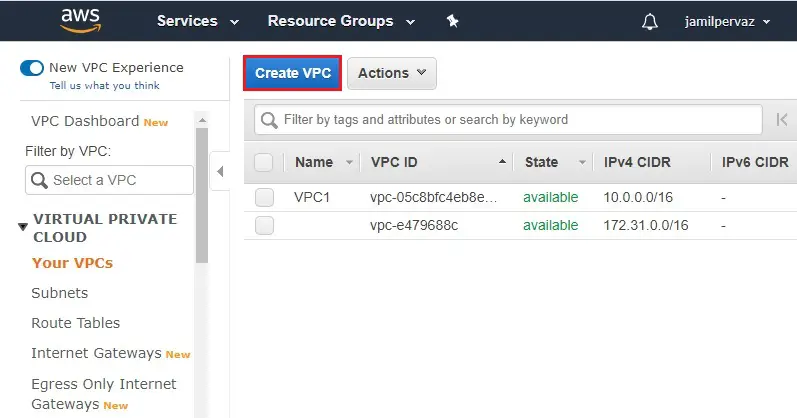
Create 2nd VPC
1- Click create VPC
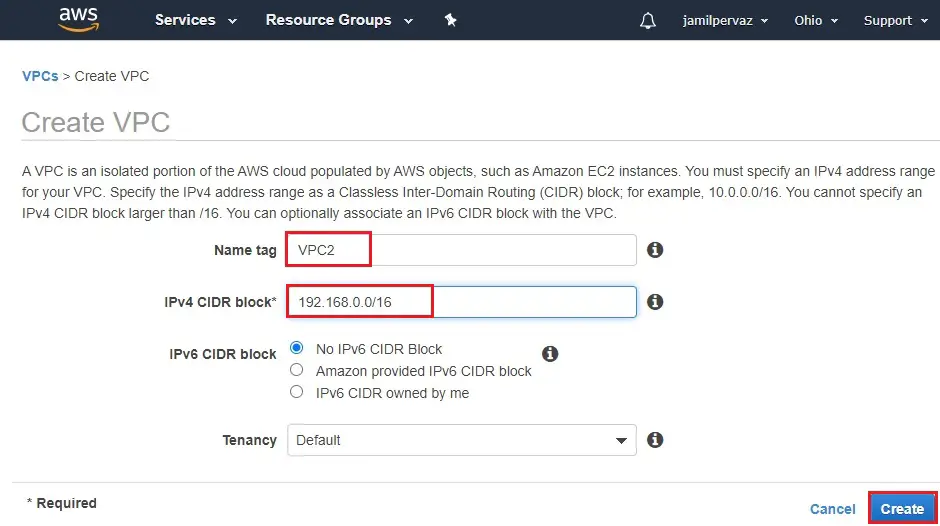
2- Name tag – VPC2.
IPv4 CIDR block – 192.168.0.0/16.
Tenancy – default
Click Create
3- Click close
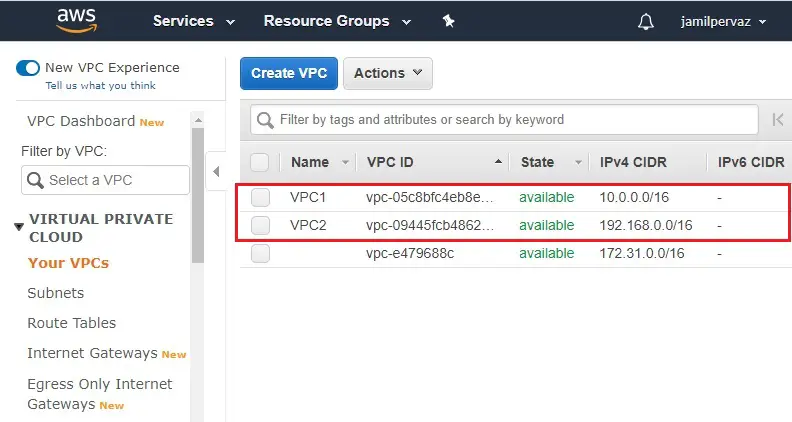
4- Now you can see two VPC created.
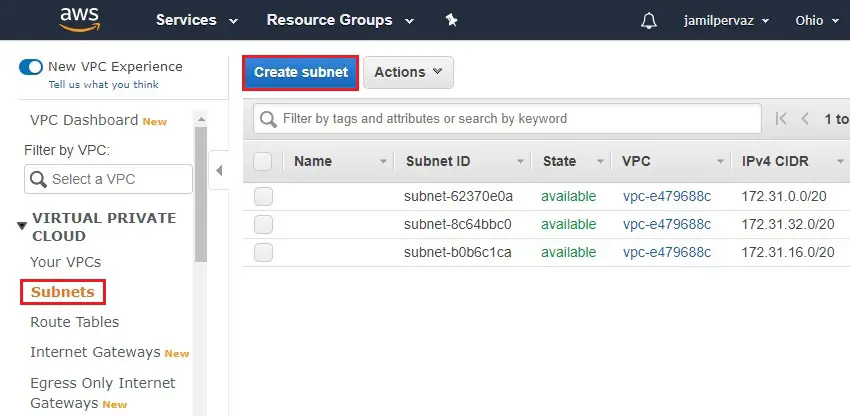
Create Subnet in AWS
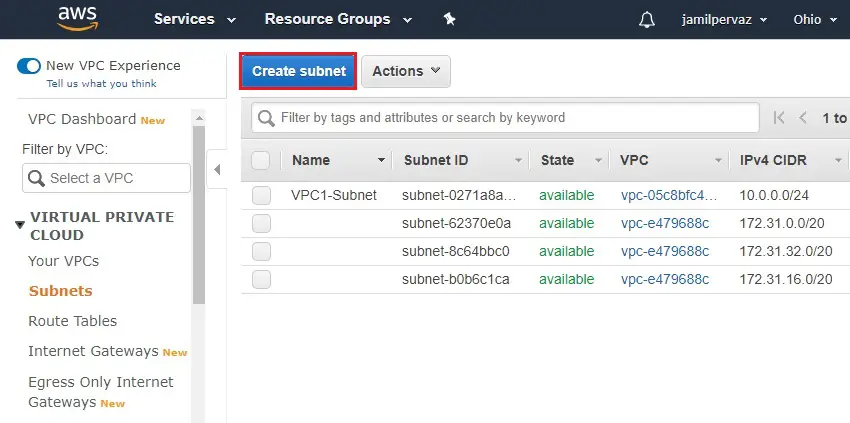
1- Select Subnets and then choose Create Subnet.
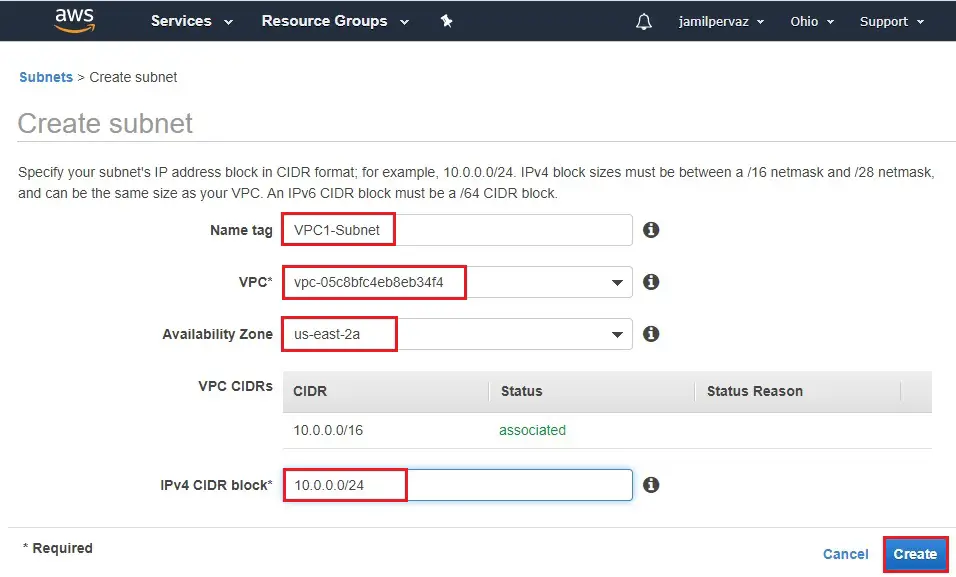
2- Name tag – VPC1-Subnet.
VPC – choose VPC that we have created earlier.
Availability Zone – Select one zone.
IPv4 CIDR block – type a valid CIDR. (For example – 10.0.0.0/24)
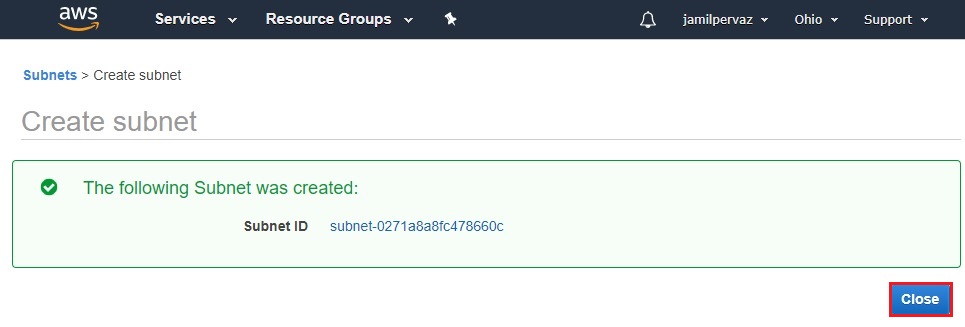
Click Create.
3- Click close
2nd Subnet
1- Choose create subnet.
2- Name tag – VPC2-Subnet.
VPC – choose the VPC that we have created earlier.
Availability Zone – Select one zone.
IPv4 CIDR block – type a valid CIDR. (For example – 192.168.0.0/24)
Click Create.

3- Click close

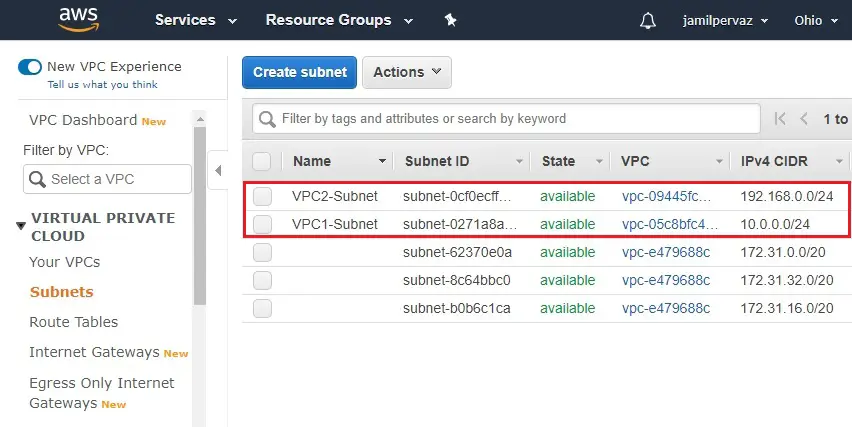
4- Subnets successfully created.
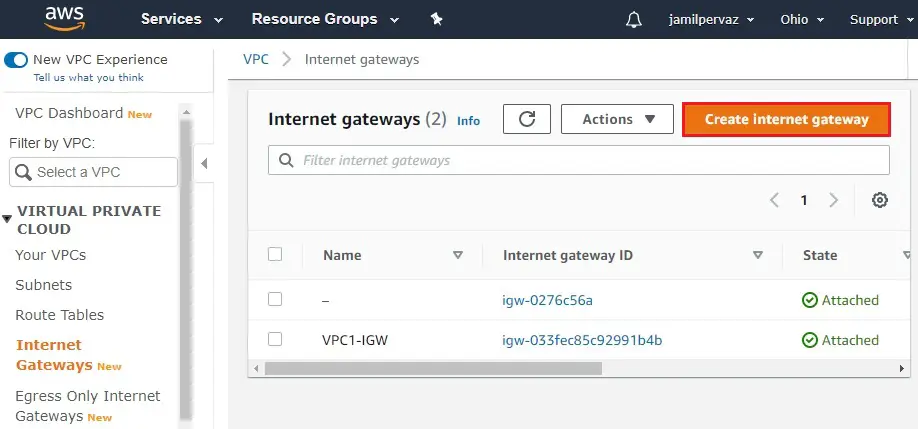
Create Internet Gateway
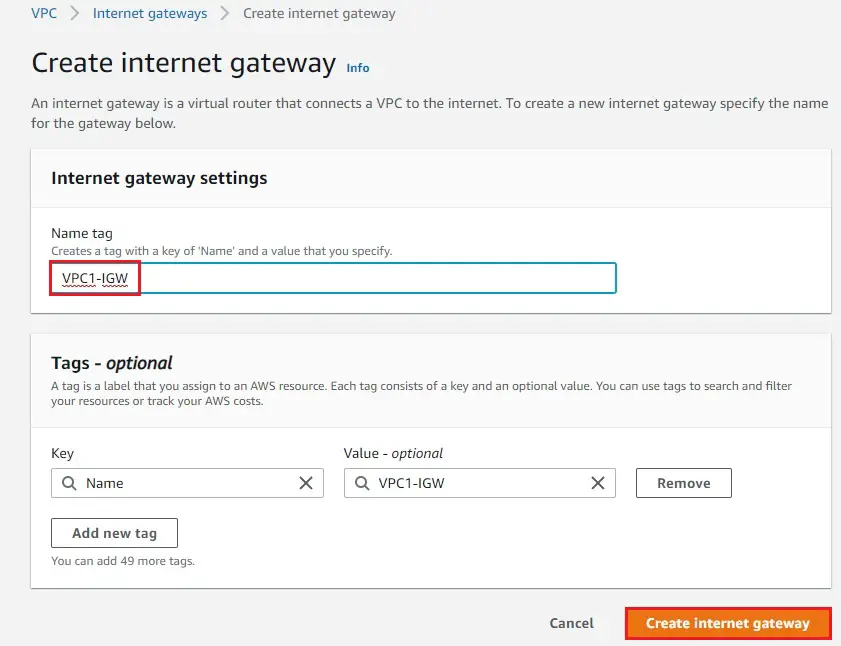
1- Choose Internet Gateways new option and then click on Create Internet Gateway.
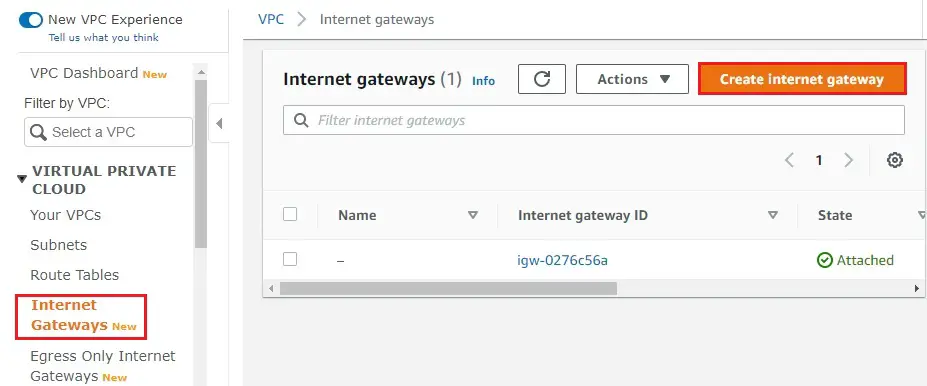
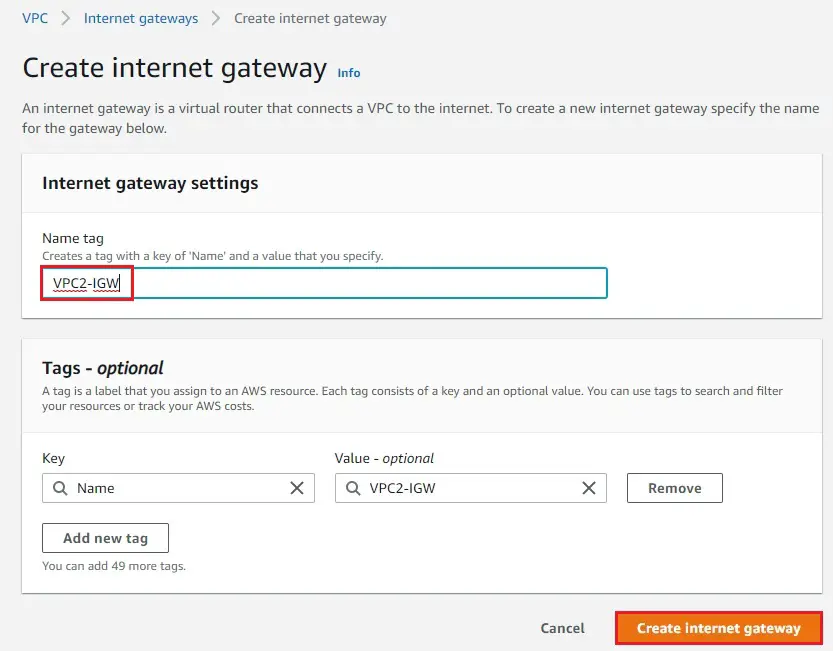
2- Enter a name (VPC-IGW) in the Name tag text box and then click create an internet gateway.
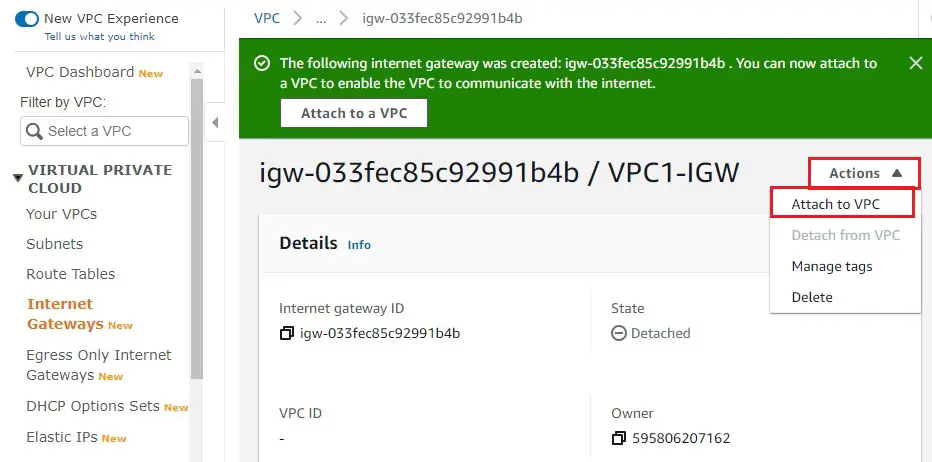
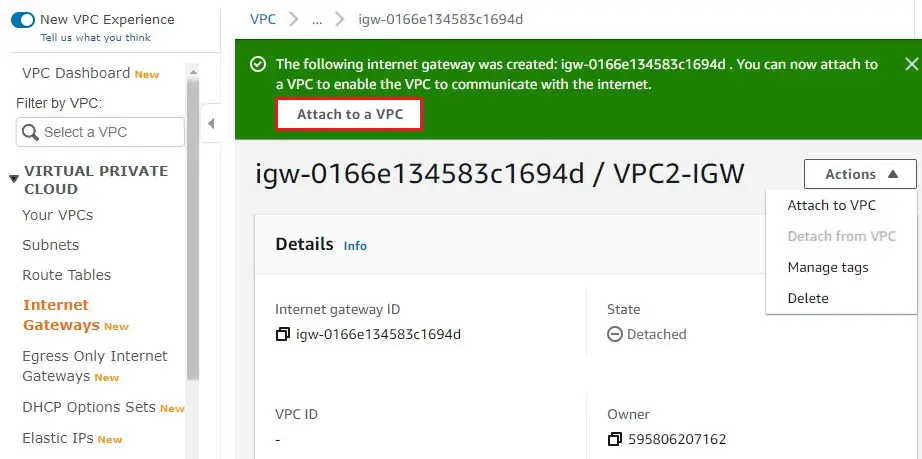
3- The internet gateway has been created is in a detached state. Now we want to attach it to our VPC.
In the action menu select Attach to VPC.
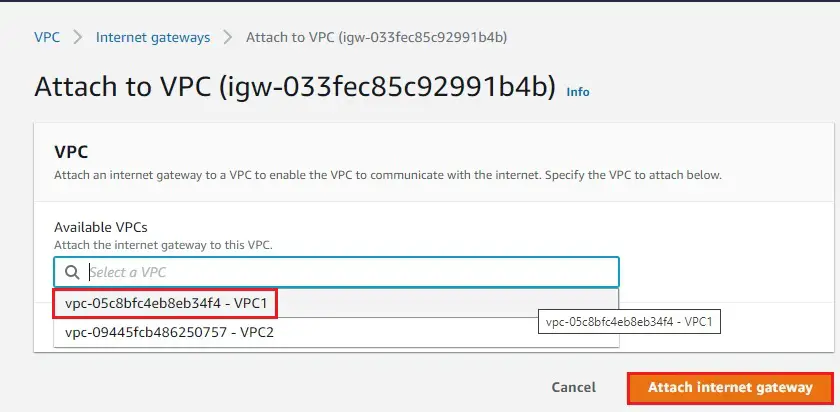
4- Select your VPC1 from the drop-down list and then click Attach internet gateway.
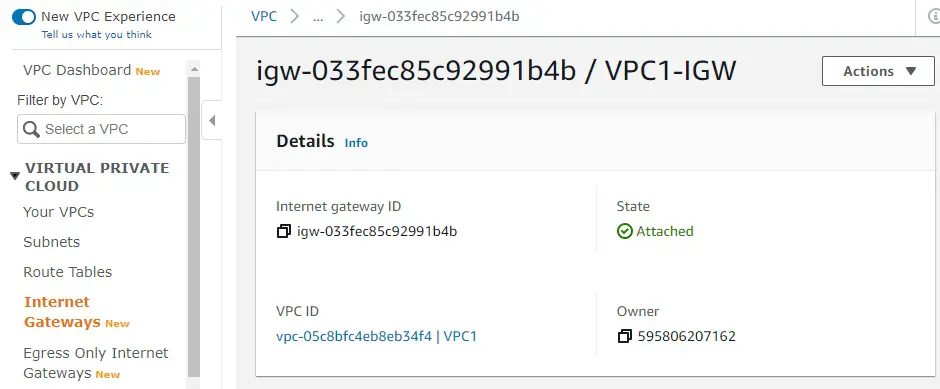
5- The internet gateway changes to attached state.
2nd Internet gateway
1- Click create internet gateway.
2- Enter a name (VPC2-IGW) in the Name tag text box and then click create an internet gateway.
3- The internet gateway has been created is in a detached state. Now we want to attach it to your VPC.
Select Attach to VPC.
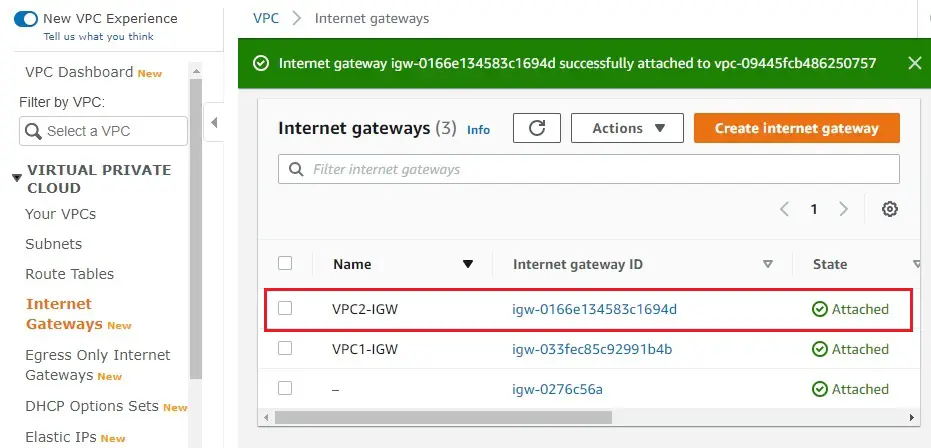
4- Select your VPC2 from the drop-down list and then click Attach internet gateway.

5- The internet gateway changes to attached state.
Create Route Table
1st Route Table
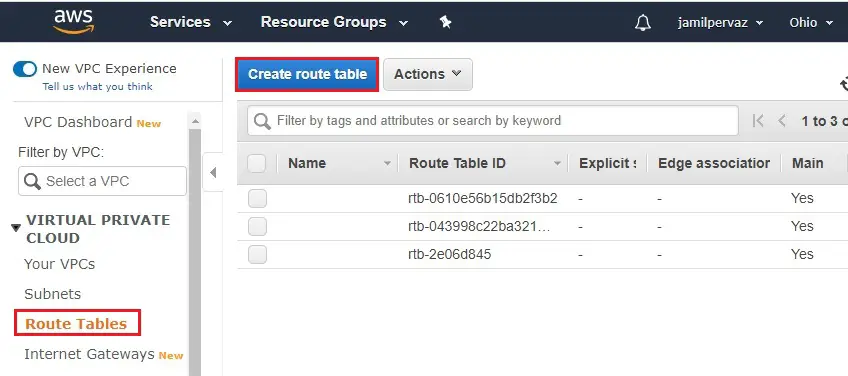
1- Select Route Tables.
Click on Create route table.
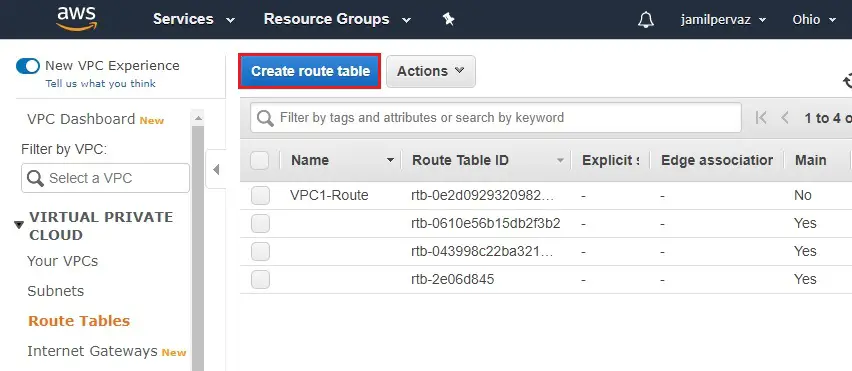
2- Name tag – Type a name for your route table (VPC1-Route).
VPC – Select your VPC1, and then select Create.

3- Click Close

2nd Route Table
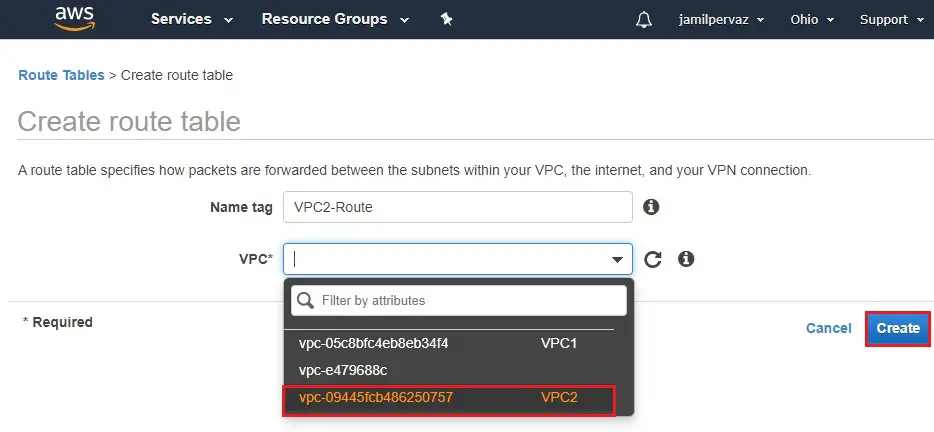
1- Click create route table.
2- Name tag – Type a name for your route table (VPC2-Route).
VPC – Select your VPC2, and then select Create.
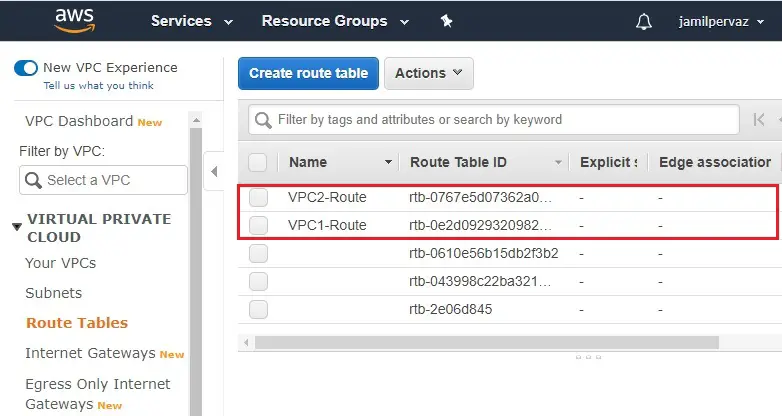
3- Click Close

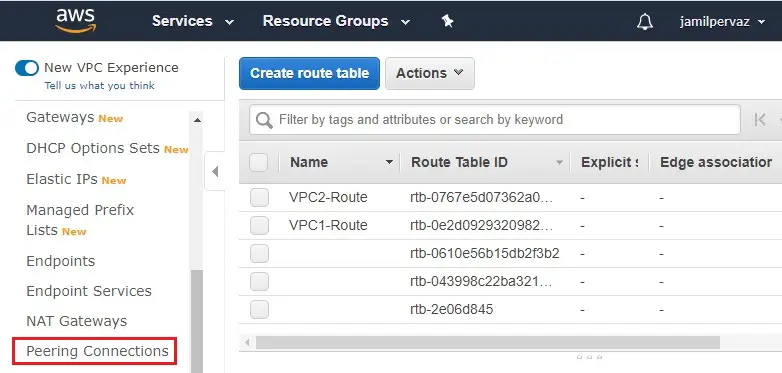
4- Two routes successfully created.
CREATING VPC PEERING CONNECTION
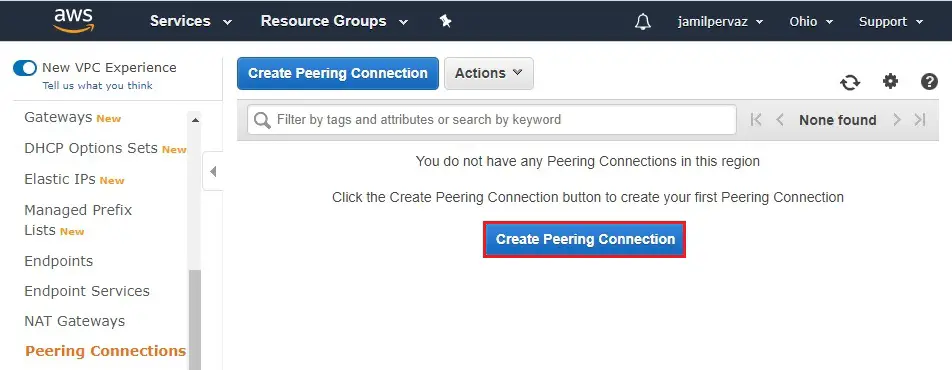
1- Under virtual private cloud, click on peering connections.
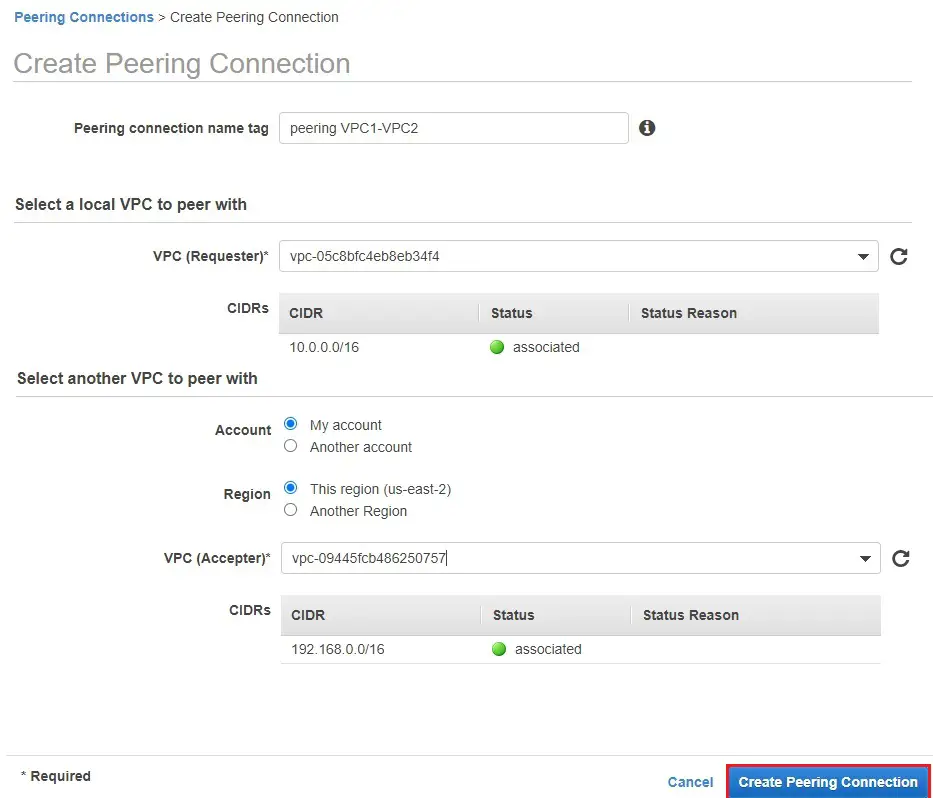
2- Click on create peering connection button.
3- Type a name for the peering connection
VPC (Requester) select the VPC1 from the drop-down list.
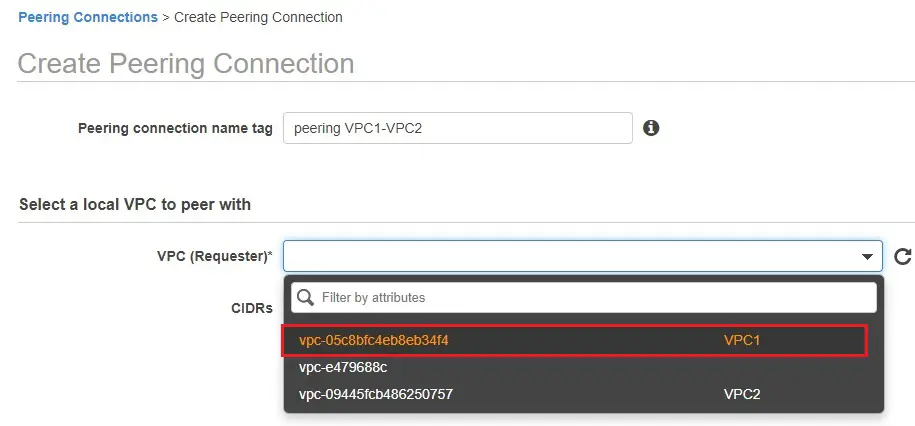
4- We have created the two VPC’s under the same AWS region.
Select another VPN to peer with VPC2
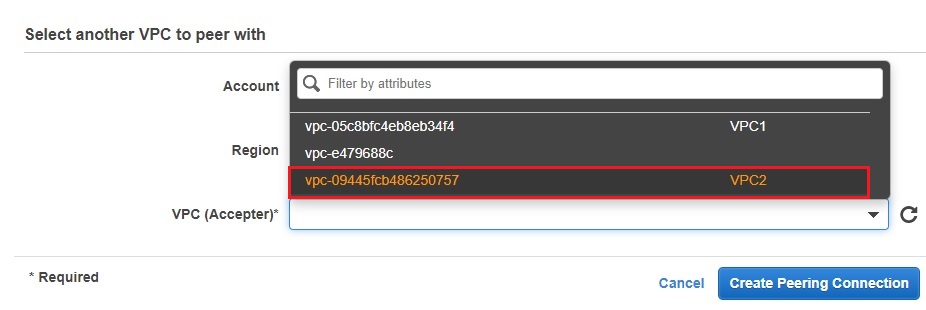
5- After selecting VPC (Requester) and VPC (Accepter) click create peering connection.
6- Click OK.
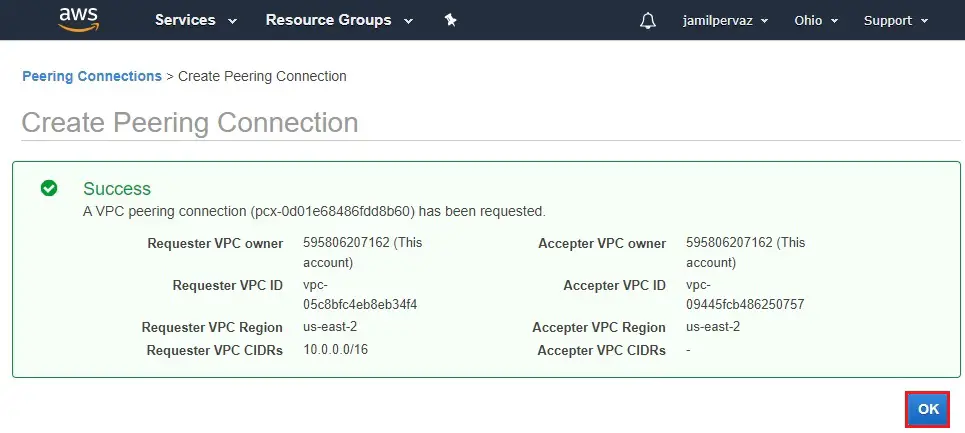
7- Now peering connection is created and in pending status.

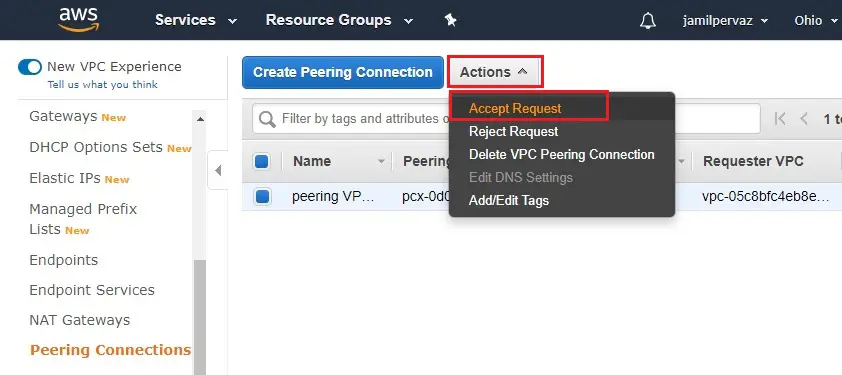
Accepting Connection
8- Click on Action menu and then click accept request.
9- Click on the Yes, Accept button.
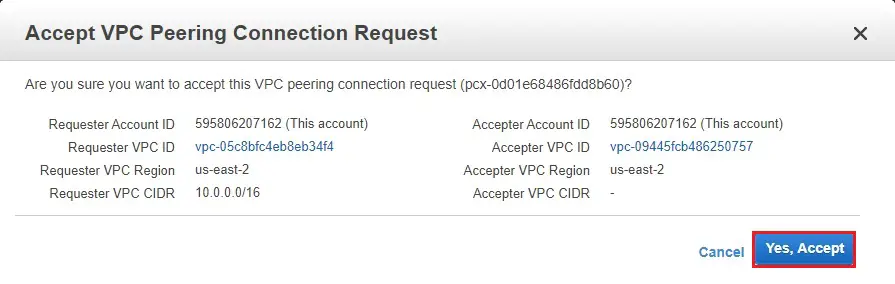
10- VPC peering connection has been established successfully.
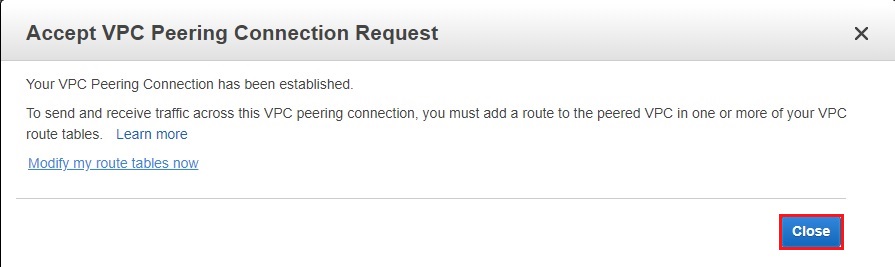
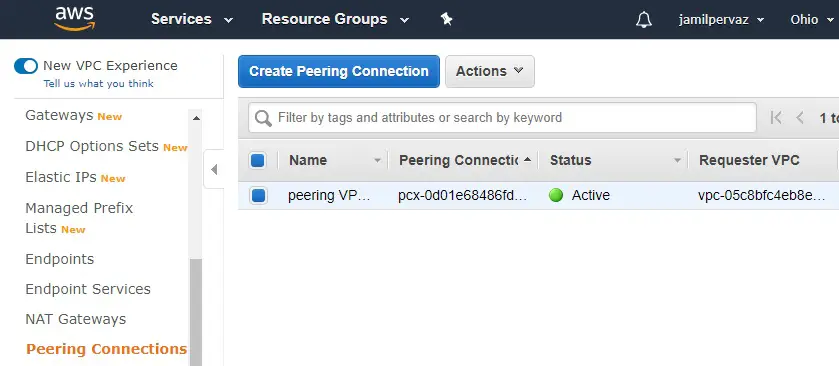
11- Now peering connection is in active status.
Routing of public subnets
Now you need to configure the routing for our subnets. Enable traffic from the subnets to Internet via the internet gateway attached to the VPC.
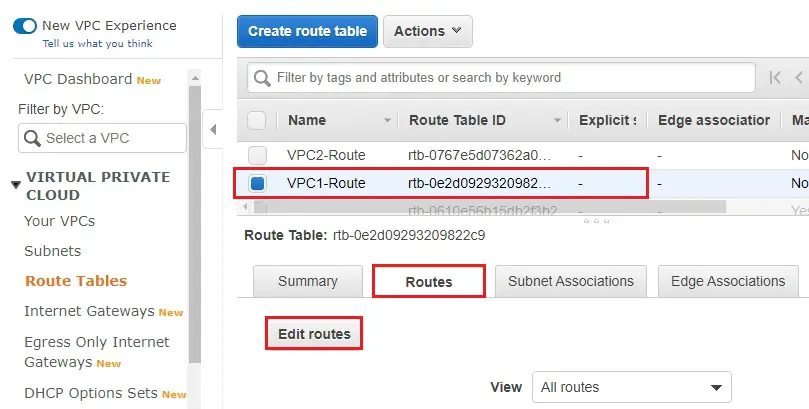
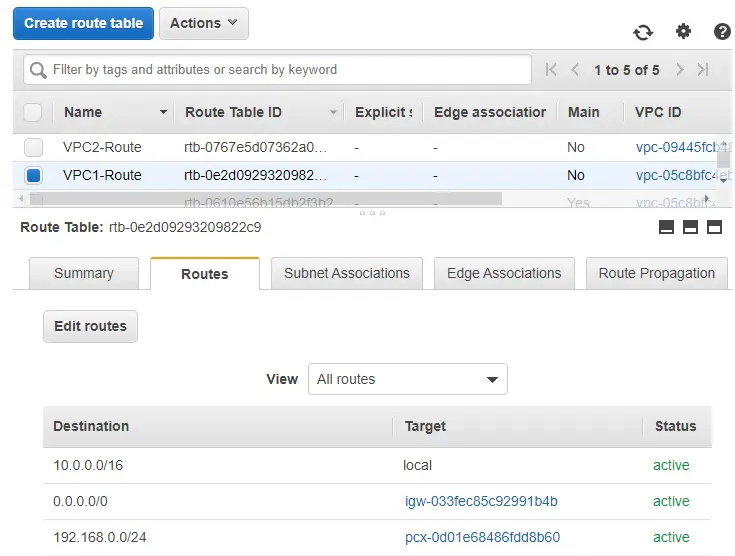
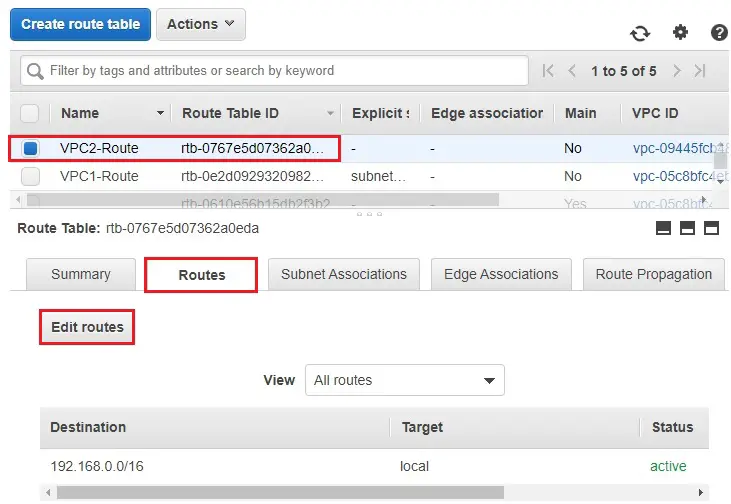
1- Select VPC1-Route, Select Routes tab and then click Edit routes.
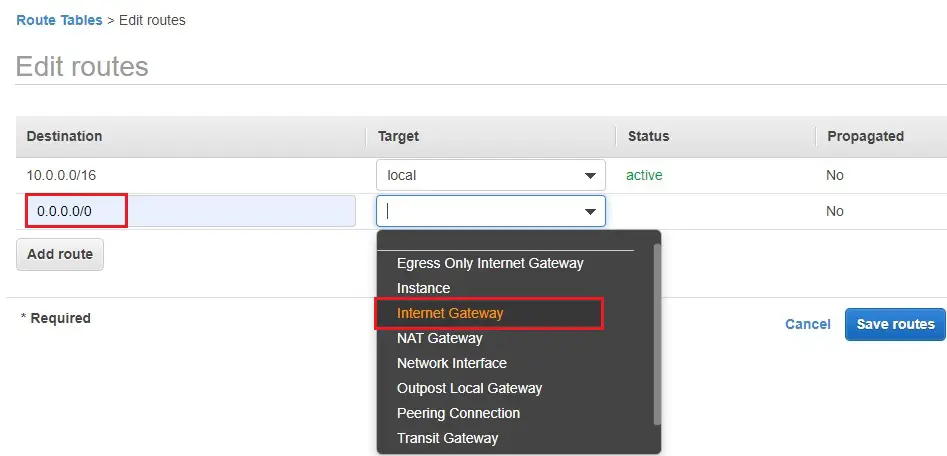
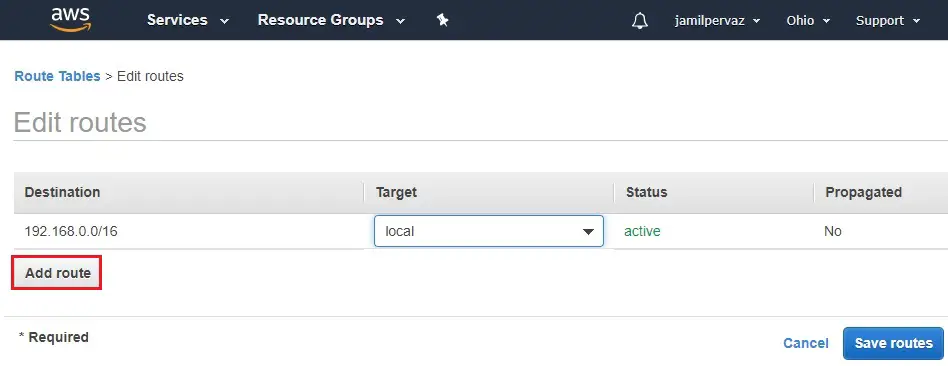
2- Click Add route.
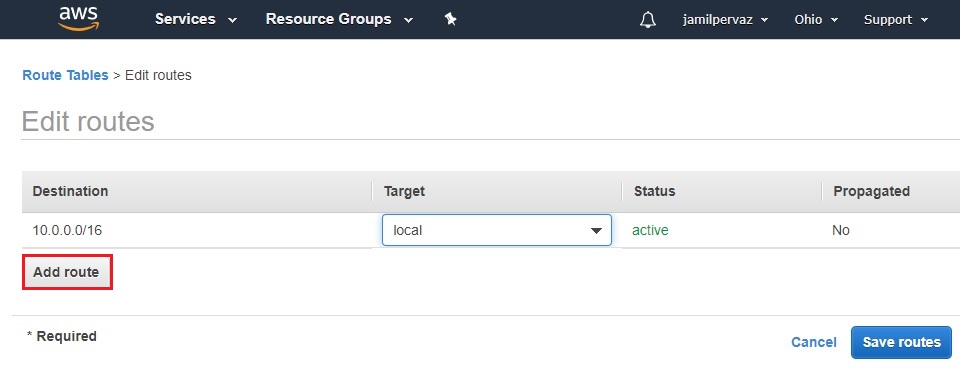
3- Click on Add rules button for destination enter 0.0.0.0/0 (all packets for the internet) and then for targets select the Internet Gateway.
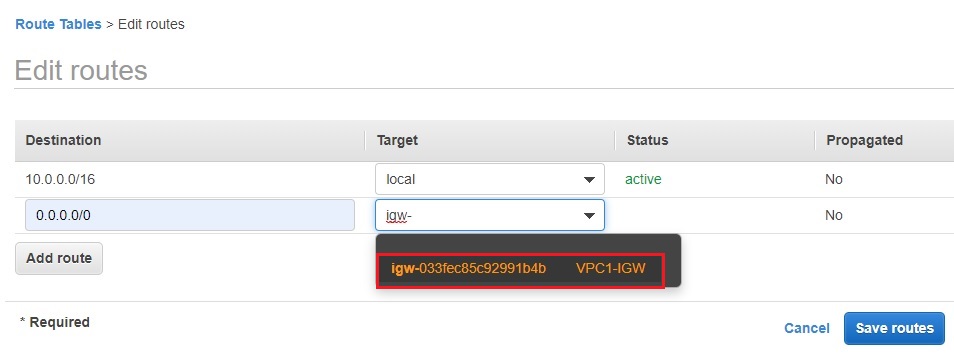
4- Select (VPC1-IGW) have created as in the earliest.
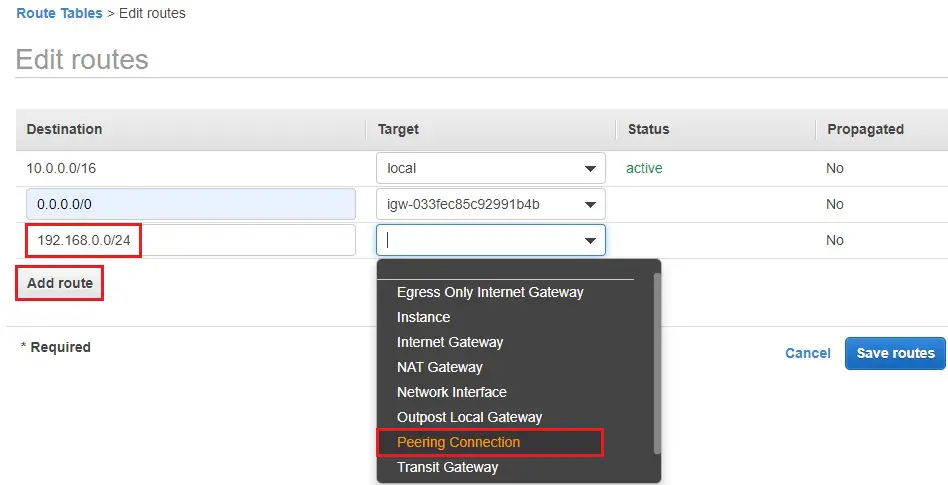
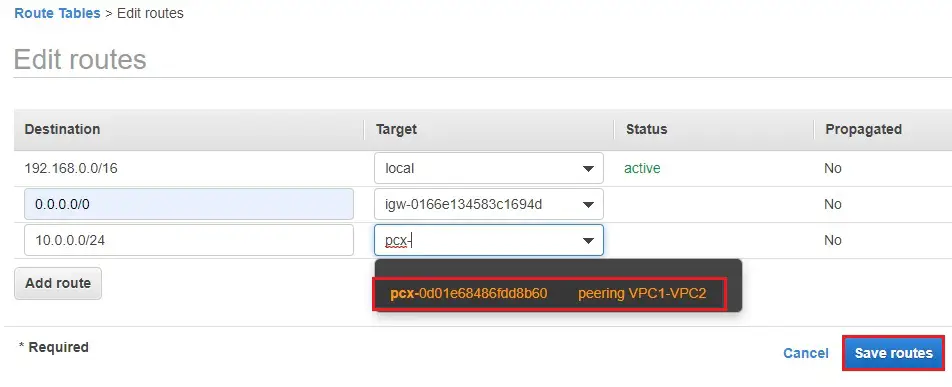
5- Click on Add button again type 192.168.0.0/24.
Under Target select peering connection
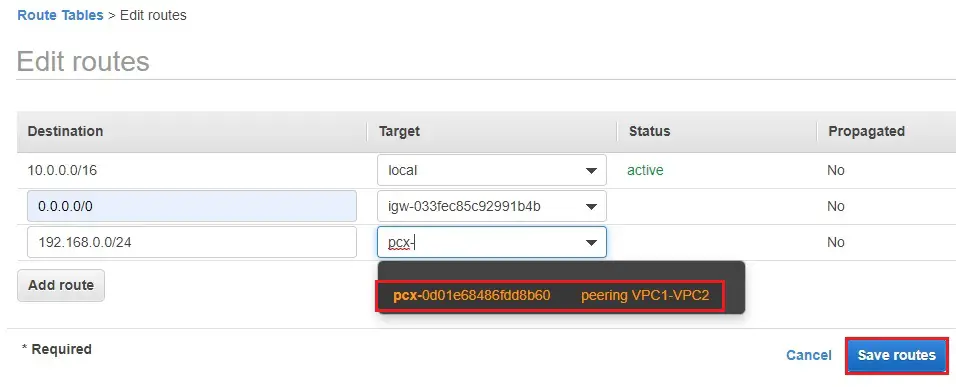
6- Select peering VPC1-VPC2 and then click save routes.
7- Click close.
8- Successfully route edited.
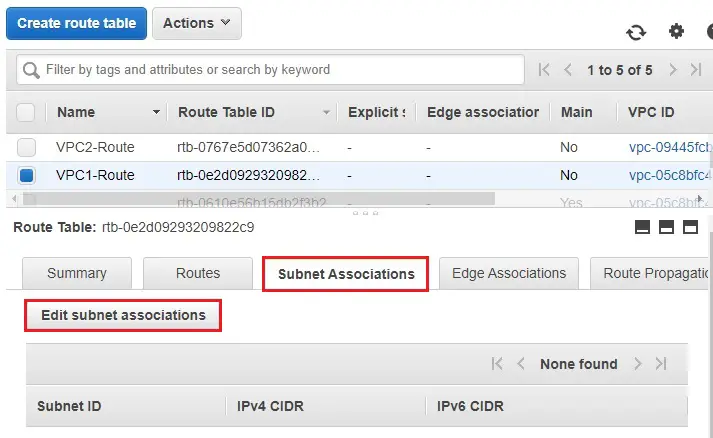
9- Choose Subnet Associations and then choose Edit Subnet associations.
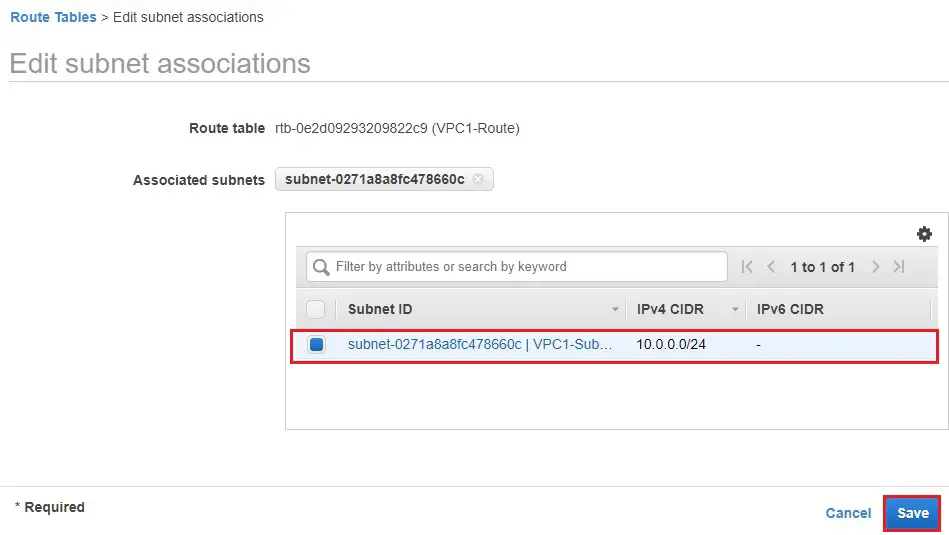
10- Select your subnet (VPC1-Subnet) and then click Save.
11- Select VPC2-Routes, select Route tab and then click Edit routes.
12- Click Add route.
13- Click on Add rules button for destination type 0.0.0.0/0 (all packets for the internet) and for targets select the Internet Gateway.

14- Select (VPC2-IGW) have created as in the earliest.

15- Click on Add button again type 10.0.0.0/24.
Under Target select peering connection

16- Select peering VPC1-VPC2 and then click save routes.
17- Click close
Successfully route edited
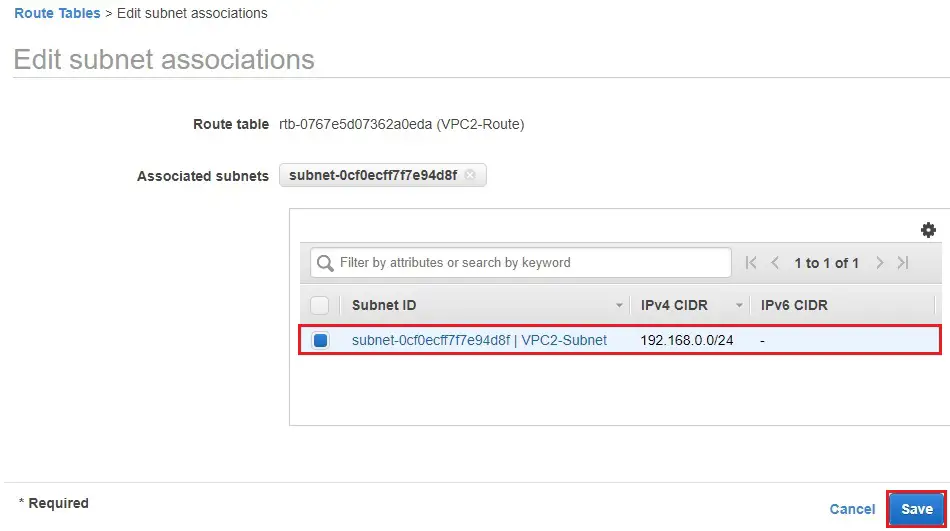
18- Select VPC2-Route, select Subnet Associations, and then click on Edit Subnet associations.
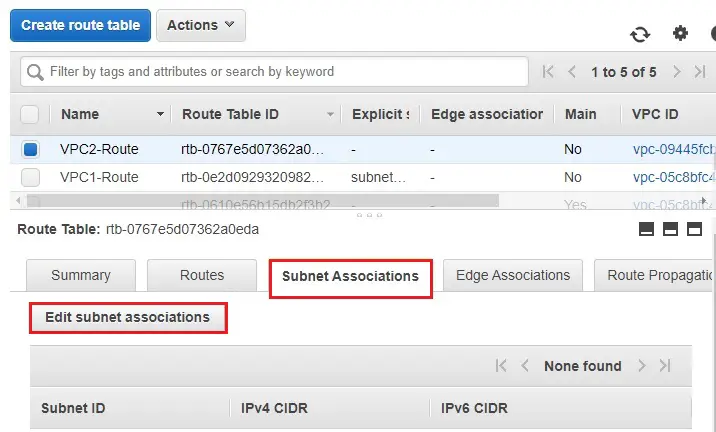
19- Select your first subnet (VPC2-Subnet) and then click Save.
Create Instance
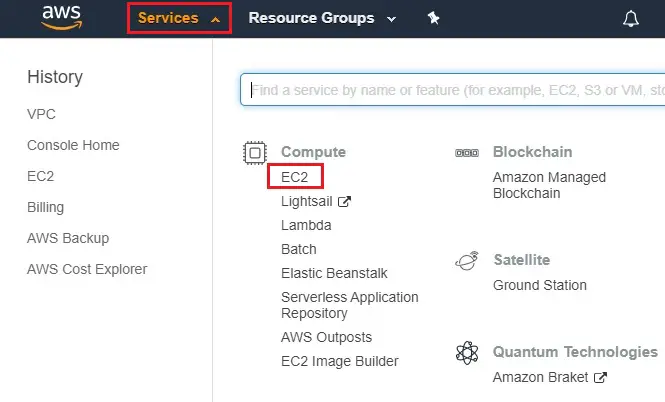
1- Choose service tab, click on EC2 under compute.
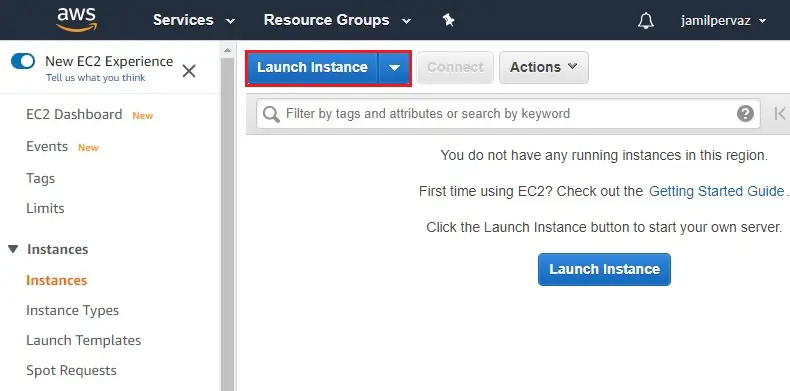
2- Choose instance tab and then click on Launch Instance button.
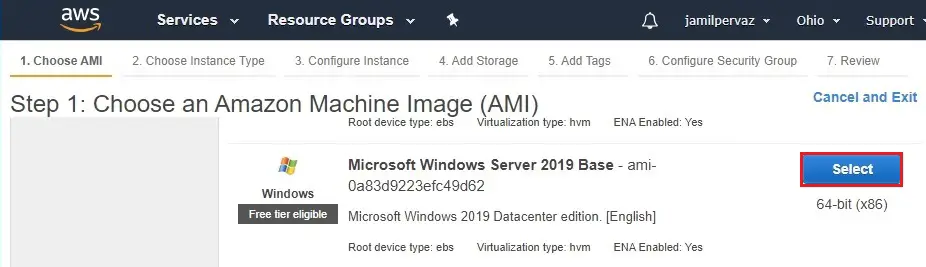
3- Select Microsoft Windows Server 2019.
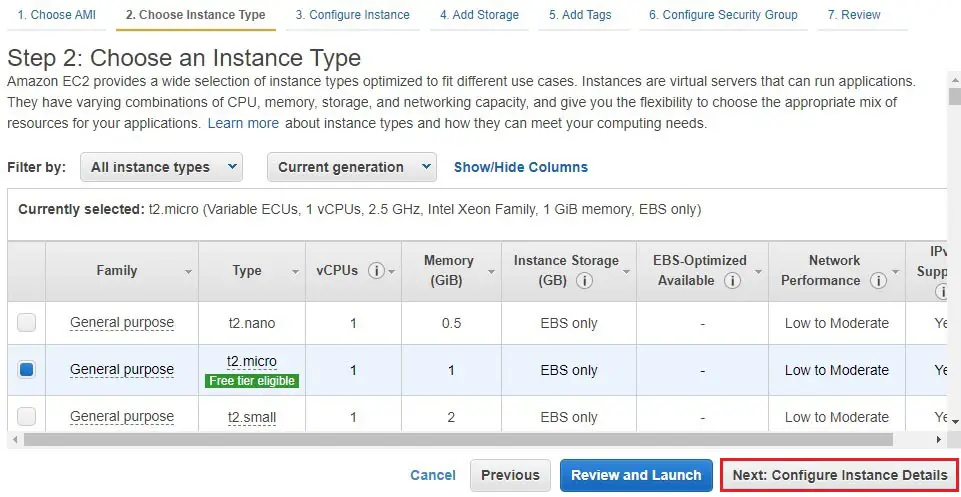
4- Select General purpose t2 micro
Click Next : Configure Instance details
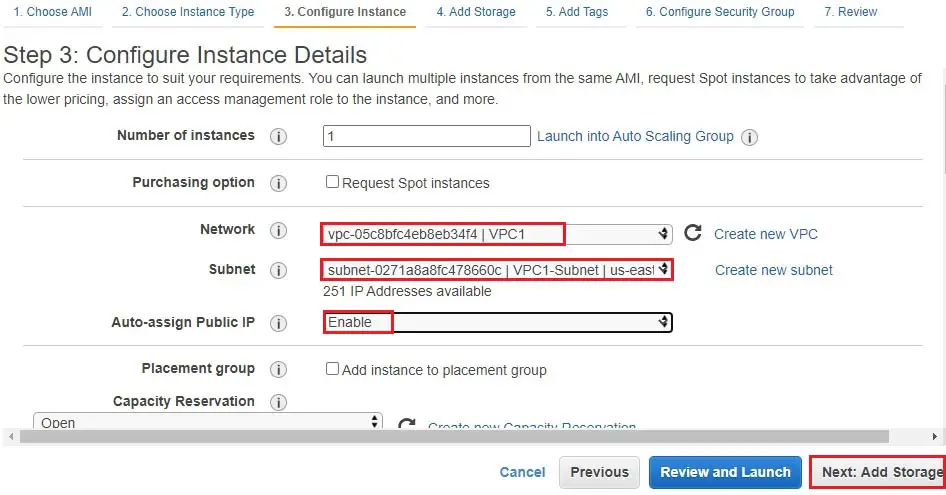
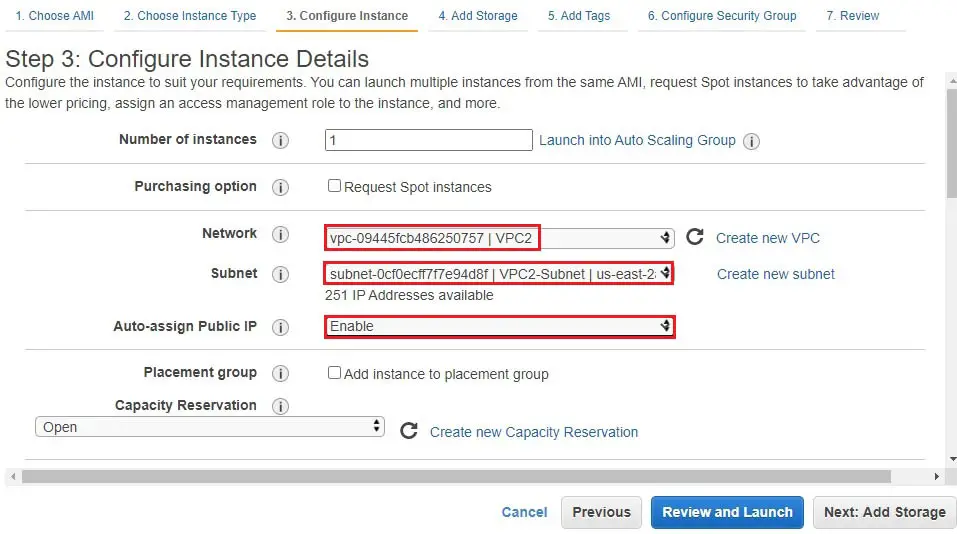
5- Network – select VPC (VPC1).
Subnets – select VPC1-Subnet.
Auto Assign Public IP – select Enable.
Click on Next : Add Storage.
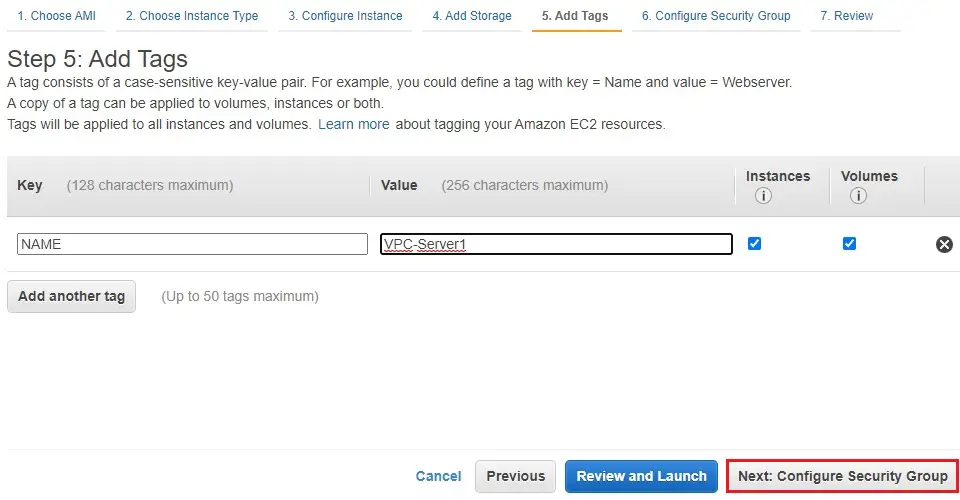
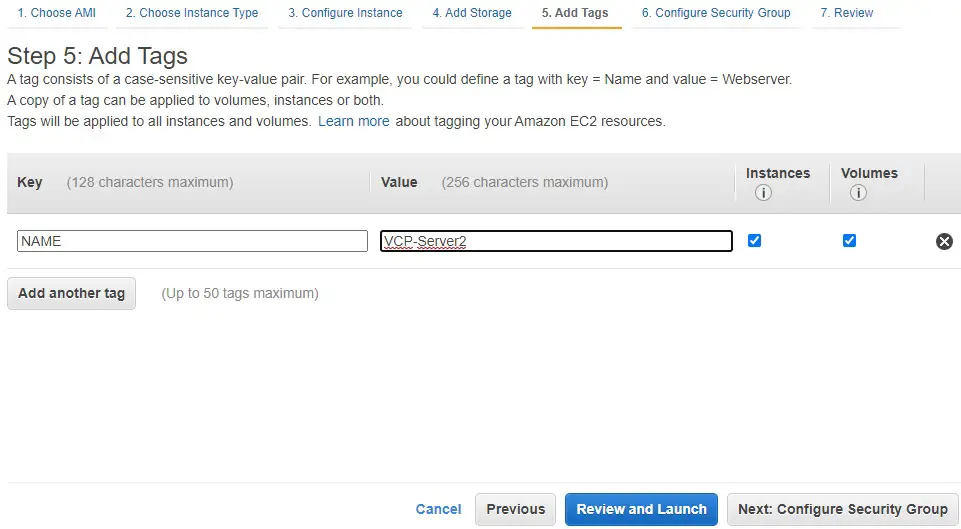
6- Click Next : Add Tags.

7- Here we have tagged the instance (VPC-Server1)
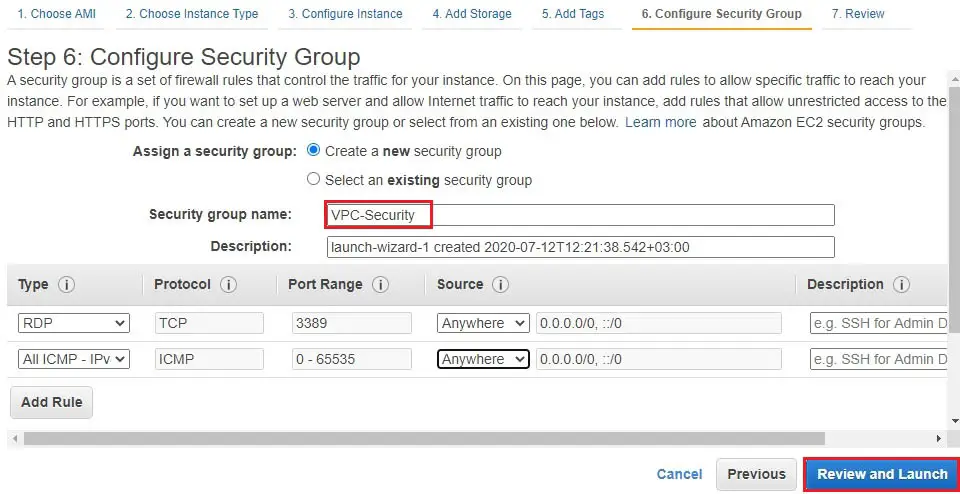
Click on Next : Configure Security Groups
8- Create a new Security Group.
Security group name – VPC-Security
Select Protocols RDP, ALL ICMP – Ipv4, Select Source Anywhere
Click on Review and Launch
9- Review details, parameters and then click launch.

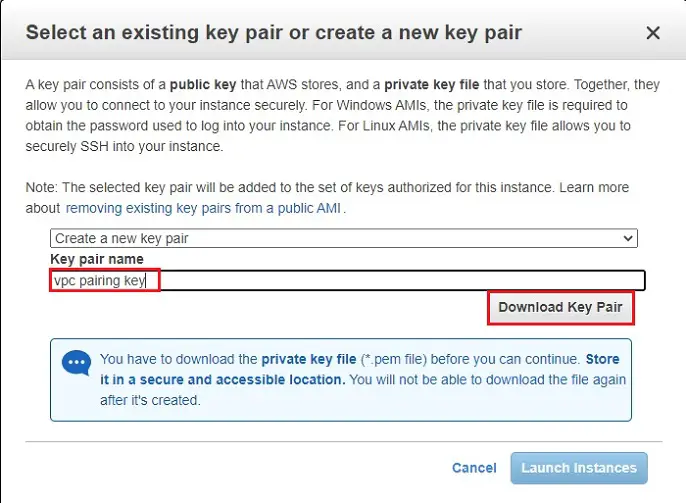
10- Select Create a new key pair
Type a name to your key (VPC Peering key)
Click on download key pair and then save it in your secured folder
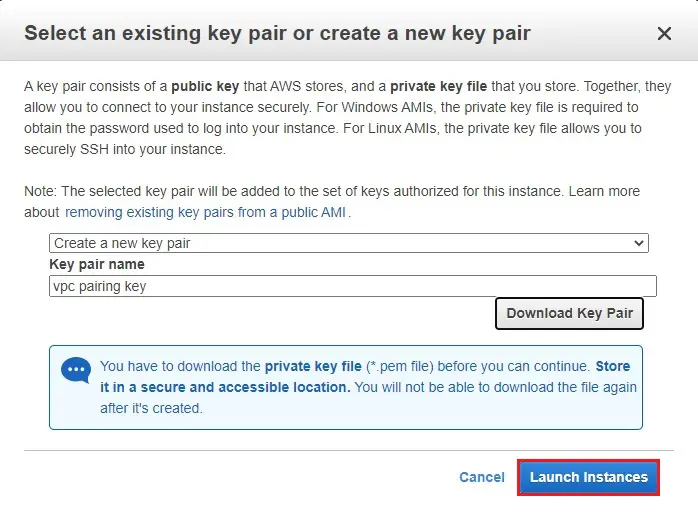
11- After downloading and saving your key, click launch instance.
Now we need to create a second EC2 instance
Network – VPC2
Subnet – VPC2-Subnet
Auto-assign Public IP – Enable
Add Tag
Name – VPC-Server2
Testing VPC Peering Connection Same Regions
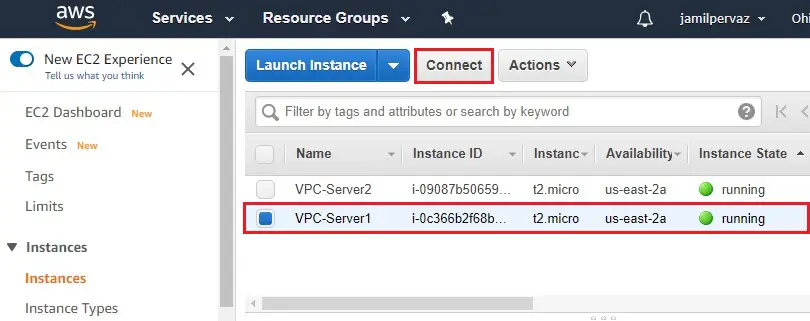
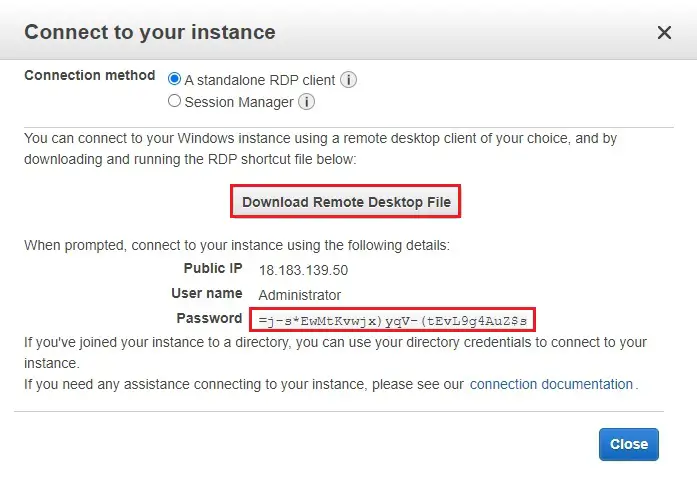
1- Choose VPC-Server1 and then choose connect.
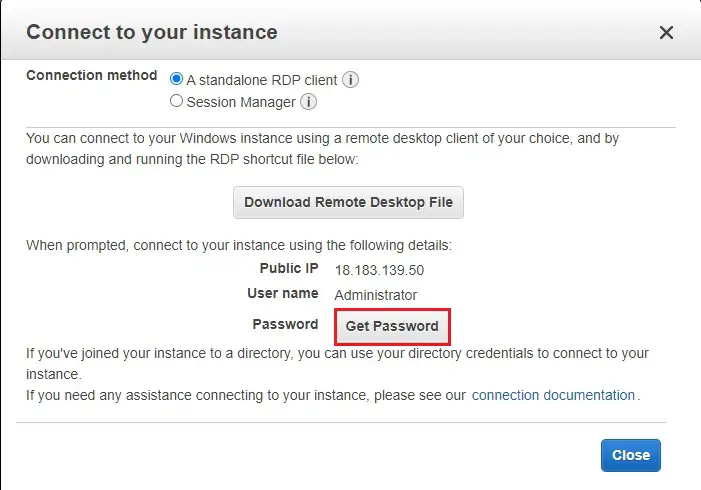
2- Choose Get Password
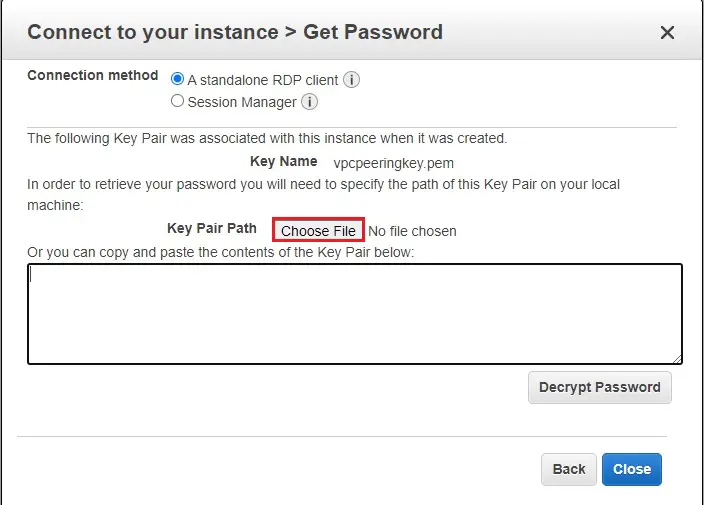
3- Click on choose file, select your key pair and then click decrypt password.
4- Copy password and then click on download remote desktop file.
And login to VPC1-Server.
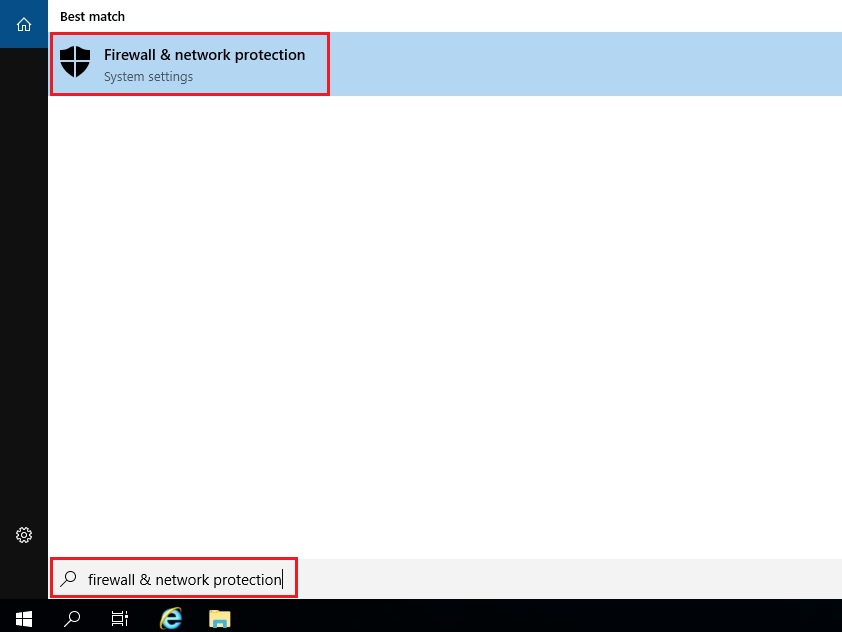
5- Search Firewall & network Protection and open it.
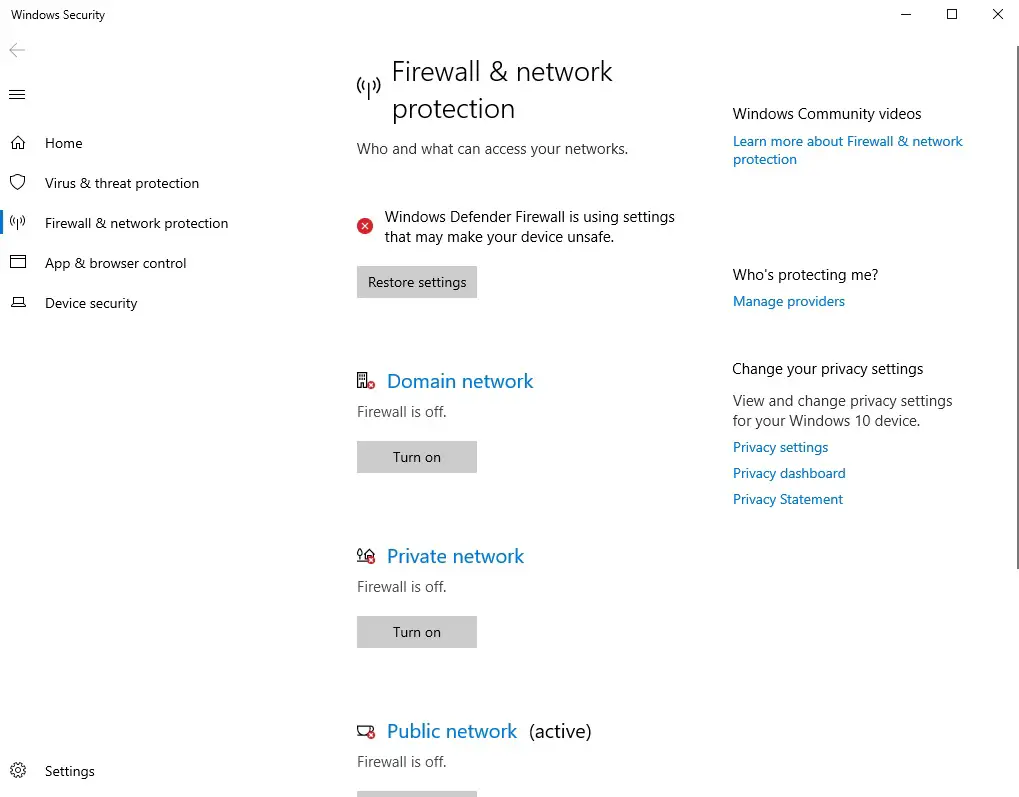
6- Disable firewall and network protection.
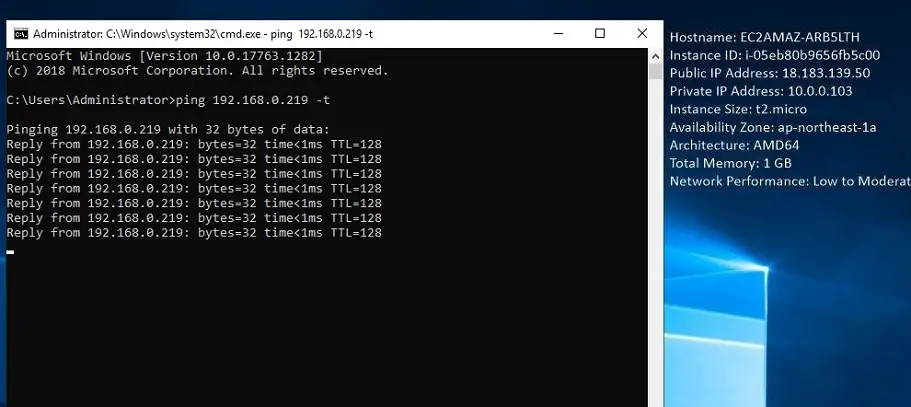
7- VPC-Server1 desktop.
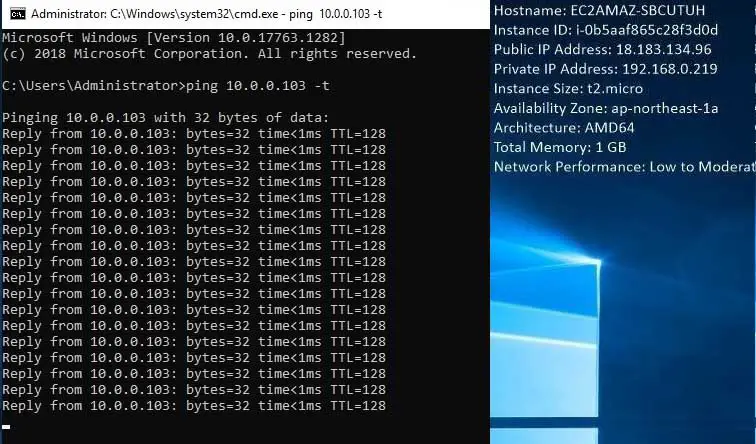
Run command prompt and then ping VPC-Server2 IP address.
8- VPC-Server2 desktop.
Run command prompt and then ping VPC-Server IP address