Restore Entire System using AOMEI Backupper, In this article, I will explain how to restore the entire windows 10 system using AOMEI Backupper.
Restore system under Windows:
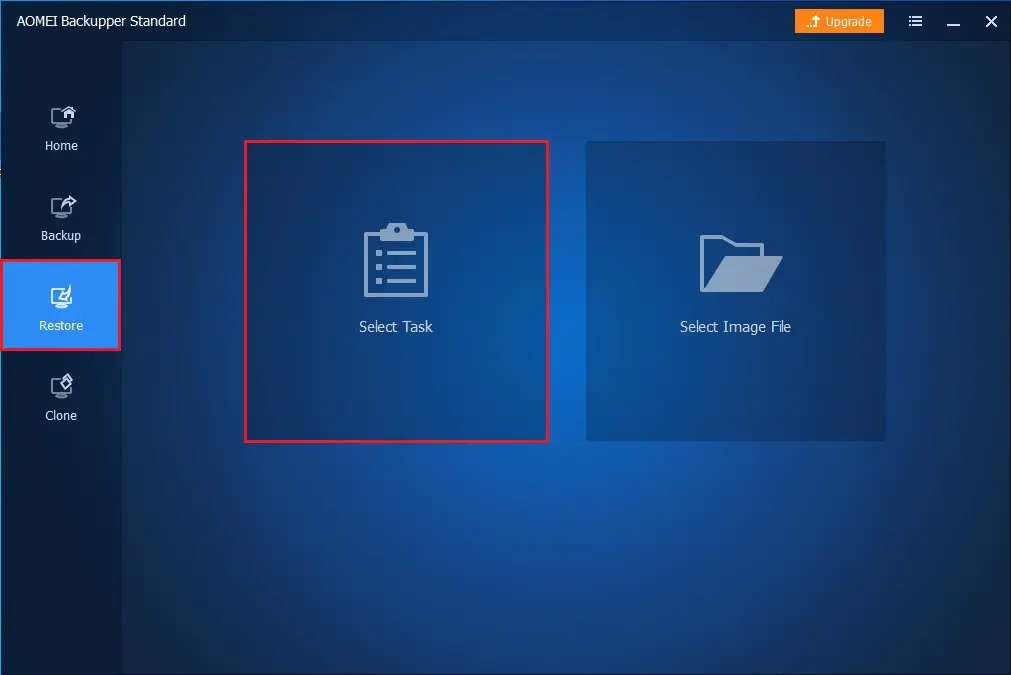
1- Run AOMEI Backupper, select Restore option and then click Select Task.
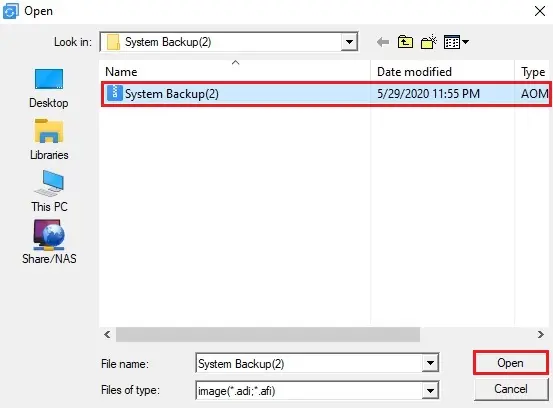
2- Select the AOMEI Backupper created backup image and then click open.
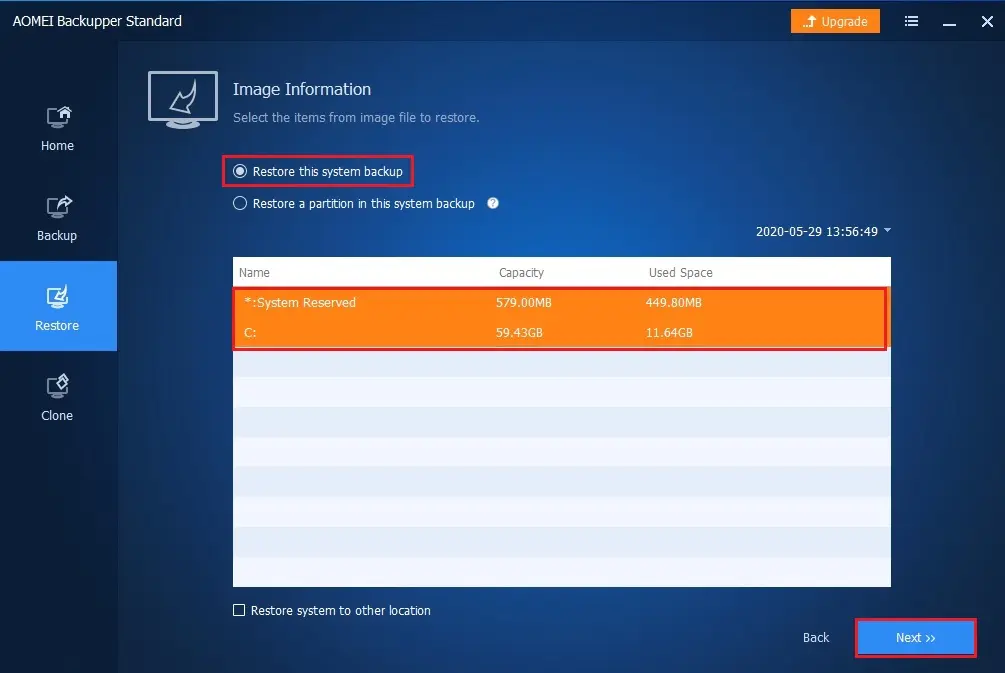
3- Select a backup image, select restore the system backup, and then click Next.
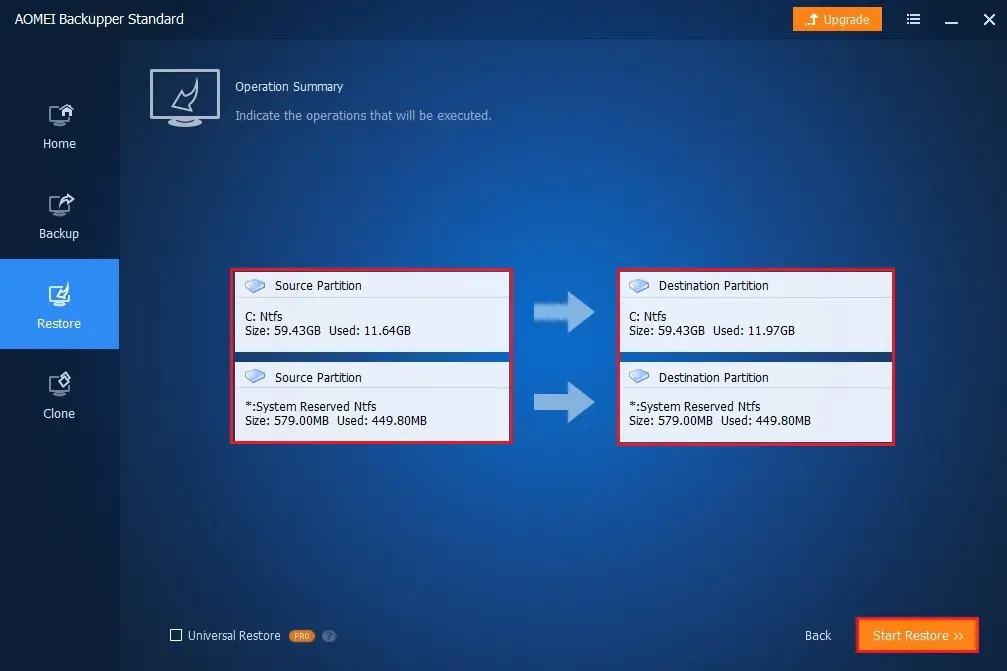
4- Review the operation summary indicates the operation that will be executed. Click on the Start Restore button.
5- Click yes to restart the computer to start the operation.
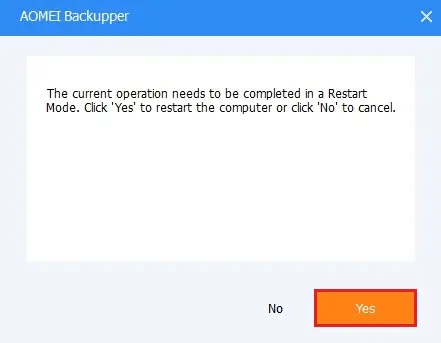
6- The AOMEI Backkuper is preparing for restart.
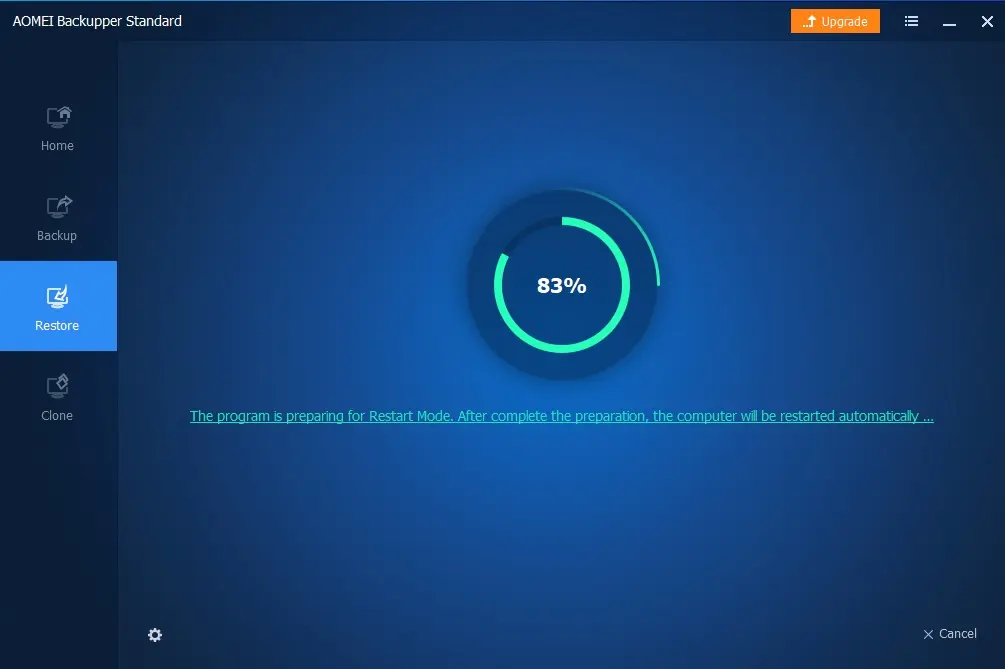
7- After restarting computer AOMEI Backupper loading.

8- I have my AOMEI backup on a network location, click Set IP.
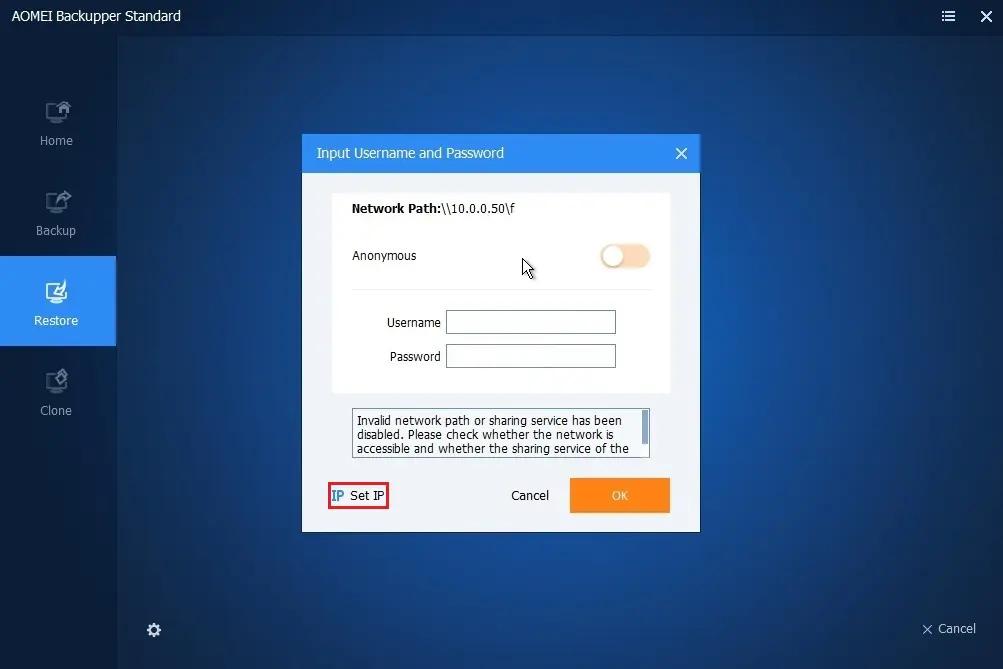
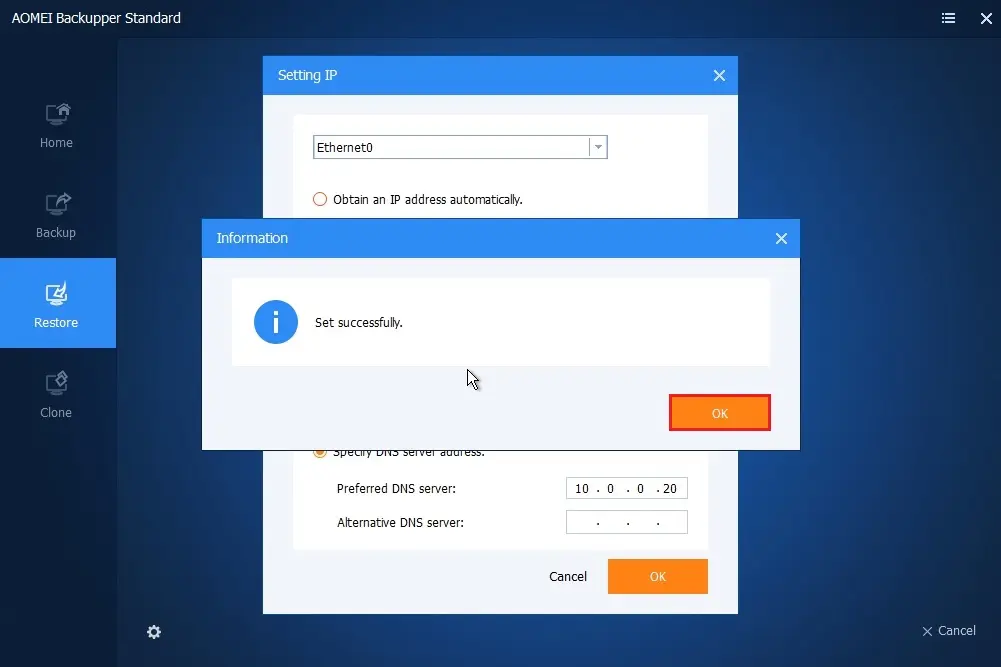
9- Enter the network shared computer IP address and then click OK.
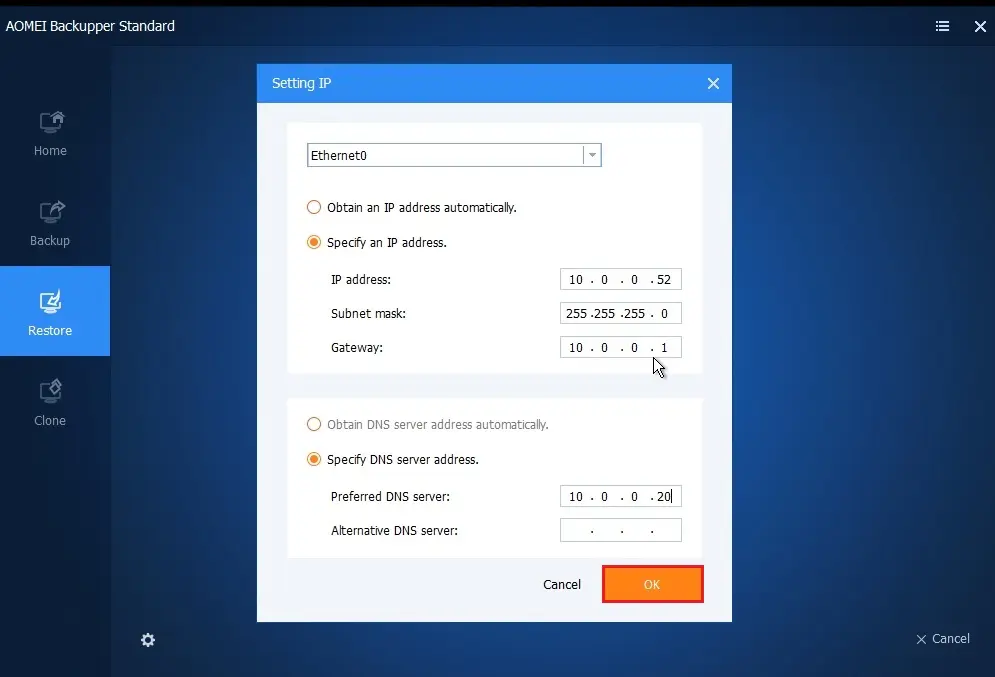
10- IP address set successfully click OK.
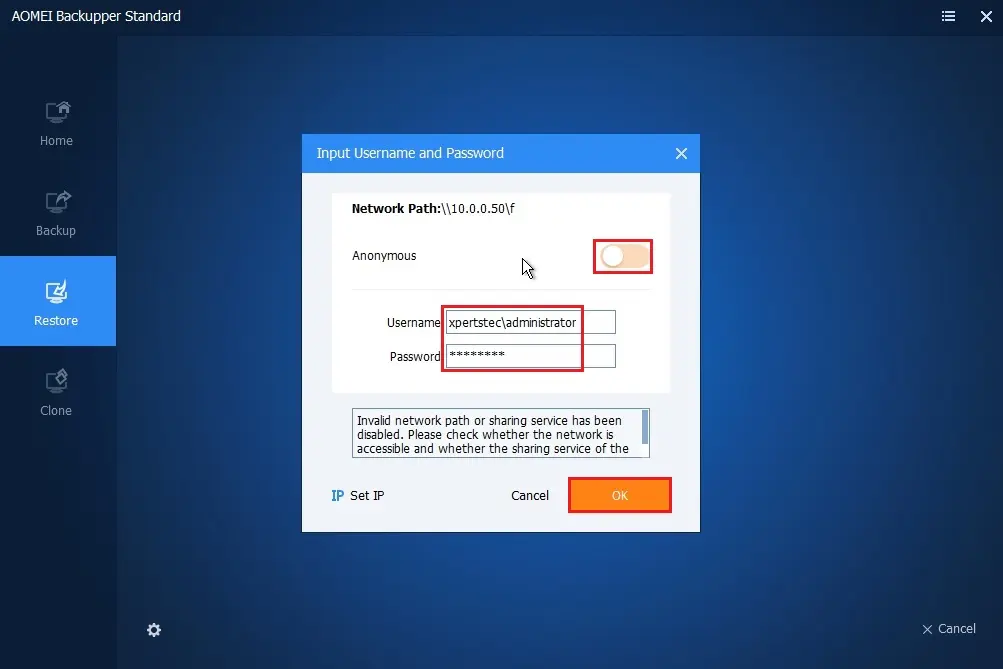
11- Enter user credentials and then click ok.
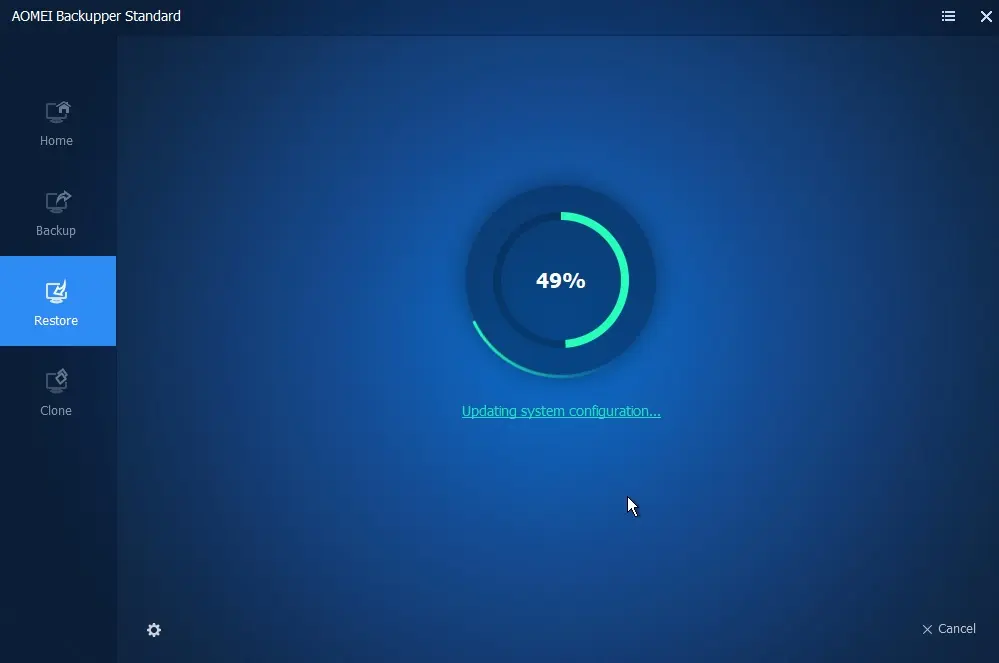
12- Now the system start restoring process.
13- Click ok to restart.
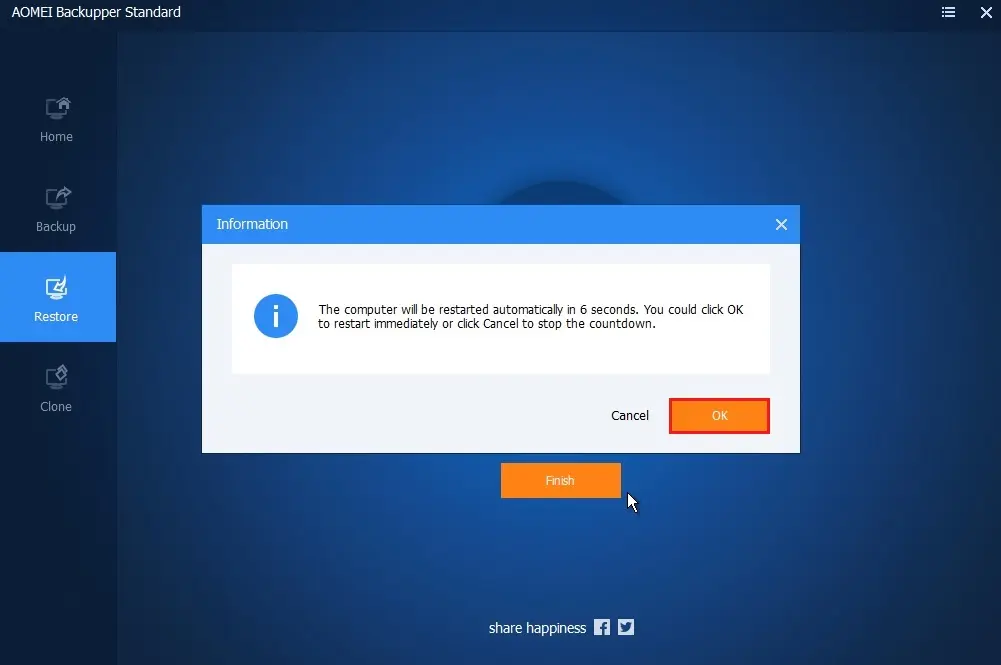
14- Windows 10 successfully restored.

Related: How to Export/Import Backup in AOMEI Backupper.
Related: How to Backup Files and Folders AOMEI Backupper
For more details Restore Entire System using AOMEI please visit AOMEI


