In this article, I will explain how to clone a disk using Clonezilla. If you would like to migrate HDD to SSD to get a super speed, you may need to use Clonezilla.
Clonezilla is an open-source hard disk cloning software. It is used to create exactly an exact copy of a bootable hard disk.
Using an HDD on your system may cause the machine to run slowly.
Clone a Disk Using Clonezilla
Boot your system from the Clonezilla bootable USB drive or CD/DVD.
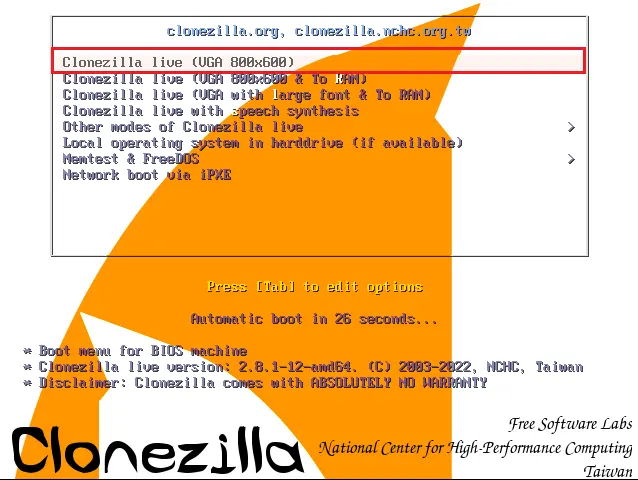
After booting your system from the bootable USB drive, select Clonezilla lives and then hit Enter.
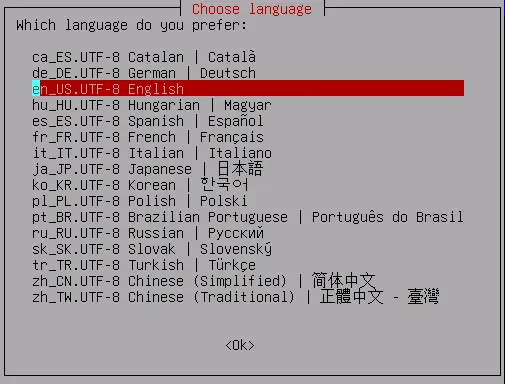
Select a language and then press Enter.
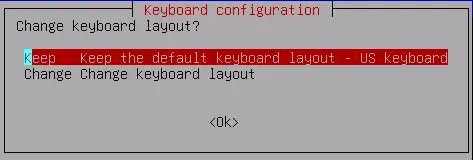
Leave the default keyboard layout, and click ok.
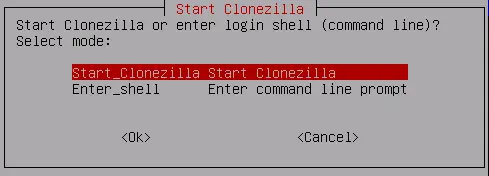
Click on start Clonezilla and click ok.
Select a clone mode to continue, clone HDD to SSD in Windows, select the option of device-device work directly from a disk or partition to a disk or partition and hit Enter.
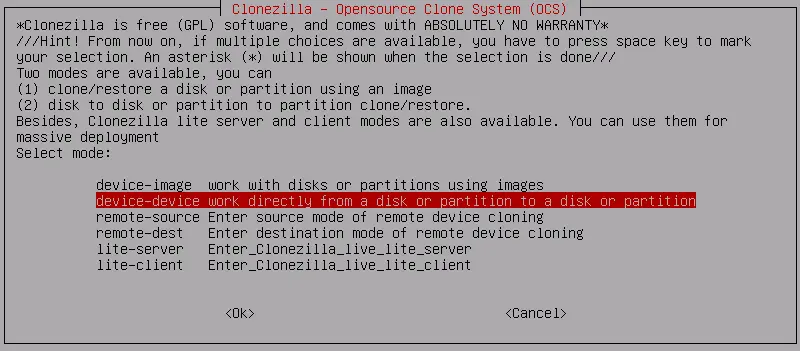
Click on Beginner Beginner mode and hit enter.

To clone the entire hard disk to SSD, you need to select the option of disk_to_local_disk local_disk and then click ok.

Choose the local disk as the source (The source drive containing the data) you wish to clone to another drive and then press enter.

HDD is a source drive and SSD is a destination drive.
Choose the destination disk and then hit enter.

Default setting press enter.

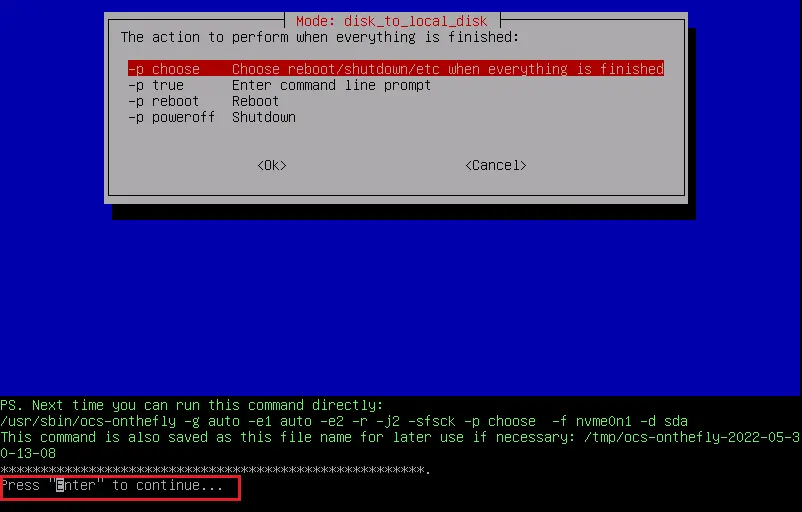
Select the action to perform after the cloning is complete. Options are available including choose, reboot, or power off. (You can select any option).
Choose the action to perform when everything is completed (choose, reboot, or power off). Hit enter and then again press enter to continue.
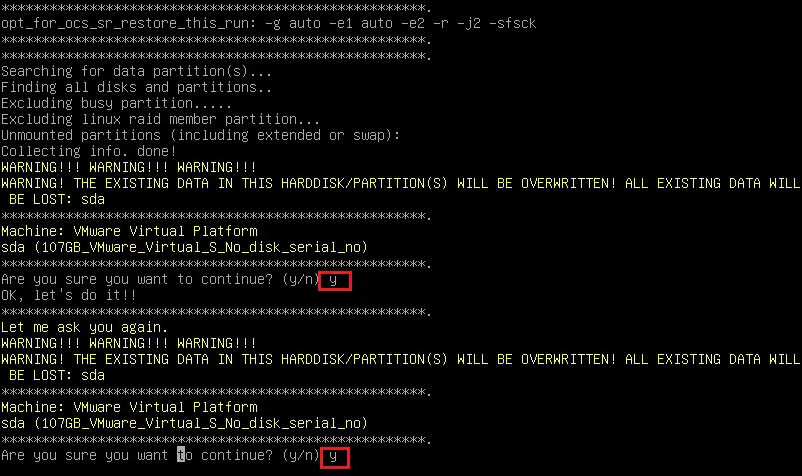
Type Y and then hit enter to confirm the cloning process.
Type Y again to re-confirm and then hit enter to close the boot loader.
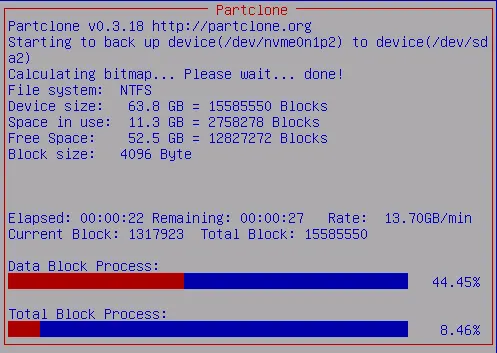
Now, Clonezilla starting cloning a hard drive to an SSD.
Press enter

After cloning, you may shut down the system.

Now remove your old hard drive and insert the SSD into the original location. Then, run your system from the SSD.


