
In this article, I am going to Install Veritas Backup Exec v20.3.
Minimum Requirement
Microsoft® Windows 2008 x64
VMware vSphere 5.1
Microsoft® Hyper-V 2008
Disk Space – 1.26 GB (Typical installation) and 1.91 GB (includes all options)
Minimum Required: 1 GB of RAM – Recommended: 2 GB of RAM
Processor – Intel x64 bit, Xeon (64bit), AMD64, or compatible
Minimum Required: 4 Cores – Recommended: 8 Cores
Microsoft SQL Server or SQL Express for Backup Exec Database
Install Veritas Backup Exec
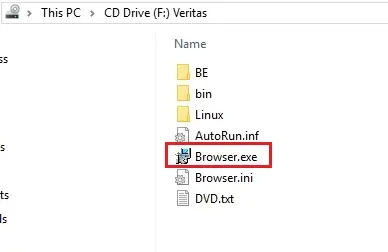
1- CD / DVD drive From the installation media browser click Browser.exe to install Veritas Backup Exec.
2- Click ok.

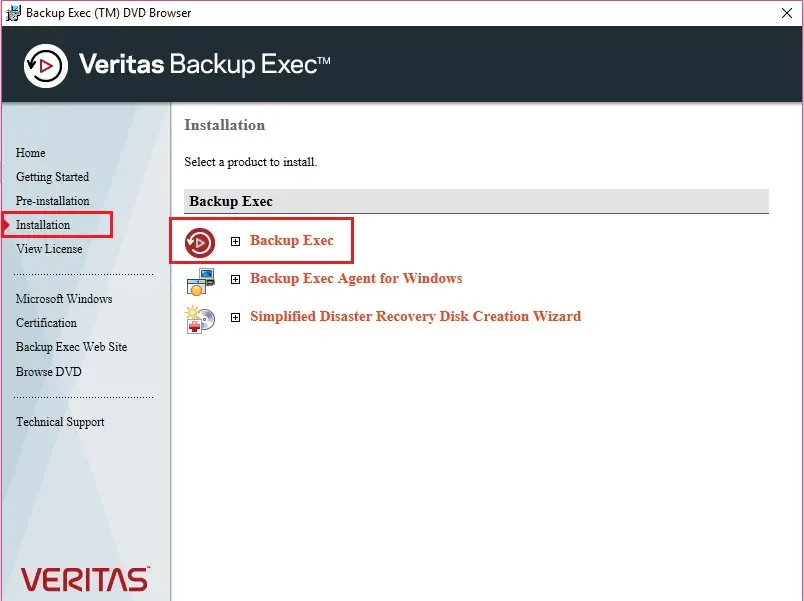
3- Select Installation and then click Backup Exec.
4- Default Running Process.

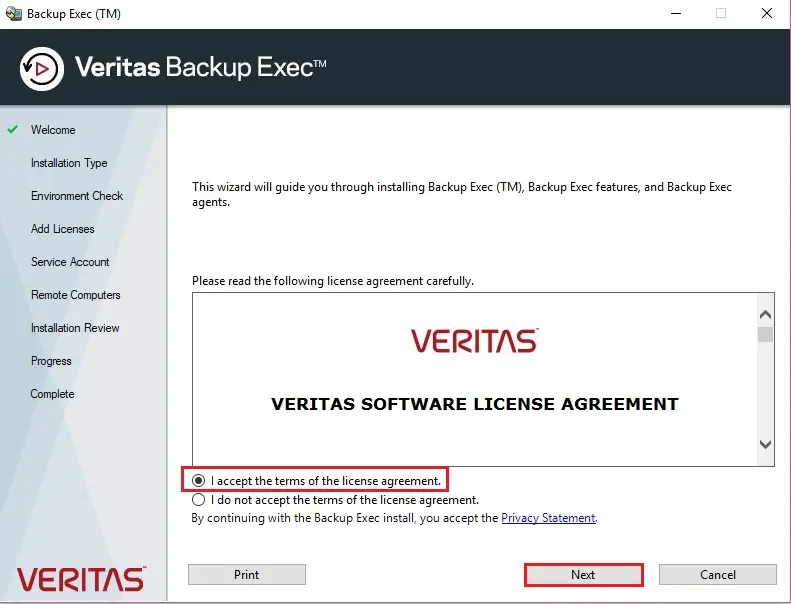
5- Select I accept the terms of the license agreement and click on next.
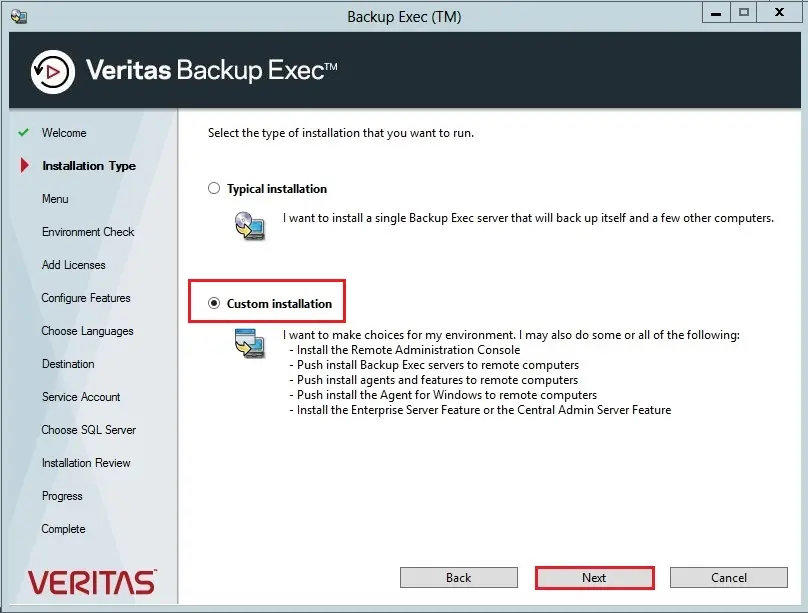
6- Select Typical or Custom Installation and click on next.
7- Select Local Installation and then click on Next.

8- Click Next.
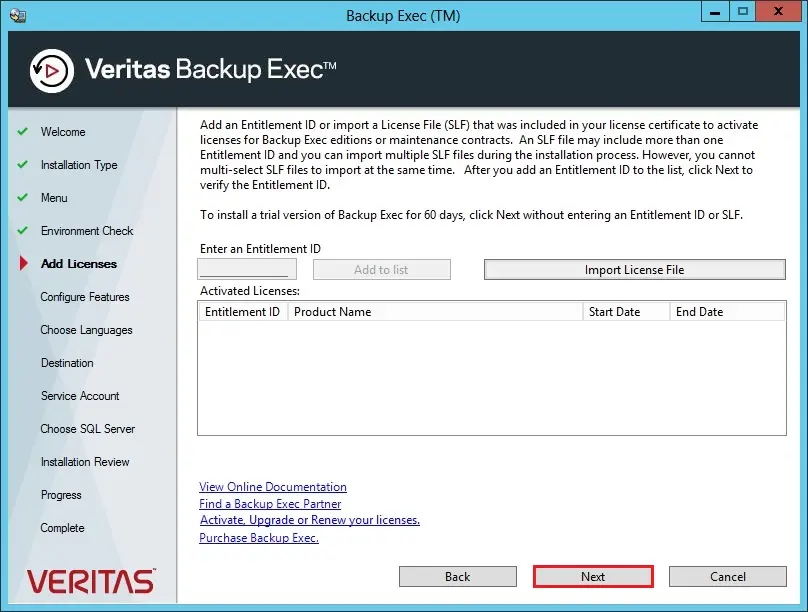
9- Enter your license or install a trial version and then click Next.
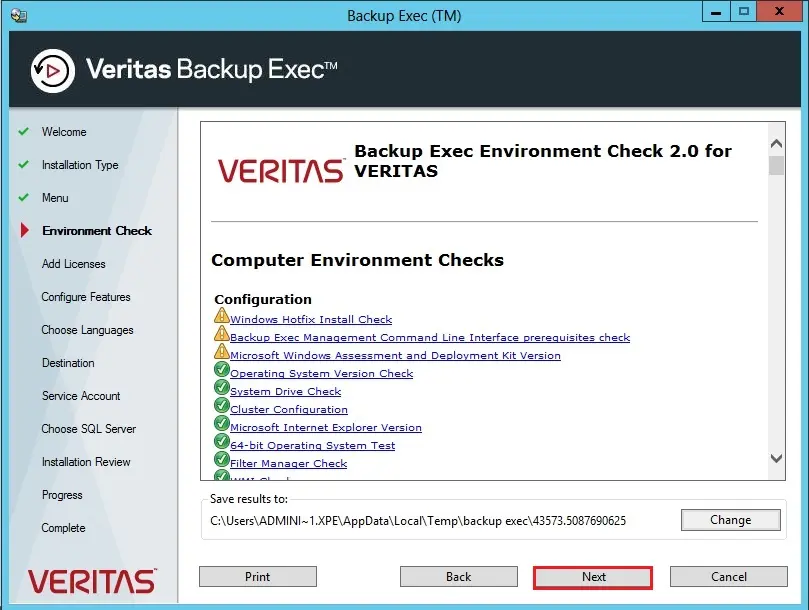
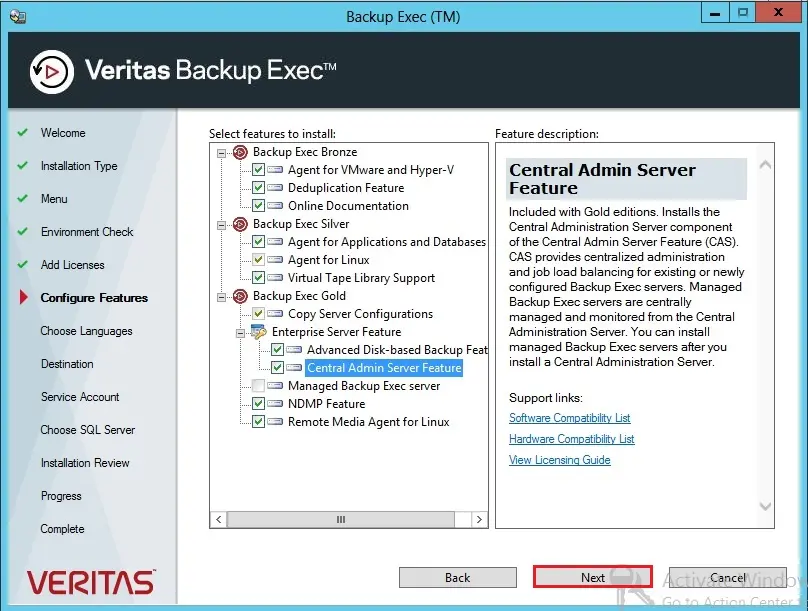
10- Select the options you want to install veritas backup exec and then click Next.
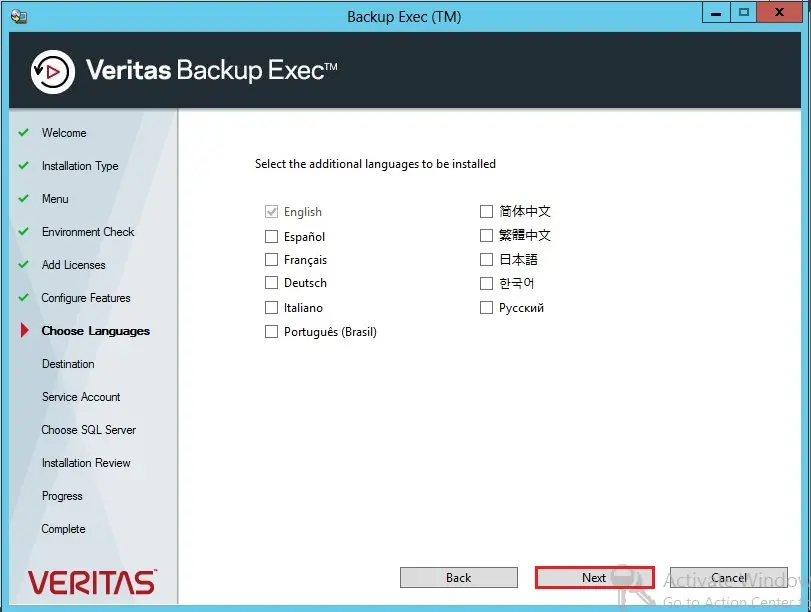
11- Select Language and then click Next.
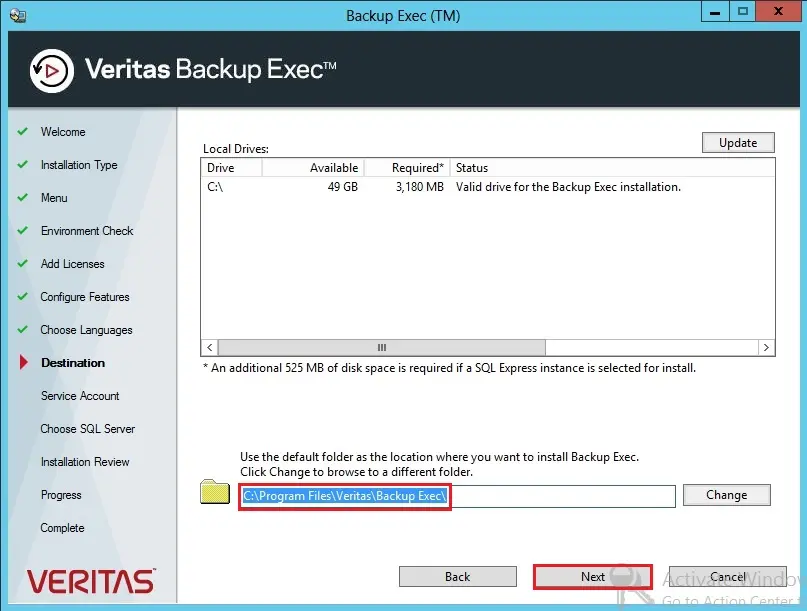
12- If you want to change the installation directory Click change or click next to install default directory and then click Next.
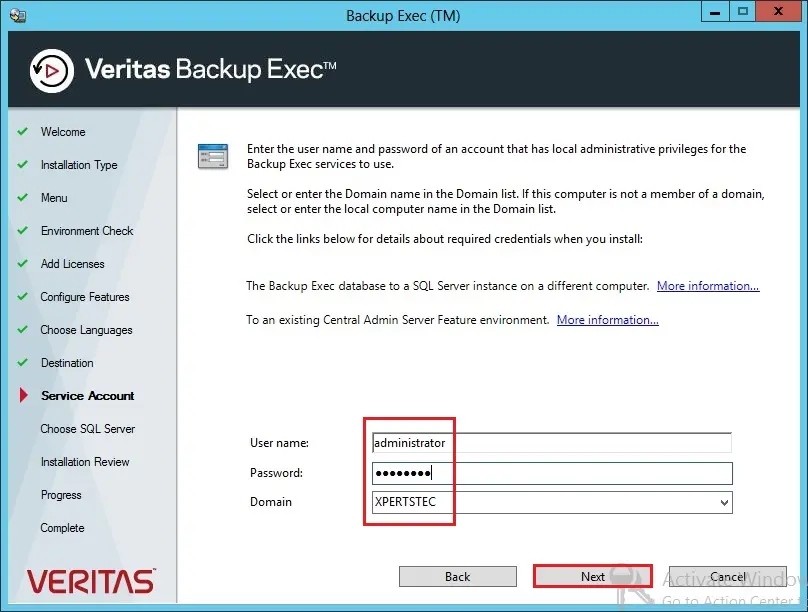
13- Type username, password and then click next.
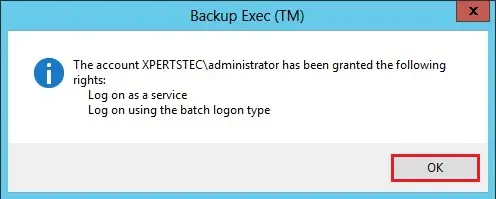
14- Click Ok.
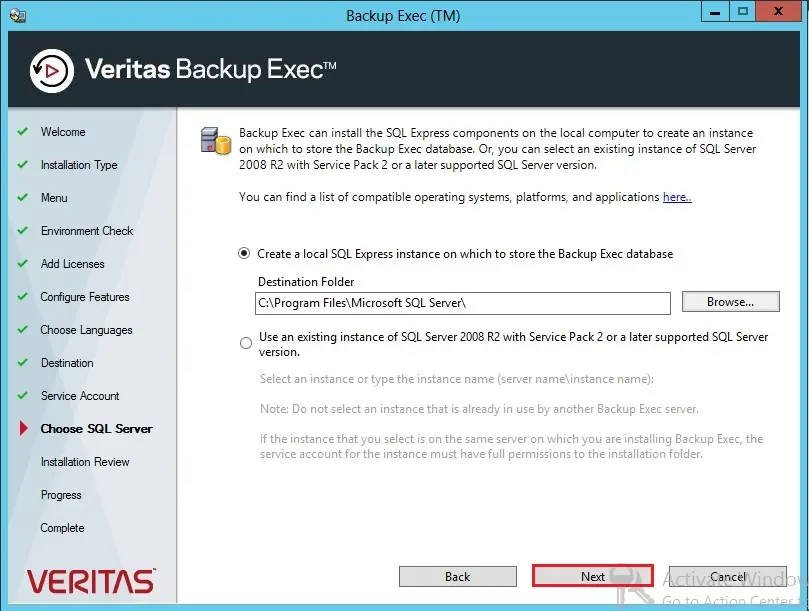
15- Create a local SQL Express instance or use an existing instance of SQL Server and then click next.
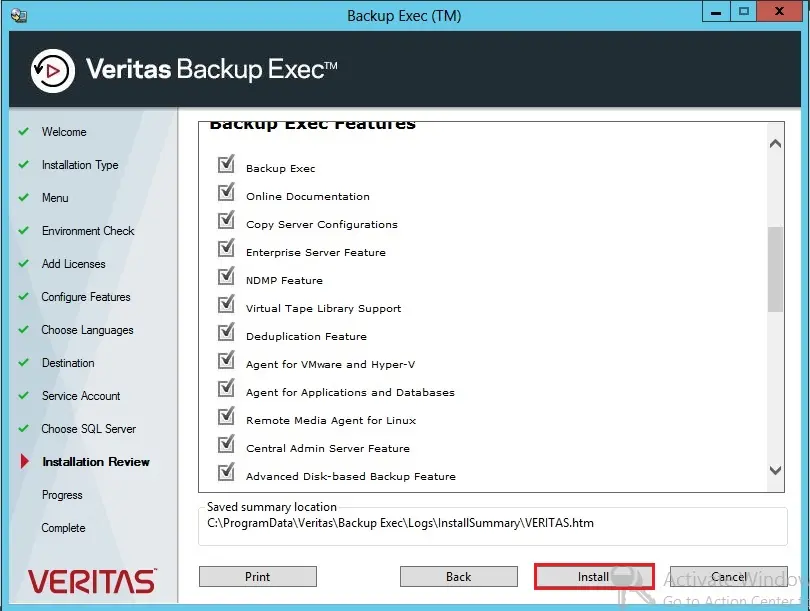
16- Review the Backup Exec installation summary and then click Install.
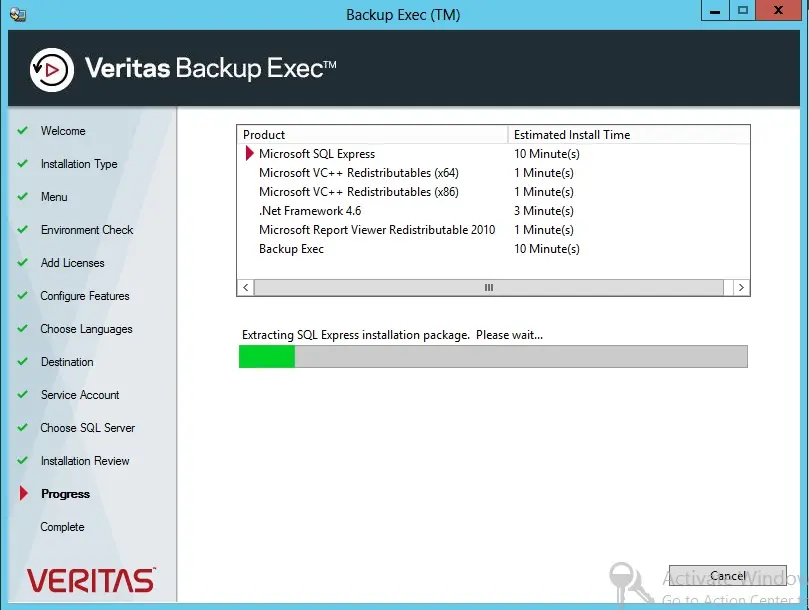
17- SQL Server installation in progress.
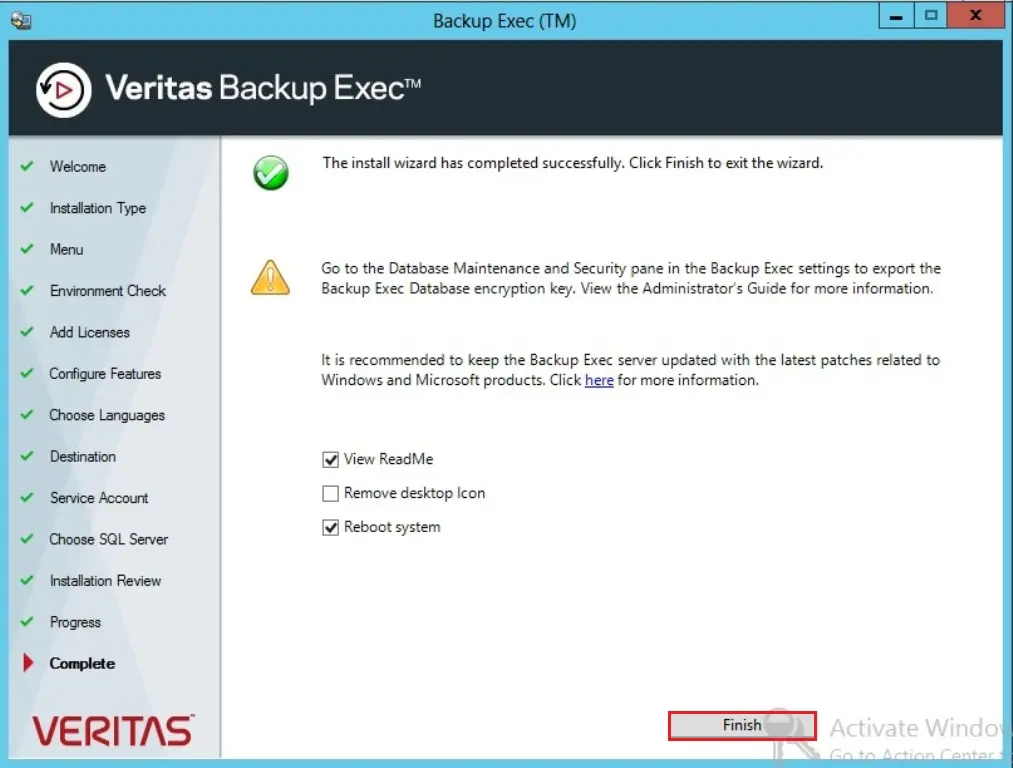
18- Installation Completed and then click Finish.
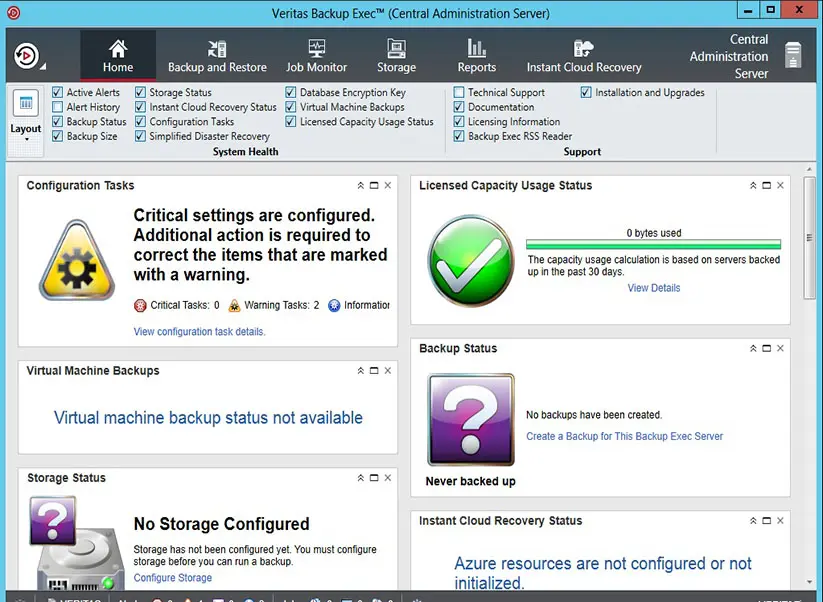
19- Open Veritas Backup Exec shortcut from your desktop.
For more details click Veritas
No Comments
Hello there, My name is Aly and I would like to know if you would have any interest to have your website here at xpertstec.com promoted as a resource on our blog alychidesign.com ?
We are updating our do-follow broken link resources to include current and up to date resources for our readers. If you may be interested in being included as a resource on our blog, please let me know.
Thanks, Aly
I am really inspired together with your writing skills and also with the structure on your weblog. Is that this a paid subject matter or did you customize it yourself? Anyway keep up the excellent quality writing, it is uncommon to see a great weblog like this one today.
I did it myself, thank you for your feedback