How to Use System Recovery Drive USB Windows 10
A system Recovery Drive stores a copy of the Windows 10 environment on external sources, like a CD/DVD or USB drive.
When the PC/computer has problems that preclude Windows from booting. A Windows USB recovery drive will help you to reset the system to its original condition.
Unlike further Windows reset methods, using a USB recovery disk does not contain the option to keep your personal files intact after resetting the computer. Please first takes a backup of all personal files before starting the reset process when possible.
If you already created a system recovery drive.
System Recovery Drive USB
1- Insert your CD/DVD or recovery USB drive into your PC. Start your PC, press the appropriate key to boot from the DVD or USB drive instead of the hard drive.
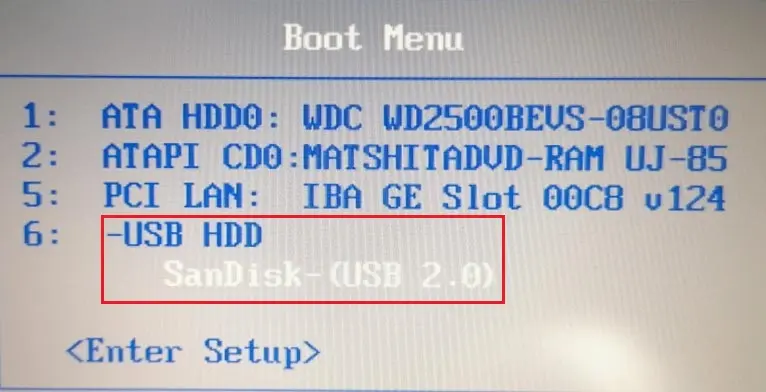
2- Select the keyboard layout for your language or country and then hit Enter.

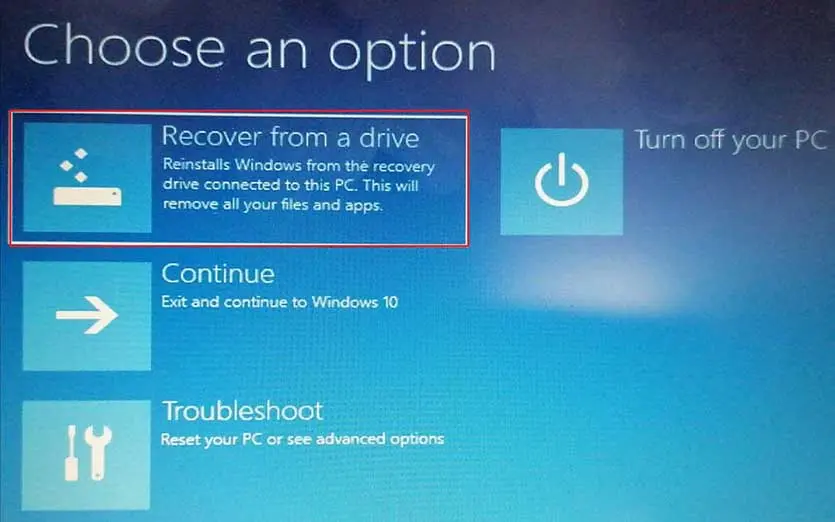
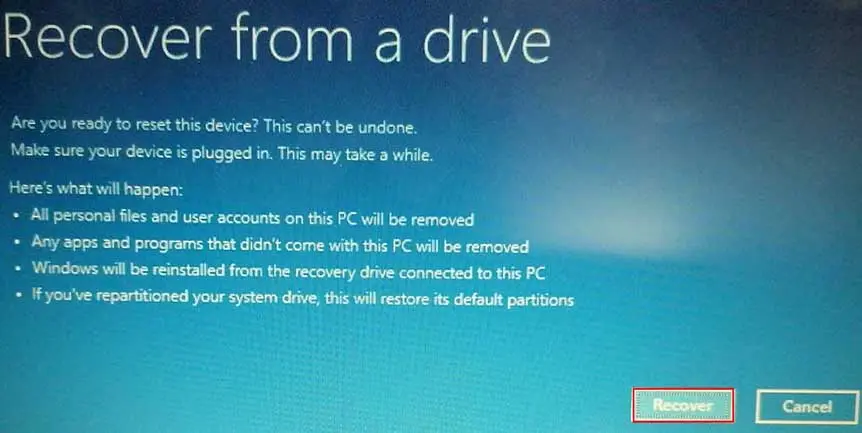
3- All your files and app will be removed after the OS reinstalled. Select Recover from a Drive option to tell the PC to take the version of Windows on your drive.
4- Here you choose the option to remove only files or completely clear the operating system If you were planning to recycle a computer. Since you’re planning to keep this machine, select Just remove my files.
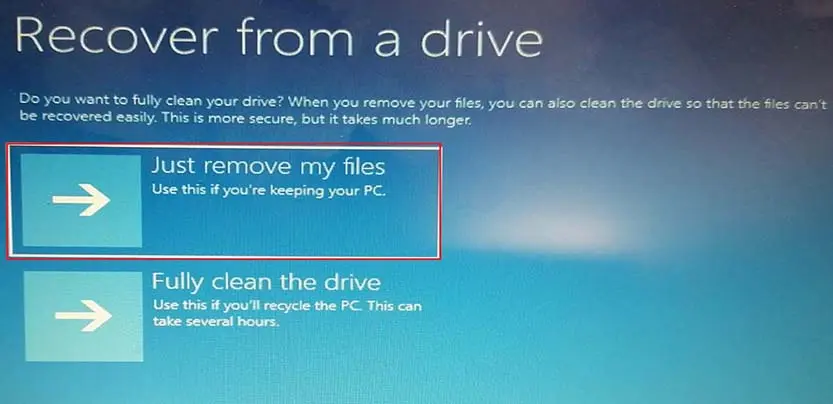
Your PC will warn you once again that all personal files will be deleted and any apps that did not come with the OS will be removed. In addition, if you repartitioned your hard disk, this will restore it to its original state, which means you will need to set up the partition again.
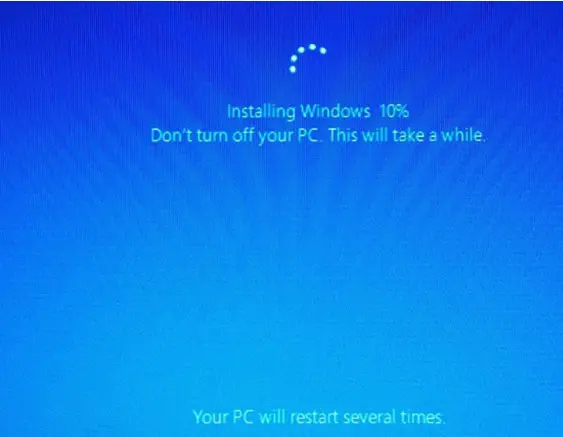
5- Then Windows will tell you that it’s recovering your PC. When finished, Windows is officially reinstalled. Select Recover
6- Windows 10 takes you through the setup process and applies any updates.
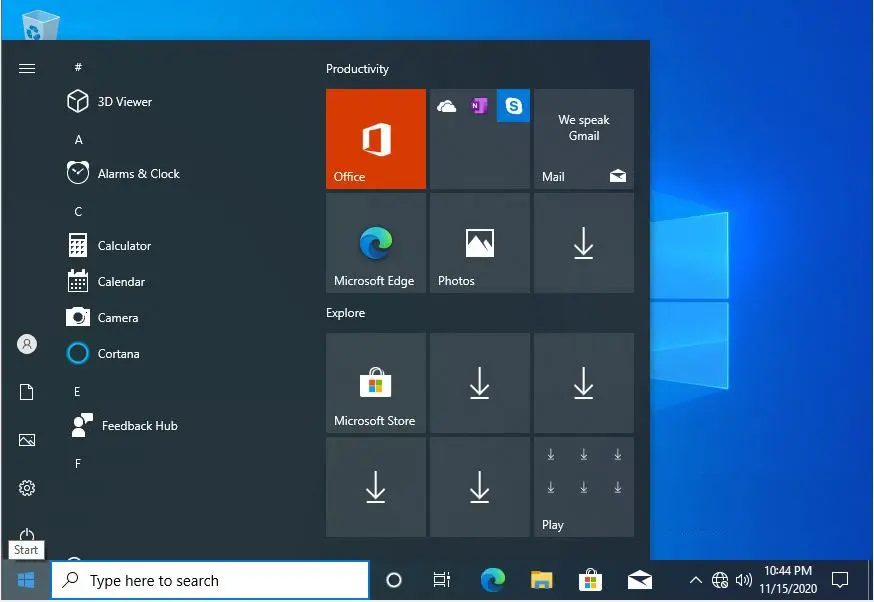
7- After completed the setup, you can sign into Windows. Again, you won’t get your personal files here, but hopefully, you have backed those up elsewhere so you can now restore them. You will also need to reinstall your desktop applications.
For more details please click here


