How to Create Windows 10 USB Recovery Drive
Windows 10 Recovery drive (USB) is used to restore the formerly created Windows system restore point. Whenever your computer has experienced problems such as hardware failure, you will be able to use the Windows recovery drive to restore Windows 10. If you did not create any restore point before, the created Windows recovery drive can’t recover Windows.
Windows 10 has many ways to recover and back up your system, along with more advanced startup options. Windows updates to enhance security and computer performance routinely, so it’s recommended to recreate the recovery drive. Applications and Personal files that did not come with your computer will not be backed up. You will need at least a 16 GB USB drive.
Creating a recovery drive permits you to boot from the recovery USB drive and then access the advanced startup options. Then we can use those advanced tools to help boot and troubleshoot the problems. For more details visit Microsoft
Related: Create Windows System Image Backup
Windows 10 Recovery Drive
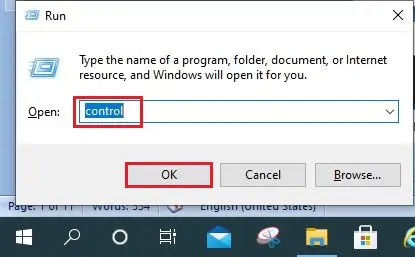
1- Plugin USB recovery drive into your computer. Press Windows key + R, type control into the open field, and then hit Enter.
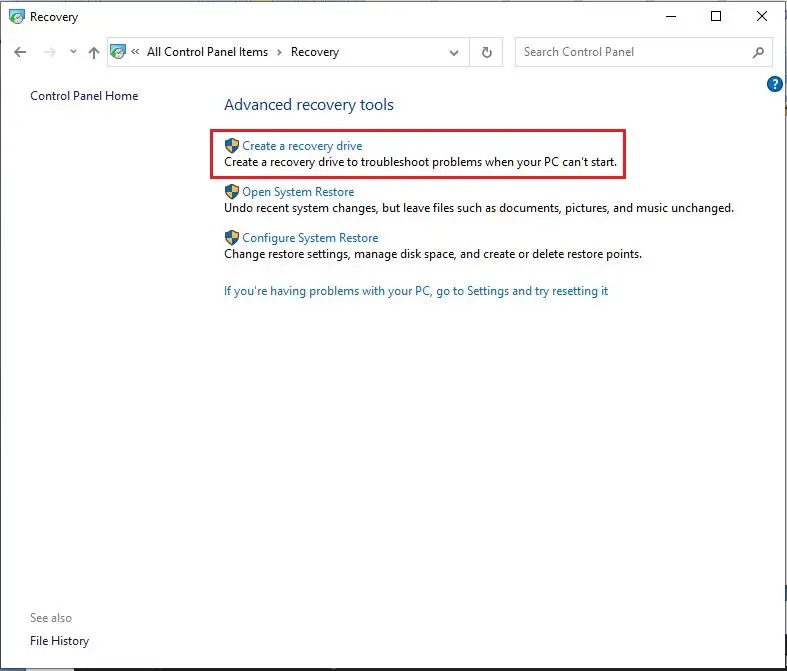
2- In the Control Panel, select Recovery.
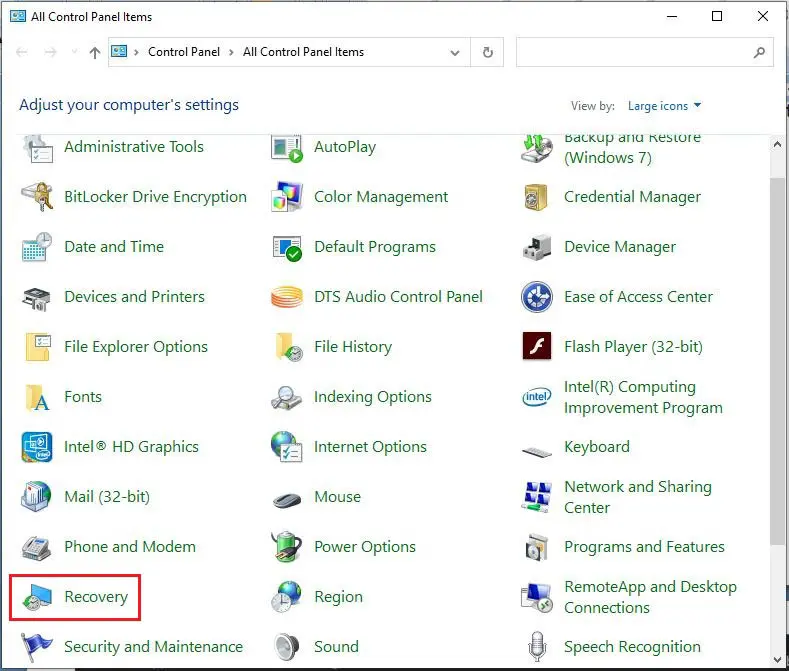
3- “Create Windows 10 USB recovery drive”, select Create a recovery drive.
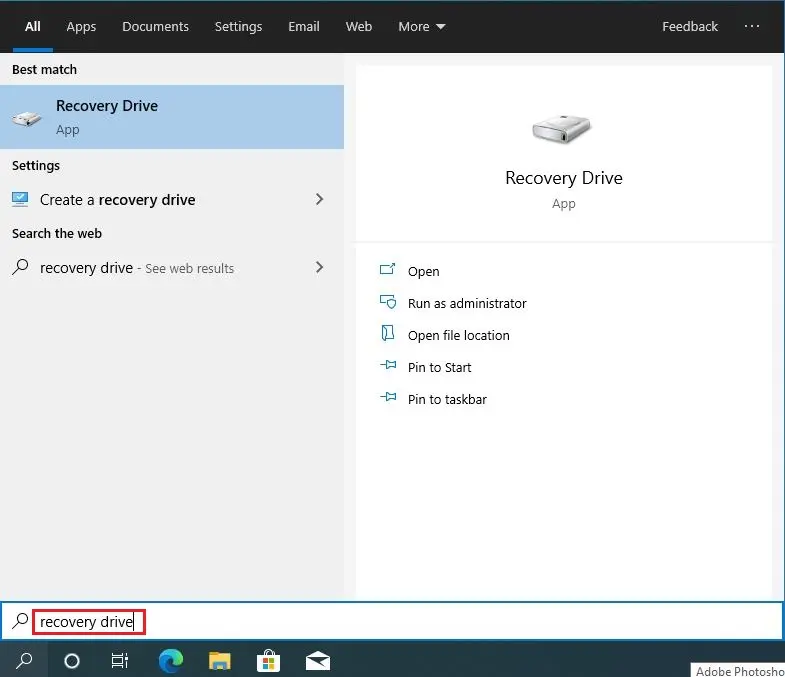
2nd way to open Recovery Drive wizard.
Type recovery drive in Windows search bar and then press enter.
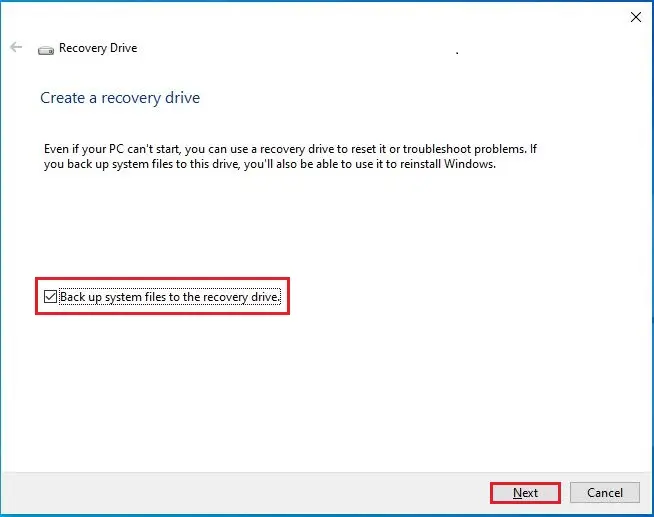
4- Create a recovery drive wizard, Select Back up system files to the recovery drive checkbox and then click Next.
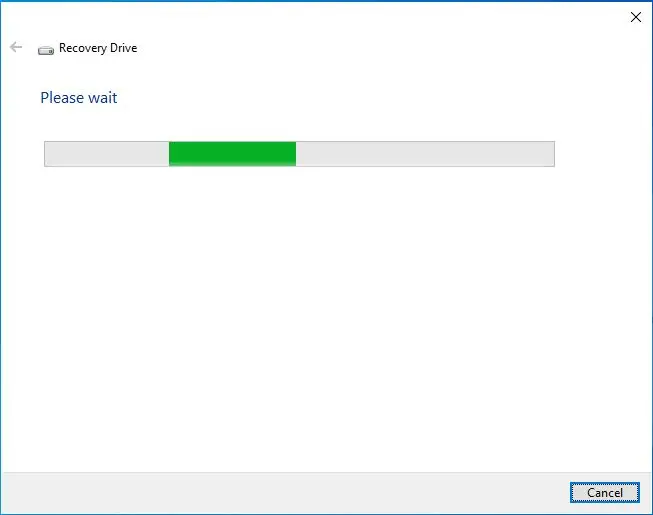
5- Please wait the recovery wizard preparing to copy files to your flash drive.
6- Choose your USB flash disk as the recovery drive and then click Next.
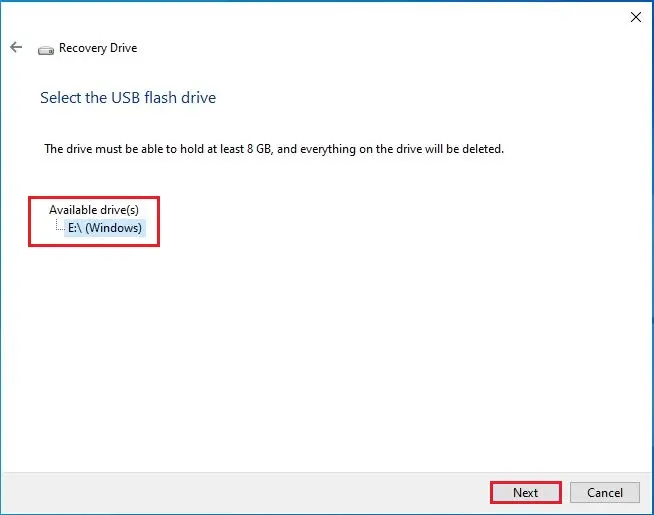
Bear in mind that all the data on the USB drive gets deleted.
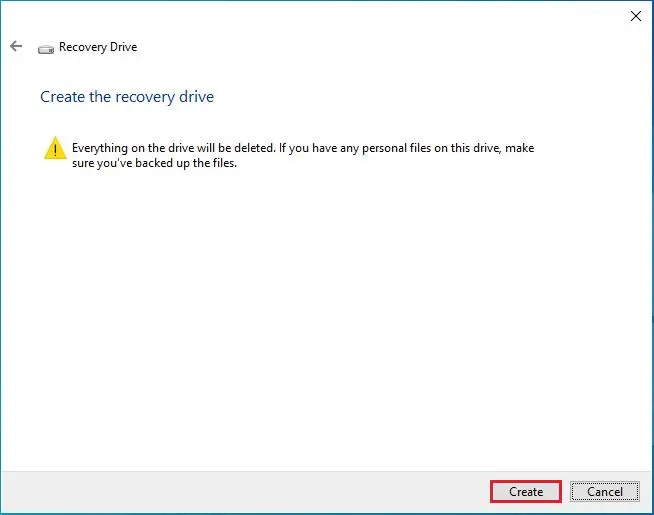
7- Verify the warning message that everything on the drive will be deleted. If you have any personal files on this drive, make sure you’ve backed up the files and then select the Create button.
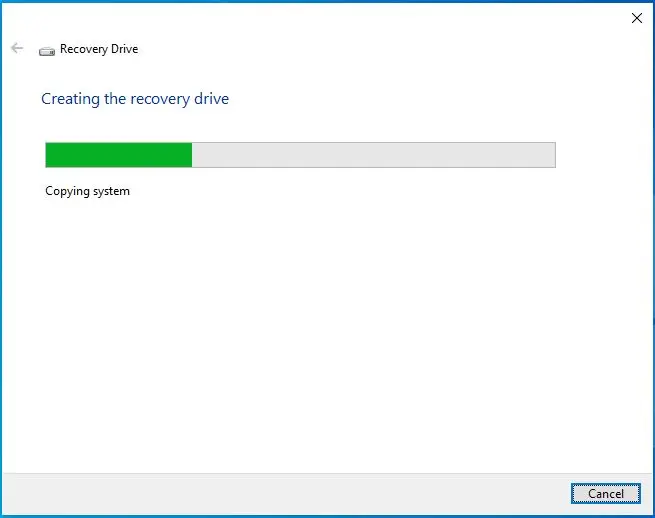
8- Creating the recovery drive in progress.
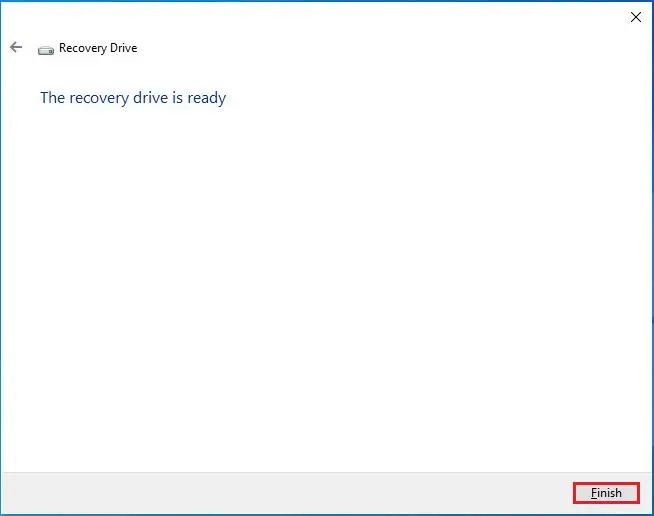
9- USB recovery drive successfully created (The recovery drive is ready) click Finish.
