In this blog, I will go through the steps installation Windows Server 2019 on a physical PC, Windows Server 2019 was released date October 2, 2018.
Installation Windows Server 2019
You can download Windows Server 2019 in ISO format from Microsoft Website, from Here
System requirements
Processor – 1.4 GHz 64-bit processor
RAM – 512 MB
Disk Space – 32 GB
Network – Gigabit (10/100/1000baseT) Ethernet adapter
Optical Storage – DVD drive (if you want to install the OS from DVD media)
Video – Super VGA (1024 x 768) or higher (optional)
Input Devices, Keyboard & mouse (optional) Internet – Broadband access (optional)
How to Install Windows Server 2019.
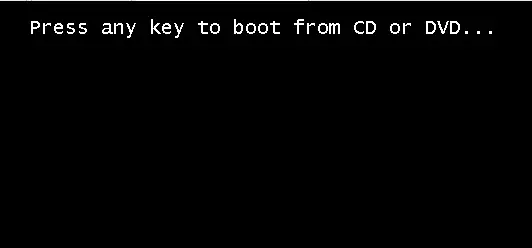
1- Insert the DVD or USB installation media, restart your PC and set boot option from computer bios to a DVD drive or USB.
Press any key else from CD or DVD……..
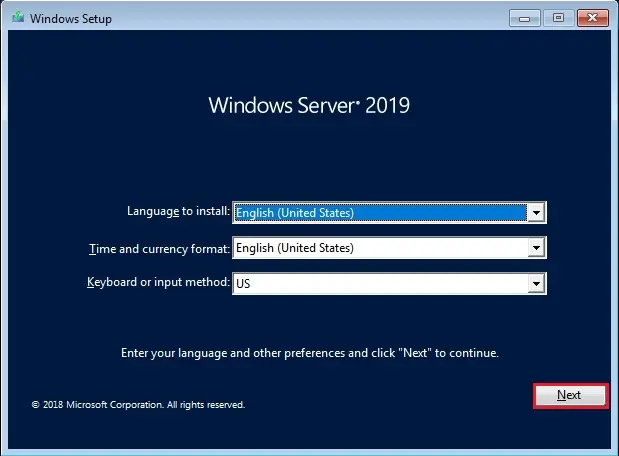
2- Windows Server 2019 setup > select language to put in > Time and currency format > keyboard or input method and click on next.
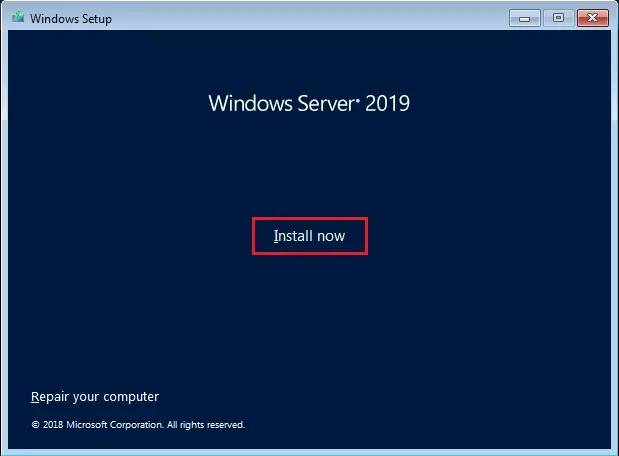
3- Click Install Now to start out the windows server 2019 installation.
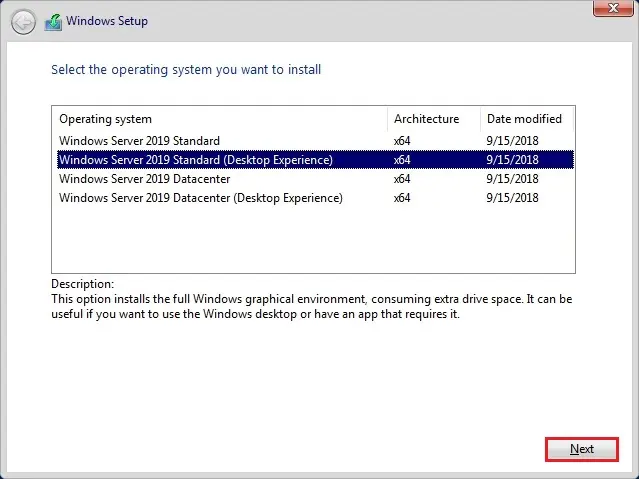
4- Only two versions of the windows server 2019 are available, Standard and Datacenter
Select the server version you would like to put in and click on next.
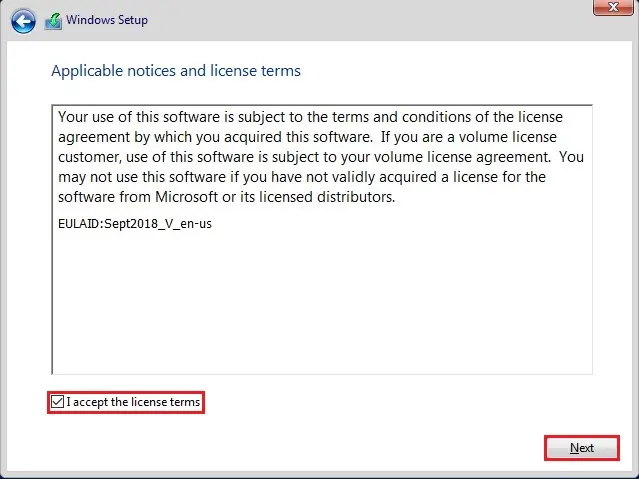
5- Select I accept the license terms and click on next.
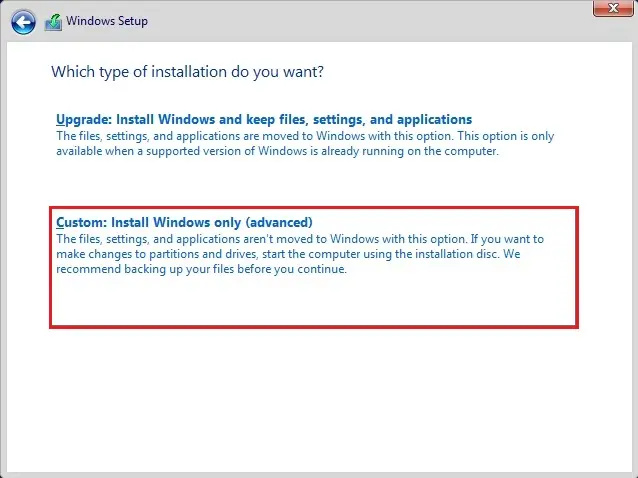
6- Upgrade option: > the previous version of windows server 2012 or 2016 to 2019. Select Custom option: Install Windows only (advanced)
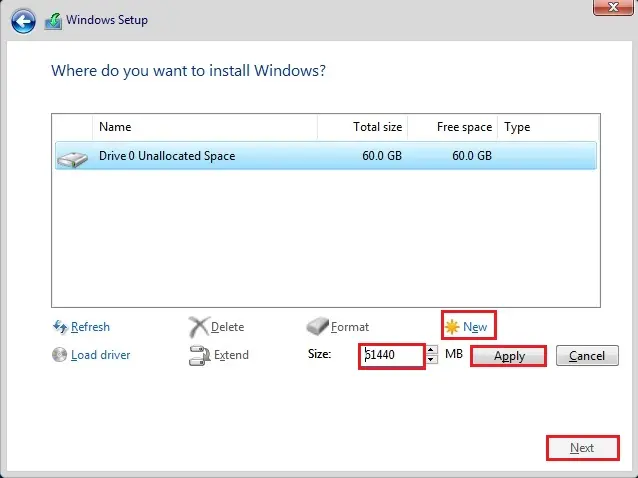
7- Select partition where you would like to put in Windows or Create partition click new select size click apply and click on next.
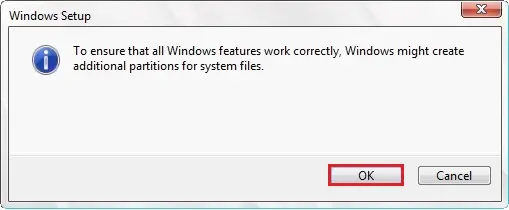
8- Click OK.
9- Select the partition where you would like to put in Windows server 2019 and click on next.
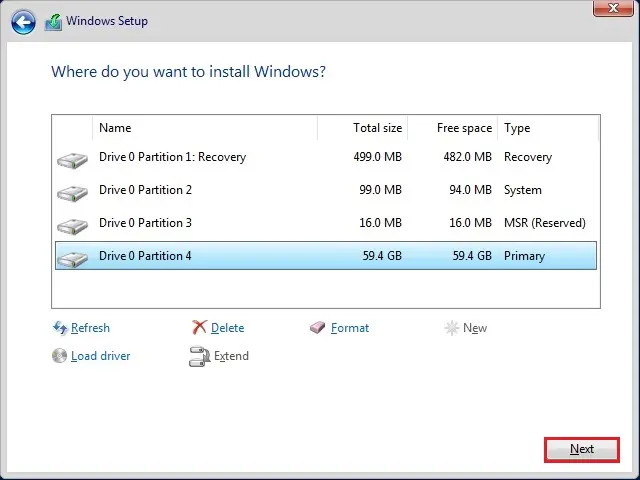
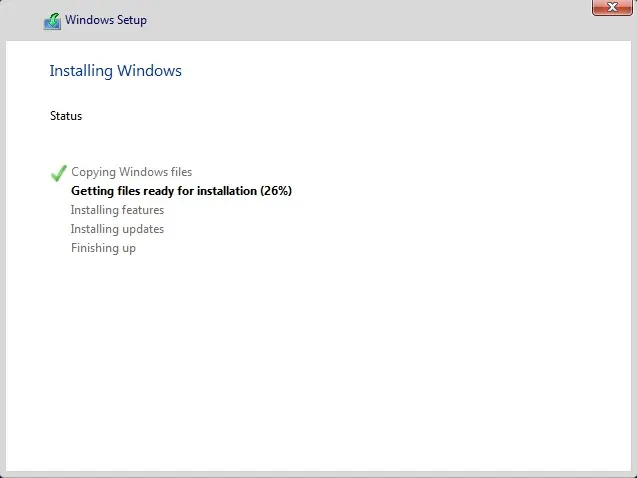
10- The windows setup takes some minutes to repeat all the specified files then installs the Windows Server 2019.
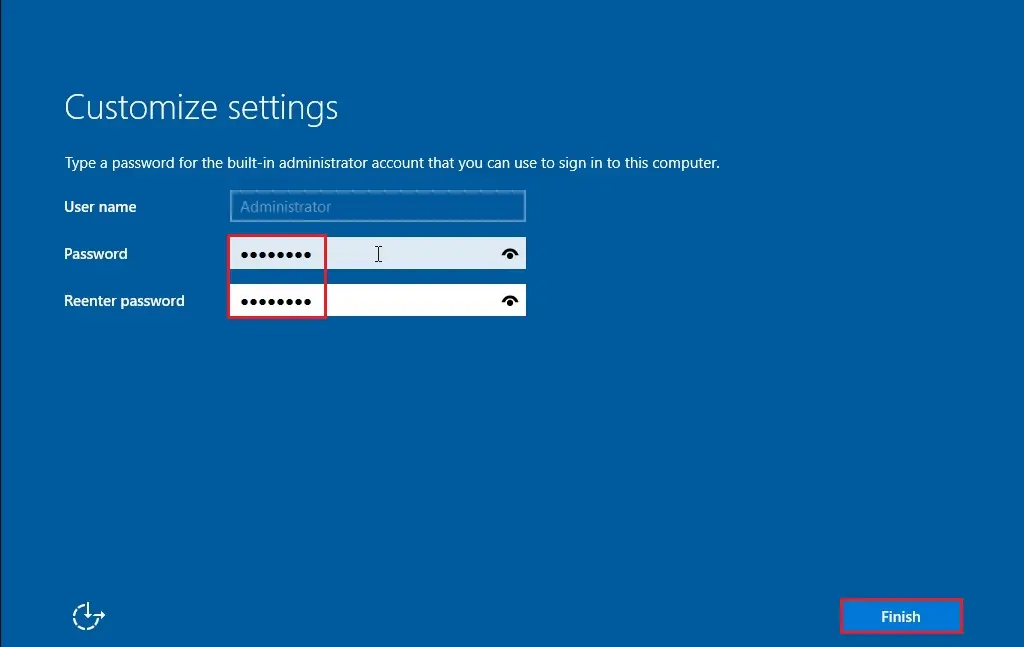
11- After restarting several times create a password for the administrator and click on Finish.
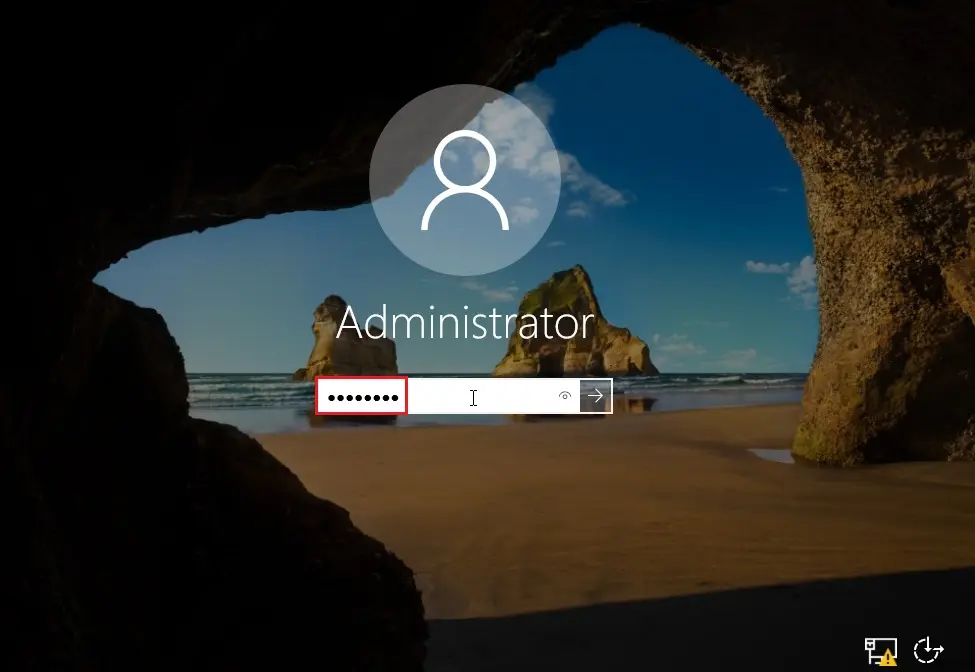
12- Finally server is prepared to type your administrator password and press enter to login.
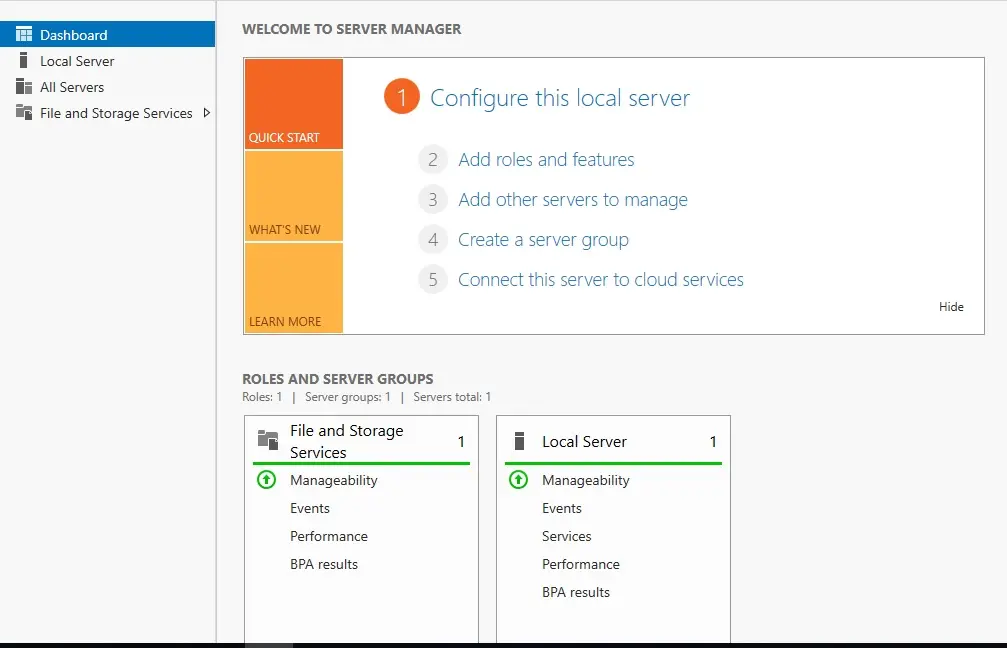
13- Windows Server 2019 Server Manager.
For more information click Here


No Comments
After examine a number of of the weblog posts in your website now, and I actually like your manner of blogging. I bookmarked it to my bookmark web site record and might be checking again soon. Pls check out my web site as properly and let me know what you think.
Dear Ribb,
Thank you I will look into your website and update you
very good blog for step by step installation
Dear Muhammad Yousaf,
Thank you for your comment.
Regards
Jamil
I think the admin of this web page is actually working hard
for his web page, because here every material is quality based stuff.
Dear Forskellige,
thank you
Hi mates, how is the whole thing, and what you
desire to say regarding this piece of writing, in my view its really
remarkable in favor of me.
Thank you
Wonderful, what a weblog it is! This blog presents useful data to us,
keep it up.
Dear Rueben,
Thank you
What i don’t understood is in truth how you’re not really a lot more
well-appreciated than you might be now. You’re very intelligent.
You recognize therefore considerably in relation to this matter, produced me individually imagine it from numerous varied angles.
Its like men and women aren’t fascinated unless it is one thing to do with Woman gaga!
Your individual stuffs nice. All the time care for it
up!
Thank you