Configure vMotion VMware, vSphere, In this blog I will cover the configuration procedure of vMotion in VMware vSphere 7.0. VMware vMotion enables the live migration of running virtual machines from one ESXi host to another with zero downtime, and also allows the live migration of a running VM file system from one storage to another. Continuous service availability, and complete transaction integrity.
Configure vMotion in VMware vSphere
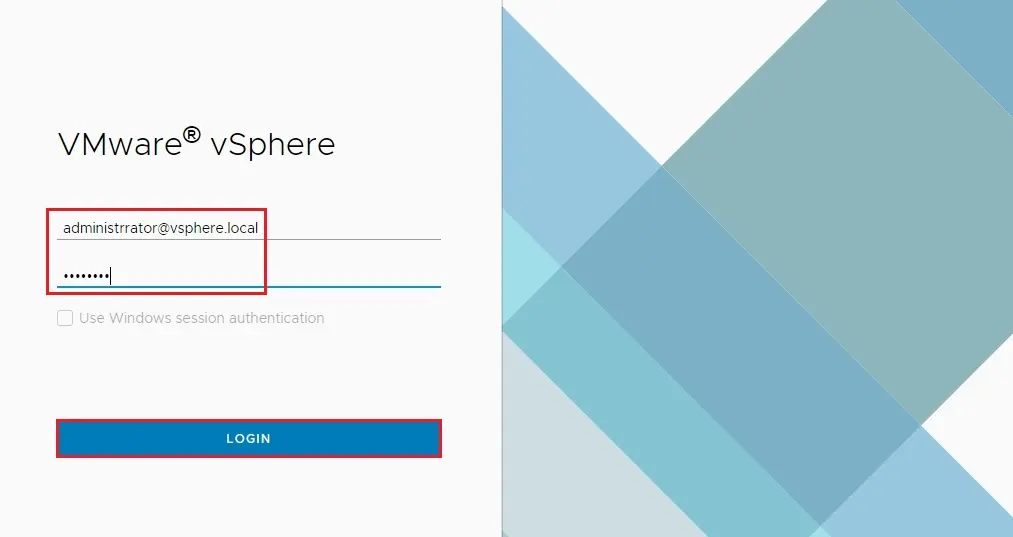
1- Open your web browser, type https://, type username, password and then click LOGIN.
vMotion Networking Requirement click here
How to Configure a vMotion Interface
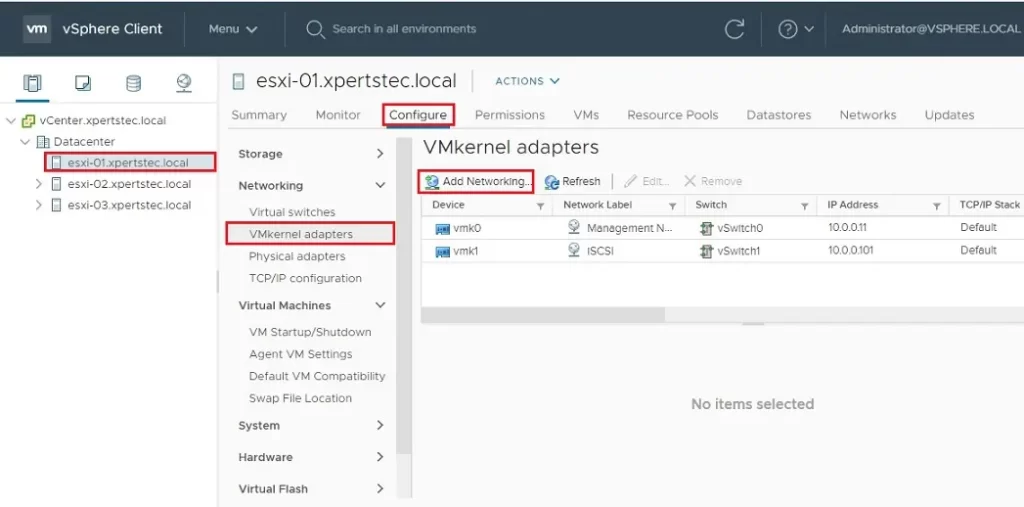
2- Select the host, click the configure tab, select VMkernal Adapter under networking option and then click add networking.
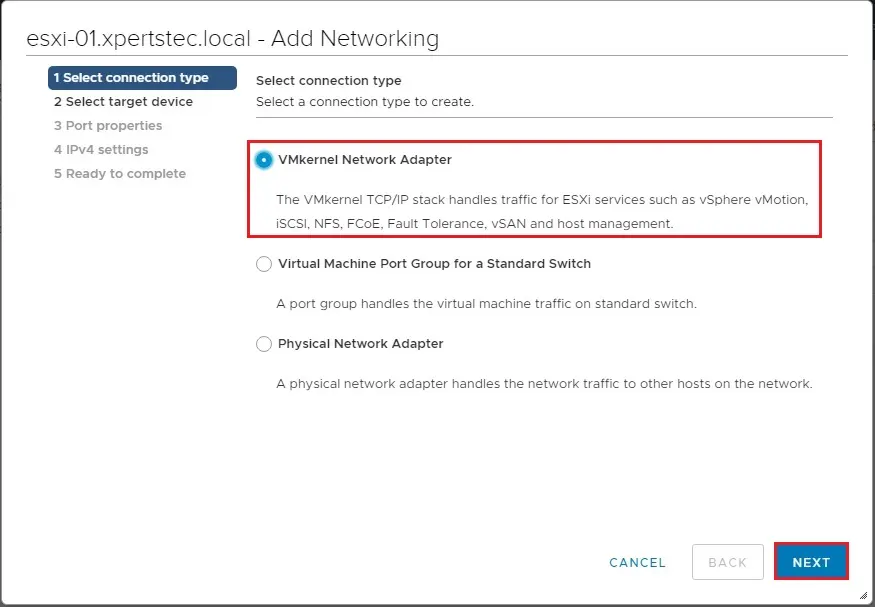
3- The network wizard window appears, selects the VMkernel Network Adapter and then click next.
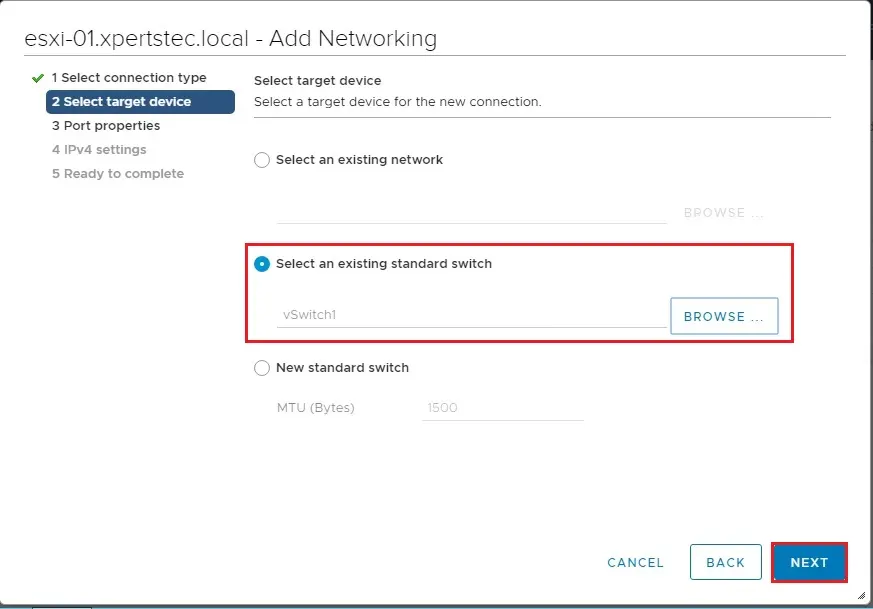
4- Select an existing standard switch (vSwitch1) and then click next.
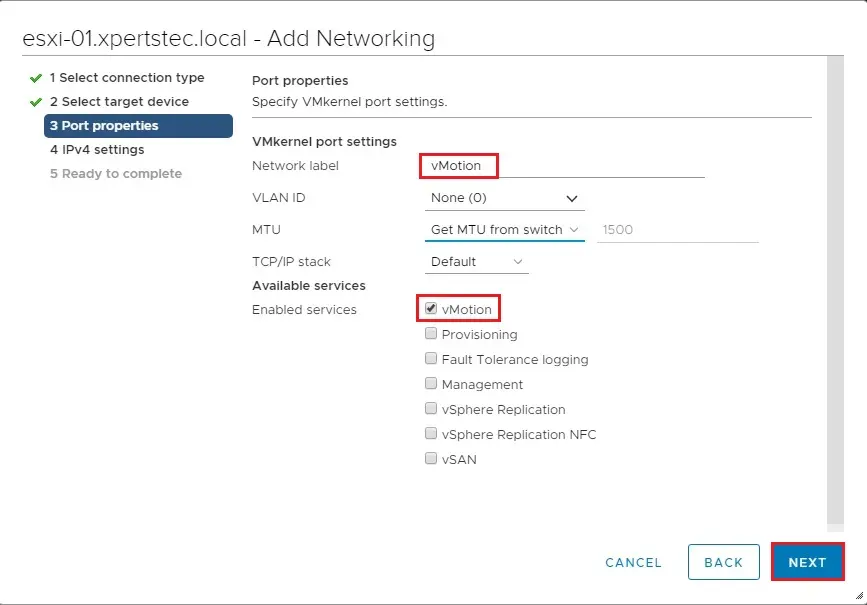
5- Type a Network label, enable the use this port group for vMotion and then click next.
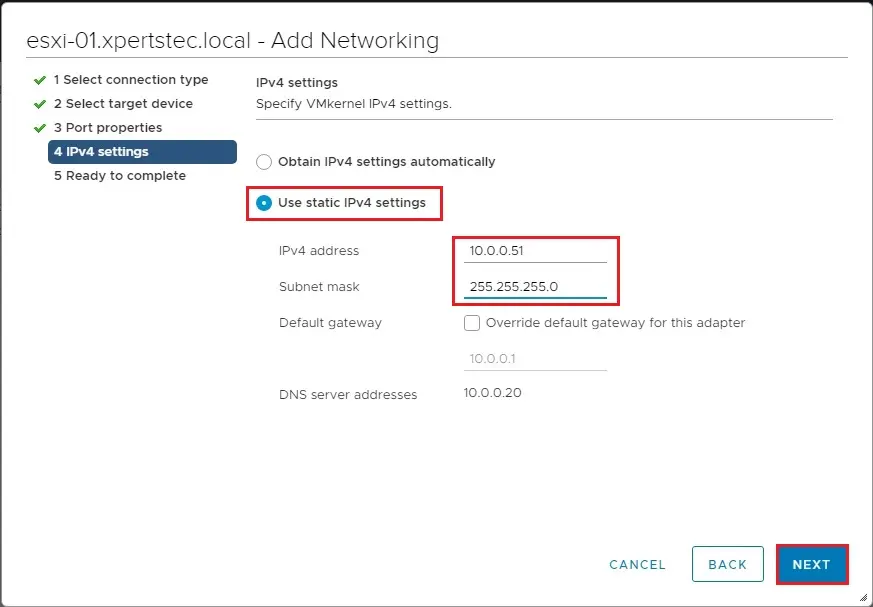
6- Select use static IPv4 settings, Enter the IP address and subnet mask for the adapter and then click next.
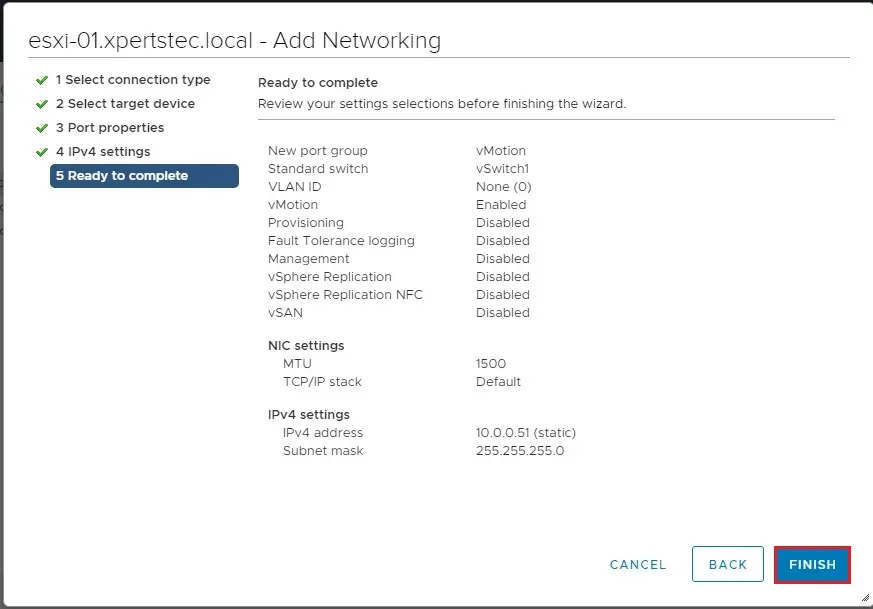
7- Review the VMkernal Network Settings and then click finish.
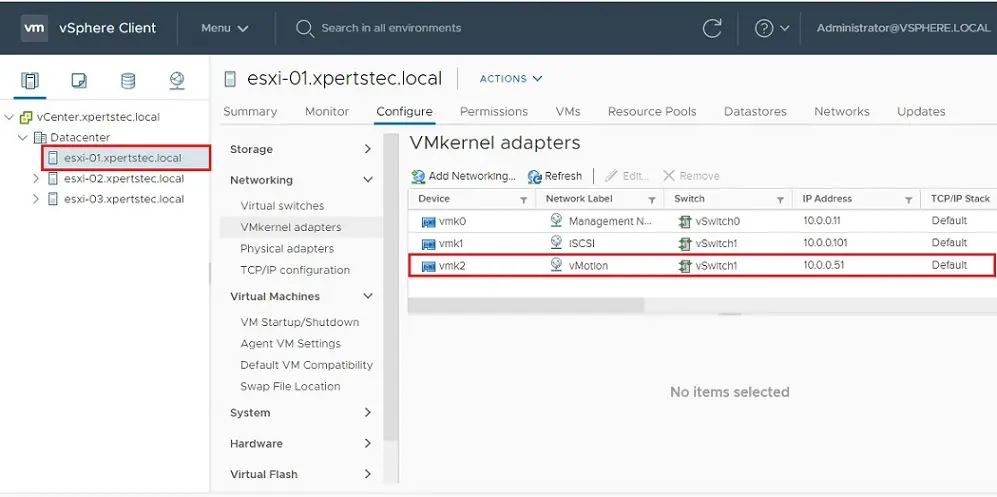
8- The VMkernel adapter has been created for first host esxi-01.
Configure a vMotion interface in second host.
Follow the above steps from 2 to 8 to configure vMotion interface for second host.
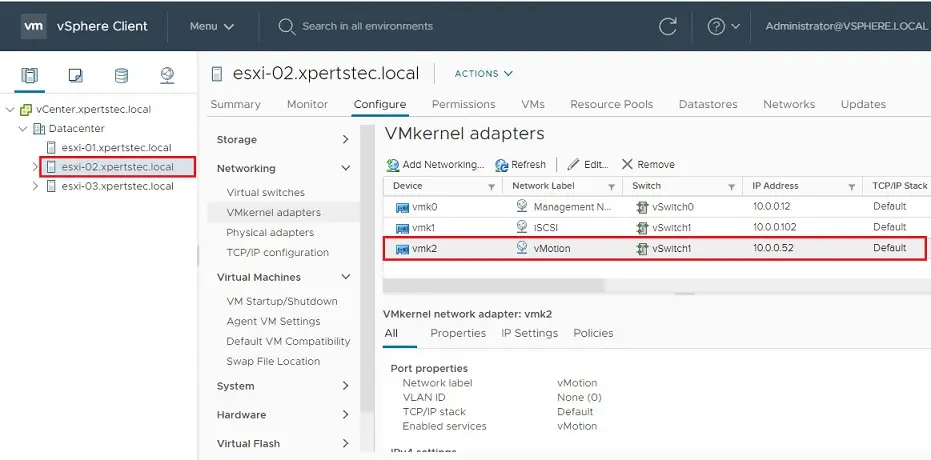
9- The VMkernel adapter has been created for second host esxi-02.
10- Now virtual machine SRV2012 the one I want to migrate, is on esxi-02 host.

How to Migrate Virtual Machine using vMotion
11- Now right click the VM for migration, select Action tab and then click Migrate option.

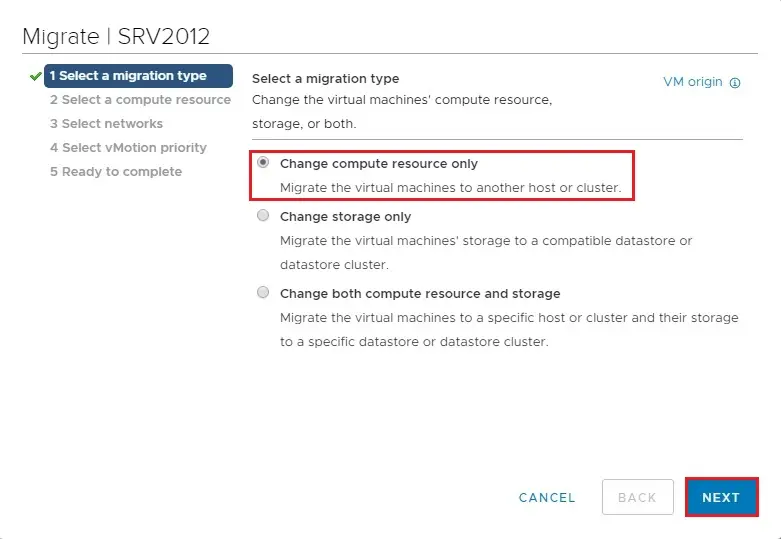
12- Select the change compute resource only migration type and then click next.
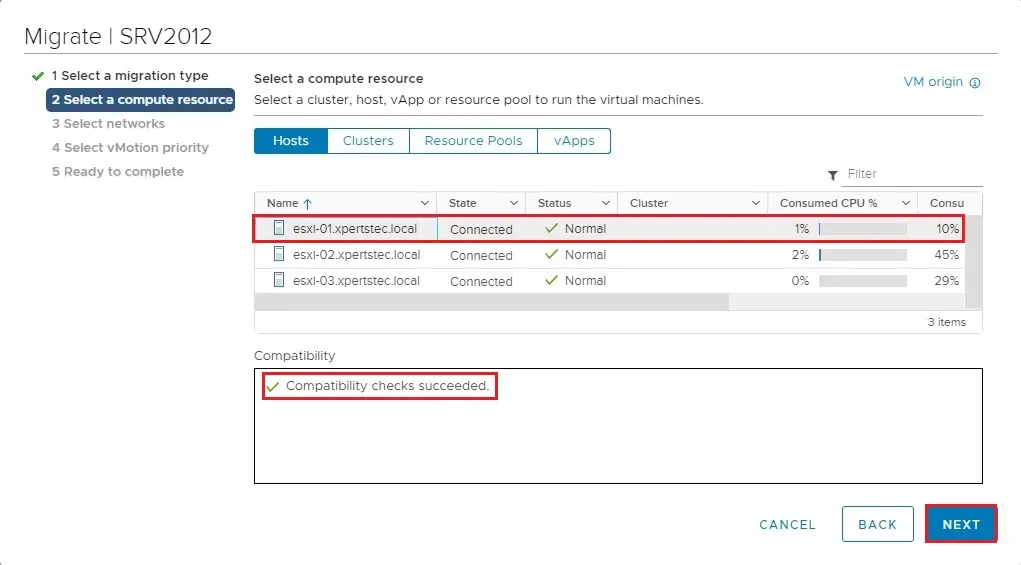
13- Select the host for which the VM should be migrate, Compatibility checks succeeded and then click next.
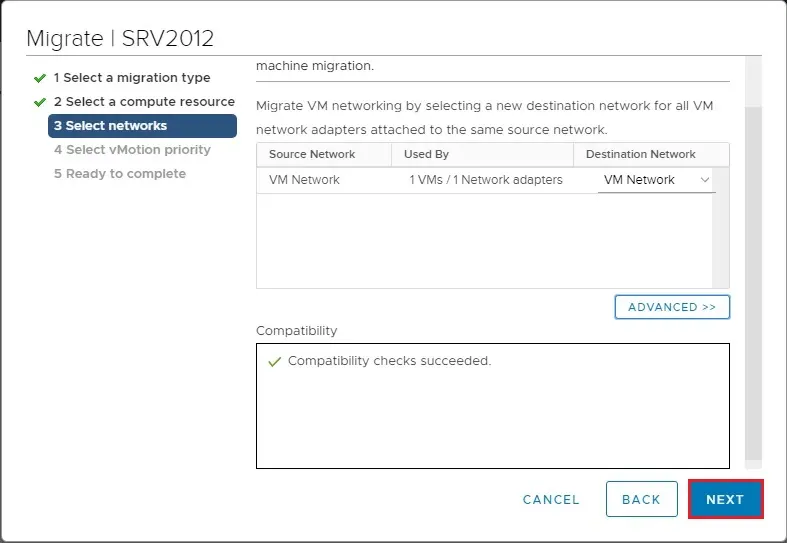
14- Select the VM network adapter and then click next.
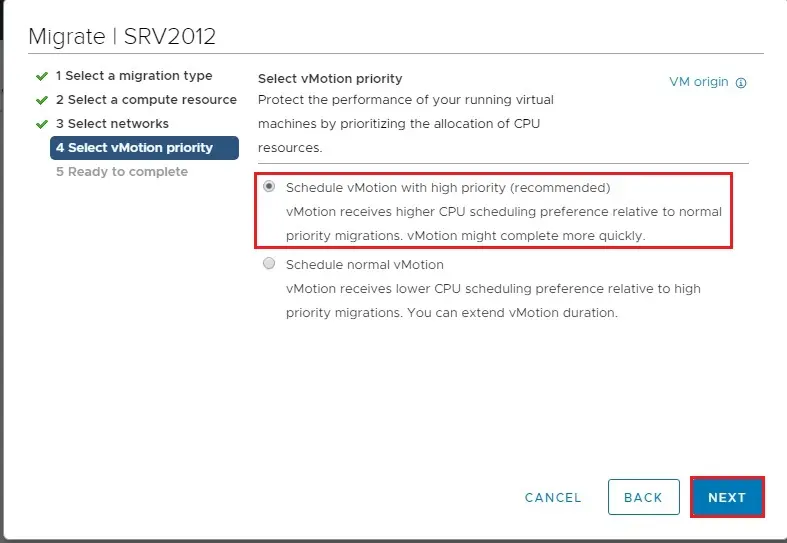
15- Select the vMotion schedule with high priority and then click next.
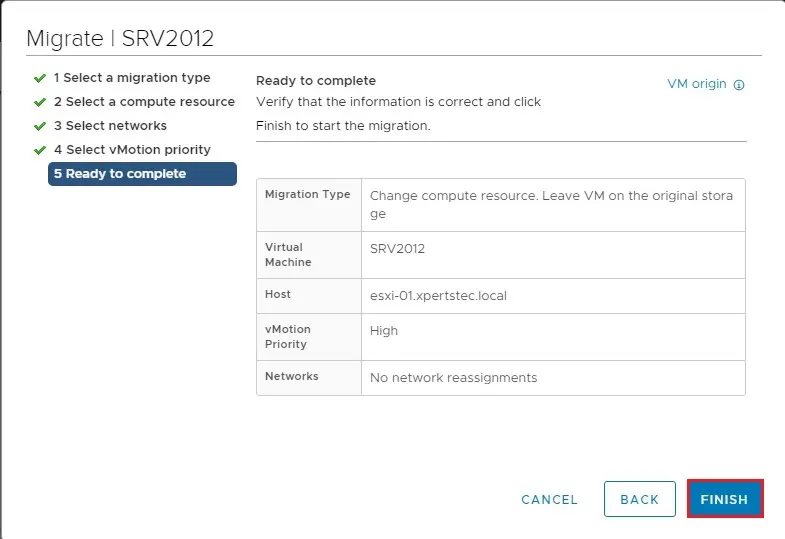
16- Review the summary and click the finish button to start the migration process.
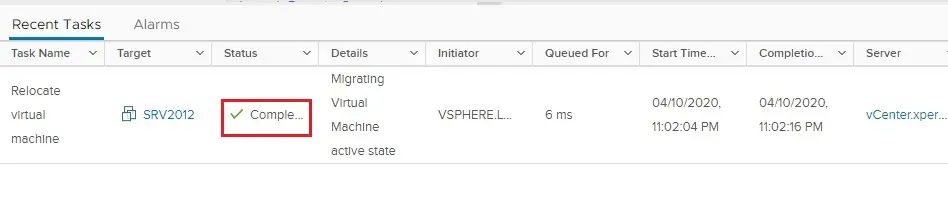
17- You can view the VM relocation in the recent tasks window.

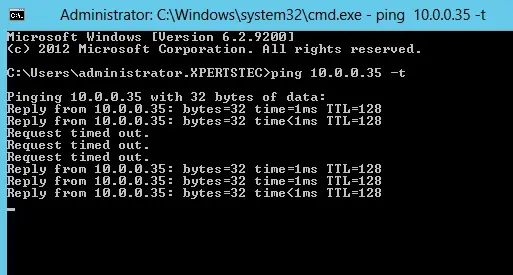
18- I started pinging the machine is live migrating.
19- The VM migration is completed.
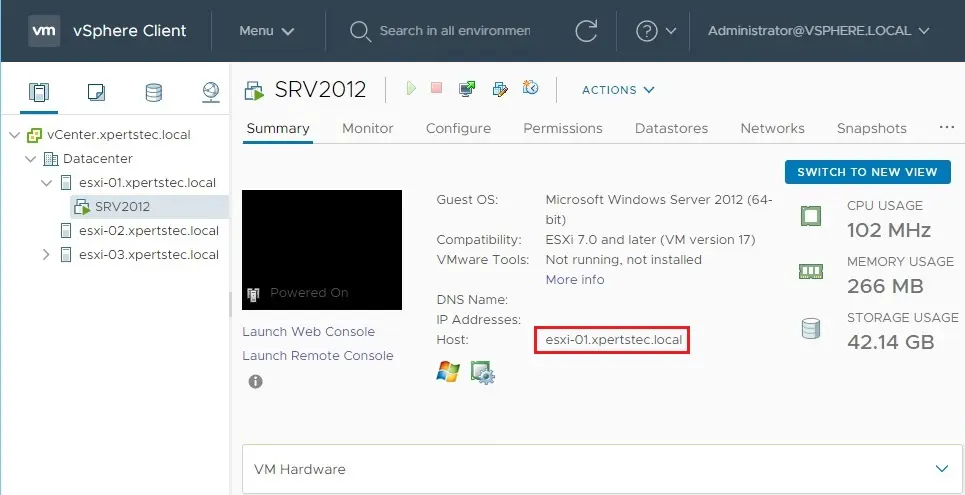
20- You can view the host has changed.
Related: How to Configure Multiple NIC vMotion in VMware vSphere.