


In this blog, I will show how to install Android Phoenix OS on VMware Workstation. A Phoenix operating system is an Android alternative that brings a smooth desktop-style interface to Android. Now, you can also install it on a USB flash drive and then you can it out on your PC. Also, you can use them as Virtual Machines.
Below are the links for downloading VMware Workstation and the Android Phoenix OS.
Download Android Phoenix OS or Phoenix OS
Download VMware Workstation Pro
Video
How to create a virtual machine for the android emulator in VMware Workstation
Install Remix OS on VMware
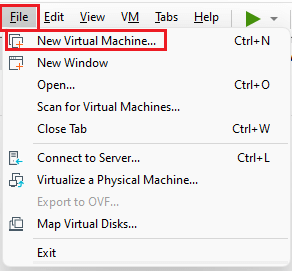
After downloading the VMware Workstation exe file, Install VMware workstation and then just launch it. Select the file tab and click on new virtual machine.
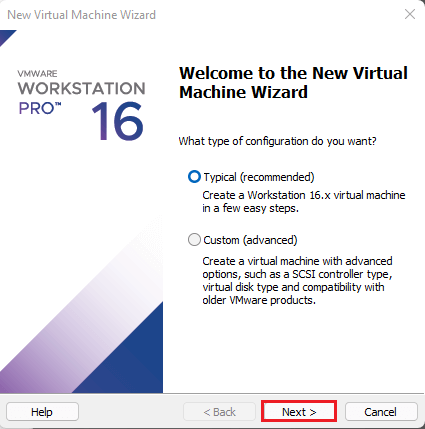
Welcome to new virtual machine.
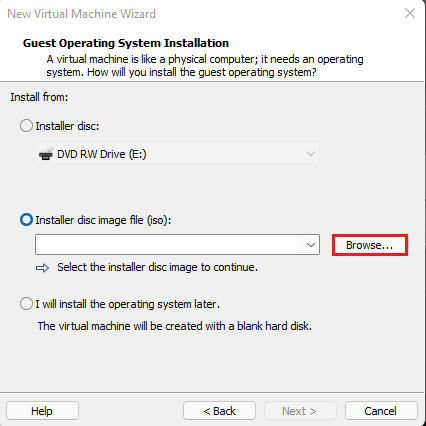
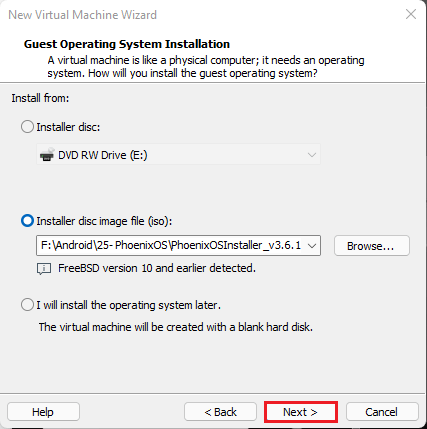
Select the installer disk image, click browse.
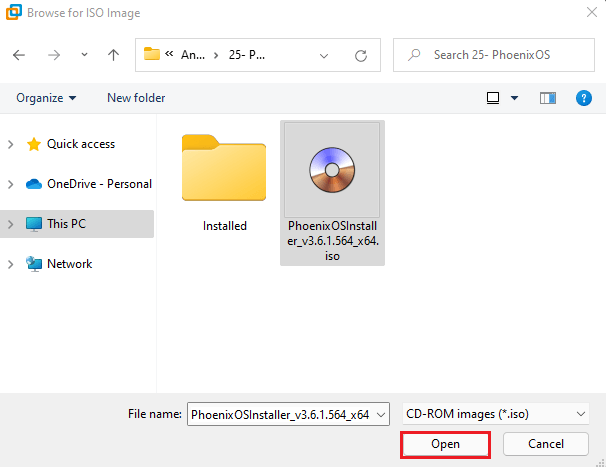
Insert the PhoenixOS ISO which you have downloaded and then click open.
Click next.
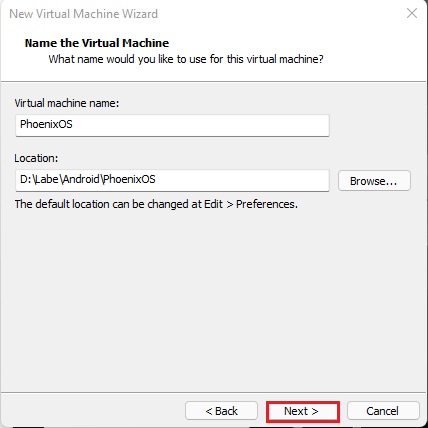
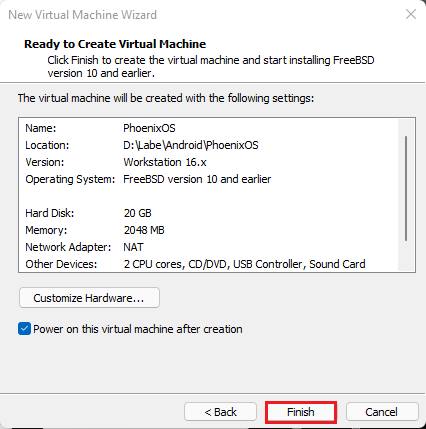
In this you need to give a name for your Virtual Machine, I have already typed RemixOS. The browse button is also available. It means to save your virtual machine in any location which you desire and then click next.
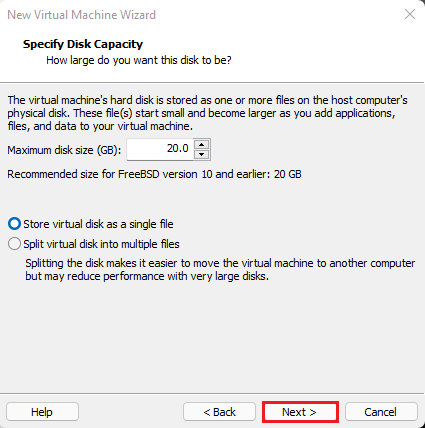
For this step, you have to verify the disk size for the virtual machine. Select to store the virtual disk in a single disk file and then click Next.
You can see here the default settings of VMware, but I want you to change them by clicking customize hardware.
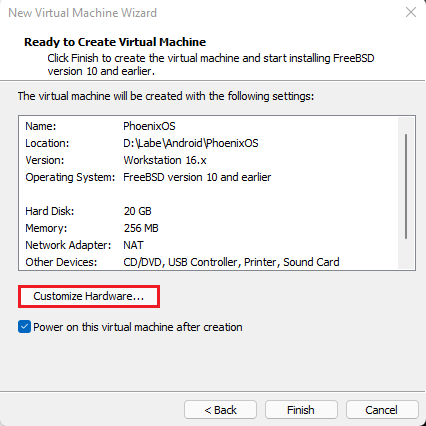
Change the memory to 2GB, give it 2 processors, also display 3d graphics. When you are done, click close.

Click finish.
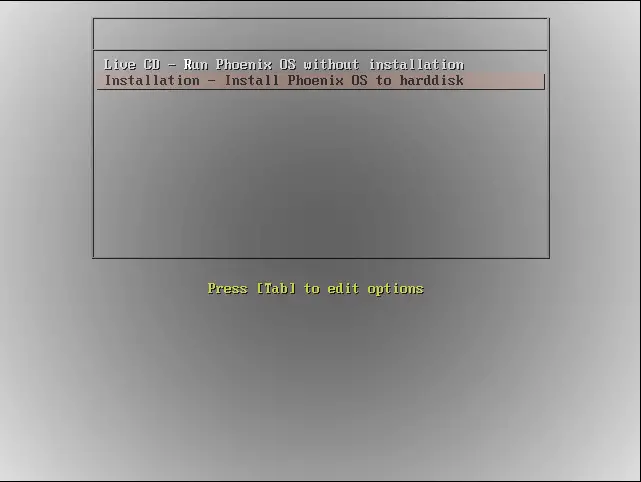
Install Android Phoenix OS
Select Installation – install Android Phoenix OS to the hard drive and hit input.
Android Phoenix OS, Press C, Select Create/Modify Portions, and hit enter.

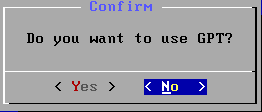
Select no for the use of GPT and hit enter.
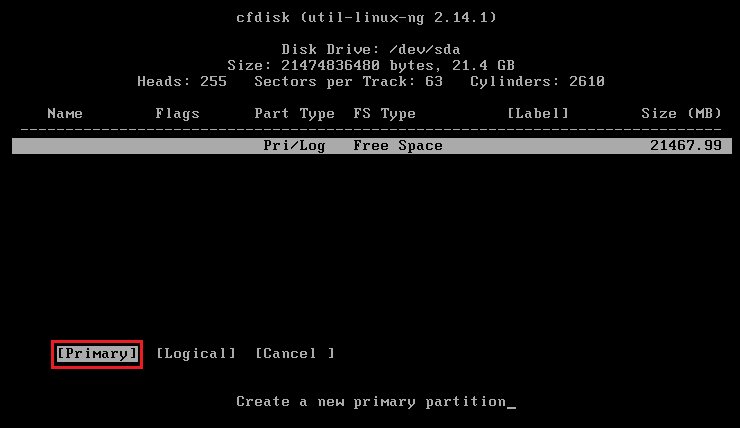
Now we need to create a new partition, select New, and hit enter.
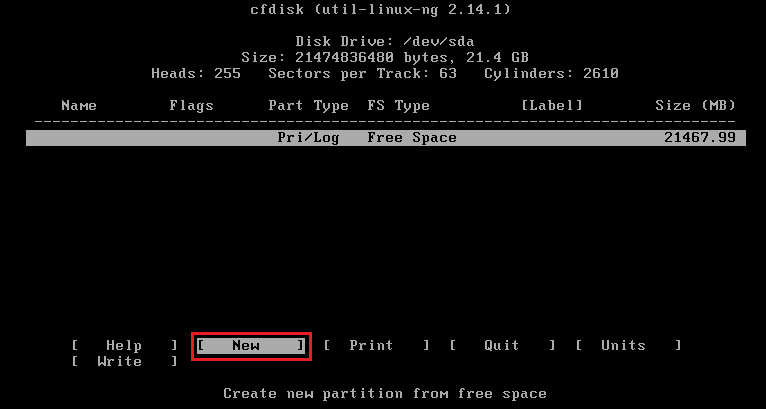
Select Primary and hit enter.
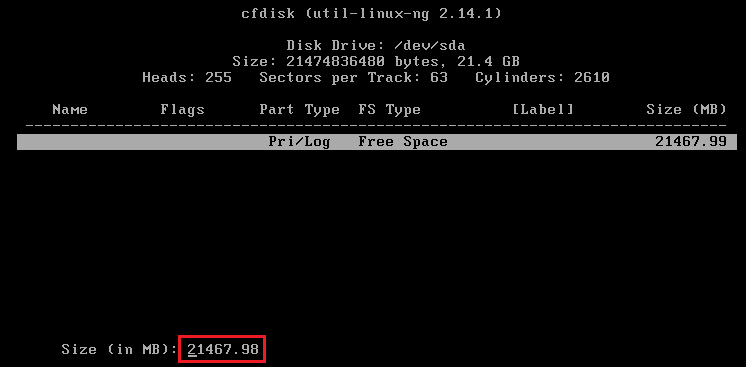
Choose the remaining disk size and hit enter.
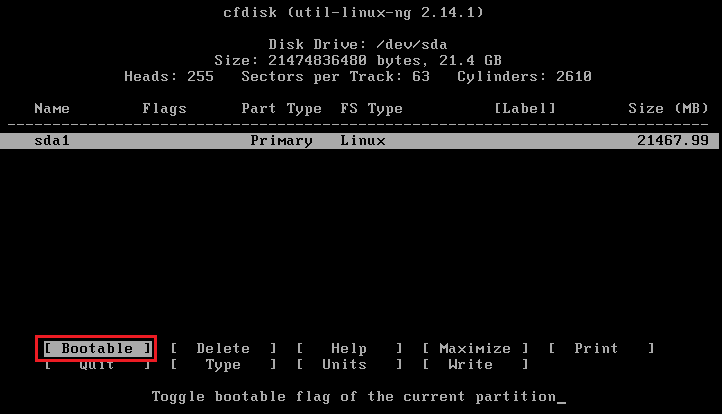
Select bootable and hit enter.
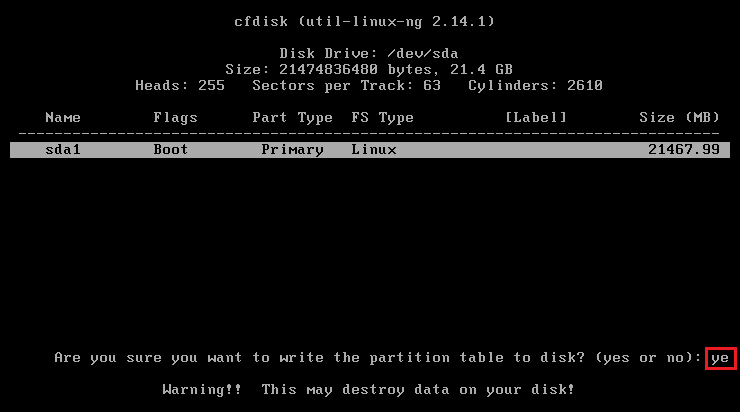
Choose the Write tab and hit enter.
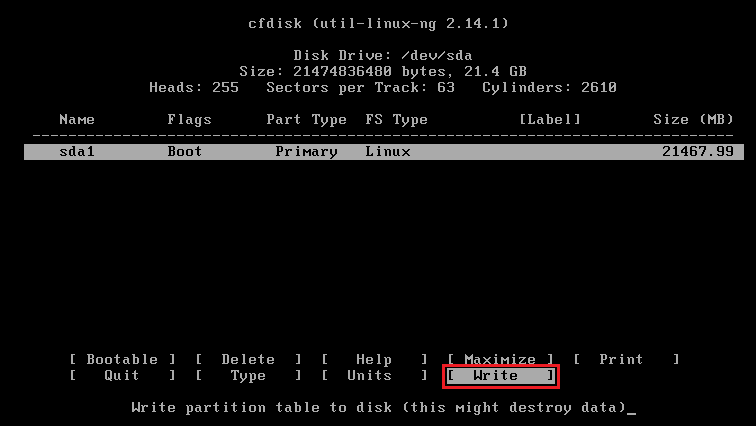
Type yes and then hit enter.
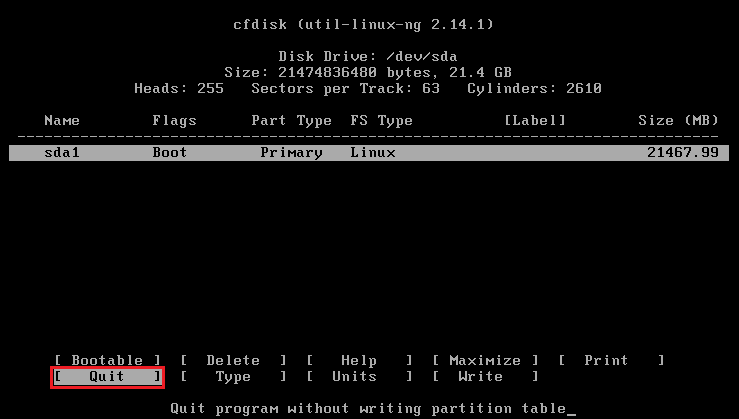
Select Quit and you will return to the installation screen of android, with a partition available called sda1, sda2.
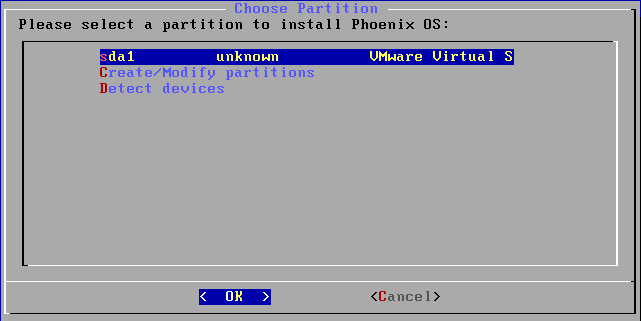
Select the sda1 partition and then press enter for the installation.
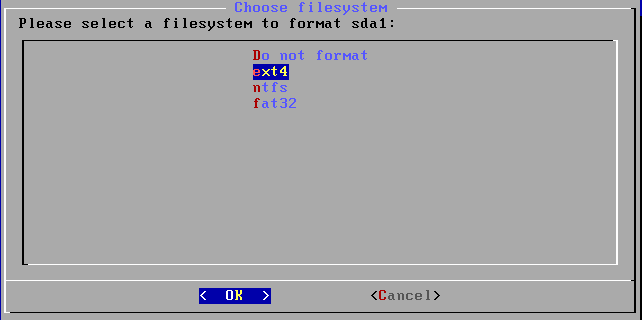
Click on ext4 as the filesystem and hit enter.
Select Yes and hit enter.

Install EFI GRUB2, Choose skip and hit enter.
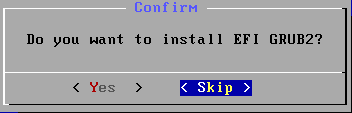
Select yes to install boot loader GRUB.

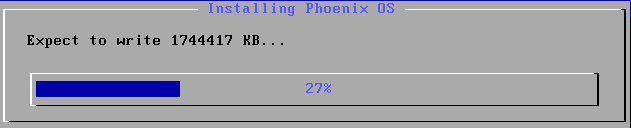
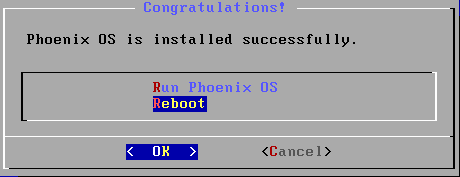
Installing Phoenix OS
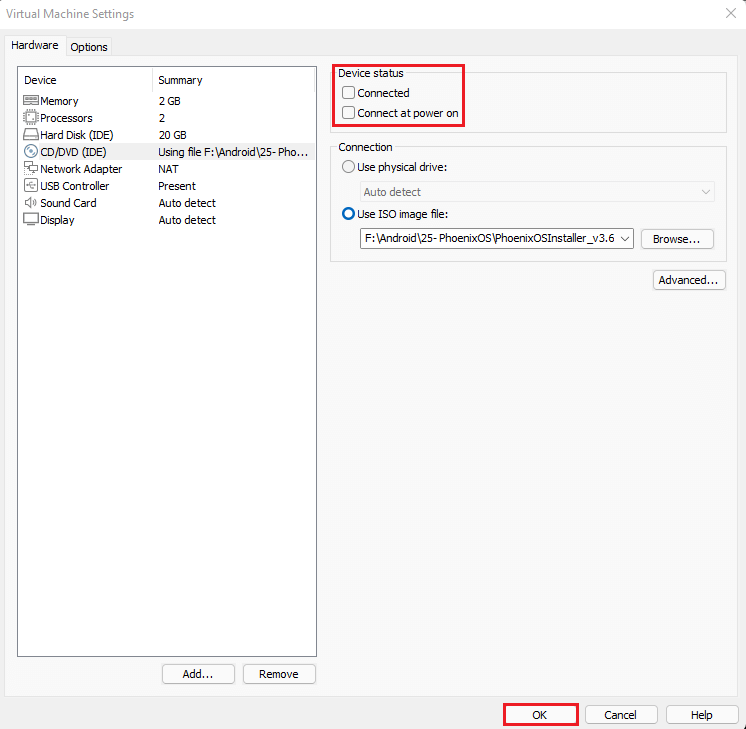
Before rebooting Phoenix OS you need to remove the ISO file.

In the virtual machine settings, select CD/DVD and then deselect device status. Click ok
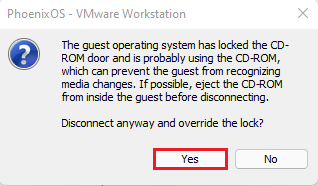
Select yes.
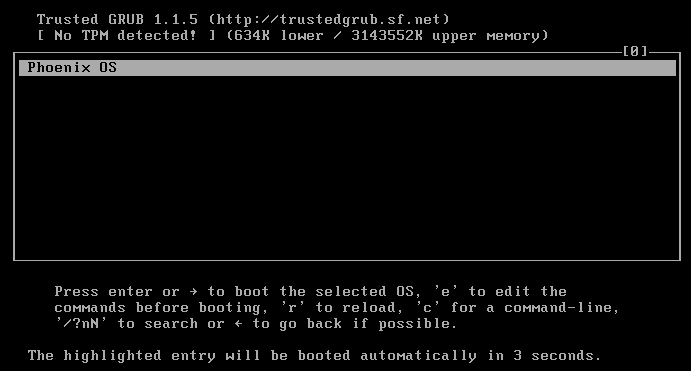
Now reboot Phoenix OS.
Phoenix OS Screen comes up.
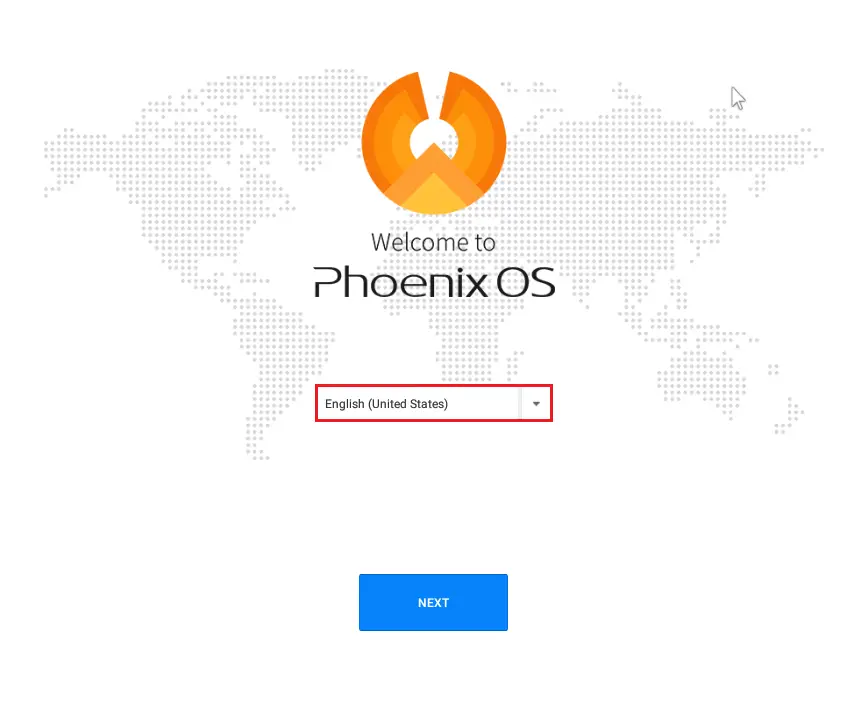
Welcome to Phoenix OS, select language, and then click Next.
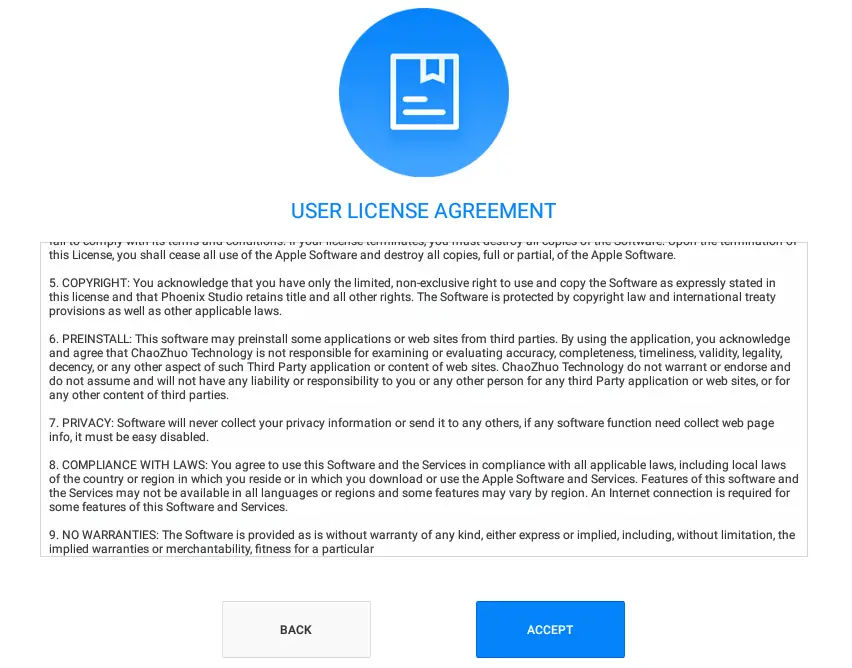
Select accept to accept the user license agreement.
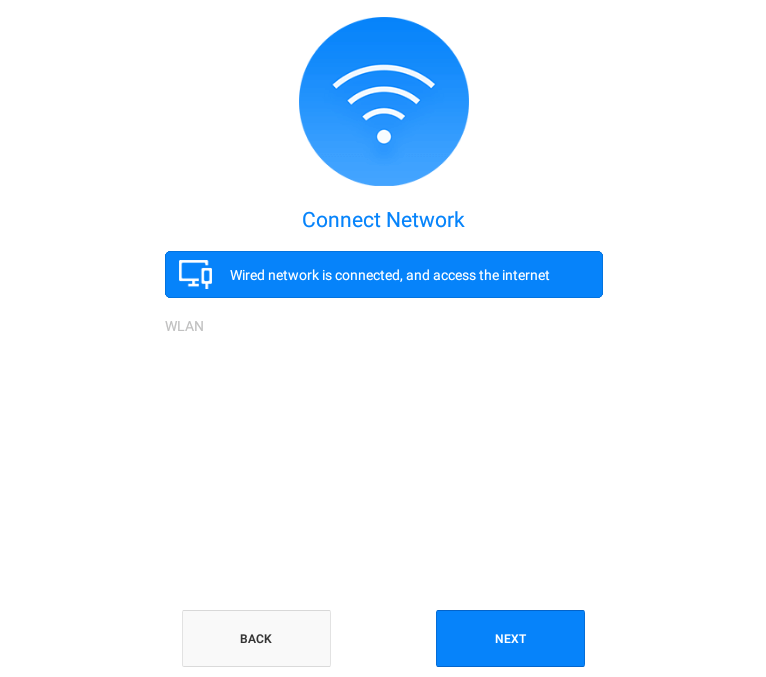
Network connection, so clicks next.
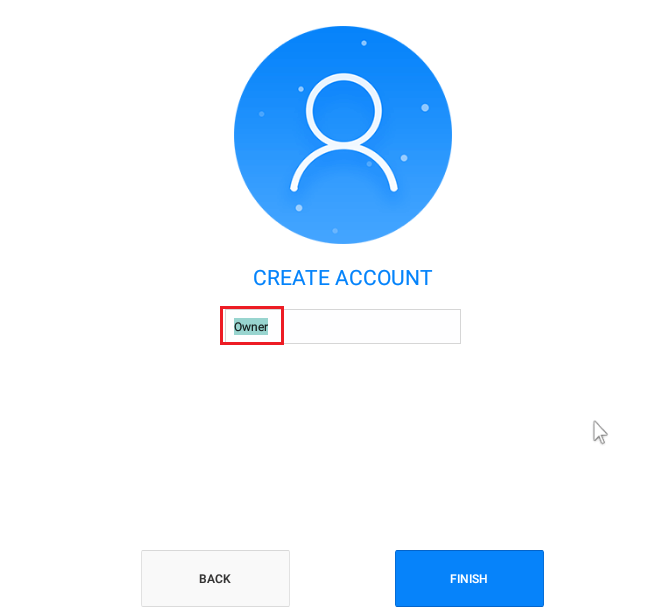
Type an account name and then click finish.
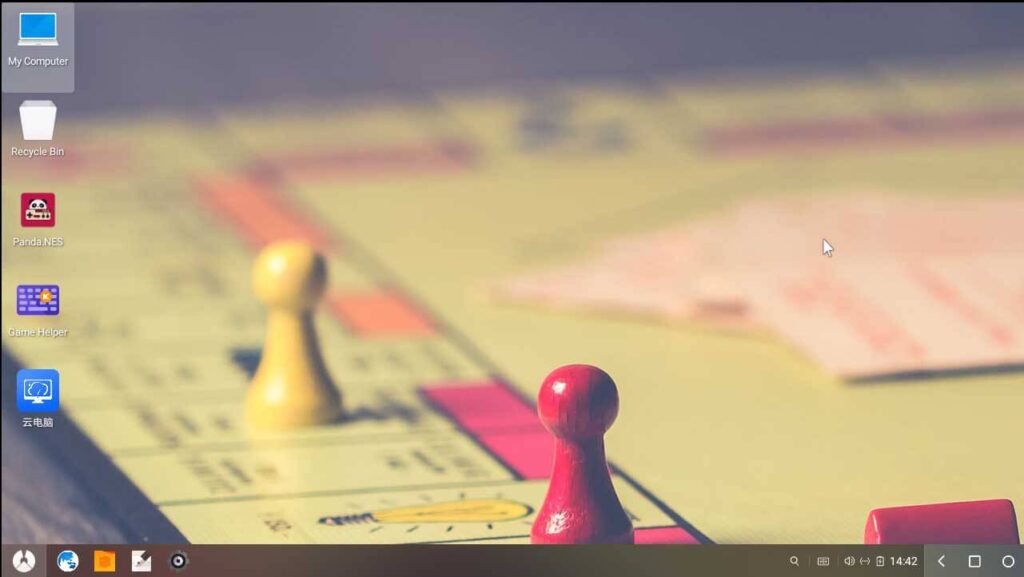
After finishing the setup.
Greetings! Very useful advice in this particular article! It’s the little changes which will make the most important changes. Thanks for sharing!|
Dear Miles
Thank you
I do agree with all the ideas you’ve presented in your post. They are very convincing and will definitely work. Still, the posts are too short for beginners. Could you please extend them a bit from next time? Thanks for the post.
Thank you I will see
I think other website proprietors should take this site as a model, very clean and great user genial style and design, as well as the content. You’re an expert in this topic!
Dear Pitch,
thank you for your kind comment, really I appreciate
Regards
Jamil
Howdy! Do you use Twitter? I’d like to follow you if that would be okay. I’m definitely enjoying your blog and look forward to new posts.
Thank you for your feedback here is my Twitter account xpertstec
Hello! Would you mind if I share your blog with my myspace group? There’s a lot of people that I think would really enjoy your content. Please let me know. Thanks
Yes you can share and by the way, thank you
Howdy very nice web site!! Guy .. Excellent .. Amazing .. I will bookmark your site and take the feeds also…I am satisfied to search out numerous useful information here in the publish, we want develop more techniques on this regard, thank you for sharing. . . . . .