How to Migrate Active Directory Server 2012 R2 to Server 2019
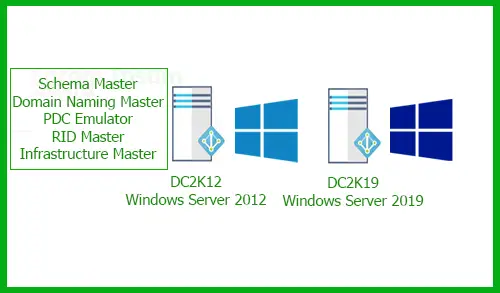
I have written this blog, to help you migrate your existing Active Directory Domain Controller which is running on Windows Server 2012 R2 name (DC2k12) to Windows Server 2019 name (DC2K19). So, let’s get started.
This is straight forward process, but first make sure you have test it 1st in your Test Environment.
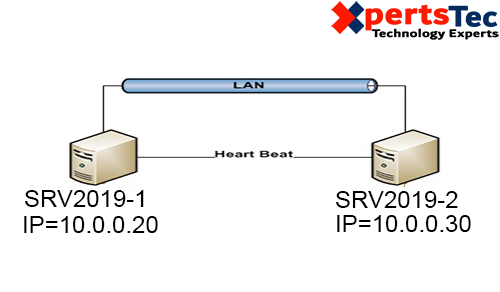
I am using two Servers & my previous domain Server (xpertstec.local).
First we need to install Additional domain controller
How to install Additional domain controller click here
Migrate Active Directory Server
Login to your additional domain controller (DC2K19)
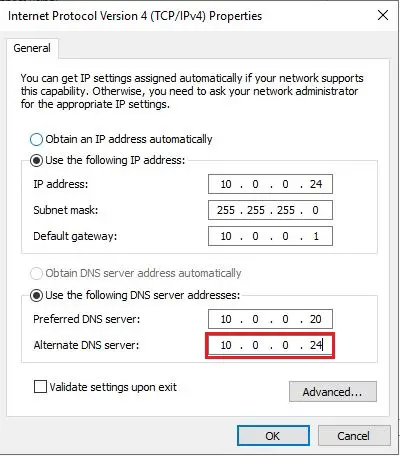
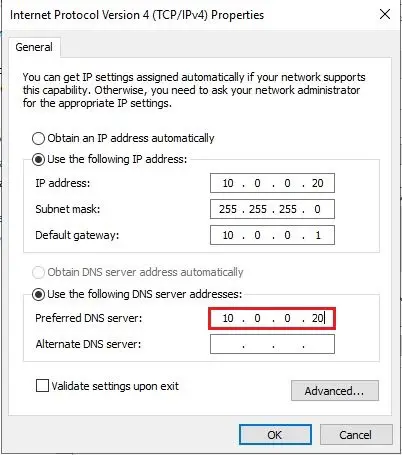
Change the alternative DNS server.
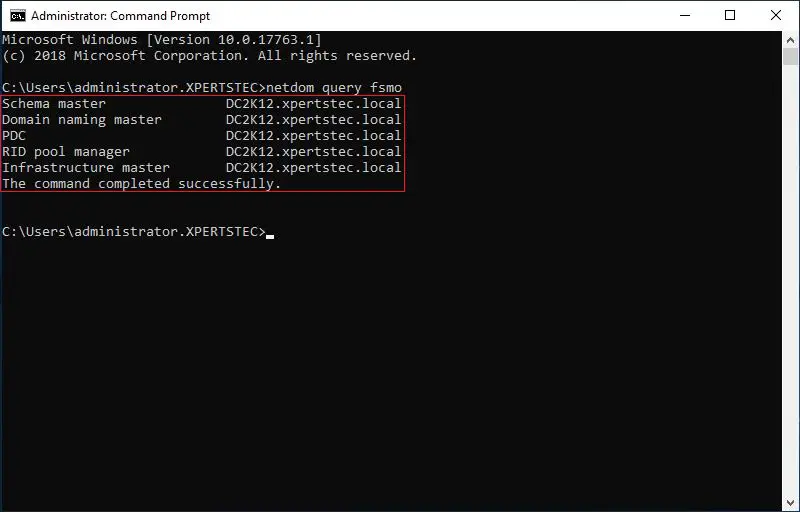
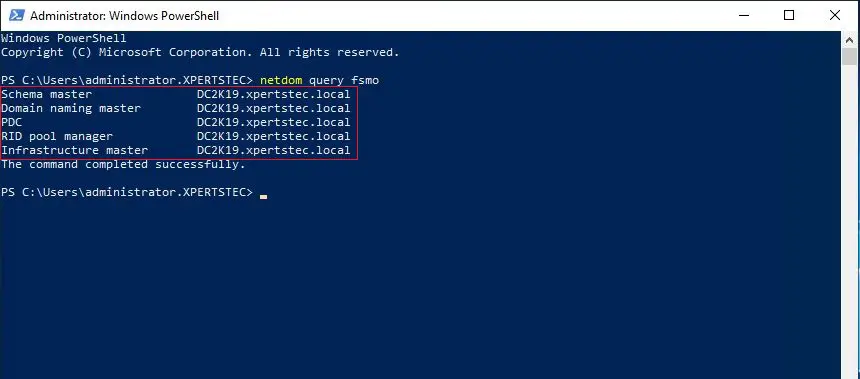
netdom query fsmo
Open the command prompt and type netdom query fsmo to check the Master Operation role.
Migrating FSMO (Flexible Single Master Operation) roles to Windows Server 2019 (DC2K19).
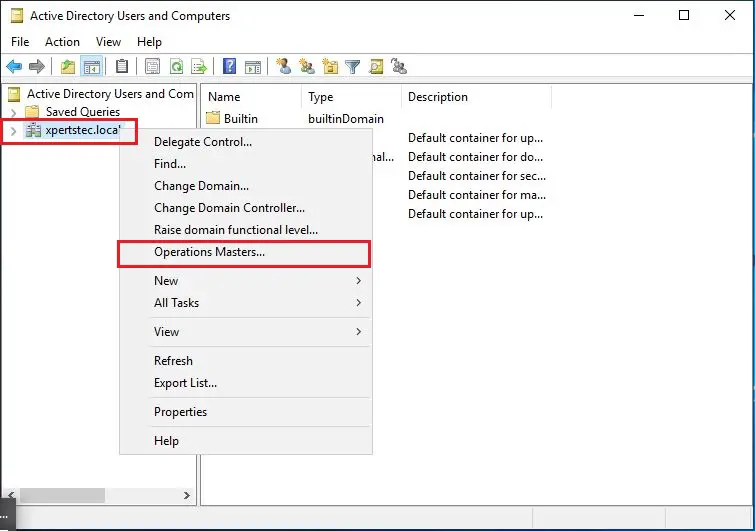
1- Open active directory users and computers console. Right-click your local domain (xpertstec.local) and then click Operations Masters.
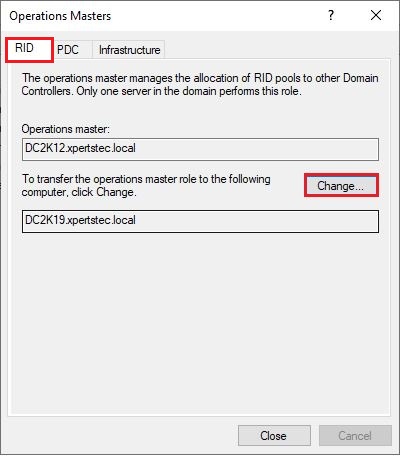
2- Select RID tab and then click Change.
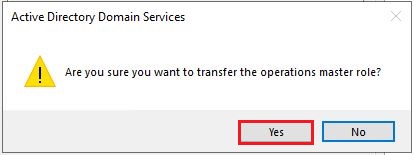
3- When you are asked for confirmation, click yes.
4- Click OK.
5- Select PDC tab and then click Change.
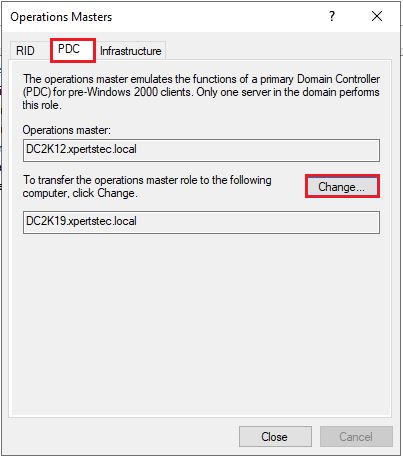
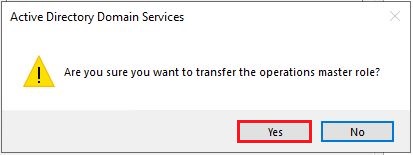
6- When you are asked for confirmation, click Yes.
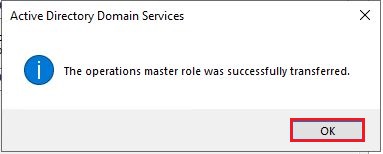
7- Click OK.

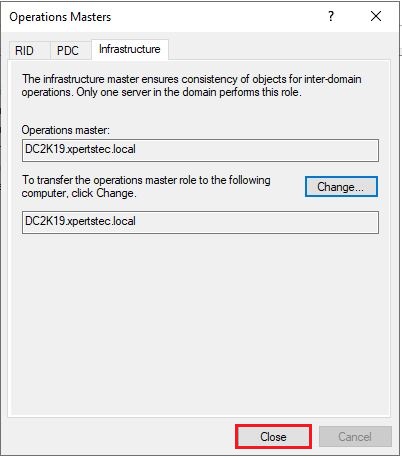
8- Select Infrastructure tab and then click Change.
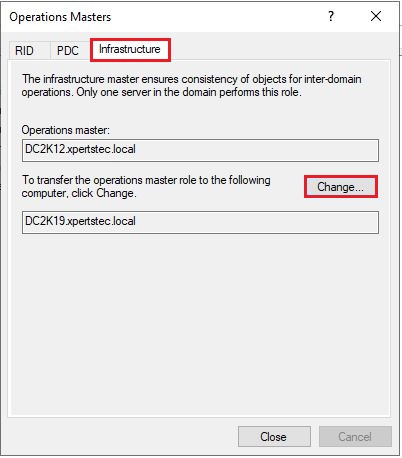
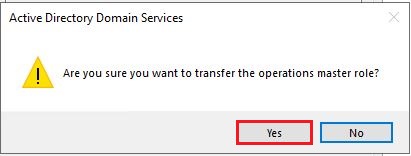
9- When you are asked for confirmation, click Yes.
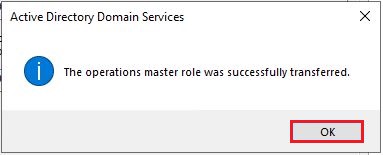
10- Click OK.
11- Select close.
Change Active Directory Domain Controller.
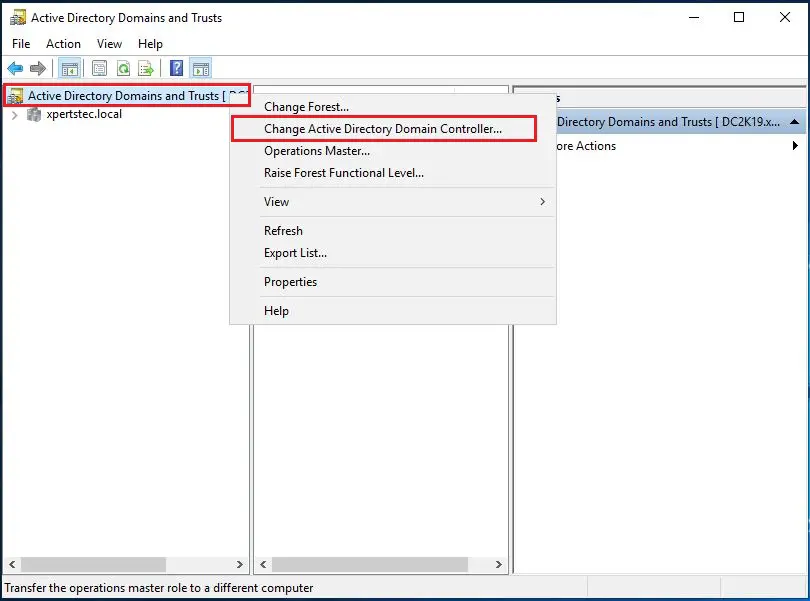
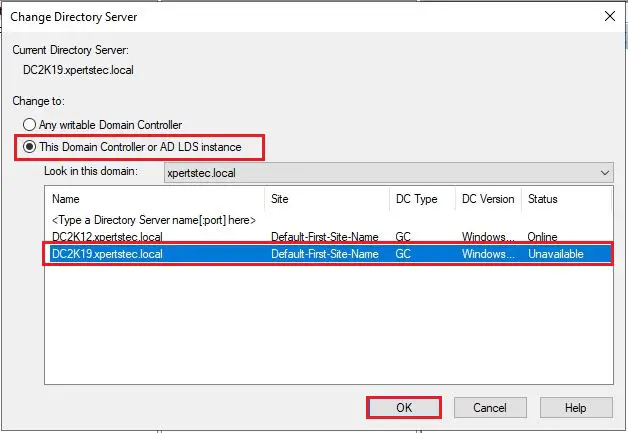
1- Still on our DC2K12.xpertstec.local server, open Active Directory Domain and Trusts console, right-click Active Directory Domain and Trusts, and then click Change Active Directory Domain Controller.
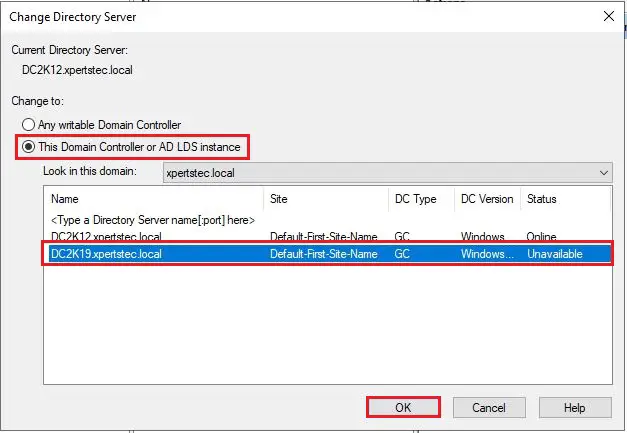
2- On the Change Directory Server interface, click This Domain Controller or AD LDS instance and then choose your new Windows Server 2019 which is DC2K19.xpertstec.local, and then click OK.
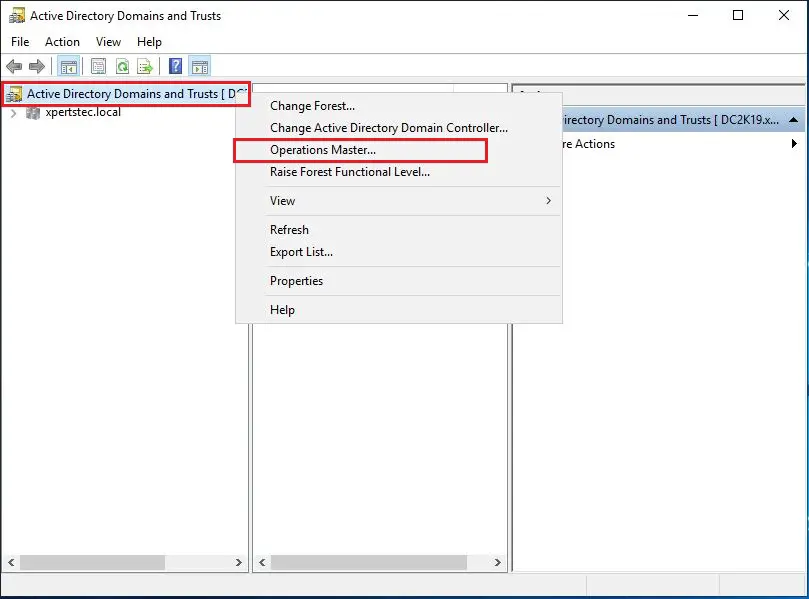
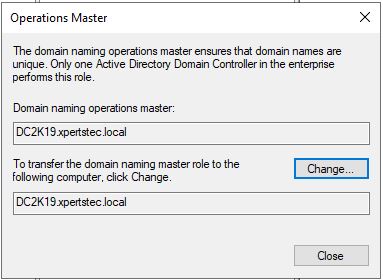
3- In the Active Directory Domains and Trusts interface, right-click Active Directory Domains and Trusts found in the folder tree and then select Operations Manager.
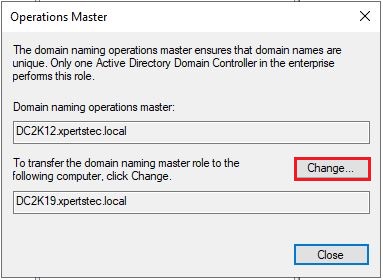
4- In the Operations Master interface, select Change to transfer the domain naming master role to the Windows Server 2019 (DC2K19).
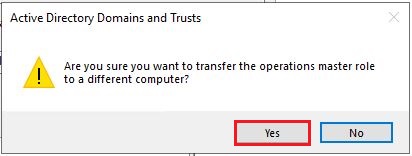
5- Click Yes.
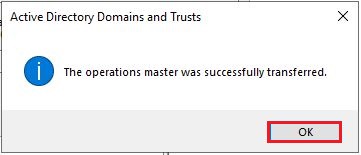
6- Click OK
7- In the Operation Master interface, verify that Domain naming operations master is now transferred to the DC2K19.xpertstec.local server.
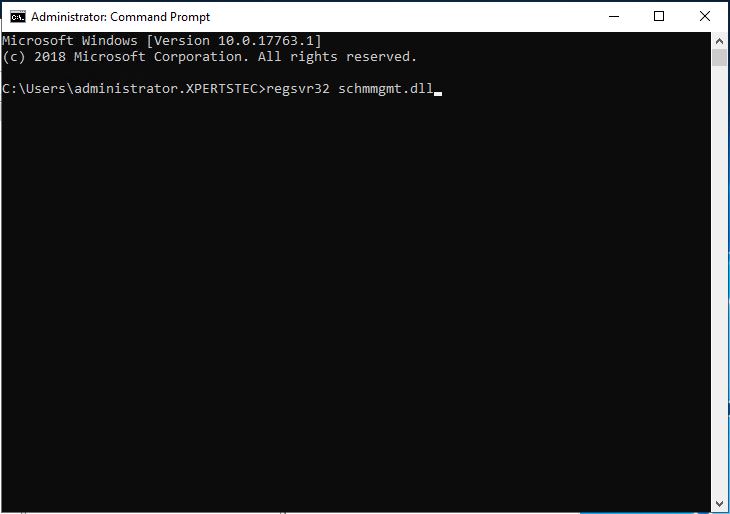
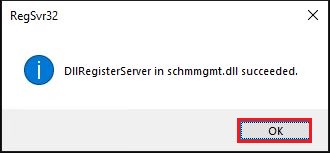
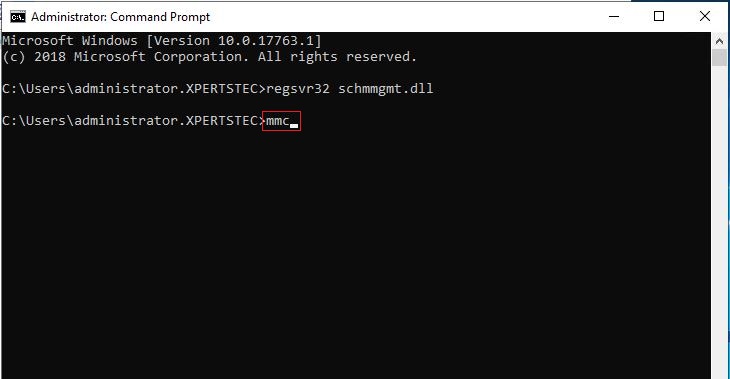
In the DC2K19.xpertstec.local server, open Command Prompt and then type regsvr32 schmmgmt.dll to change the Schema Master.
Click OK.
How to Change Schema Master Role
Migrate Active Directory Server
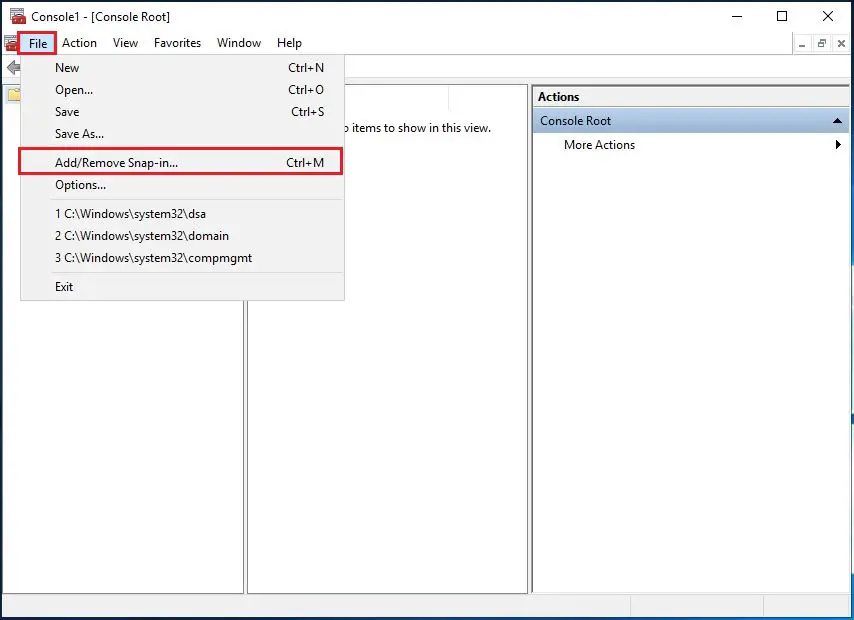
1- Now we need to change Schema Master, on the DC2K19.xpertstec.local server. Type MMC and hit enter.
2- Select File and then click Add/Remove Snap-in.
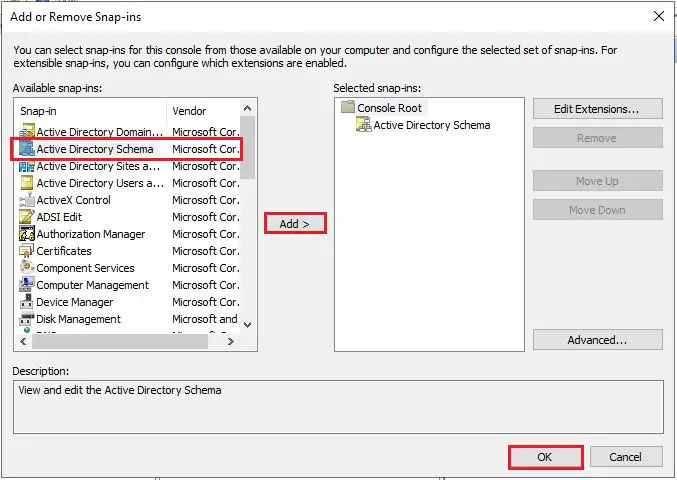
3- Add or Remove Snap-ins interface, choose Active Directory Schema, select Add and then click OK.
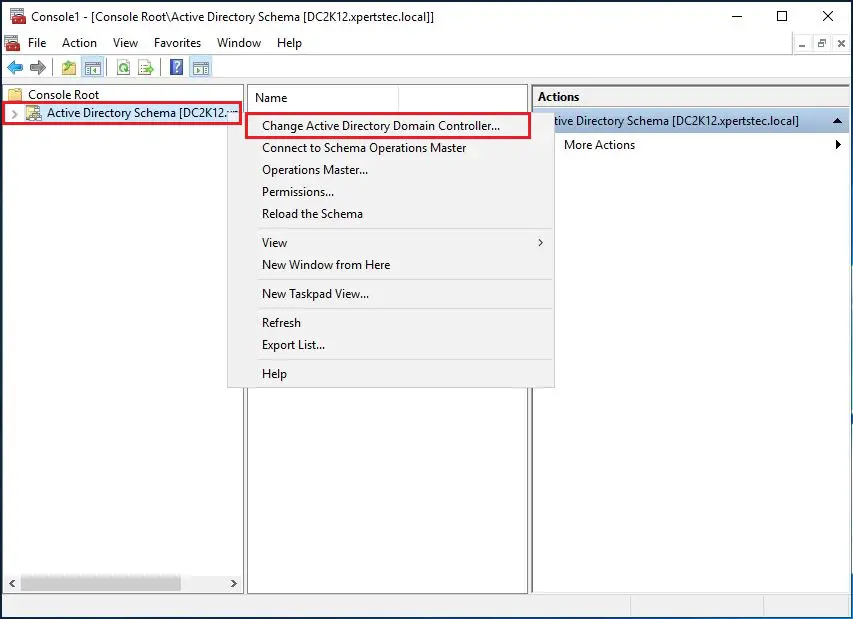
4- In the Console, right-click Active Directory Schema and then click Change Active Directory Domain Controller.
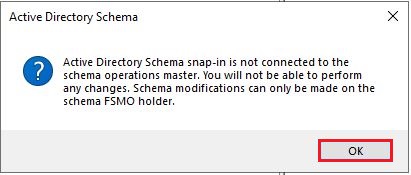
5- In the Change Directory Server interface, click This Domain Controller or AD LDS instance, click DC2K19.xpertstec.local server and then click OK.
6- In the Active Directory Schema box just click OK to proceed.
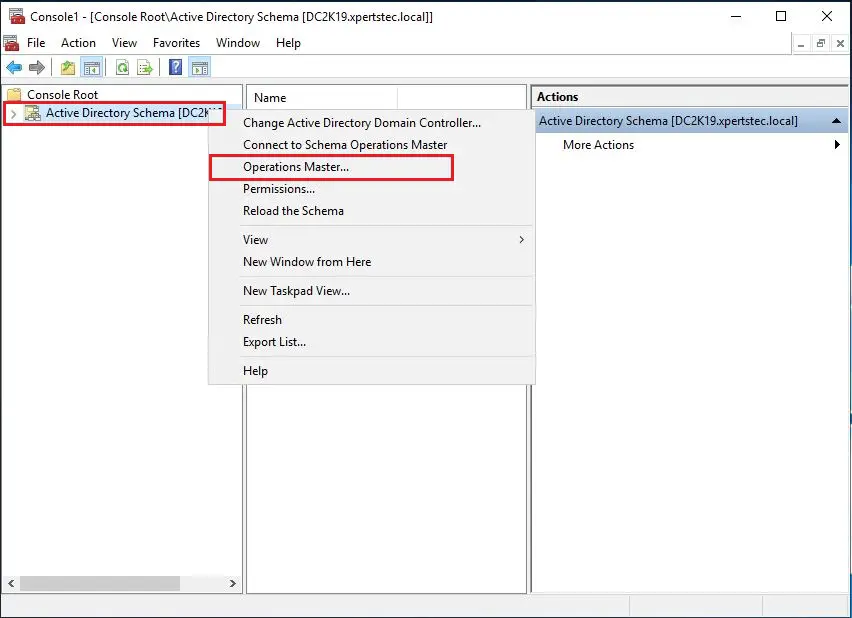
7- In the Console, right click Active Directory Schema and select Operations Master.
8- Change the Schema Master interface, choose the Change button to transfer the schema master role to the Windows Server 2019 (DC2K19.xpertstec.local).
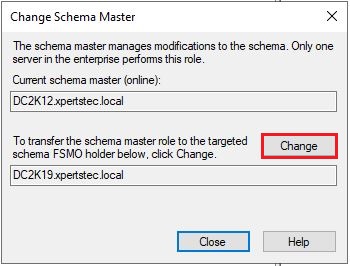
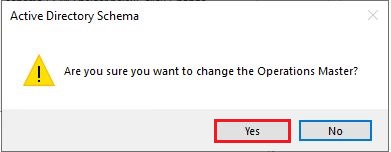
9- Click Yes.
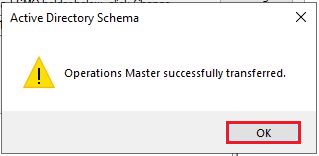
10- Click OK to proceed.
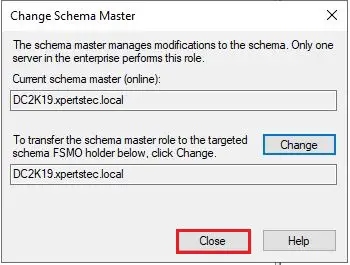
11- Affirm the current schema master is now DC2K19.xpertstec.local, and then click Close.
Transfer FSMO roles
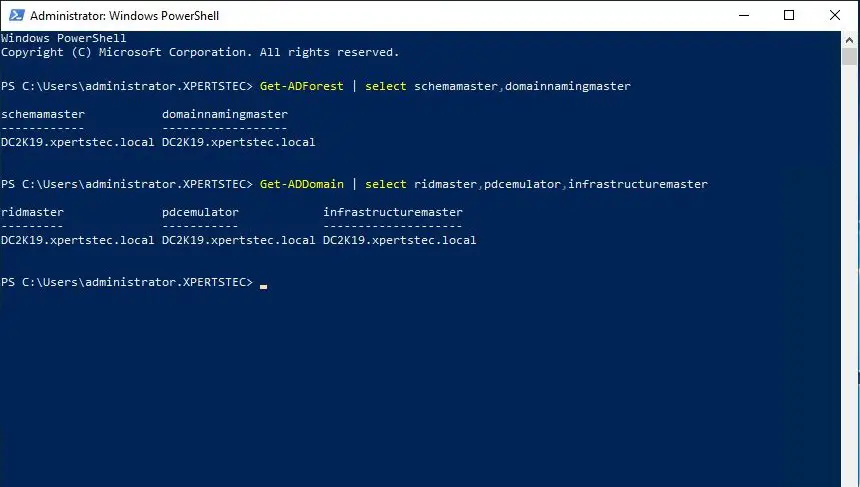
Open PowerShell, and then type netdom query fsmo command. Check if all the five FSMO roles have been transferred to Active Directory Domain Controller Windows Server 2019.
POWERSHELL (TRANSFER FSMO ROLES)
There are a lot of steps involved to accomplish fsmo transfer to a different Domain Controller. Note: that there is not only 1 way to accomplish this. Open Powershell as admin and type in netdom query fsmo or if you like PowerShell way Get-ADForest | choose schemamaster,domainnamingmaster –> For FOREST WIDE ROLES and Get-ADDomain | select ridmaster,pdcemulator,infrastructuremaster –> for Domain wide roles.
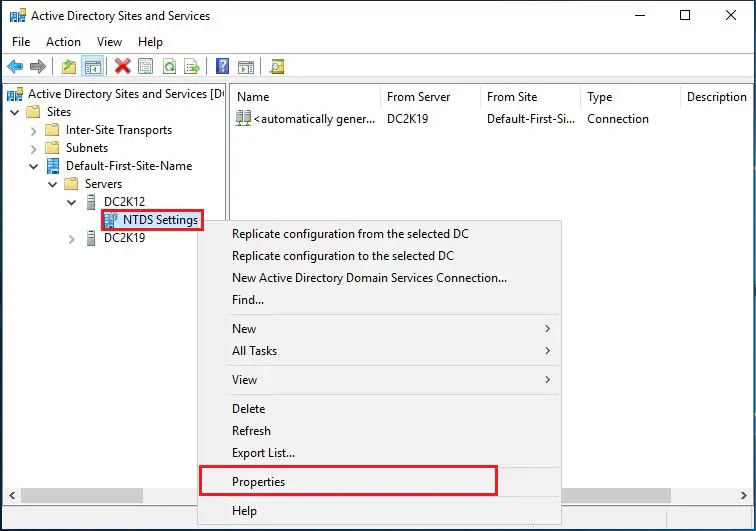
Change Global Catalog
Open Active Directory Sites and Services, expand Sites, expand Default-first-site-name, expand DC2K12.
1- Right-click on NTDS Settings and then select properties.
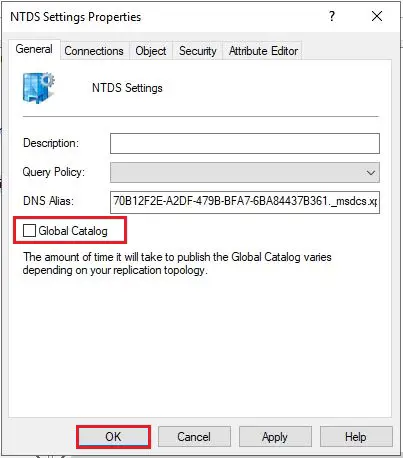
2- Untick Global Catalog checkbox and then click ok.
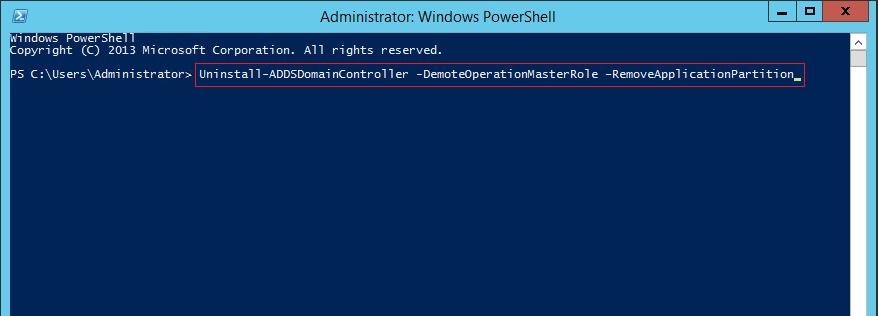
How to uninstall Active Directory Domain Services from Windows Server 2012 R2.
Log in to Windows Server 2012 R2 server with domain administrator credentials.
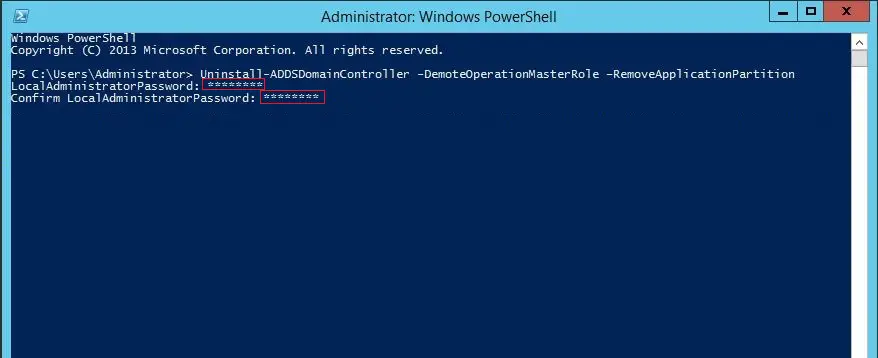
1- Open PowerShell and type below command then hit enter.
Uninstall-ADDSDomainController -DemoteOperationMasterRole –RemoveApplicationPartition
2- Insert local administrator password, confirm password and then press enter.
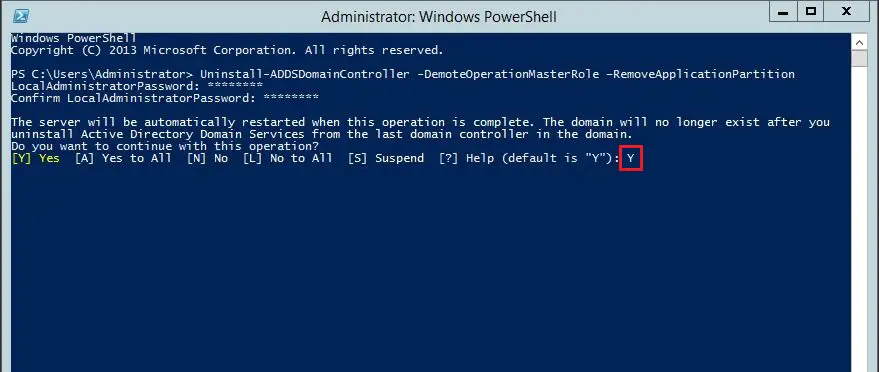
3- Type Y and press enter.
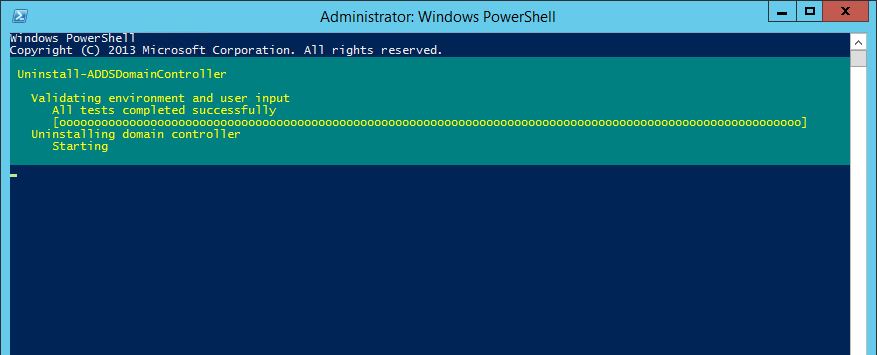
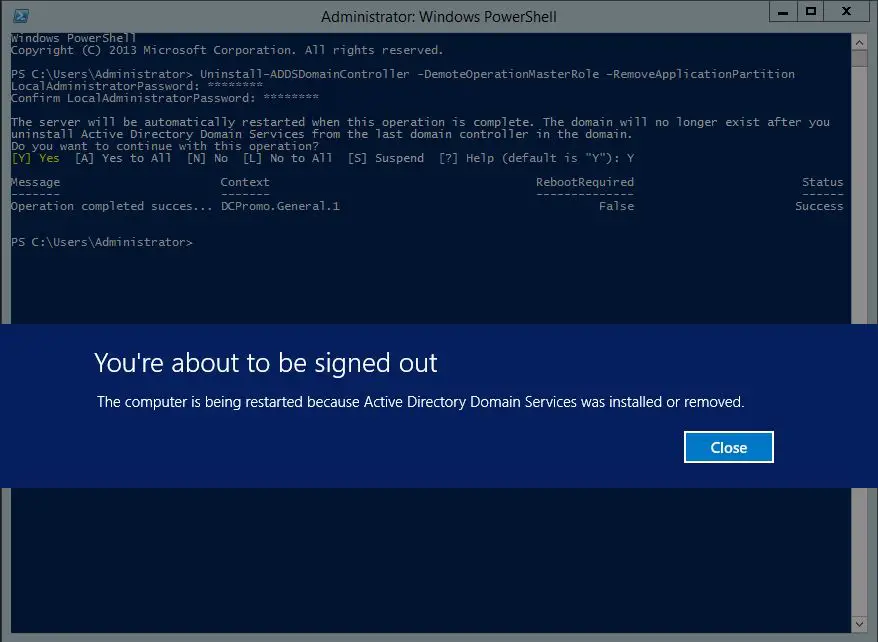
4- Be patient. It will complete in few minutes.
5- The server will be rebooted automatically.
DOMAIN / FOREST FUNCTIONAL LEVEL
What you want to know about DFL and FFL is that they epitomize advanced features. That is accessible with the newest software that can be used in the domain. Generally, when you administer a large AD environment we will notice that you have various Windows OS versions on your DCs. If you have DCs that are server 2008 R2, 2012 and you install server 2016 you will not be able to use the latest advanced features. That comes with server 2016 until we upgrade all our DC’s to server 2016 and raise the functional level. AD features are not backward compatible with AD domain controllers on the earliest versions of Windows Server so if you are running Server 2008 R2 and you install server 2016. You will be limited to those features that come with Server 2008 R2. Functional levels can be used to determine which DCs are allowed to run in our environmental. For example, if you raise the functional level to server 2016 we will not be able to install server 2012 R2 DC in our domain. You can’t set the DFL (domain functional level) to a value that is lower than the FFL (forest functional level), but we can set it to a value that is similar to or higher than the forest functional level.
How to check the DFL – FFL you can use GUI or Powershell.
1- GUI, Right-click on your domain and then select properties.
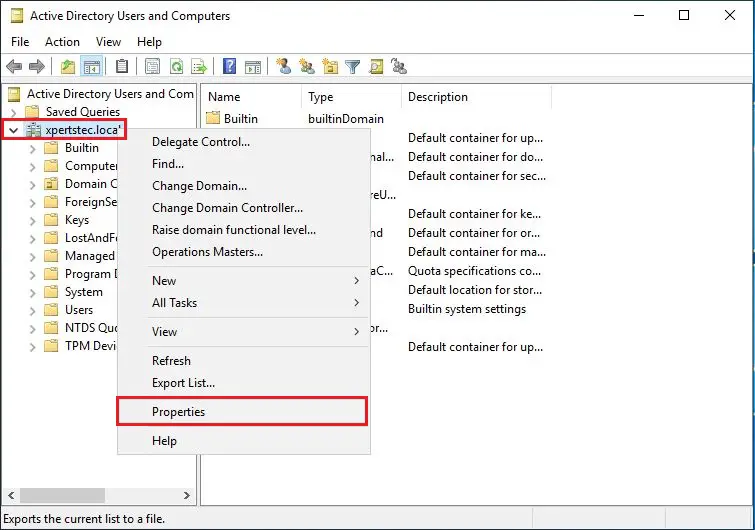
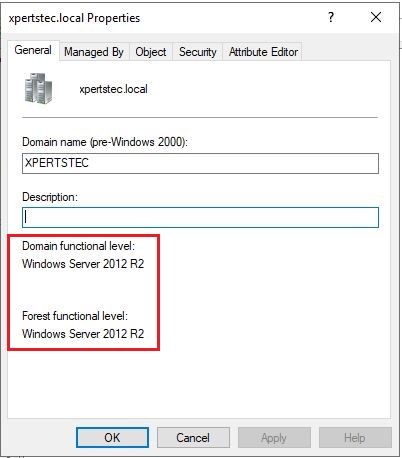
2- Now you can see domain and forest functional level.
RAISE DOMAIN AND FOREST FUNCTIONAL LEVEL
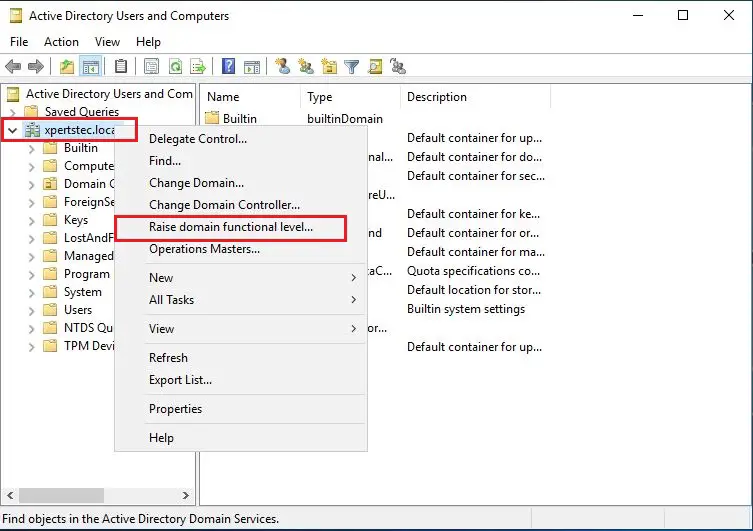
1- In ADUC right-click on the your domain and then select Raise DFL.
2- Select Windows Server 2016 so I am not able to raise it more than that but you comes here to raise domain functional level.
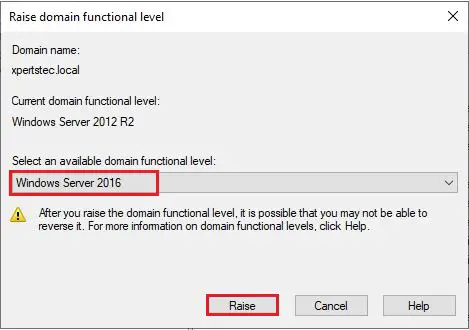
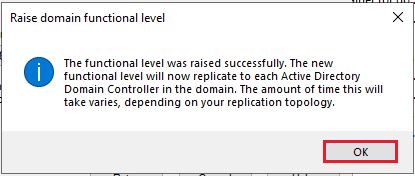
3- Click OK.
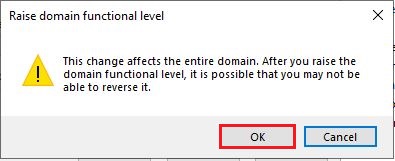
4- Click OK.
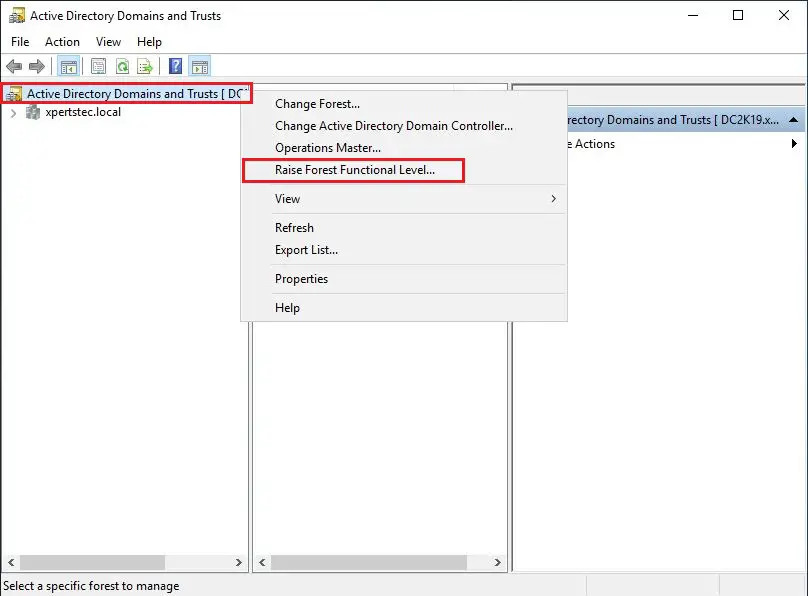
How to raise forest functional level.
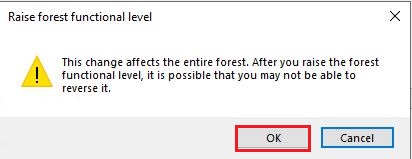
1- Open domains and trusts, Right click on active directory domain and trust and choose raise FFL.
2- Select raise.
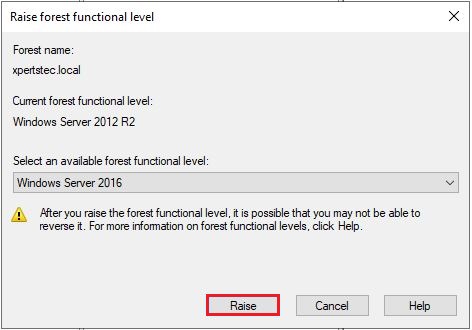
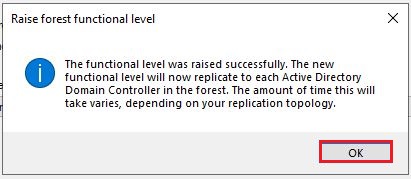
3- Click OK.
4- Click OK.
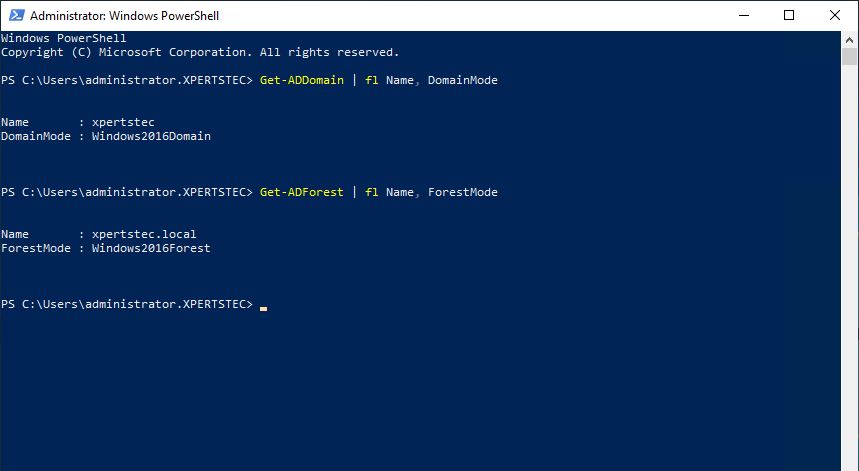
How to confirm the domain and forest functional levels.
Get-ADDomain | fl Name, DomainMode
Get-ADForest | fl Name, ForestMode
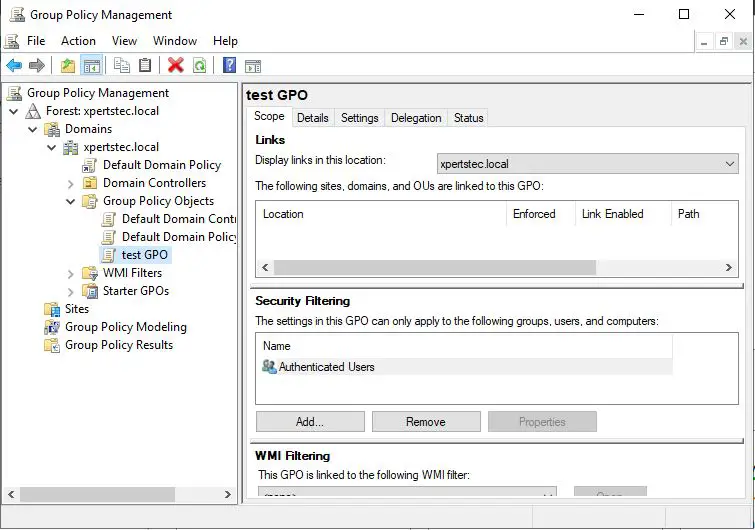
GPO already migrate to new Domain Controller (DC2K19).
Now replace your DNS IP address.
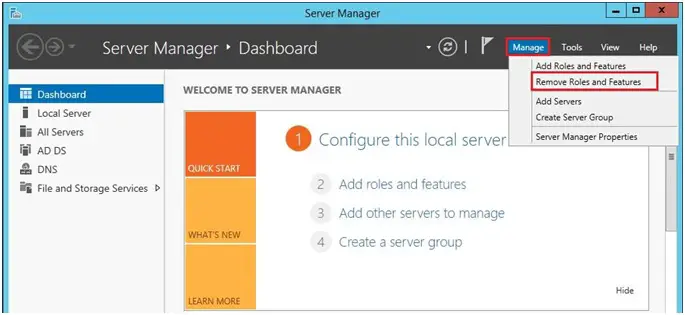
How to remove the active directory domain service in window server 2012 R2.
1- Open Server Manager and then select Dashboard.
Choose the Manage option and then choose to Remove Roles and features.
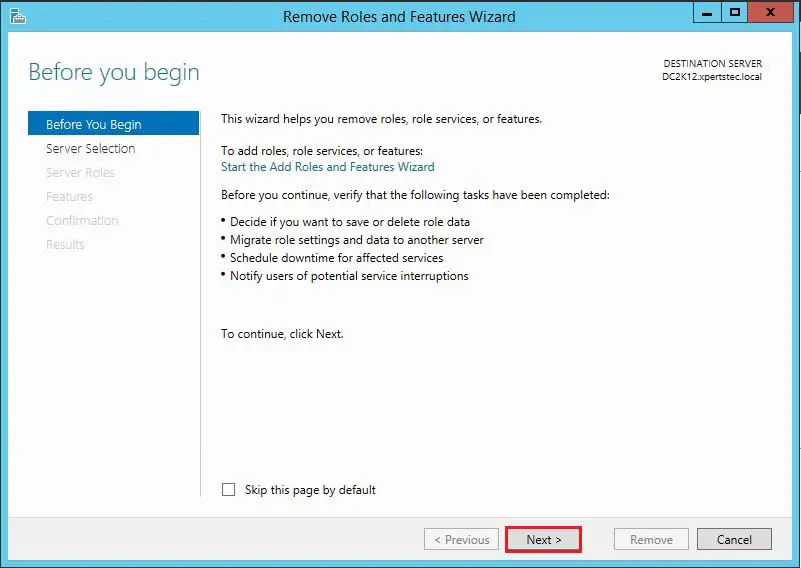
2- Click Next.
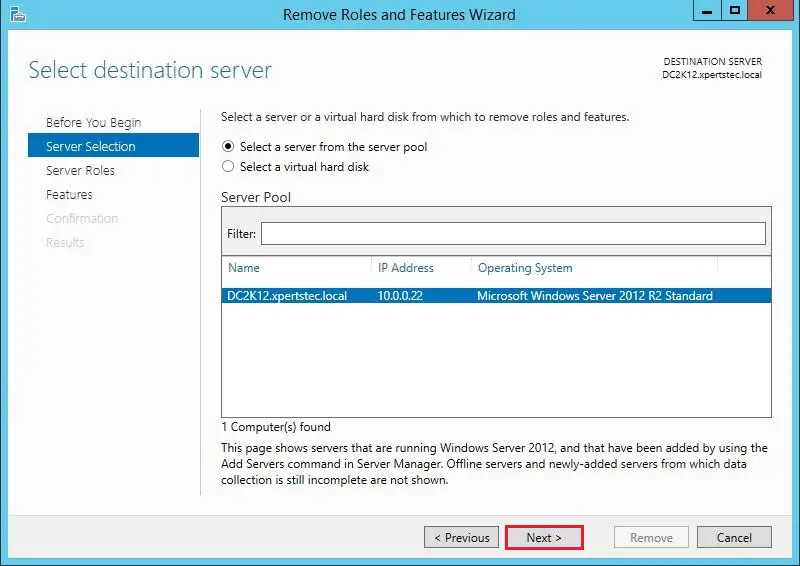
3- Select server and then click on next.
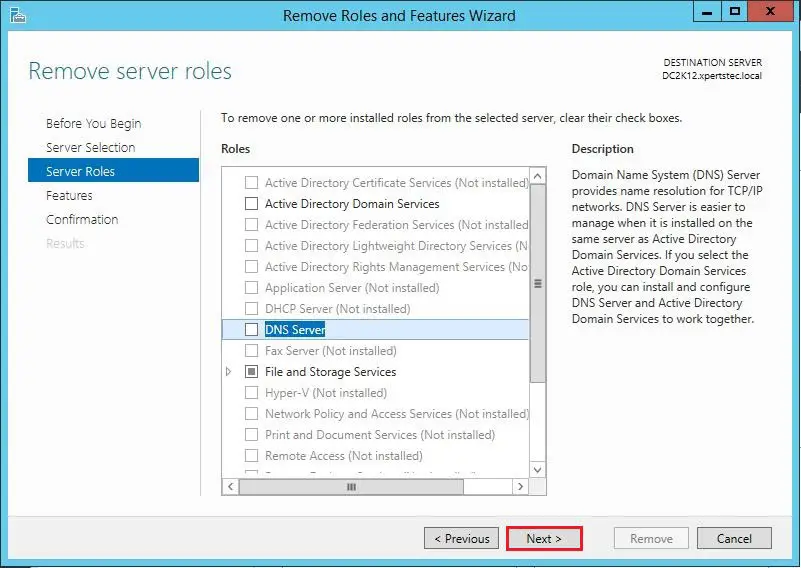
4- Uncheck Active Directory Domain Services box.
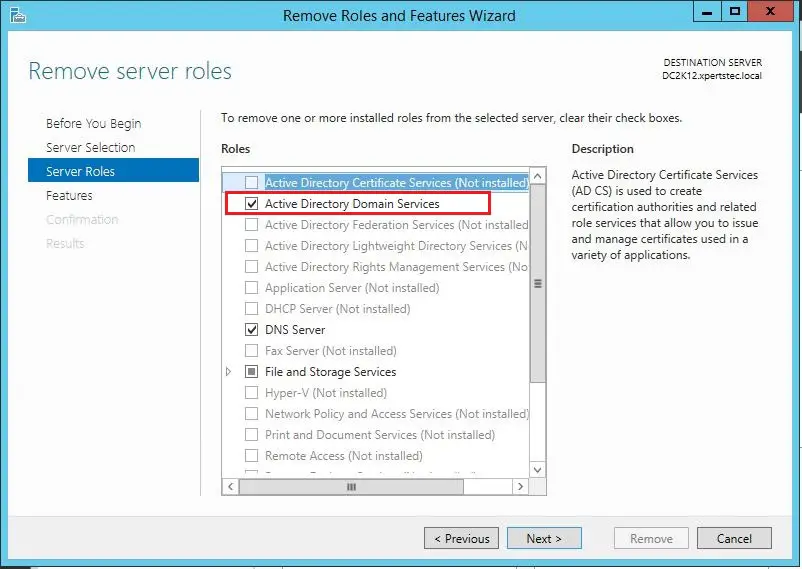
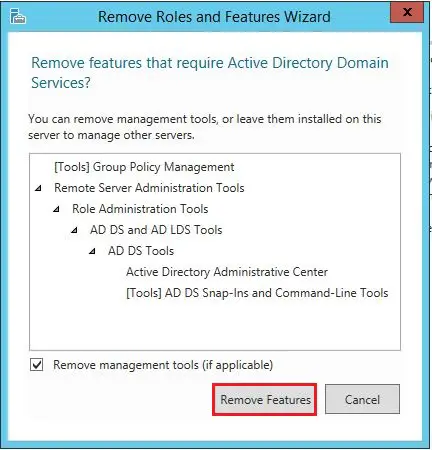
5- Select Remove Features.
6- Now Uncheck DNS Server role.
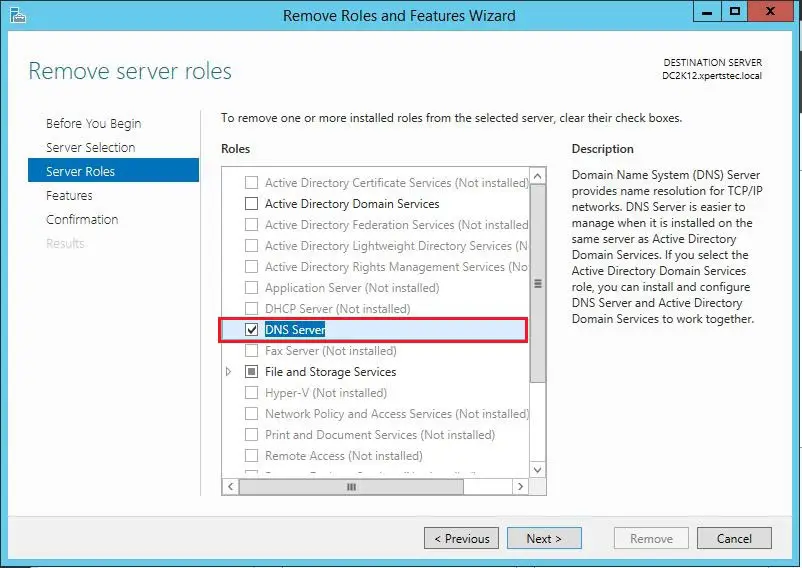
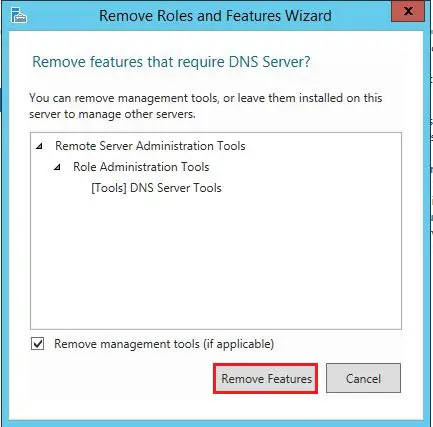
7- Select Remove Features.
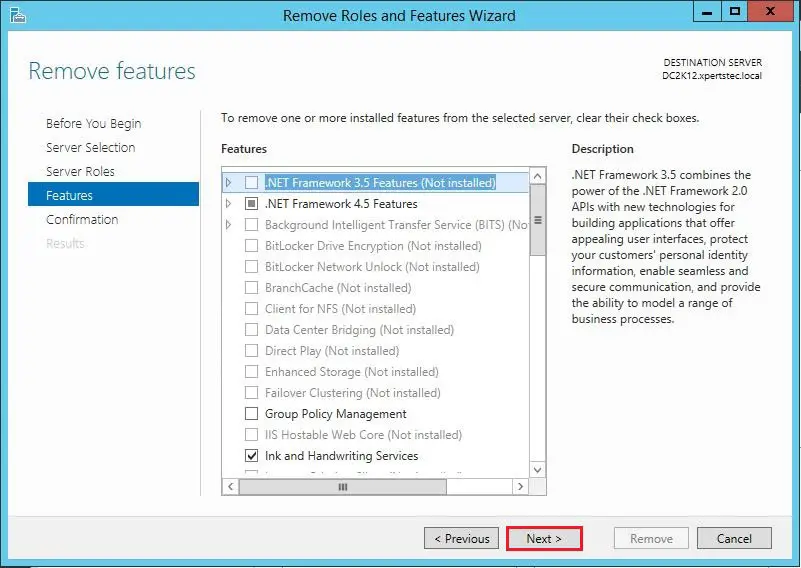
8- Click Next.
9- Click Next
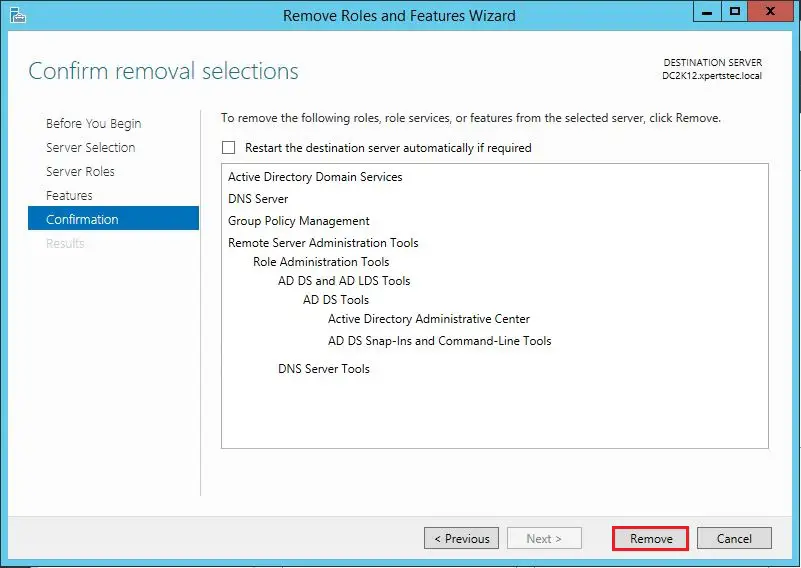
10- Confirm removal selections and then click Remove.
11- Click Close.
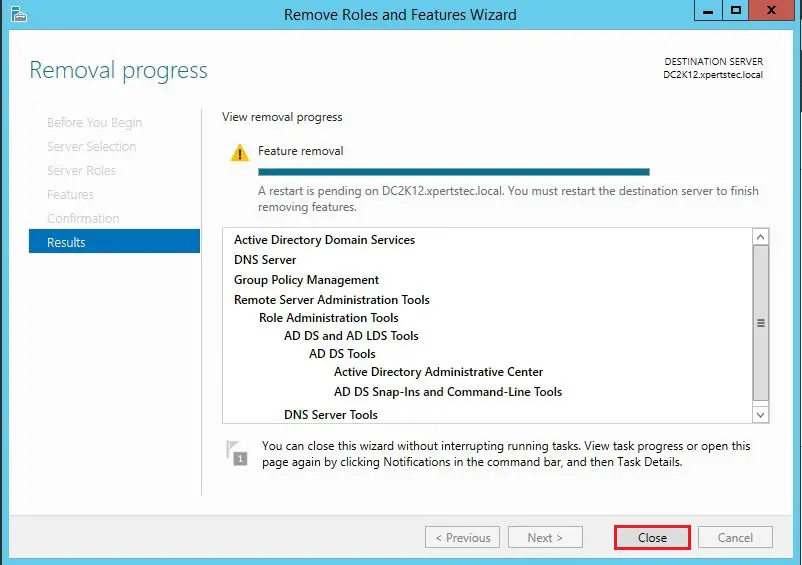
After restarting server 2012 please join it to the workgroup.
For more details please click here