In this blog, we’ll move the roles on our Server2008 (Windows Server 2008 R2 SP1) Active Directory Migration server to Server2016 (new Windows Server 2016 Standard)
Before proceeding to migration an Active Directory from Windows Server 2008 R2 to Windows Server 2016, you want to first install Windows Server 2016 on a replacement machine which can then be promoted to Active Directory Server 2016.
Migration Server 2008 to Server 2016
1- Install Windows Server 2016.
How to Install Windows Server 2016 so, Click here
2- Rename Windows Server 2016.
How to rename Windows Server 2016 so, Click here
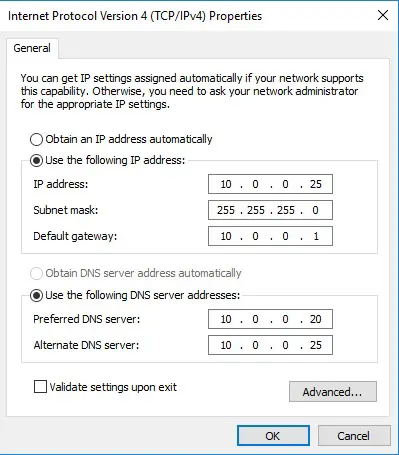
3- Configure the IP Addresses in Server 2016.
The next step is to configure the IP and therefore the DNS Addresses on the new server.
Windows Server 2008 R2 Windows Server 2016
Computer Name: Server2008 Server2016
Domain Name: xpertstec.local
IP Address (Static): 10.0.0.20 10.0.0.25
Subnet Mask: 255.255.255.0 255.255.255.0
Default Gateway: 10.0.0.1 10.0.0.1
Preferred DNS Server: 10.0.0.20 10.0.0.20
4- First, let’s have a glance at my environment. we have a domain controller xpertstec.local which is installed on Windows Server 2008 R2.

Raise the Forest Functional Level and Domain Functional Levels in Windows Server 2008 R2.
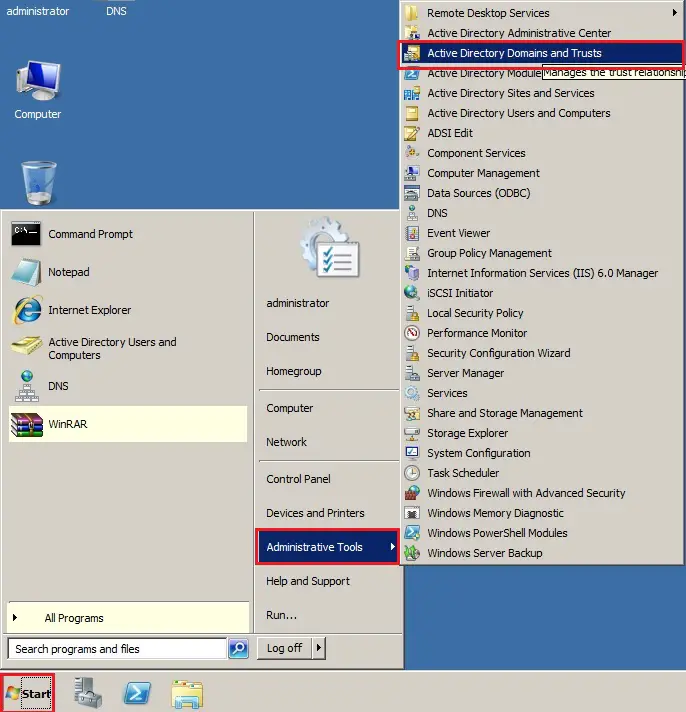
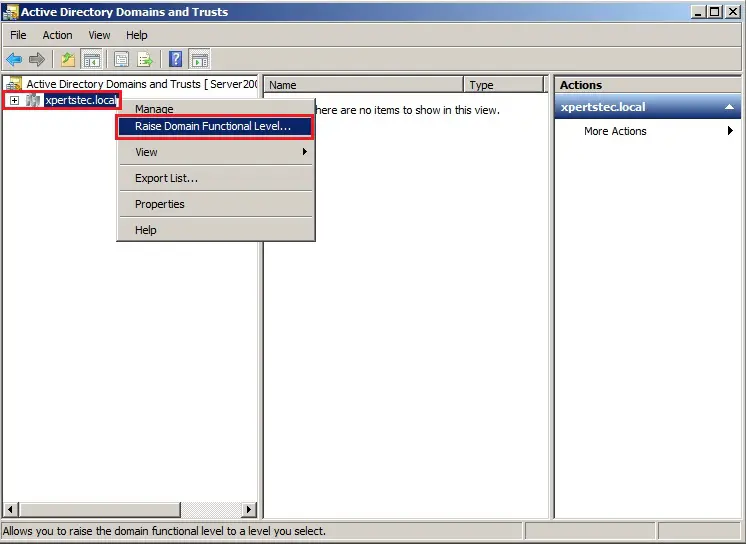
5- Click Start button, select Administrative Tools and then Active Directory Domains and Trusts.
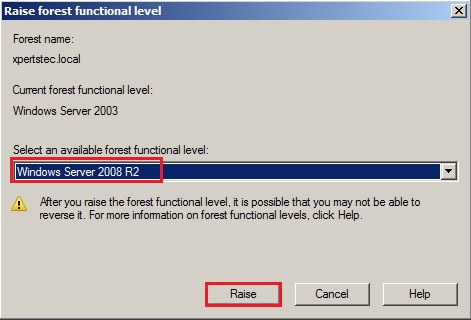
6- Right click Active Directory Domains and Trusts and then choose Raise Forest Functional Level.

7- Select an available forest functional level Windows Server 2008 R2 and then click on Raise.
8- Click OK.
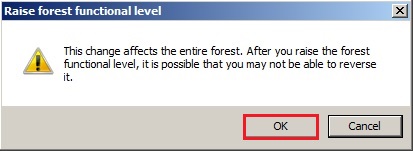
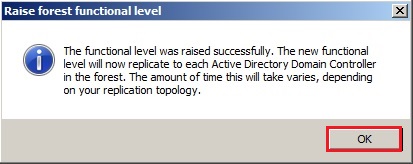
9- The functional level was raised successfully so, click on ok.
Now Raising the Function Level of the Domain
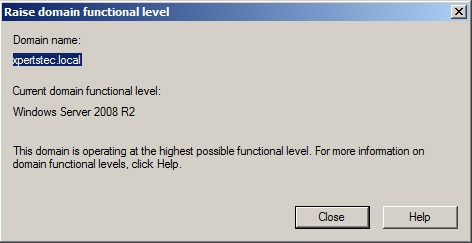
10- Right-click on the name, (xpertstec.local) and then click on Raise Domain Functional Level.
11- It has already got raised the Domain Functional Level to Windows Server 2008 R2 so, click on Close.
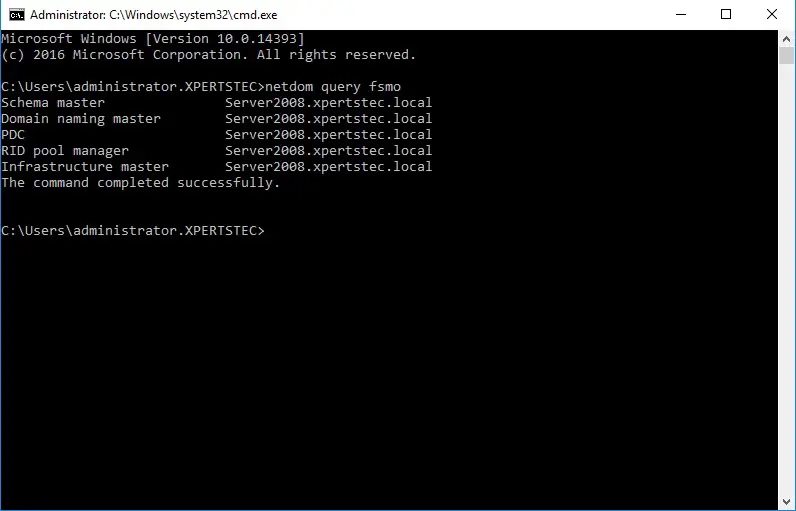
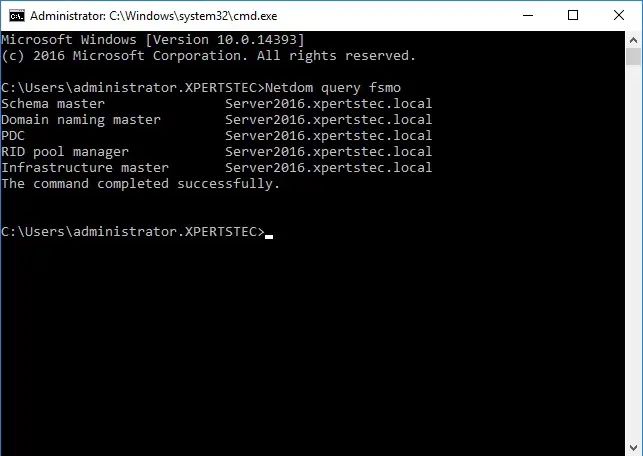
12- Type the Netdom query fsmo command to see which server has installed FSMO roles.
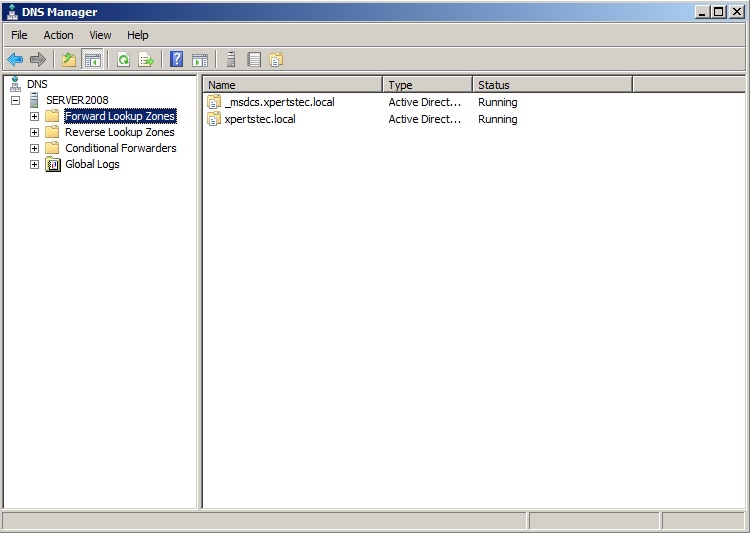
13- DNS Manager screen.
14- The IP address of our Active Directory Domain Controller Windows Server 2008 R2.

15- The IP address of the Windows Server 2016.
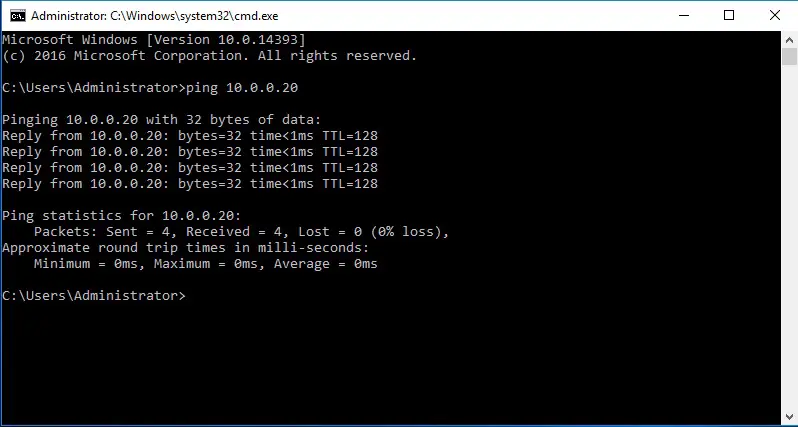
16- On our Windows Server 2016 server so, we will ping and access our Domain Controller server
Join Windows Server 2016 to an Active Directory Domain Controller.
17- The thanks to Join Windows Server 2016 to an Active Directory Domain, Click here
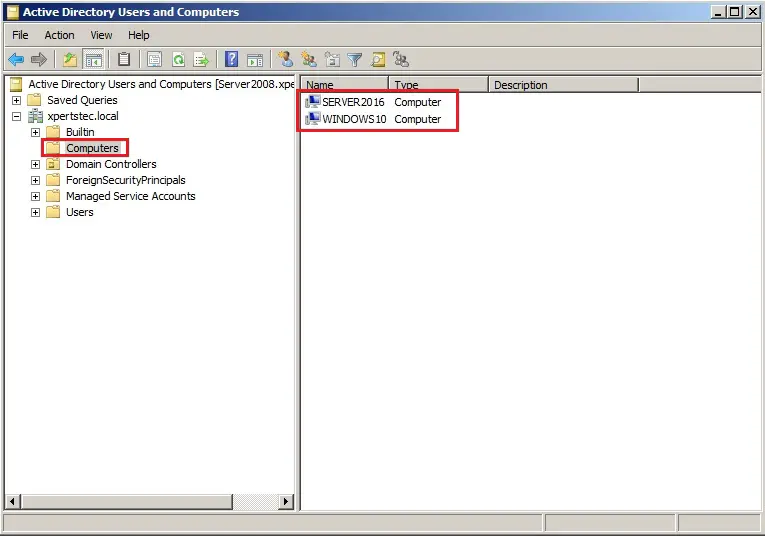
18- Our server2016 has successfully joined the domain. Server2008 on our AD server so, we will see the status within the Computers.
Migration Server 2008 to Server 2016
Now check in Windows Server 2016 with the domain administrator account.
19- Create an Additional Domain Controller (ADC) In Windows Server 2016.
How to Create an Additional Domain Controller (ADC) In Windows Server 2016, so please Click here
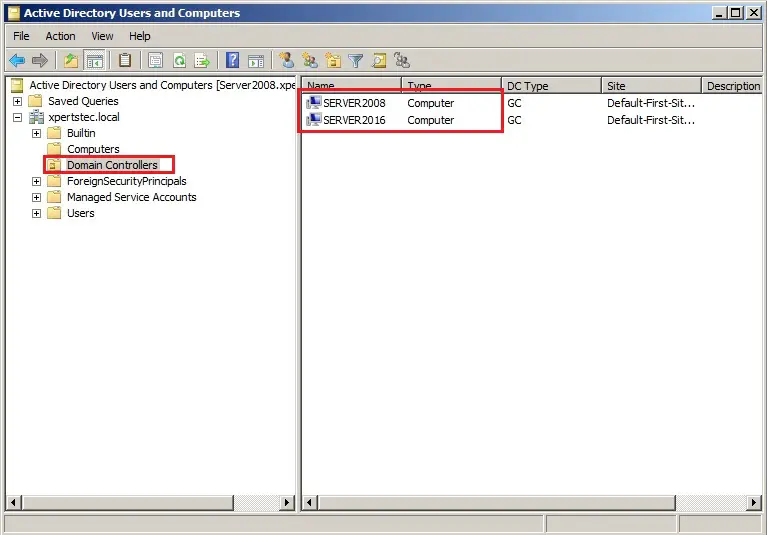
20- Now have a glance at my active directory Domain Controllers Server2008 so, we will now see that our server Server2016 is within the domain role.
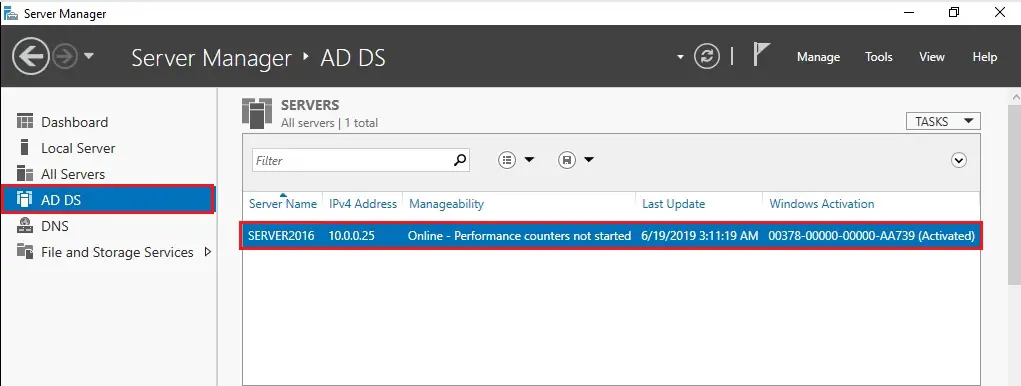
21- within the Server Manager, we will see the AD DS Roles.
22- within the Start menu, we will see shortcuts and management components for Active Directory management.

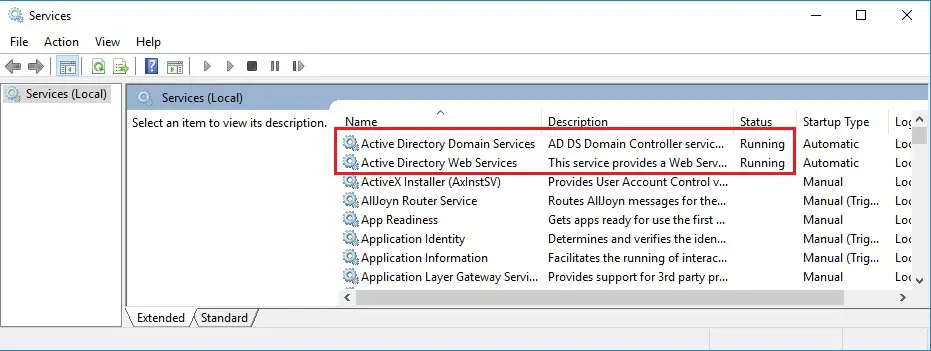
23- Our Active Directory services are running smoothly.
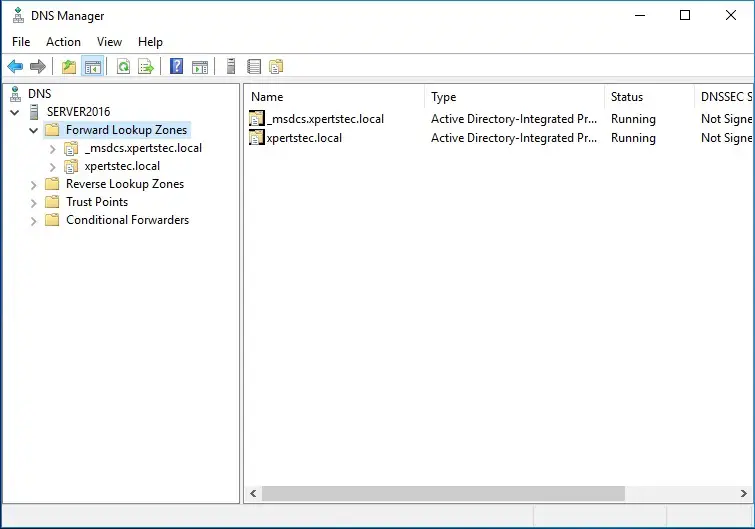
24- DNS Manager Screen.
25- In the Active Directory Sites and Services screen.
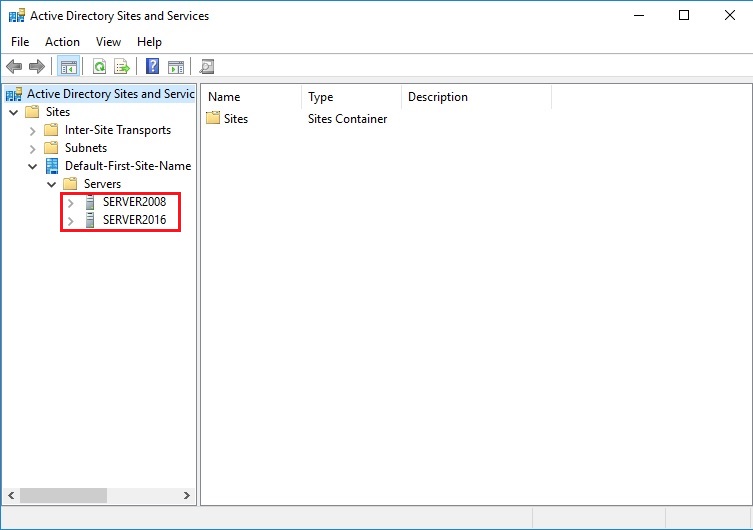
Transferring the Flexible Single Master Operations (FSMO) Role.
I have a Windows Server 2008 Domain Controller (server2008) and have a further Windows Server 2016 domain controller (Server2016). to finish the migration, we’d like to transfer 5 FSMO roles to the new domain controller.
- Schema Master
- Domain Naming Master
- PDC
- RID pool manager
- Infrastructure Master
26- To seek out which server is currently holding FSMO. so, run the subsequent command, netdom query fsmo
The FSMO roles are currently within the Windows Server 2008 R2 domain controller server name (server2008)

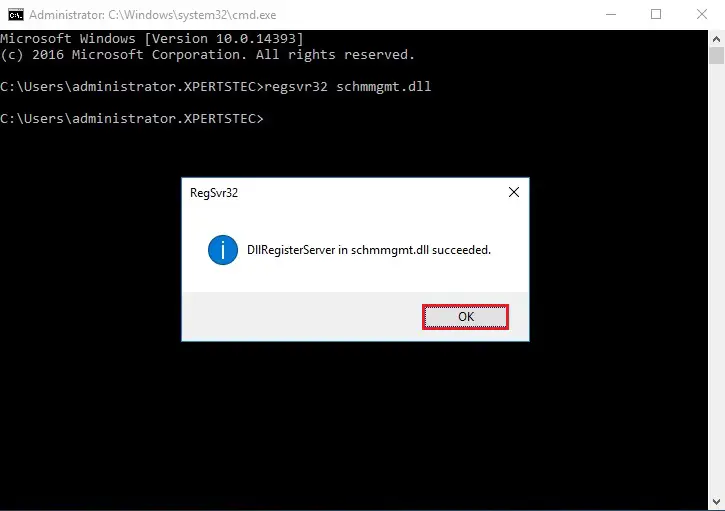
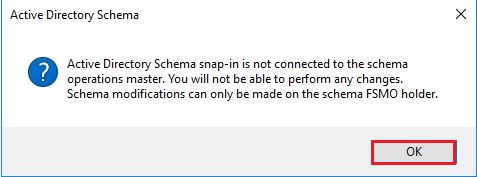
Using the Active Directory Schema snap-in to transfer the Schema Master role
27- Open prompt in administrative mode and sort regsvr32 schmmgmt.dll
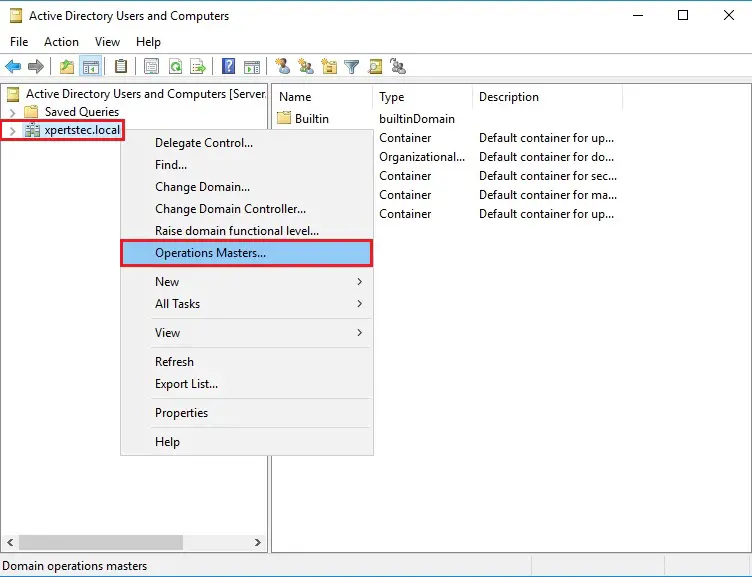
Transfer Operations Master Role
28- On the Server2016 server so, open Active Directory Users and Computers, right-click on local domain xpertstec.local and then click on Operations Masters.
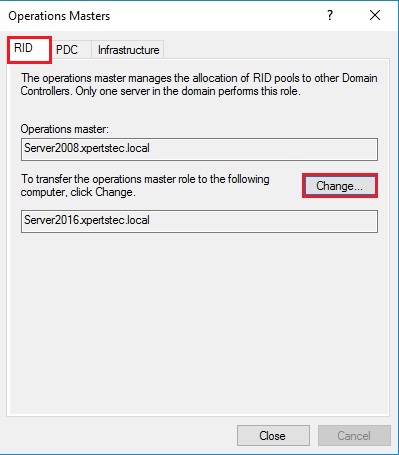
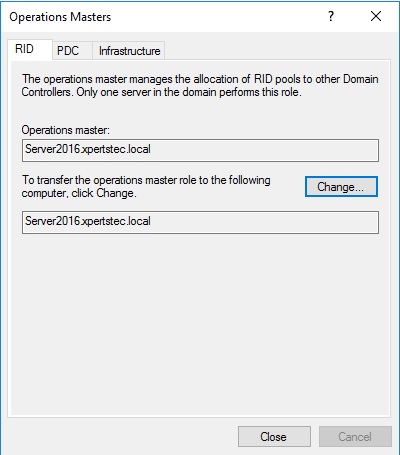
29- On the Operations Masters and Select the RID tab and then choose the Change button.
30- Click Yes.

31- The operations master role was successfully transferred. so, click on ok.
32- Now you can Verify that Operation master now transferred to our new Server SRV2016.xpertstec.local
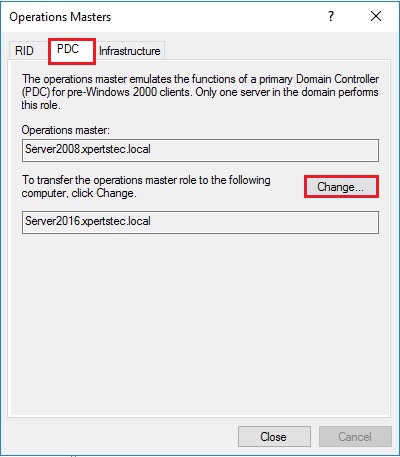
33- On the Operations Masters and then select the PDC tab and choose the Change button.
34- Click Yes.

35- The operations master role was successfully transferred, so click on ok.

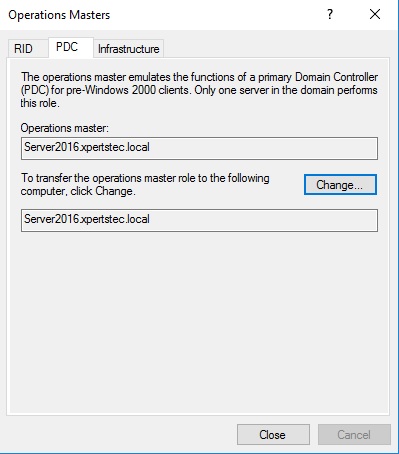
36- Now Verify that Operation master now transferred to our new Server SRV2016.xpertstec.local
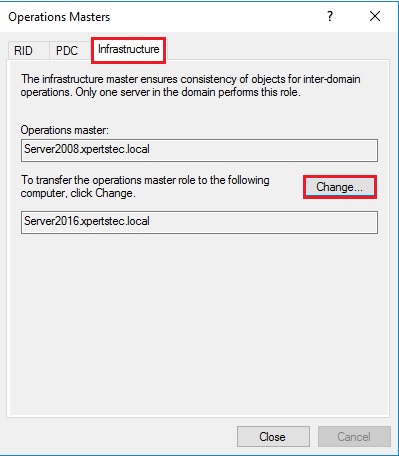
37- On the Operations Masters and select the Infrastructure tab and then choose the Change button.
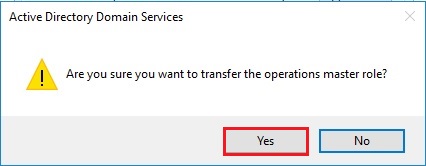
38- Click Yes.
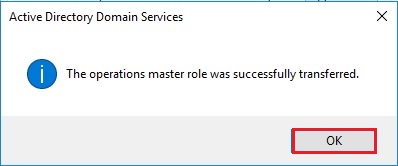
39- The operations master role was successfully transferred, so click on ok.
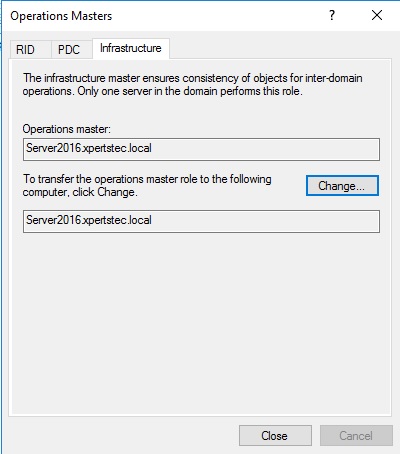
40- Now Verify that Operation master is now transferred to our new Server SRV2016.xpertstec.local
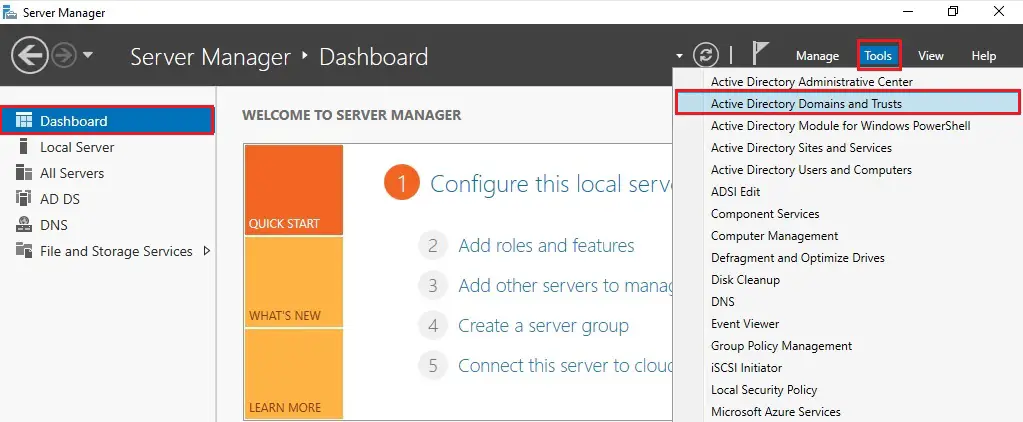
41- Open Server Manager, select the Dashboard tab, select Tools and then click Active Directory Domains and Trusts.
Change Domains and Trusts roles from server 2008 to 2016
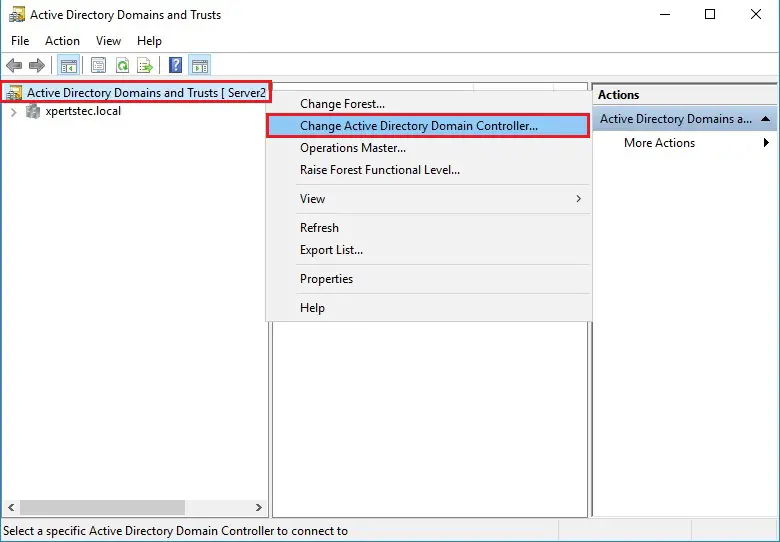
42- Right-click Active Directory Domains and Trusts and then choose to change the Active Directory Domain Controller.
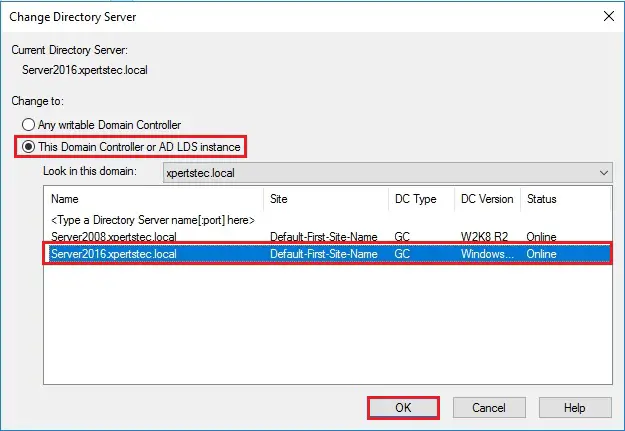
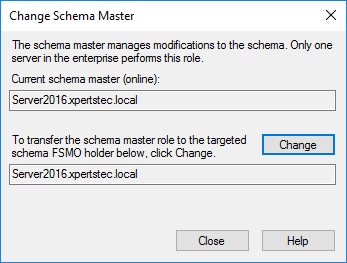
43- Select this Domain Controller or AD LDS Instance. Click on the domain controller that you simply want to be the schema master role and then click on ok.
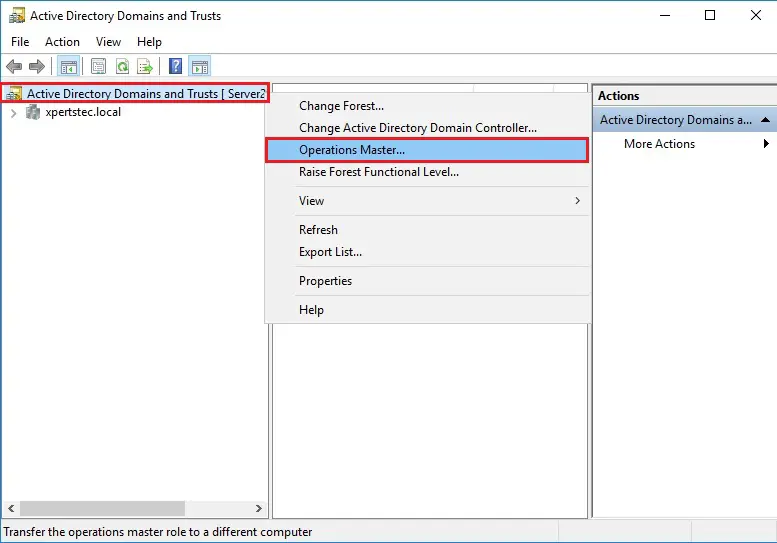
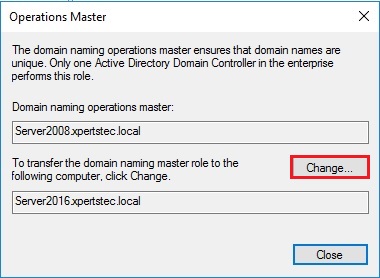
44- Right-click Active Directory Domains and Trusts and then choose Operations Master.
45- Select Change.
46- Click YES.

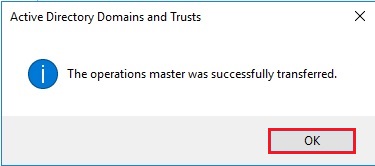
47- The operations master was successfully transferred, so click on ok.
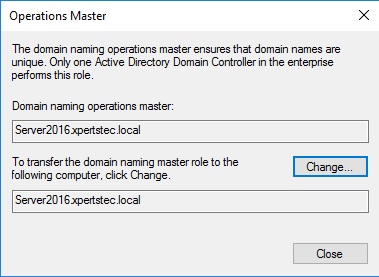
48- Confirmed the domain naming operation master role and click on Close.
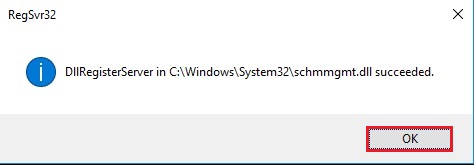
49- Now we’d like to move our Schema Master role. So, we’d like to register the schmmgmt.dll open prompt and run the command below. Regsvr32.exe C: \ windows \ system32 \ schmmgmt.dll
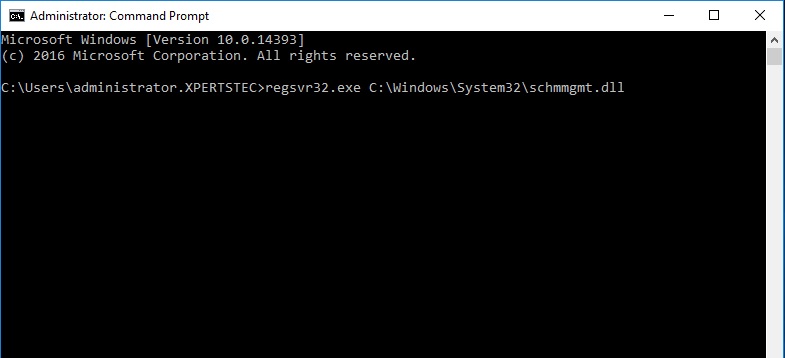
50- the method was completed successfully and then click on ok
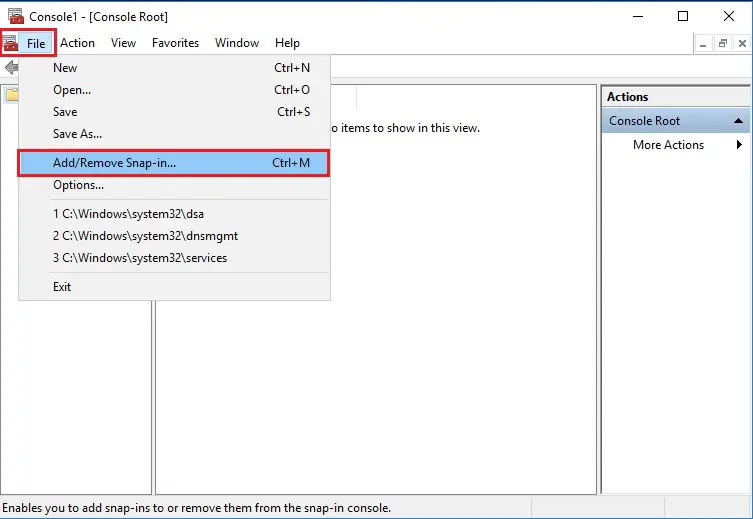
51- To open Microsoft Management Console mmc type mmc and then hit enter.

52- Click File and then choose Add/Remove Snap-in
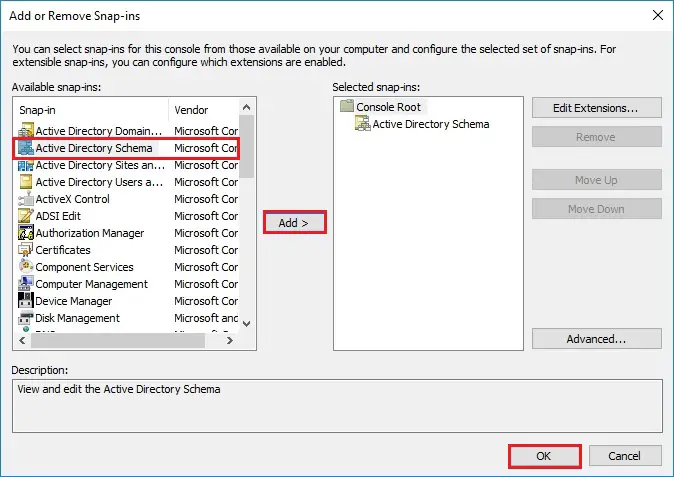
53- From the left side, under Available Snap-ins, Select Active Directory Schema, then click Add and then click on ok.
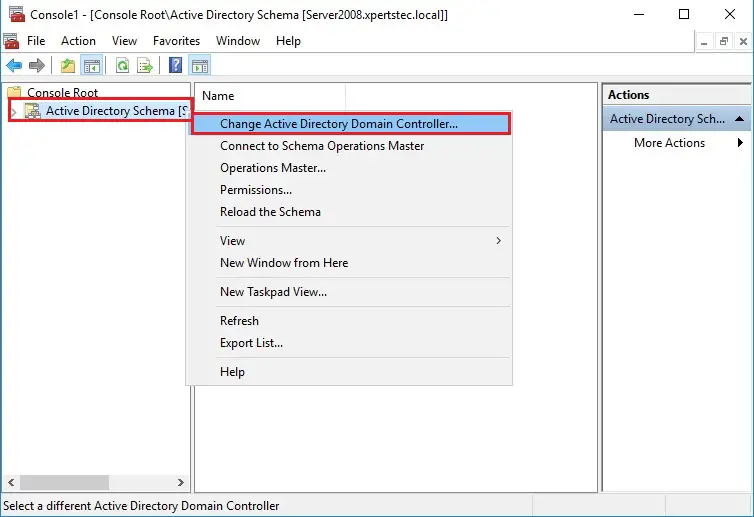
54- Right-click Active Directory Schema, and then choose Change Active Directory Domain Controller.
Console
55- Select this Domain Controller or AD LDS Instance, click on the domain controller that you simply want to be the schema master role and click on ok.
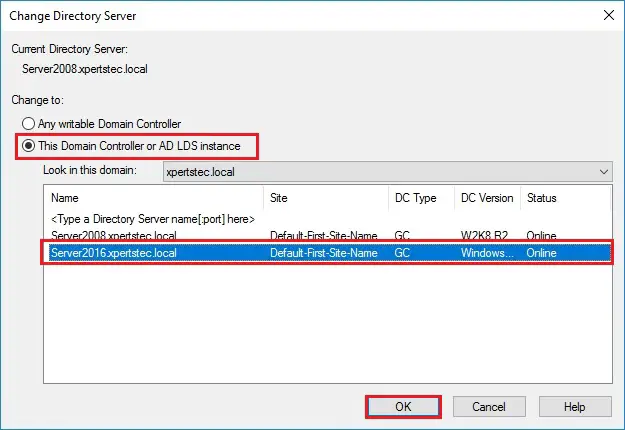
56- Click OK.
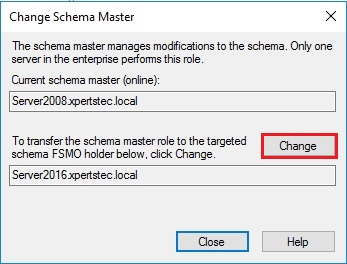
57- within the console1, right-click on Active Directory Schema (SRV2016.xpertstec.local) and choose the Operations Master.

58- Click Change.
59- Click Yes.
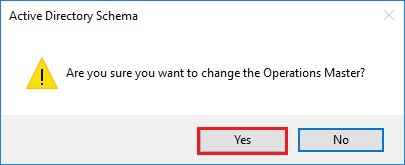
60- Operations Master successfully transferred and click ok.

61- Now confirm your current schema master which is Server2016 and click on Close.
62- Now run the Netdom query fsmo command, we will now see that our roles are moved to our Windows Server 2016 Additional Domain Controller.
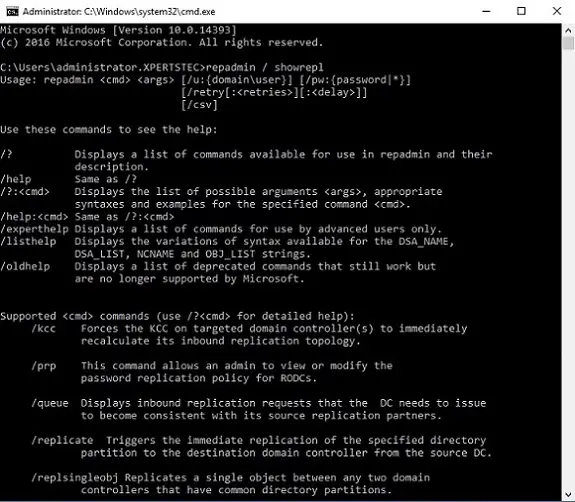
63- Now have a glance at the status of replication after moving the roles. once we run the repadmin / showrepl command for this process.
64- Now we need to change the DNS address of our additional Domain Controller server to be the IP address of our Windows Server 2016 Domain server.

Now the final step is to remove (uninstalling) server2008 Active Directory domain controller.
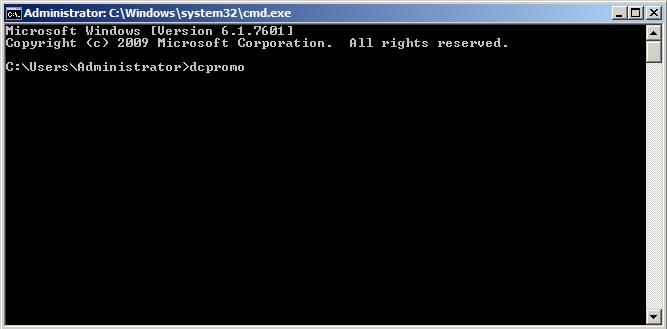
Remove Active Directory Domain Controller 2008
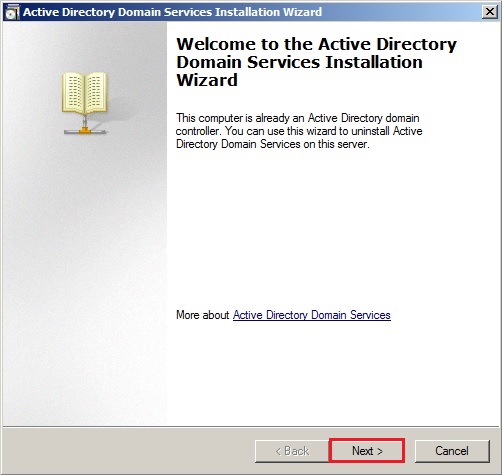
65- Open prompt type dcpromo and hit Enter.
66- Click Next.
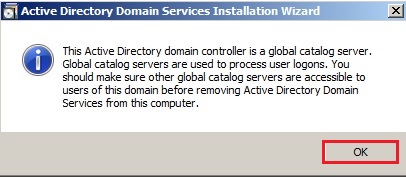
67- The Active Directory domain controller is a global catalog service, make sure your primary DC also has the service enabled and click the ok button.
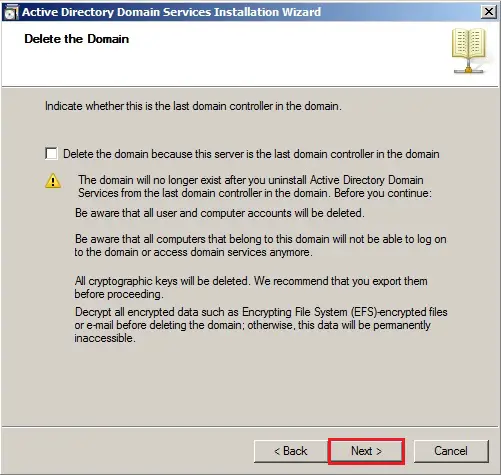
68- Confirmed that Delete the domain because this server is the last domain controller in the domain is UNCHECKED and click next.
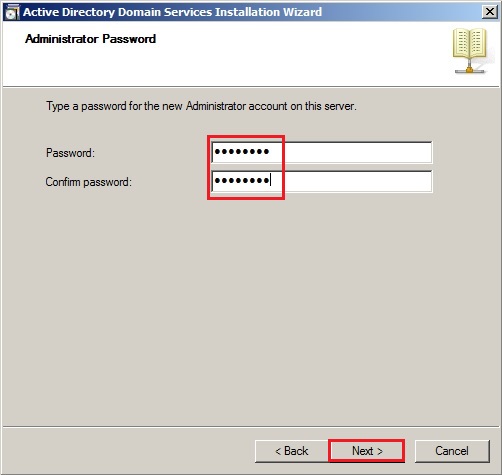
69- Type a password for the new Administrator account on this server and click next.
70- Review the summary and click next.
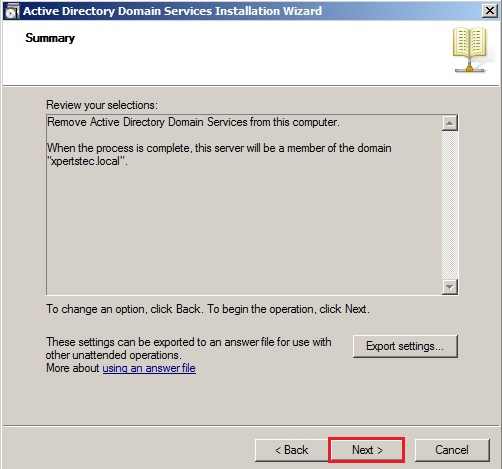
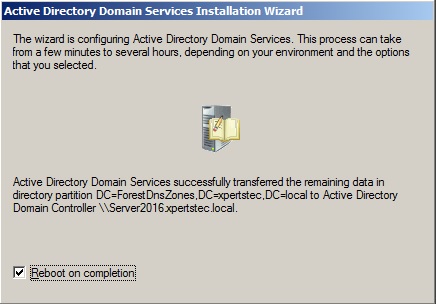
71- Check the Reboot on completion box to restart the server after the service has been removed.
72- After rebooting the server2008 Domain Controller Login with the local administrator account and open Server Manager.

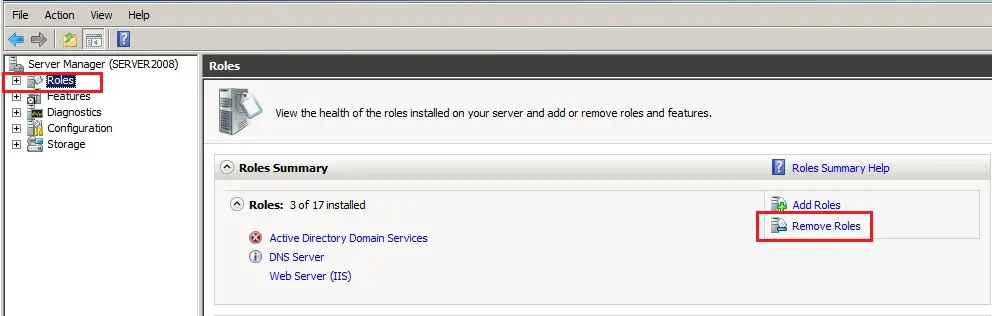
73- In Server Manager click Roles under Roles Summary and click on Remove Roles.
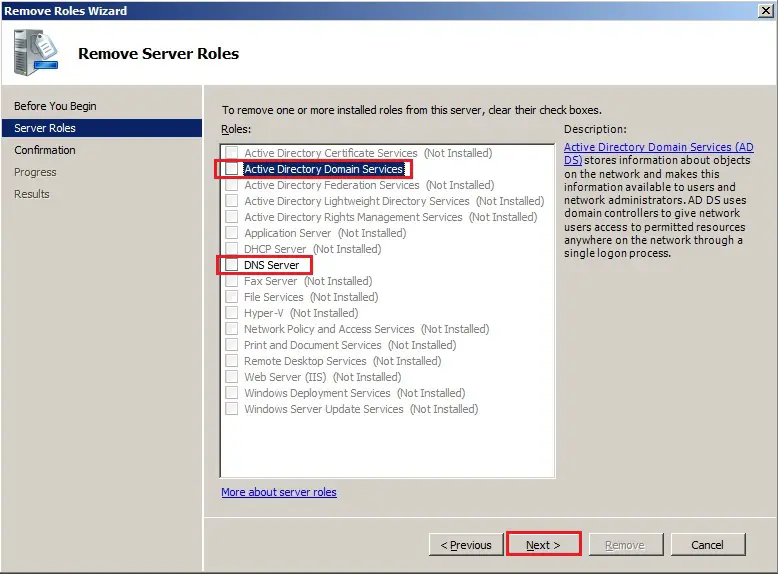
74- Remove Roles Wizard, click next.

75- Uncheck Active Directory Domain Services and DNS Server and click on next.
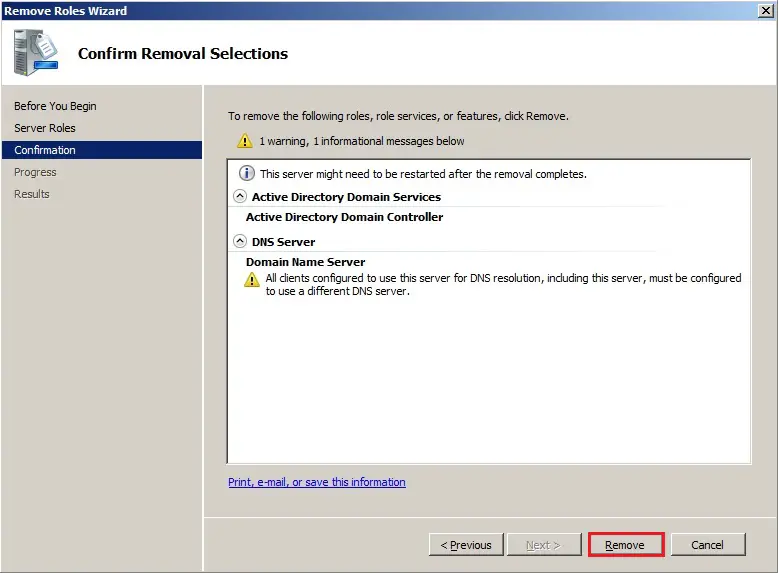
76- Click Remove.
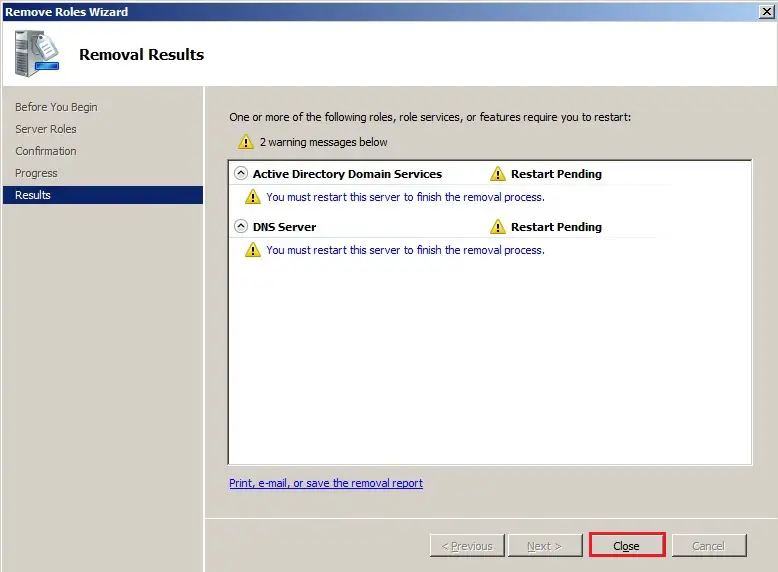
77- Click Close.
78- does one want to restart now, click Yes.

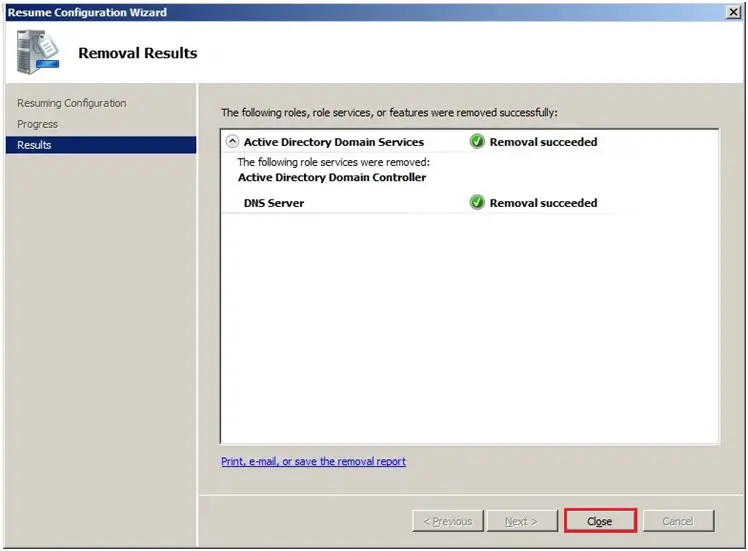
79- After rebooting server Log back to server2008, active directory domain services removal succeeded and click on Close.
Disjoin the machine from the domain.
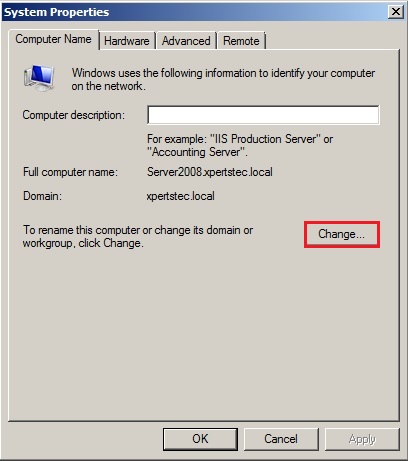
80- Select Server manager, Under Server Summary, click Change System Properties.

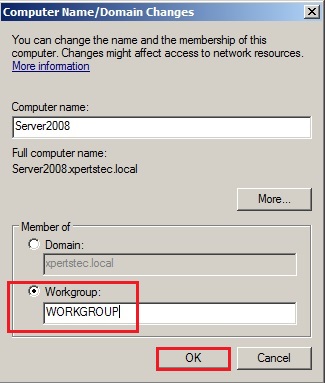
81- On the System Properties, click Change.
82- Select Workgroup type during a workgroup name and click on ok.
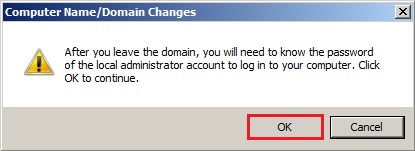
83- Warning message, click ok.
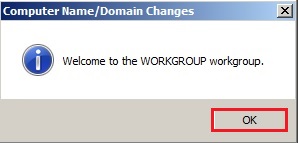
84- Welcome to the workgroup, and then click ok.
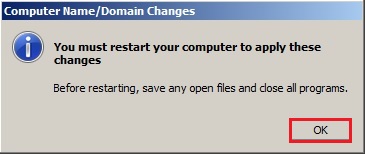
85- Click ok to restart the server.
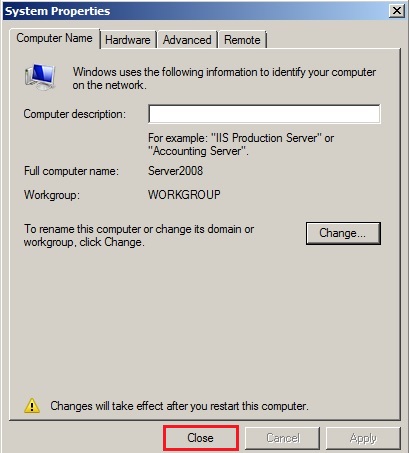
86- System Properties, click Close.
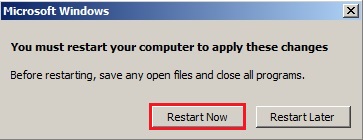
87- Click Restart Now or Restart Later and then shut down this server.
For more details click here


I have been exploring for a bit for any high quality articles
or weblog posts in this kind of house . Exploring in Yahoo
I finally stumbled upon this website. Reading
this info So i’m satisfied to convey that I’ve a very good uncanny feeling
I found out just what I needed. I such a lot certainly will make sure to don?t fail
to remember this web site and give it a look on a relentless basis.
Dear trlentcorp
Thank you for your your comments.
I appreciated
Jamil
This website was… how do I say it? Relevant!!
Finally I have found something which helped me. Appreciate it!
Dear Dylan,
thank you for your message i appreciate too.
Way cool! Some extremely valid points! I appreciate you writing this article plus the rest of the site is really good.
Hi there! Someone in my Myspace group shared this site with us so I came to look
it over. I’m definitely enjoying the information.
I’m bookmarking and will be tweeting this to my followers!
Fantastic blog and excellent design and style. I seriously love your site..
Very nice colors & theme. Did you develop this site
yourself? Please reply back as I’m trying to create my own site and
would like to know where you got this from or exactly what the theme is called.
Thanks! http://foxnews.net/
Dear Chrinstine,
Thank you for your comments I appreciate,
Jamil
Heya i’m for the first time here. I found this board and I find It really useful & it helped me out a lot. I hope to give something back and help others like you aided me.
Dear Maita,
Thank you
I am regular visitor, how are you everybody? This post posted at this site is
really pleasant.
Dear christinabruner,
We are fine and how about you, thanks a lot for your message I appreciate,
Regards
Jamil
Please let me know if you’re looking for a article
writer for your weblog. You have some really great articles and I believe I would be a good asset.
If you ever want to take some of the load off, I’d love to write some content for your blog in exchange for a link back to mine.
Please blast me an email if interested. Many thanks!
Dear Candra,
thank you for your offer, not now, maybe in future if I needed i will text you.
Regards Jamil
After looking at a handful of the articles on your blog,
I seriously appreciate your way of blogging. I added it to my bookmark site list and will
be checking back soon. Take a look at my website as
well and tell me what you think.
Dear Kohls,
thank you for your comments.
Jamil
Just wonderful!
High quality material.
Very good, thanks for sharing your knowledge and your time.
Congratulations!!!
Dear Wallison Gomes,
Thank you for your comments, I appreciated.
Regards,
Jamil
I found this article very well written and extremely helpful as I attempted my first AD migration.
Dear Allan,
Thank you for your comments.
Regards,
Jamil