


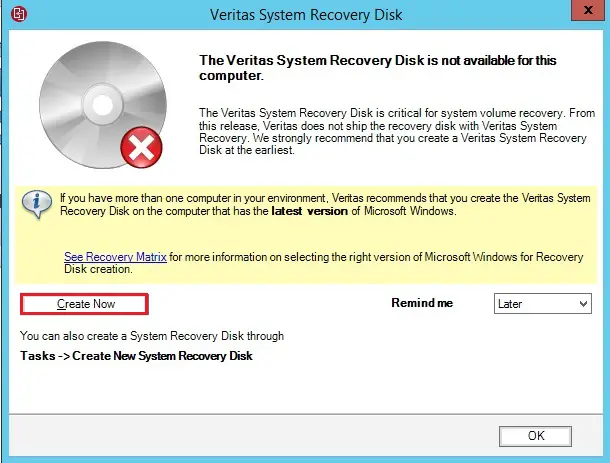
In this article, I will explain to you how to create System Recovery Disk in Veritas system recovery 21. We can create a custom System Recovery Disk on a CD/DVD or on a USB device.
Custom System Recovery Disk includes your computer’s current network and storage device drivers. It will help to guarantee that in an emergency you can get to the recovery points that are necessary to restore your computer. After creating a traditional System Recovery Disk, you can use the disk as a source for creating additional custom System Recovery Disk.
Create System Recovery Disk in Veritas
1- Click create new to create VERITAS system recovery disk.
Or in the VERITAS system recovery console, under tasks select to create a new system recovery disk.
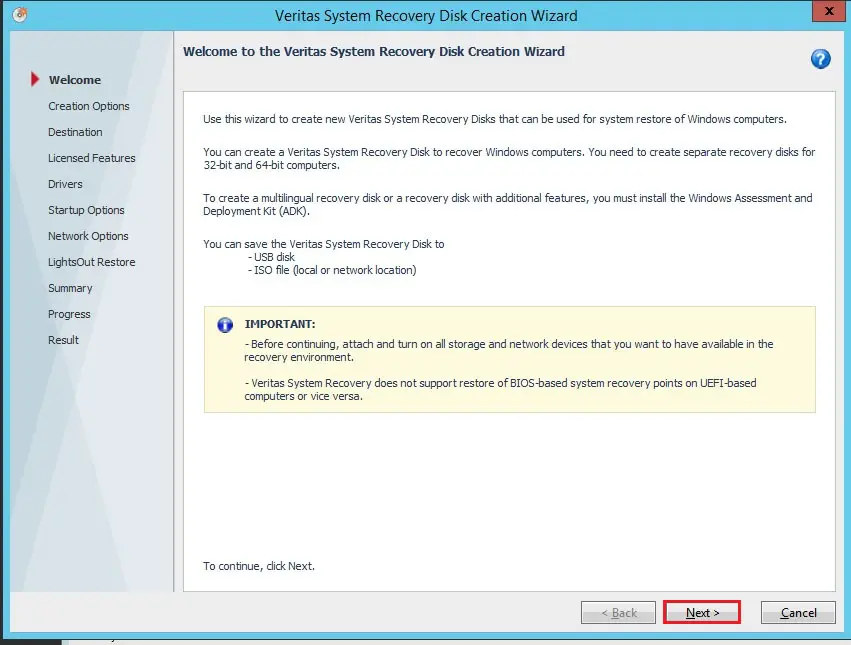
2- Recovery Disk Creation Wizard, then click next.
System recovery wizard, Creation Options.
3- Select the Typical option if you are going to perform a system restore to the same machine.
Click on Advanced option if the system restore is planned for dissimilar hardware. Note: Advance SRD (system recovery disk) requires ADK (Windows Assessment) and Development Kit) installed. Click Next.

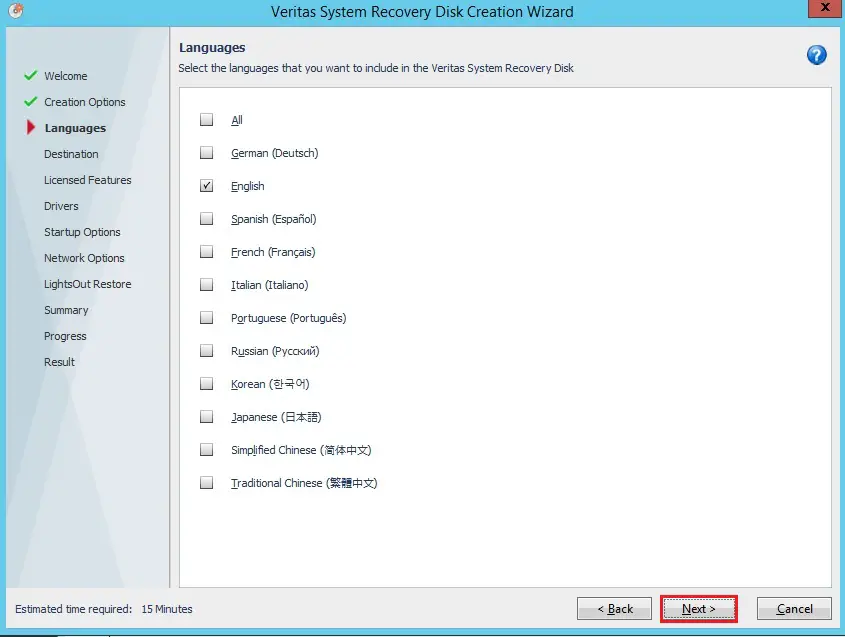
4- Select the language and then click next.
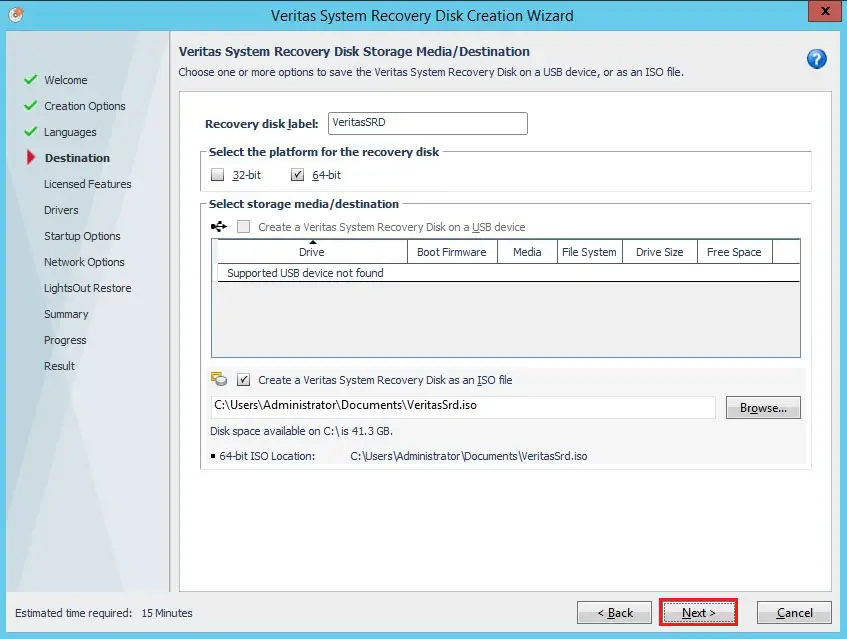
5- Recovery disk label,
Select the platform for the recovery disk
Recovery “Disk Storage Media/Destination”, specify the destination where you need the recovery disk created. Click Next
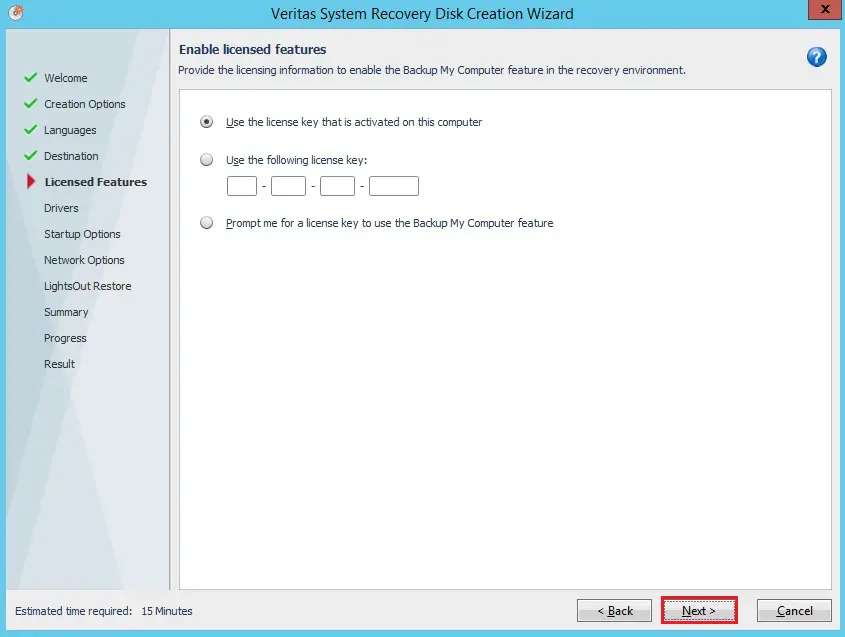
6- In the licensed features, please use the license key that is activated on this PC. Click Next.
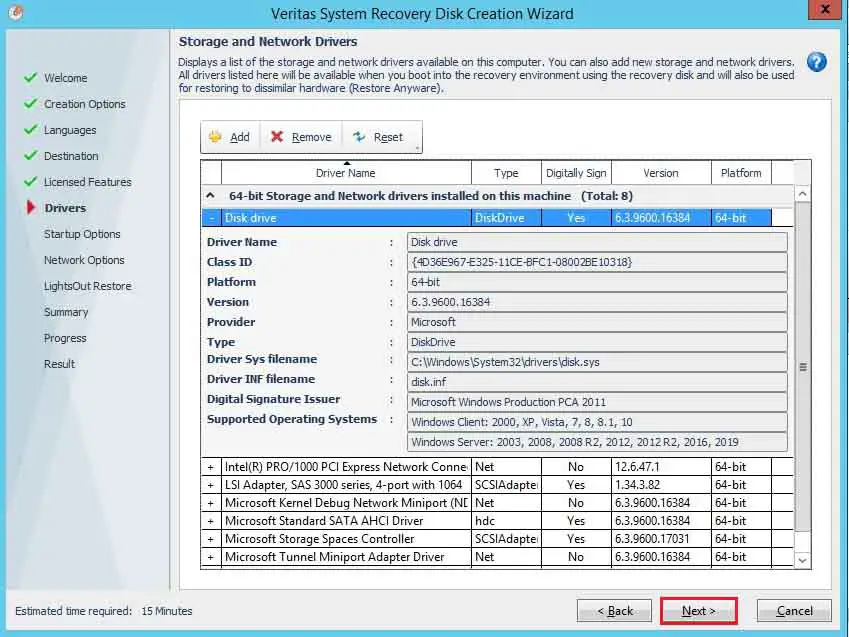
7- In the storage and network Drivers page you can add additional drivers for your dissimilar hardware. Click Next
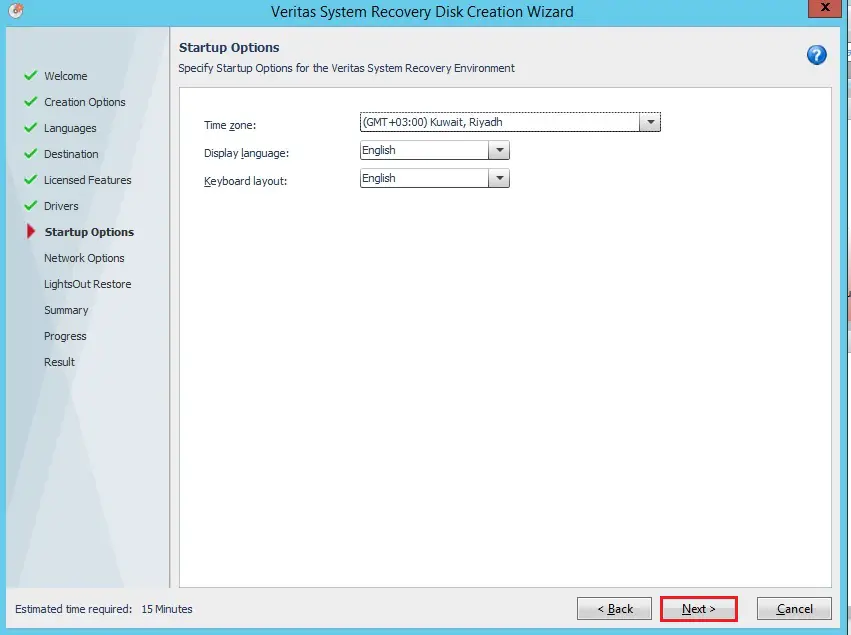
8- Select time zone, language and then click next.
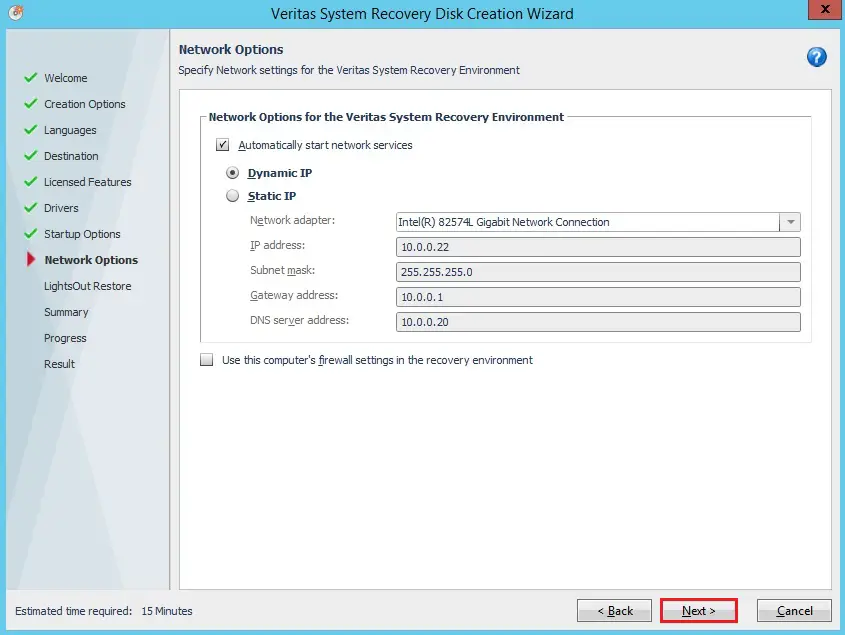
9- Specify the network options and then click next.
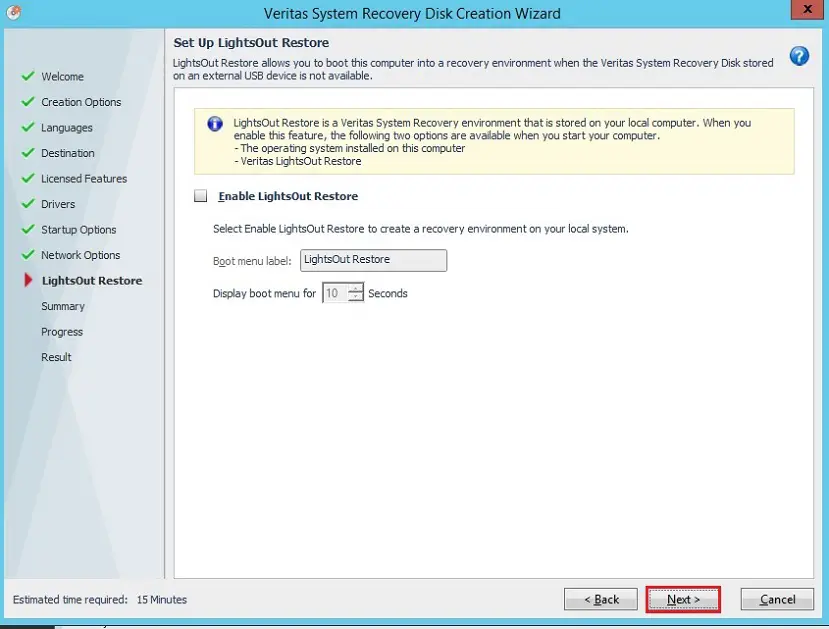
10- Setup lights out restore and then click next.
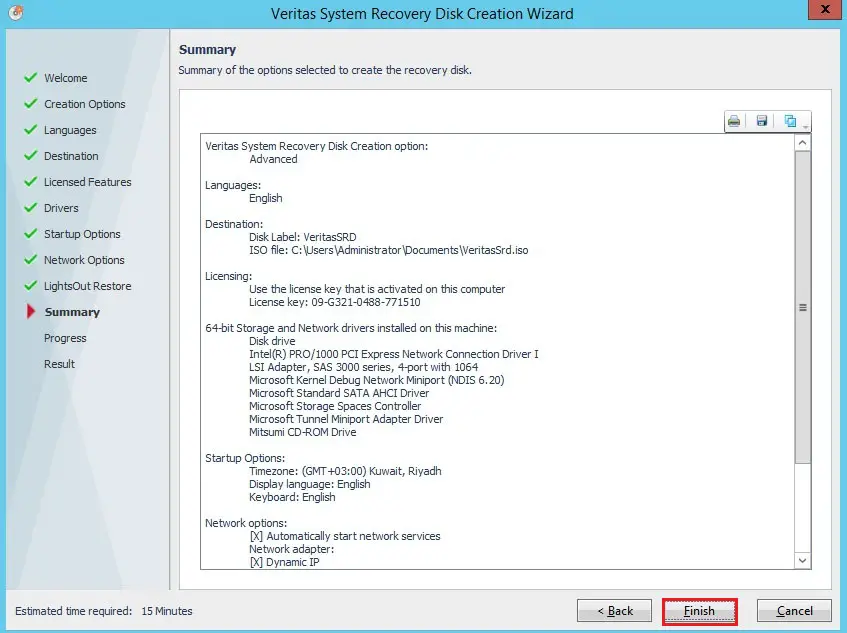
11- Review the recovery disk creation summary and then click finish.
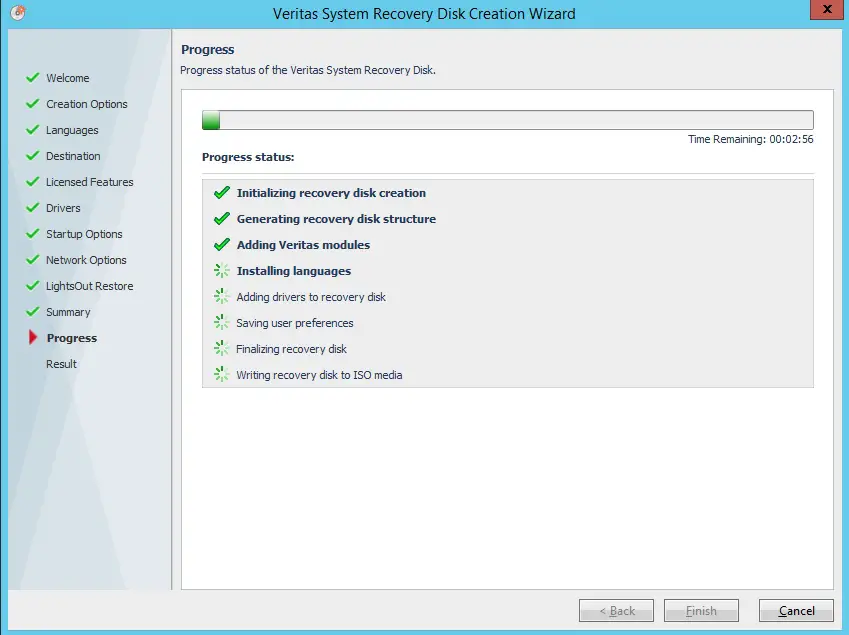
12- Veritas system recovery recovery disk in progress.
13- Status of the Recovery Disk creation will be shown in the Result page. Click Close.
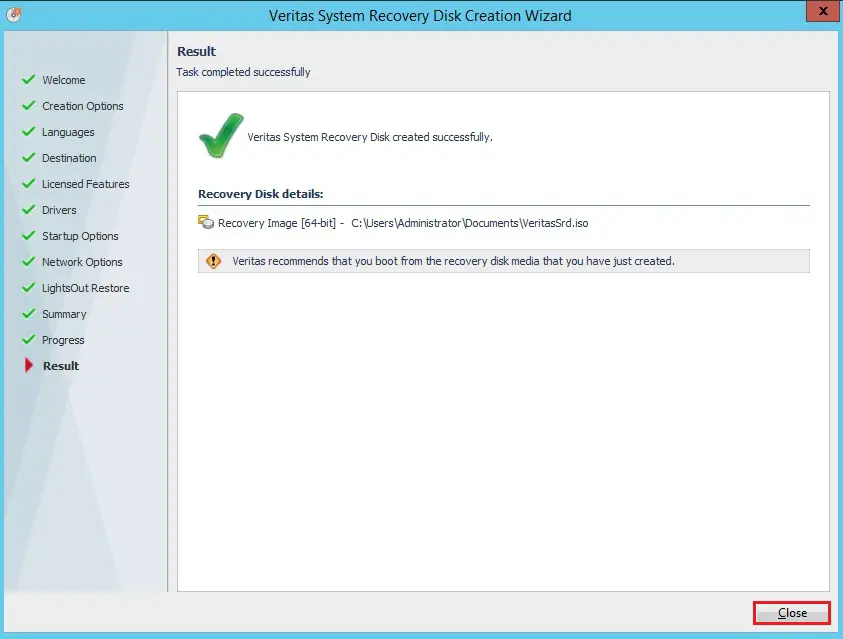
14- Now you can see recovery disk successfully created.
For more details please visit VERITAS