In this blog, we will see how to upgrade Veeam Backup and Replication v10 to version 10a released by Veeam.
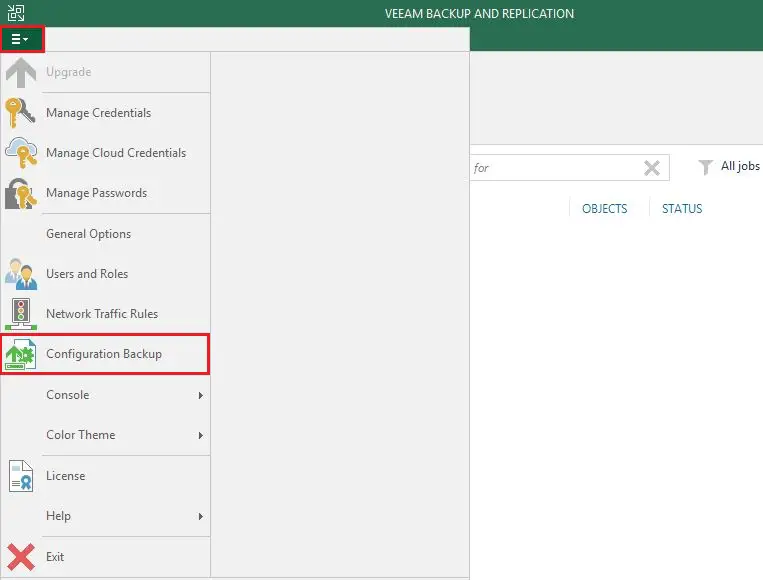
1- Connect the Veeam Backup & Replication v10 console and the first thing we need to do a backup of the backup configuration that we already have implemented. Select the Veeam backup menu and then click on Configuration backup.
Watch this video on XpertsTec YouTube.
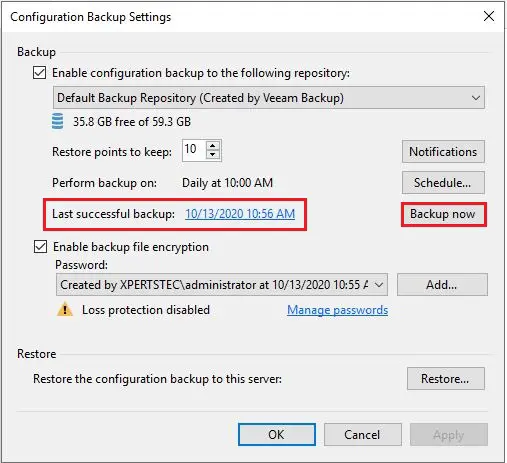
2- Configuration Backup Settings, Click on the option Backup now.
3- Select show hidden icon, and then Veeam backup and replication are available. This we go to the Veeam website.
You can also read Release Notes for Veeam Backup & Replication 10a.
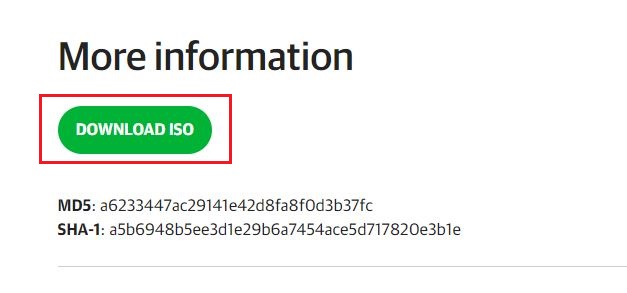
4- Select the download ISO button, this latest version 10a, to download you should be logged in to download.
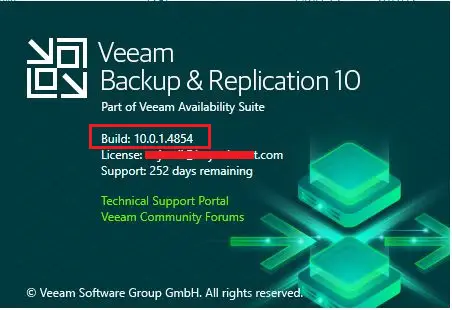
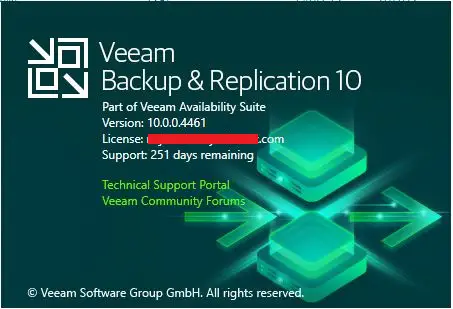
5- Please confirm that you are running version 9.5 Update 3 or later version to upgrading. In the Veeam Backup & Replication console, click on the main menu select Help, and then About.
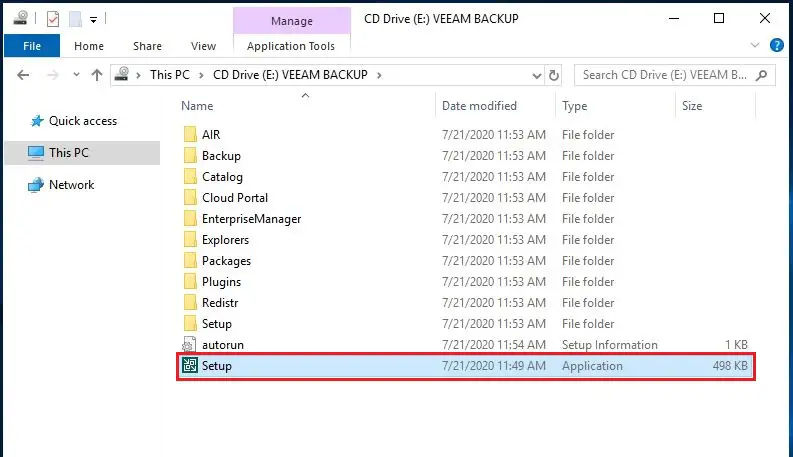
6- Now we run the setup, mount the ISO file, double click on setup.exe file to proceed the installation.
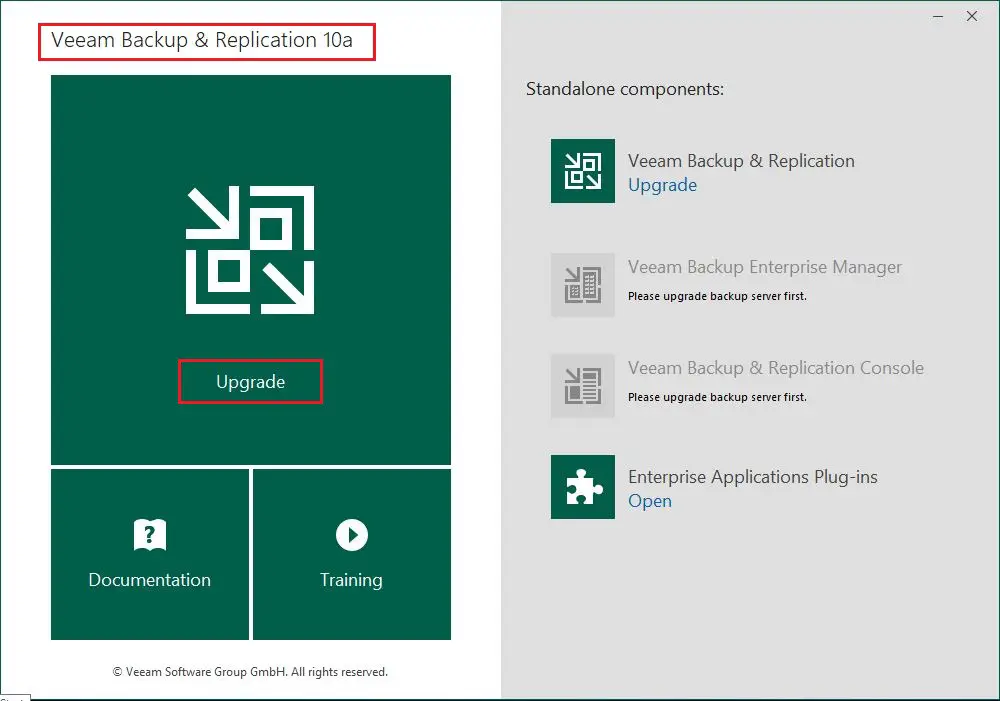
Upgrade Veeam Backup & Replication
7- Select Upgrade.
8- setup Initializing.
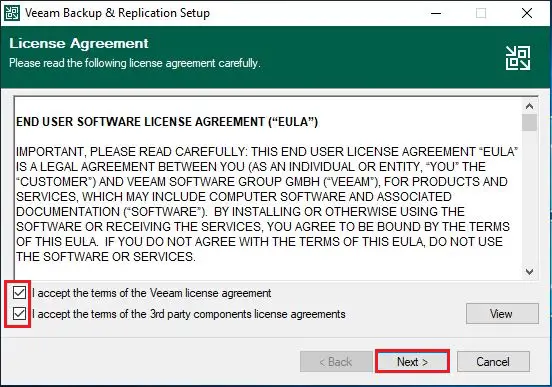
9- The following installation wizard opens, Accept the EULA and then click on Next.
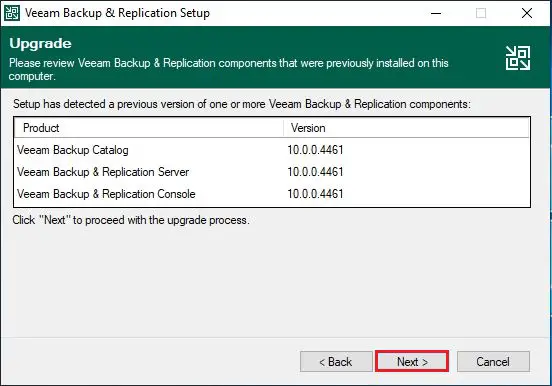
10- It tells us that it has detected a previous version of Veeam Backup & Replication, click on the Next button to proceed with the upgrade.
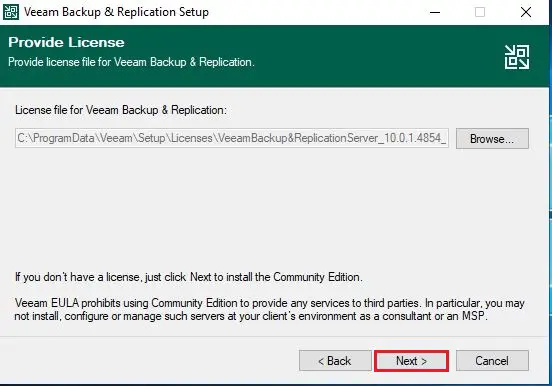
11- Veeam Backup & Replication setup, click next.
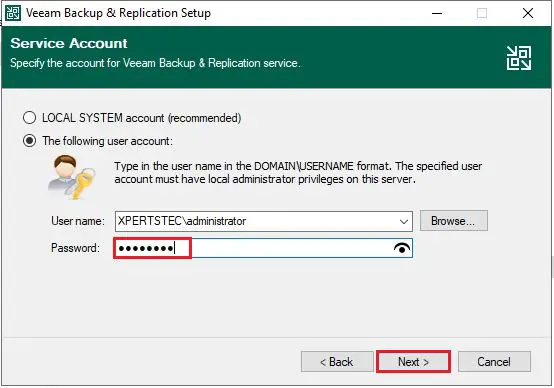
12- Please specify an account for the Veeam Backup & Replication service; Click Next.
13- It will tell you to use the SQL instance that is already in use with the old version, Click Next.

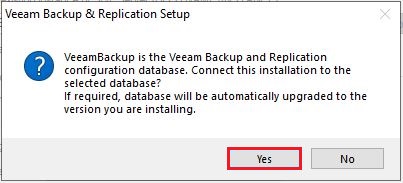
14- Database will automatically upgraded, click yes.
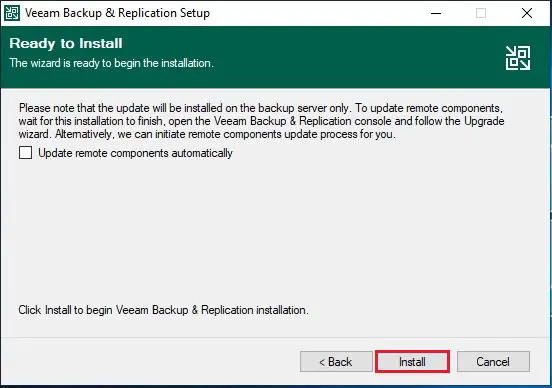
15- Click on the install button.
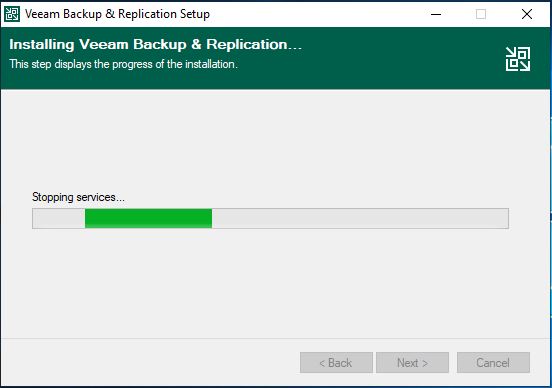
16- Stopping services.
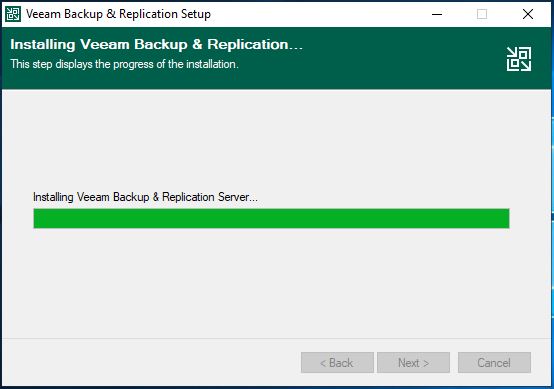
17- The upgrade process begins
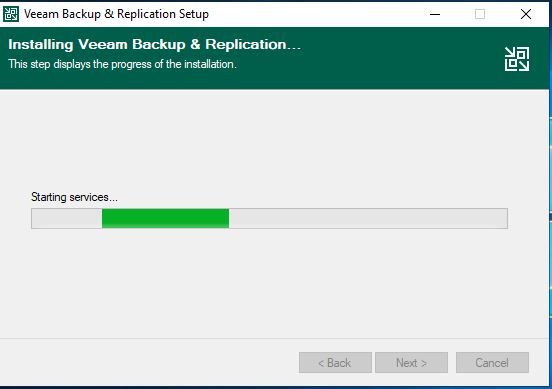
18- Starting services.
19- Successfully updated, click finish.
20- Once the installation is completed, we restart our Veeam server, after restarting double click on the Veeam shortcut to open it.
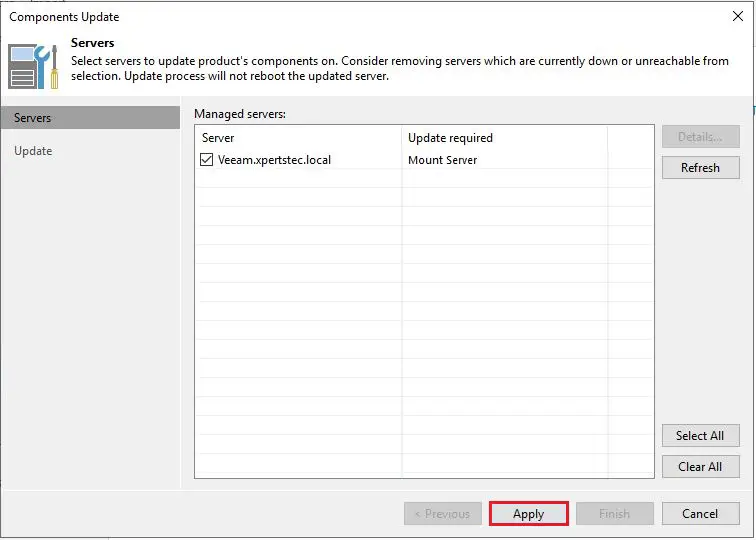
21- Click Apply to update components.
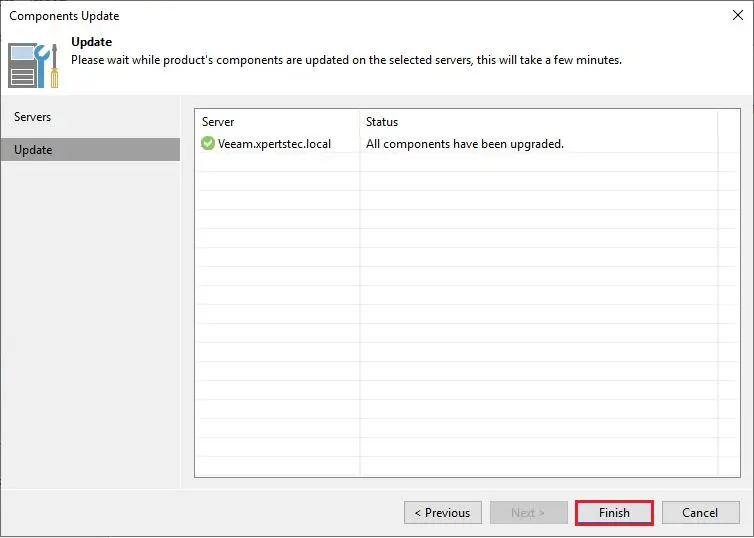
22- Components successfully updated, click finish.
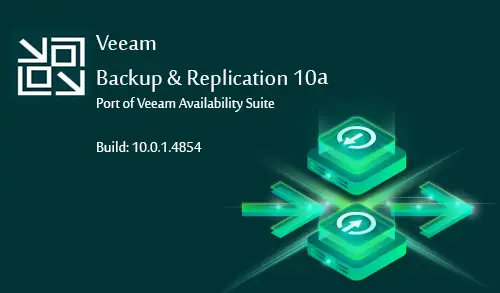
23- We can see we already have the latest version of Veeam Backup & Replication 10a installed.