


Create File to Tape Job
In this article, I will create a file to tape the job using the Veeam new file to Tape Job wizard.
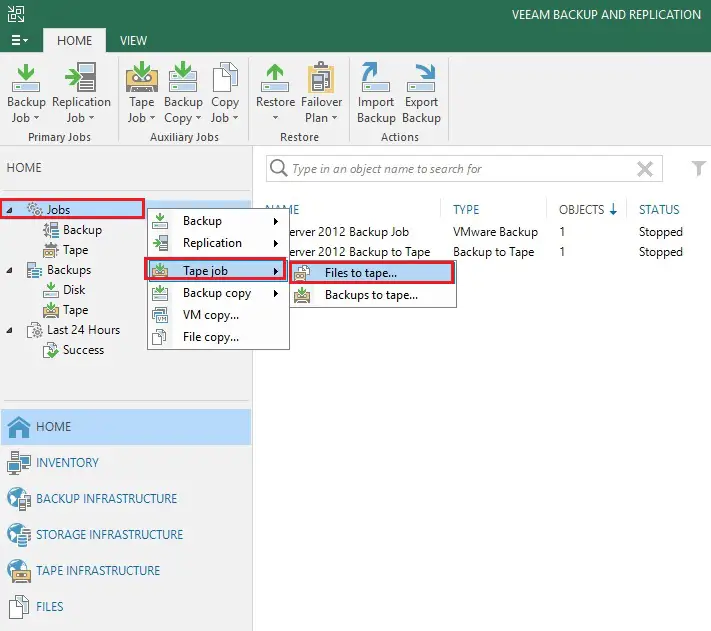
1- Select the Home tab, right-click the Jobs tab, and select Tape Job and then Select Files to Tape.
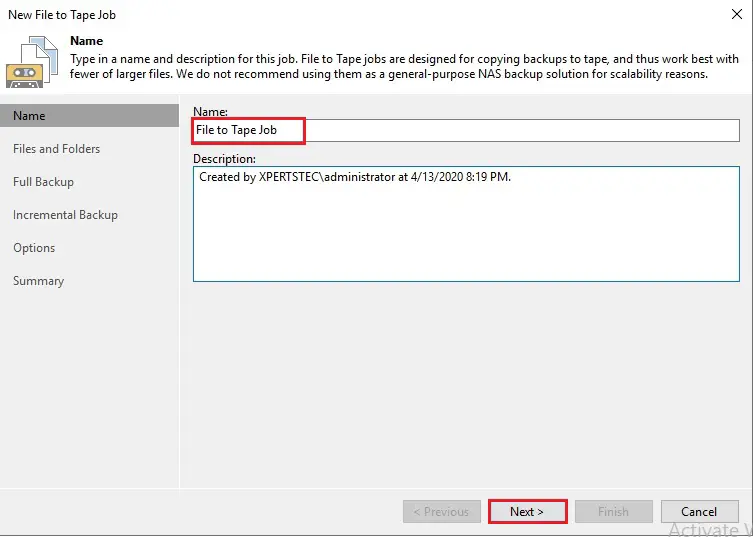
2- New file to tape job wizard, under the Name field, type a name for the file to tape job. Under the Description option, type a description of the file to tape the job and then click next.
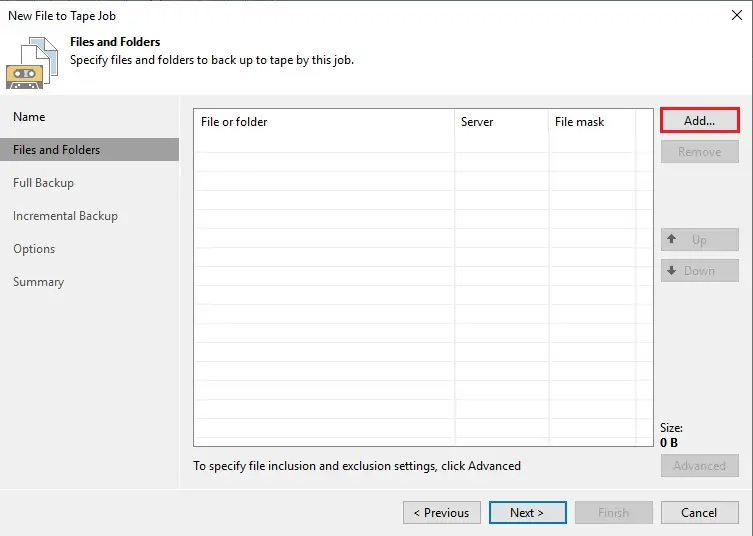
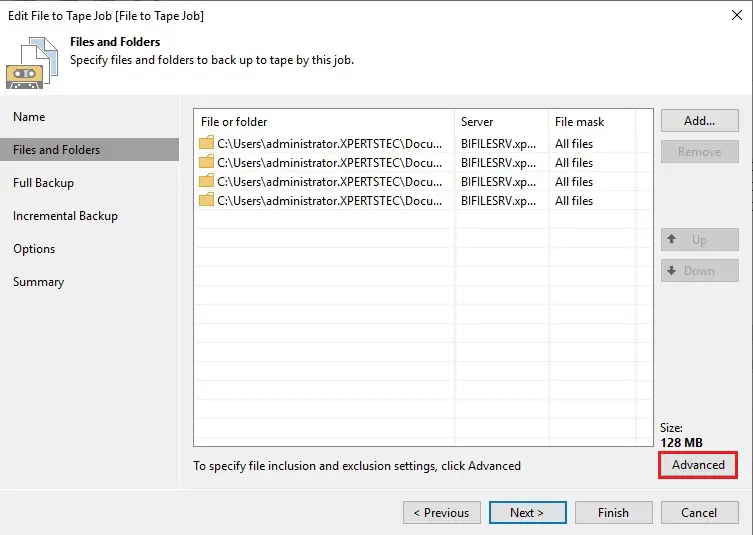
3- File to tape, (Files and Folders) step of the wizard, click the Add button.
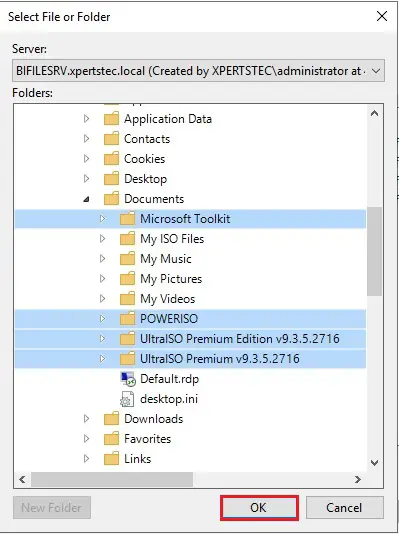
4- Select file or folder windows pop up, From the Server drop-down list; select a Windows Server the one you want to backup files or folders. Select files & folders that you need to backup and then click on ok.
5- If you want to back up files and folders from a Windows server or Linux server, first make sure you have added as a managed server to the Veeam backup infrastructure.
If you want to back up files and folders from an SMB server or NFS share, and then make sure you have added as a file share to the inventory.
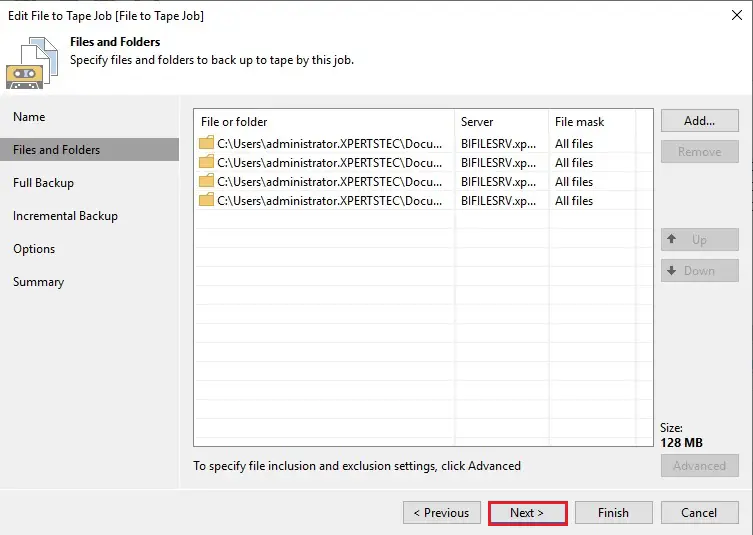
Now in the Files and Folders windows, you use the Up and Down buttons on your right side menu to move sources up or down.
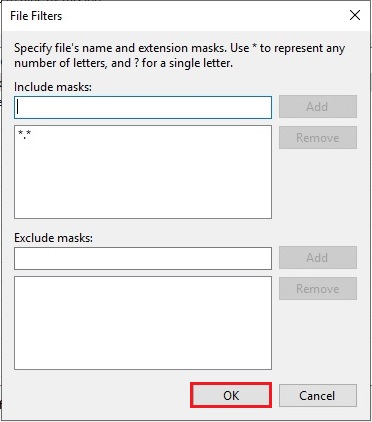
6- Select Include masks & Exclude masks fields to filter the file & folder contents and then click ok
7- Select Next.
Media pool for full backup
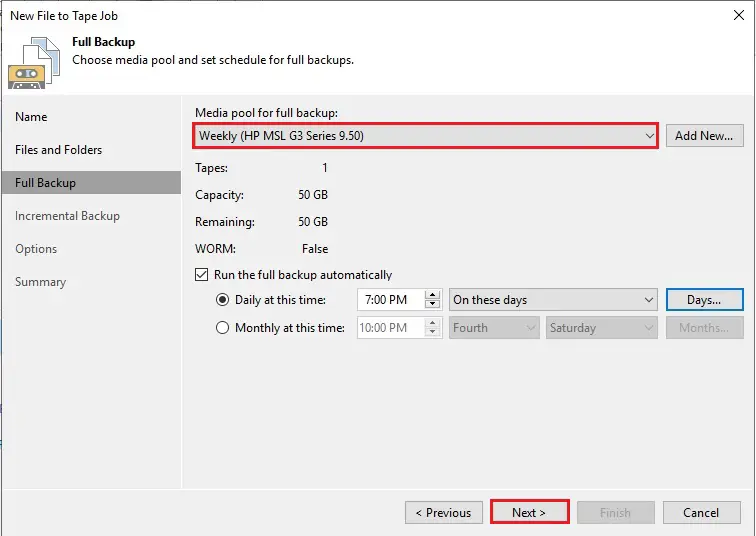
8- New file to tape job wizard, Full Backup options. Select a media pool that you want to use for full backups.
If you need to create a new media pool click here.
Backup schedule option select the Run the full backup automatically checkbox to specify the full backup schedule and click next
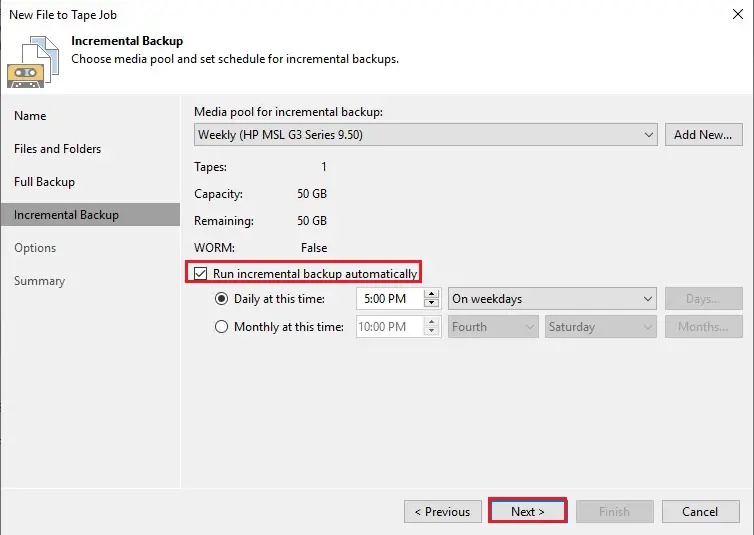
9- Incremental Backup option, Select a media pool that will use for incremental backups.
Backup schedule, select the Run incremental backup automatically checkbox and specify the schedule for the incremental backup.
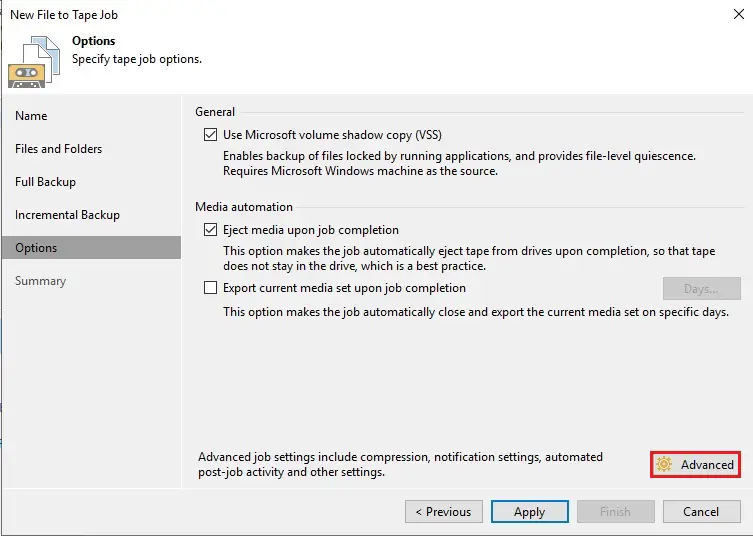
10- Select Microsoft volume shadow copy (VSS) to enable backup of files with the help of Microsoft shadow volume copies.
Select Eject media upon job completion option if you want tape automatically eject from the drive.
Select Advanced
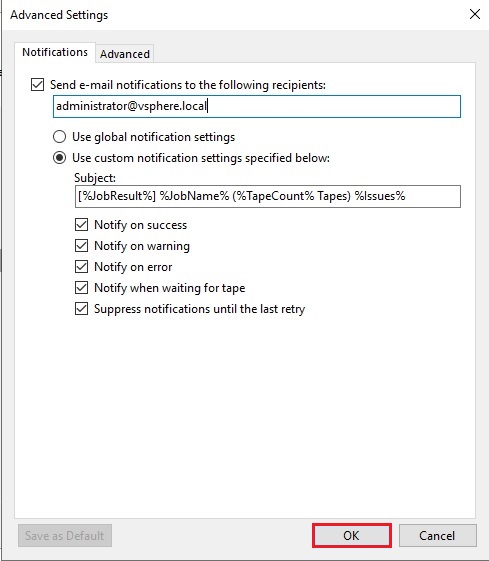
11- At the advanced settings. Then select the Notifications tab, Configure e-mail notification and then click ok
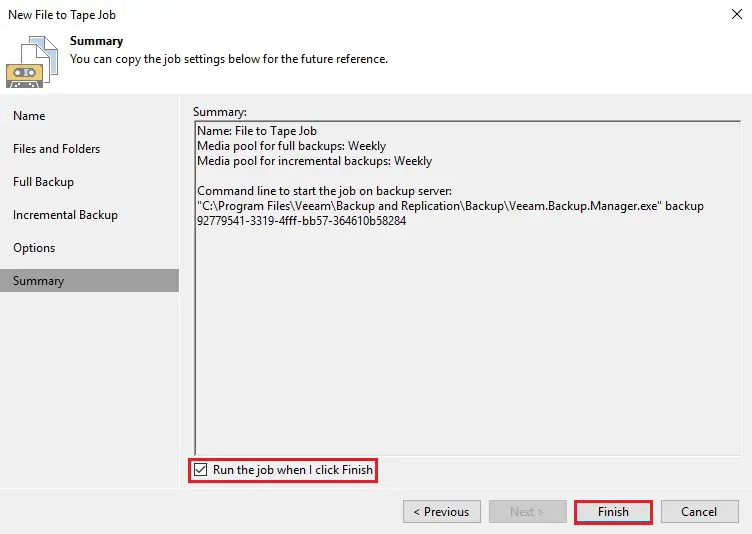
12- Select the Run the job when I click Finish option if you need to start file to tape job right and then click the Finish button.
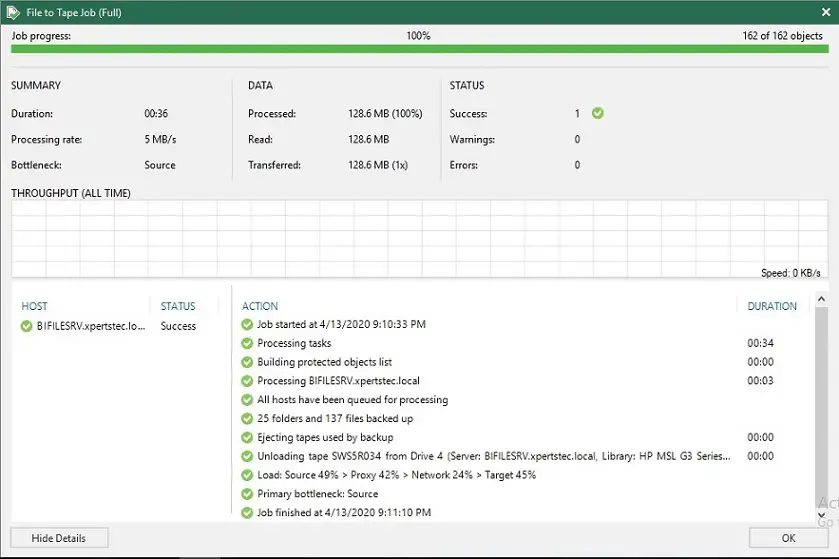
13- Now files and folder job has been created and running

14- Veeam files and folder to tape successfully completed
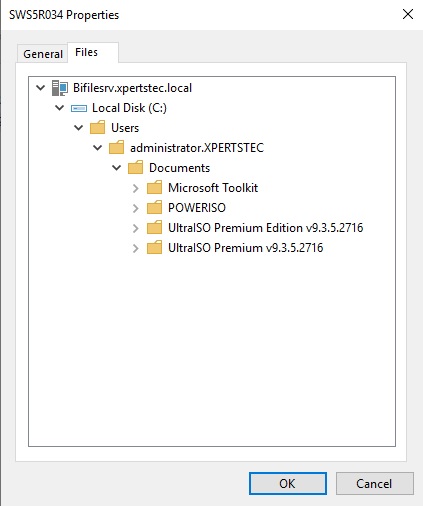
15- After the file and folder to tape job completes. Select Tape Infrastructure, select Media Pool and then click properties.

16- Select the Files tab, expand the Tape node and locate the files archive.
For more details please visit Veeam