Migrate Server 2003 to 2012. In this blog, I am using my DC2003 (windows server 2003 STD SP2) and my DC2012 (new Windows Server 2012 Standard)
Migrate Active Directory Server 2003 to Server 2012
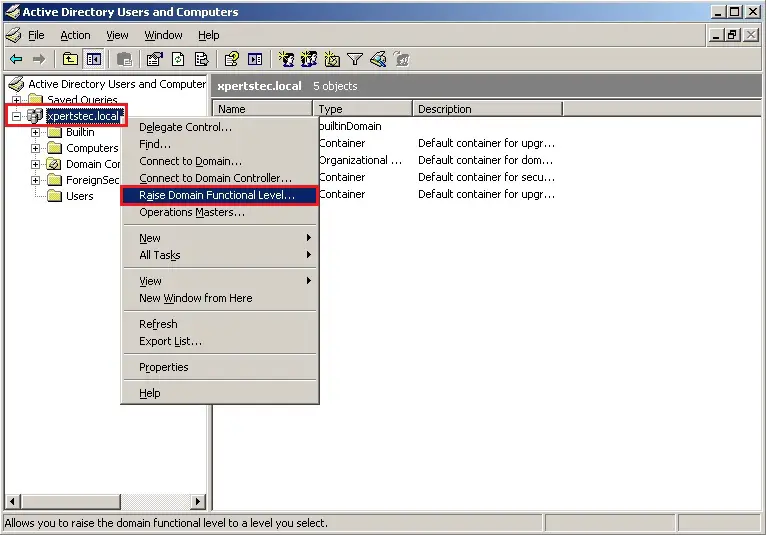
1- On the DC2003, open Active Directory Users and Computers, then right click domain name (xpertstec.local), then click Raise Domain Functional Level
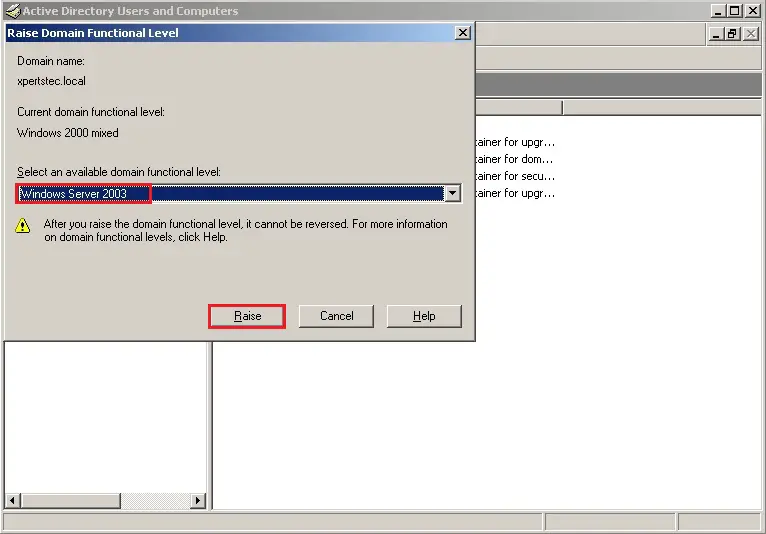
2- On the Raise Domain Functional Level interface, confirm you click Windows Server 2003 and click on Raise.
Domain Functional Level must be set up to a minimum of Windows 2003 mode. This is the lowest required Domain Functional Level that allows a Windows Server 2012 Domain Controller installation.
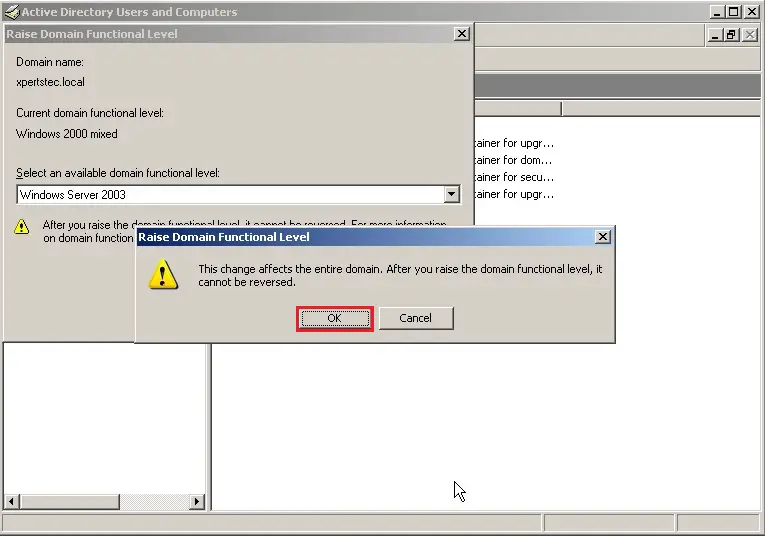
3- Raise Domain Functional Level, click ok.
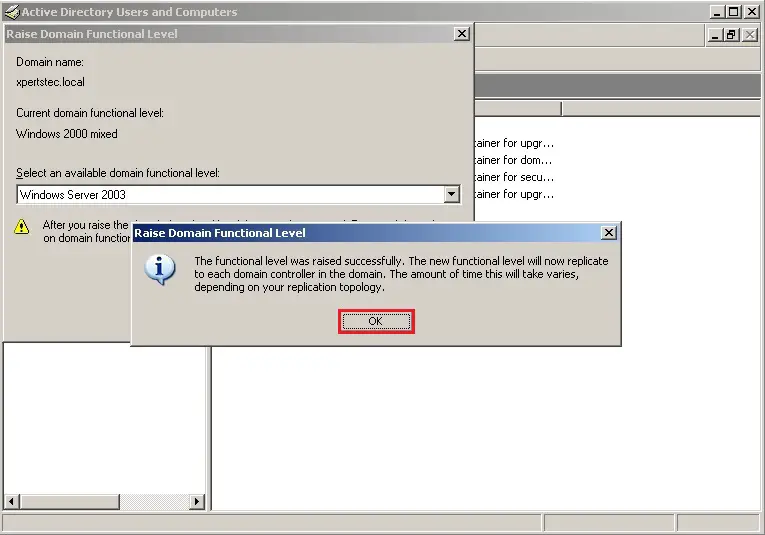
4- Domain functional level was raised successfully, click ok.
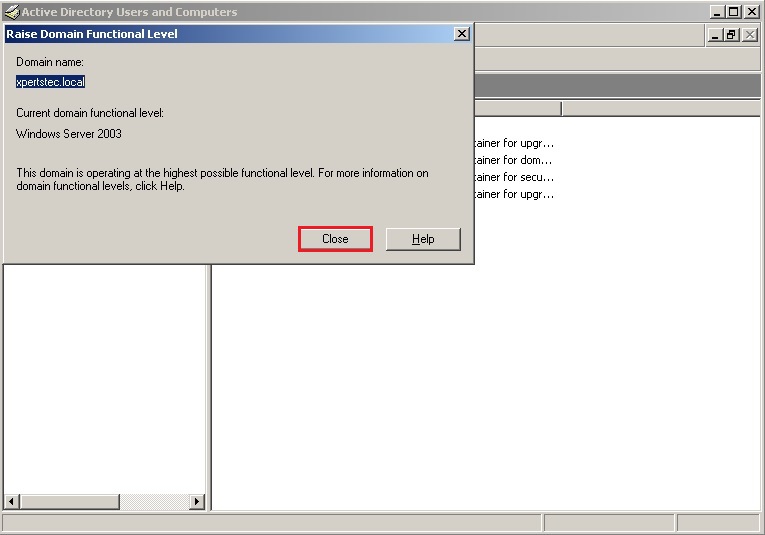
5- Current domain functional level is Windows Server 2003, click close.
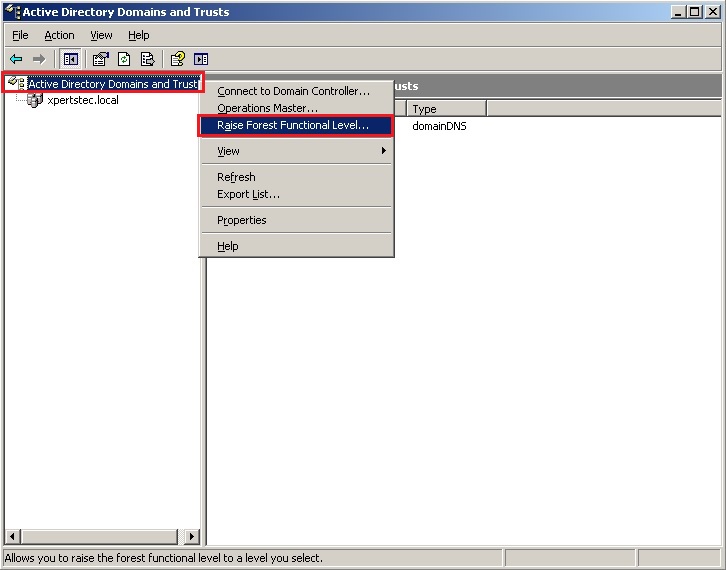
6- Open Active Directory Domain and Trusts right-click Active Directory Domain and Trusts and then click Raise Forest Functional Level.
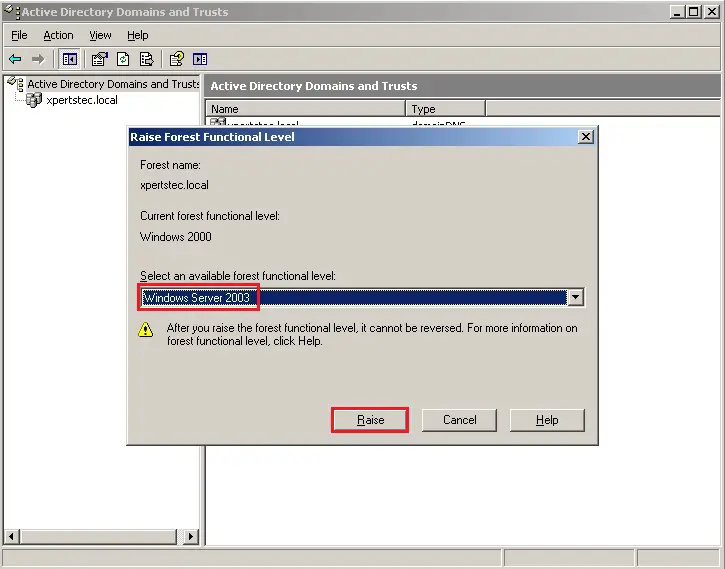
7- On the Raise Forest Functional Level Select Windows Server 2003, click Raise.
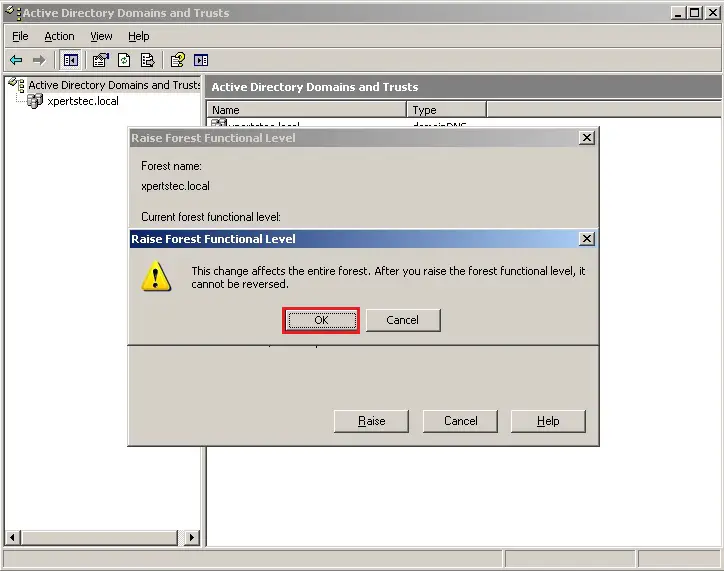
8- On the Raise Forest Functional Level, click ok.
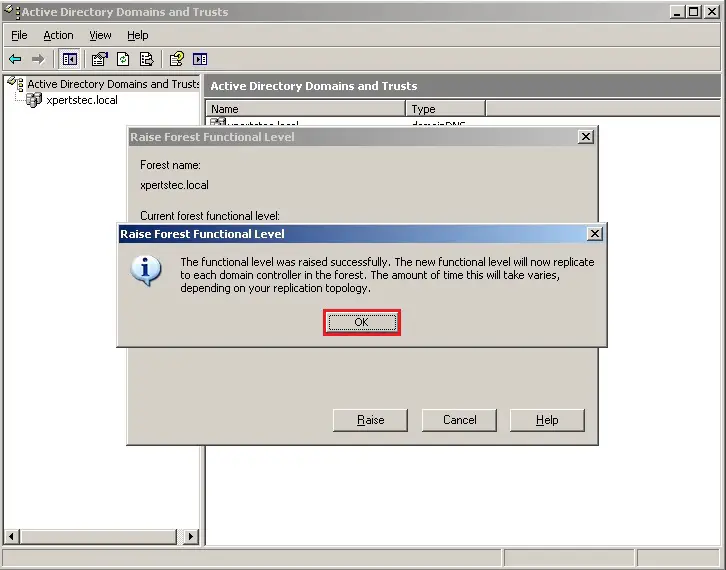
9- Click ok The functional level was raised successfully.
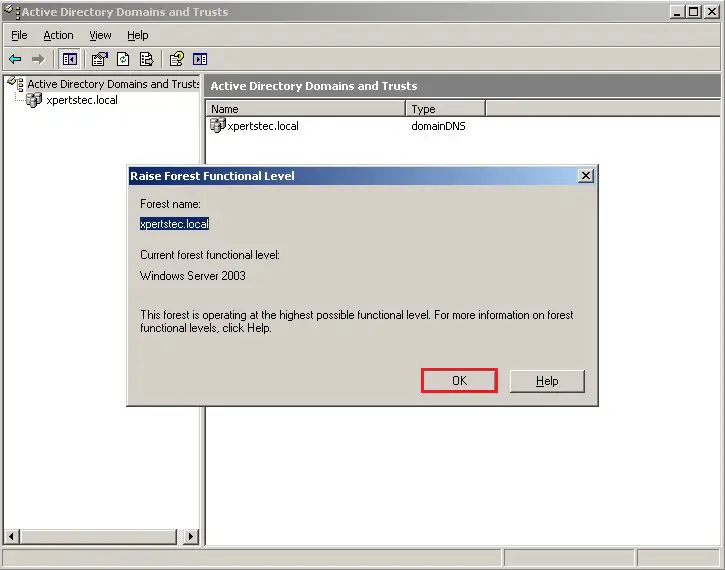
10- Verify Current Forest functional level is Windows Server 2003 and then click ok.
11- Now Join Windows Server 2012 (DC2012) to DC2003 Active Directory Domain.
12- First set IP address in windows server 2012 (DC2012).
How to Join Windows Server 2012 to an Active Directory Domain, Click here.
13- Next step is to configure Additional Domain Controller in DC2012
How To Create Additional Domain Controller (ADC) In Windows Server 2012, Step by step Click here.
Migrate Active Directory Server 2003 to Server 2012
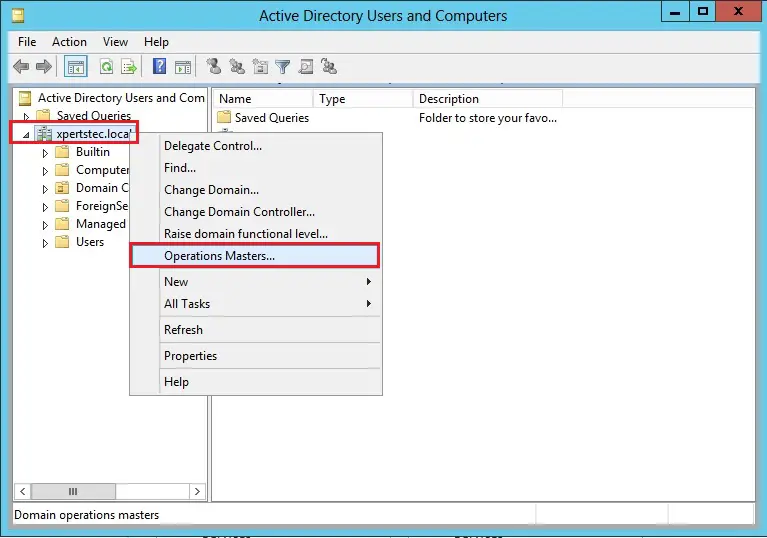
14- On the DC2012 server, open Active Directory Users and Computers, right click domain xpertstec.local and click Operations Masters.
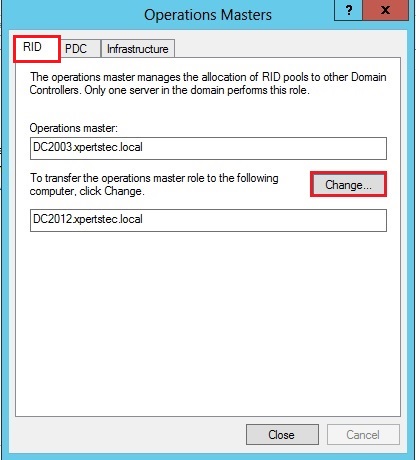
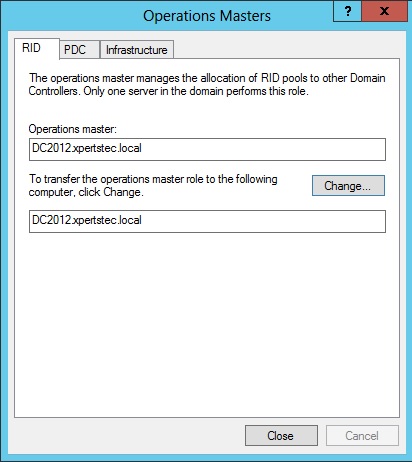
15- On the Operations Masters, Select RID, Select Change button.
16- Click Yes.
17- The operations master role was successfully transferred, click ok.
18- Verify that Operation master now transferred to our new Server DC2012.xpertstec.local.
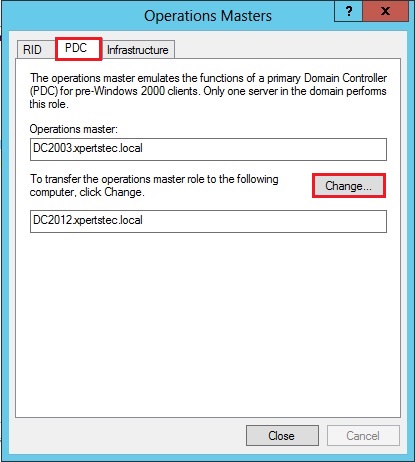
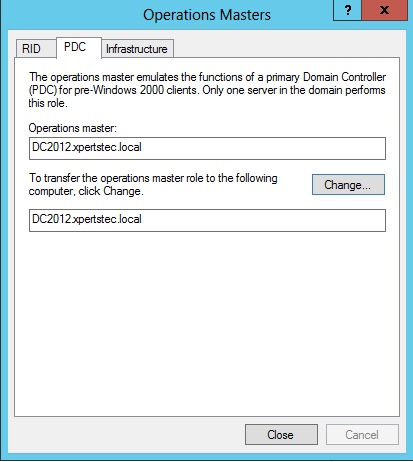
19- On the Operations Masters, Select PDC, Select Change button.
20- Click Yes.
21- The operations master role was successfully transferred, click ok.
22- Verify that Operation master now transferred to our new Server DC2012.xpertstec.local.
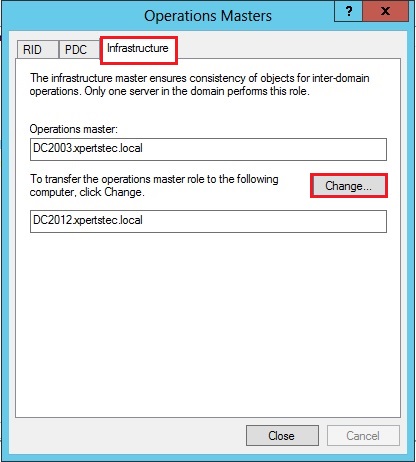
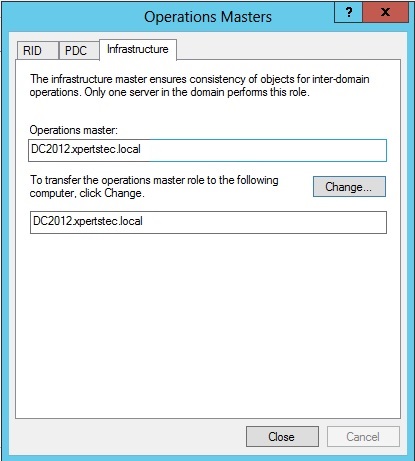
23- On the Operations Masters, Select Infrastructure, Select Change button.
24- Click Yes.

25- The operations master role was successfully transferred, click ok.
26- Verify that Operation master now transferred to our new Server DC2012.xpertstec.local.
Change Sites and Services
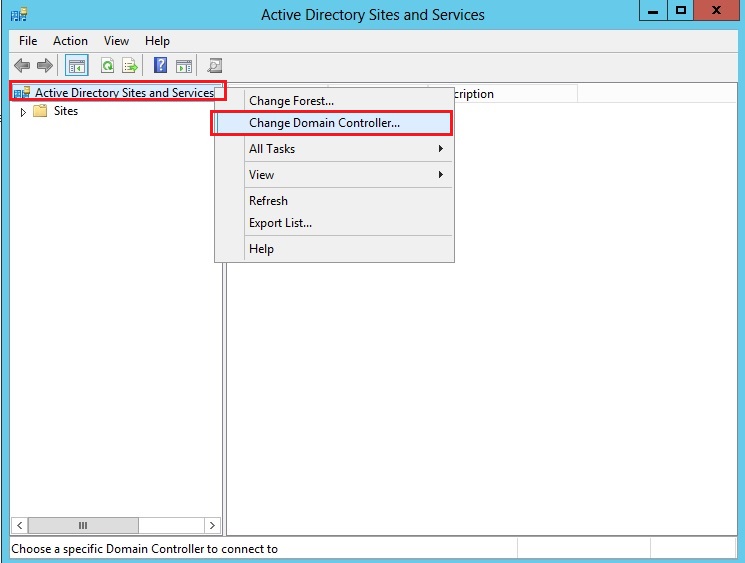
27- On DC2012 server, open Active Directory Domain and Trusts right click Active Directory Domain and Trusts and click Change Domain Controller.
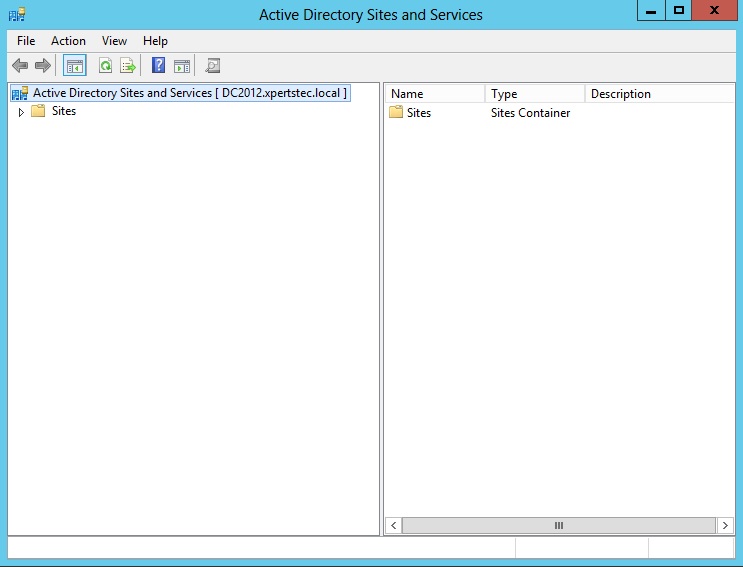
28- Select This Domain Controller or AD LDS instance and select your DC2012.xpertstec.local and then click ok.

29- Verify that the server now reflects your new DC2012.xpertstec.local.
Change Domains and Trusts
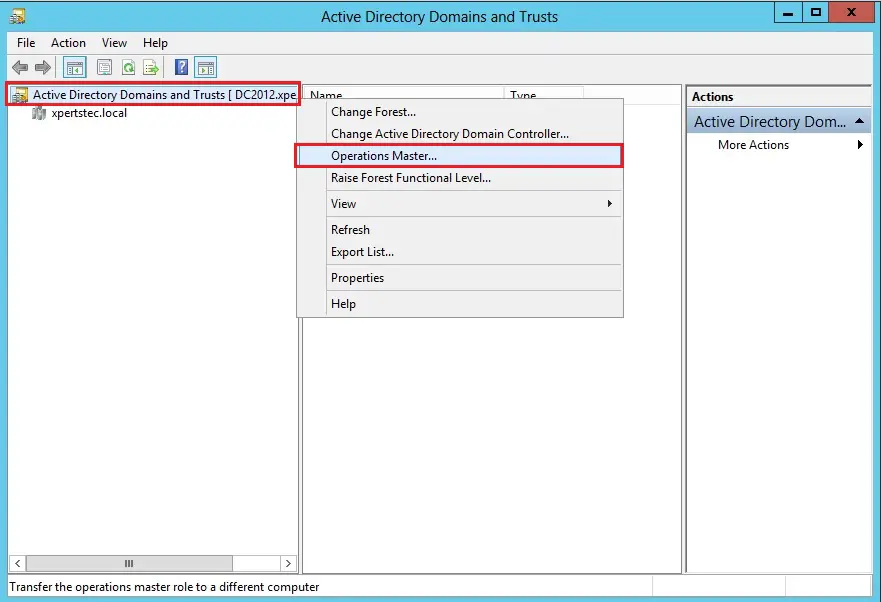
30- On the Active Directory Domains and Trusts, right click Active Directory Domains and Trusts and then select Operations Manager.
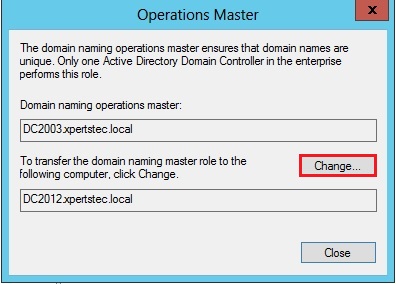
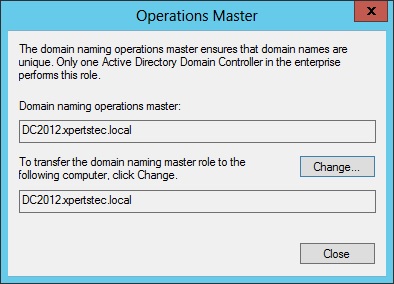
31- In the Operations Master, click Change to transfer the domain naming master role to the DC2012.xpertstec.local Windows Server.
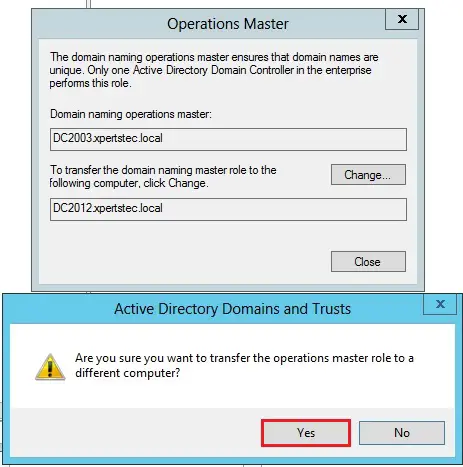
32- Are you sure you wish to transfer the operations master role to a different computer?, so click Yes.
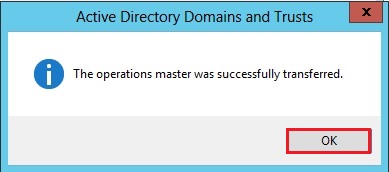
33- The Operations Master is successfully transferring, click ok.
34- Now the Domain naming operations master transferred to DC2012.xpertstec.local server.
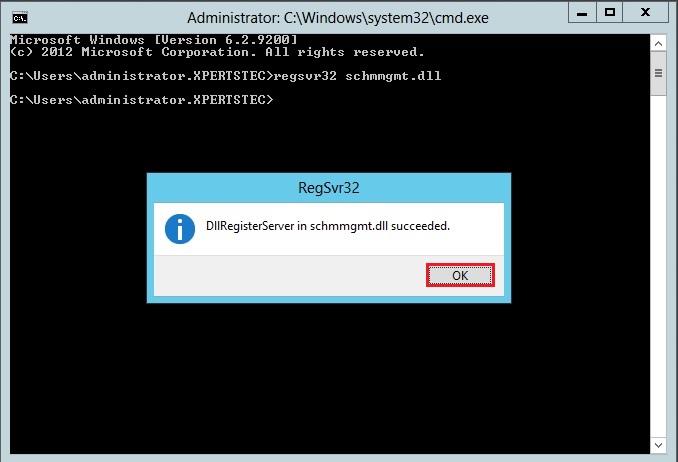
35- On the DC2012 server, open Command Prompt and type regsvr32 schmmgmt.dll to change the Schema Master.
Change Domain Controller
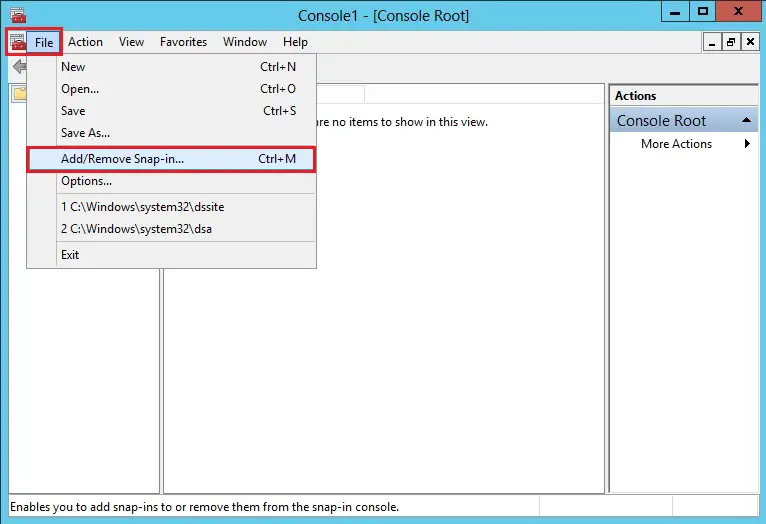
36- On the DC2012.xpertstec.local server, open MMC, click File, select Add/Remove Snap-ins.
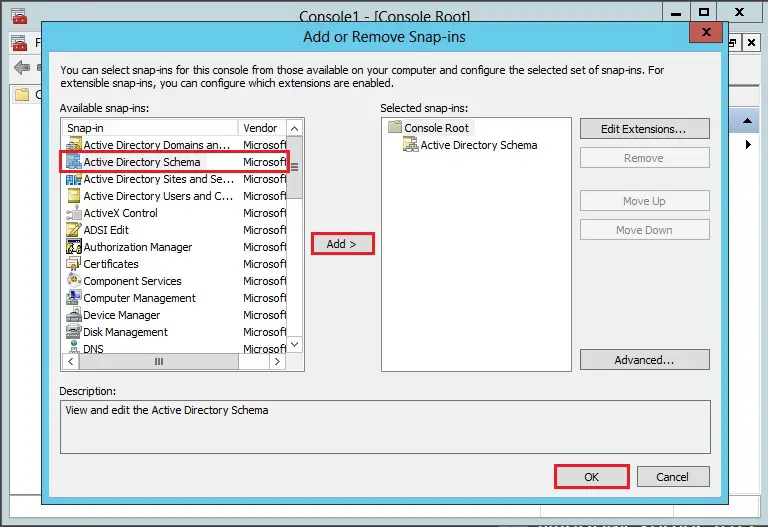
37- Select Active Directory Schema, click Add, and then click ok.
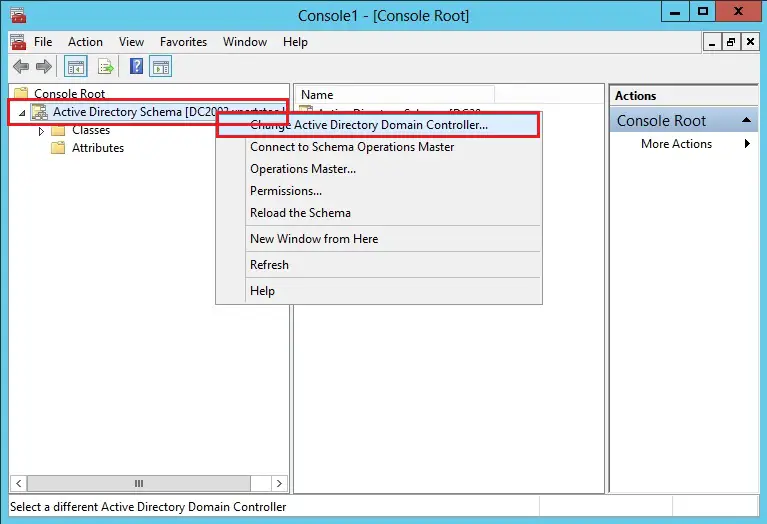
38- On the Console1, right click Active Directory Schema and then select Change Active Directory Domain Controller.
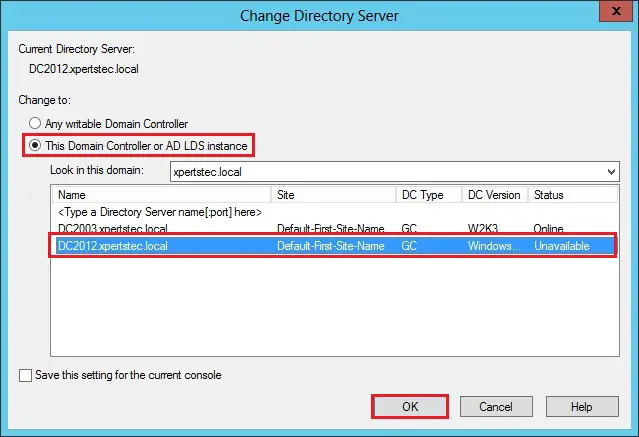
39- Select This Domain Controller or AD LDS instance, click DC2012.xpertstec.local server and then click ok.
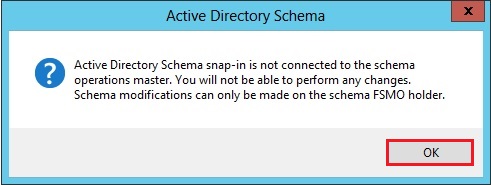
40- Click OK to proceed.
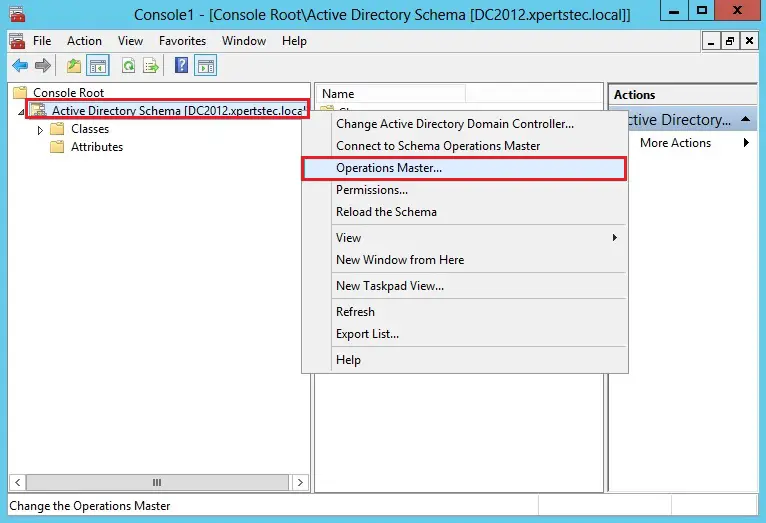
41- Verify Active Directory Schema DC2012.xpertstec.local computer is showing.

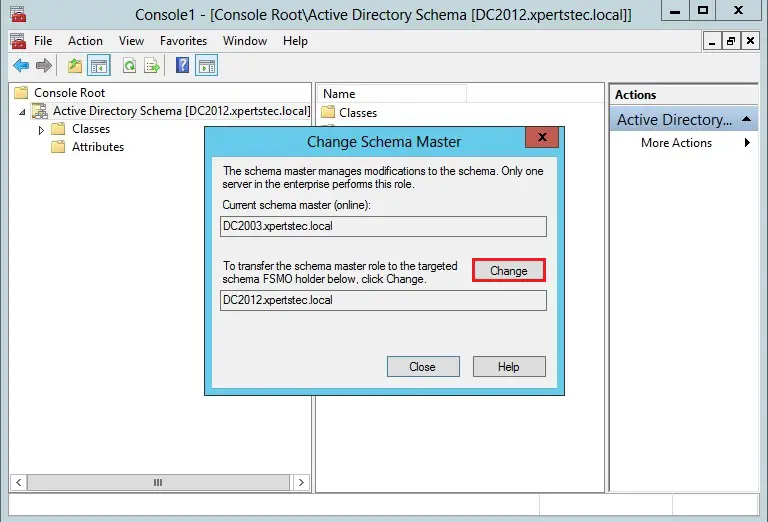
42- On the Console1, right click Active Directory Schema and then select Operations Master.
43- Click Change to transfer the schema master role to the DC2012.xpertstec.local.
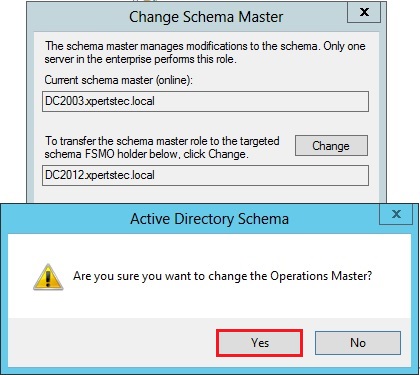
44- Are sure you want to change the schema operations master role to a different computer and then click on Yes.
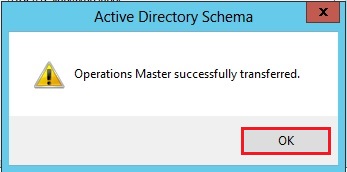
45- Operations master successfully transferred, so click OK.
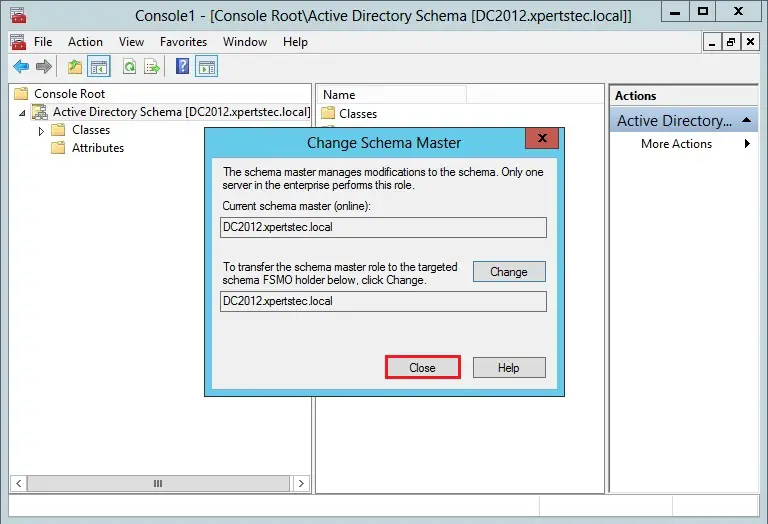
46- Verify the current schema master (online) is now DC2012.xpertstec.local, so click Close.
The next step is to remove the legacy 2003 Windows Server from the Global Catalog Server.
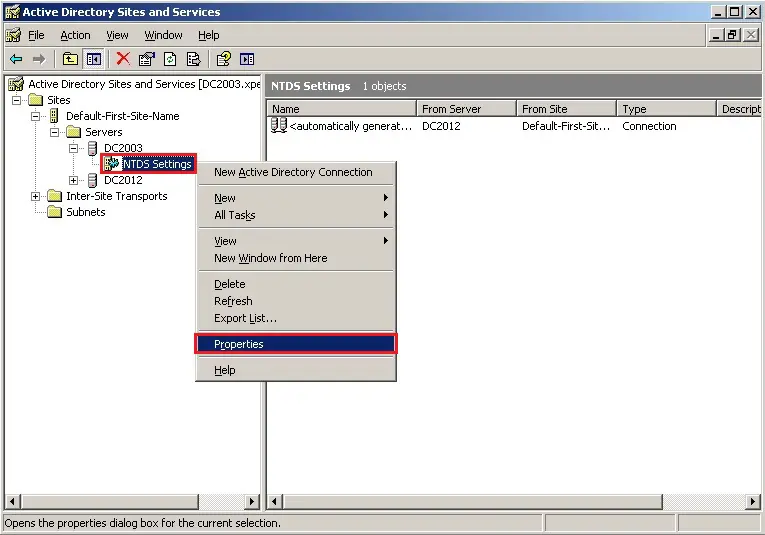
47- Now switch back to DC2003 server, open Active Directory Sites and Services, browse to Sites, Default-First-Site-name, Servers, DC2003, NTDS Settings right click and select Properties.
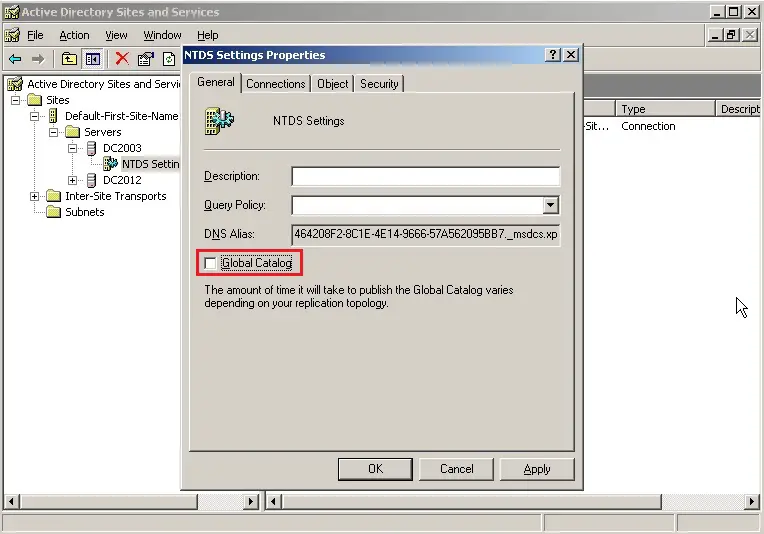
48- NTDS Settings, un-tick Global Catalog, click Apply and then click ok.
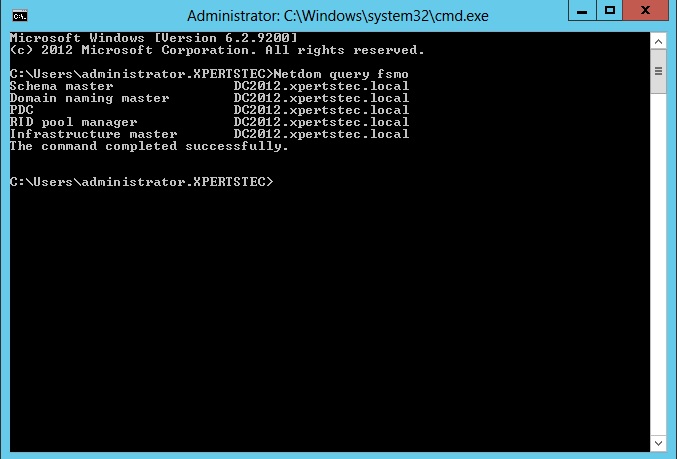
49- Switch back to DC2012 Server, open Command Prompt and then type Netdom query fsmo to verify that out new DC2012.xpertstec.local Server is running the FSMO role.
Next, open IPv4 IP and make sure you point the DNS IP to your new DC2012.xpertstec.local IP address.
Remove Active Directory Server 2003
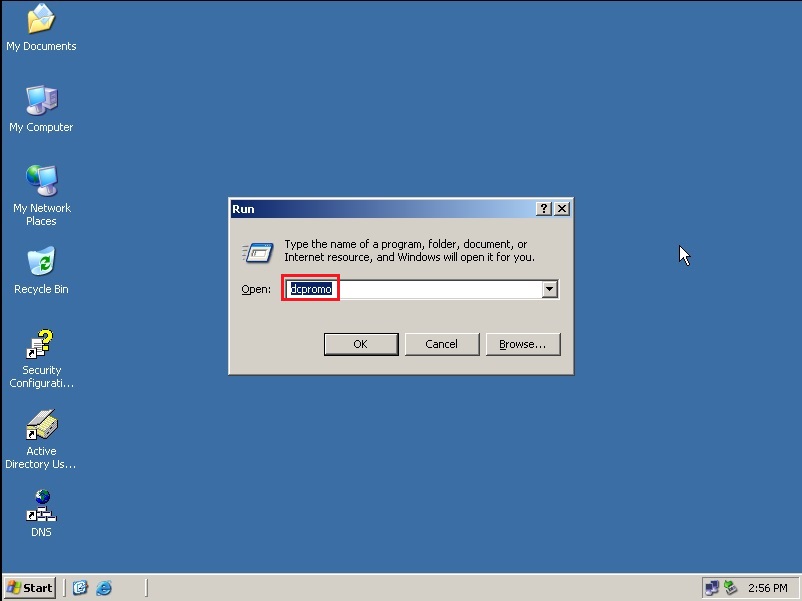
50- Now the last step is to remove our DC2003 ADDS, open run, and then type dcpromo.
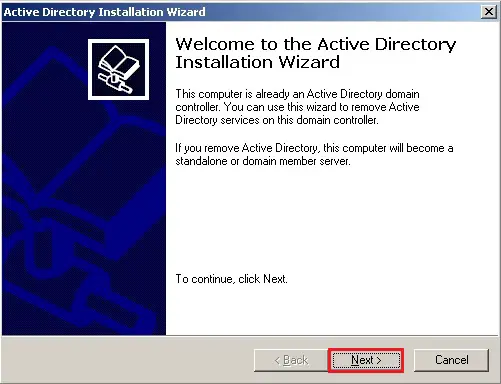
51- Active Directory Installation Wizard, so click next.
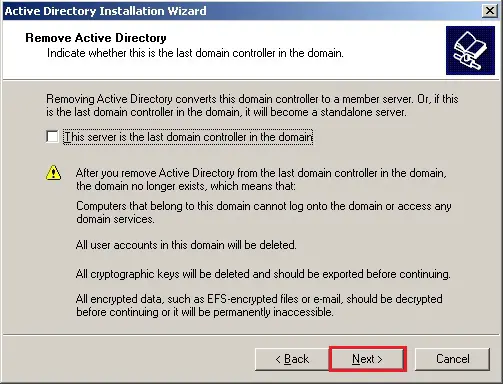
52- Remove active directory, then click next.
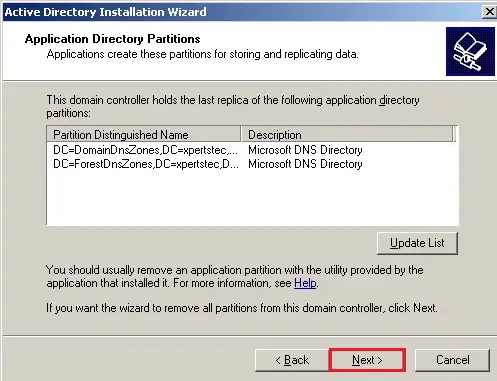
53- Active directory application, so click next.
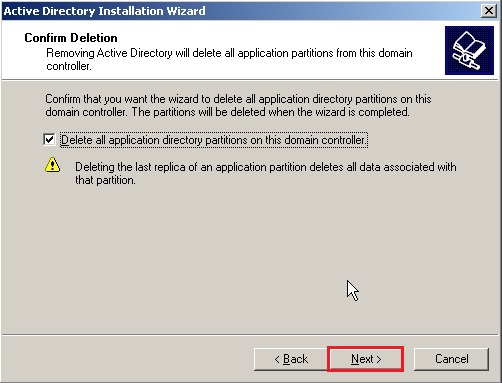
54- Select Delete all application directory partitions on this domain controller and then click next.
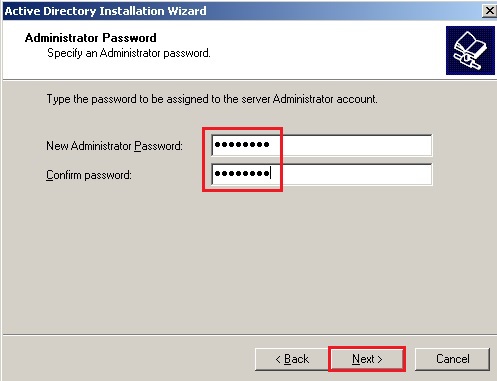
55- Type Administrator Password and then click Next.
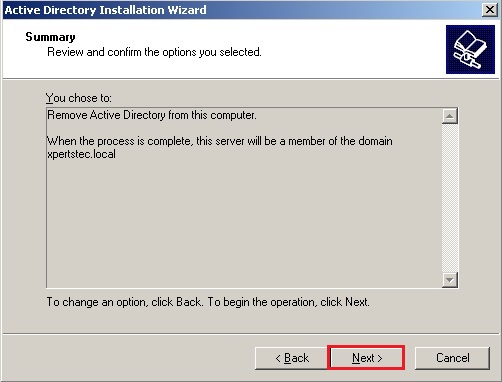
56- Review and confirm the options you selected and then click Next.
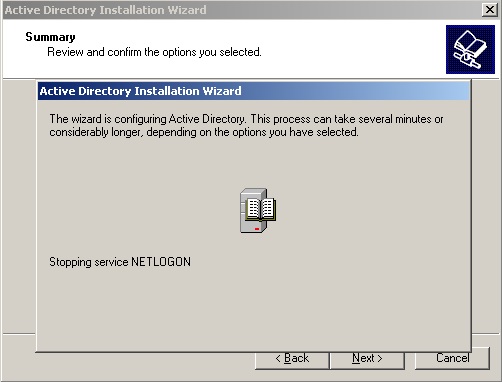
57- Wait for the process to complete.
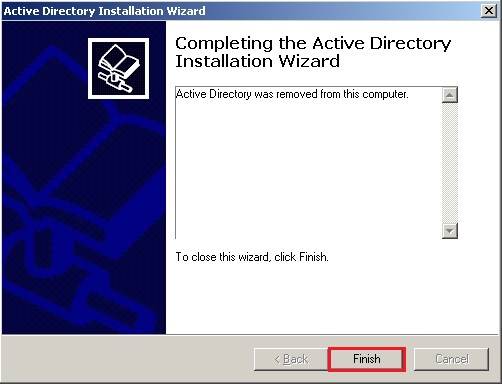
58- Active Directory removed from this computer, so click Finish.
For more details click here
