

A public folder exchange 2019, maybe a folder created to share information with others. PF in Outlook offers you an excellent place to gather, organize, and share information about particular topics or projects within a corporation.
What is an Exchange Public Folder?
An exchange public folder is a folder that is available to all users of an exchange server. Public folders can be created by any user and are typically used for sharing information such as calendar events, contacts, and email messages. Exchange public folders can also be used to store files, such as documents and images. When a public folder is created, it is automatically replicated to all exchange servers in the organization, making it possible for all users to access the same information. Public folders can be accessed via the exchange management console or the exchange control panel.
What are the benefits of using an Exchange Public Folder?
There are several benefits of using a public folder exchange:
- Public folders make it possible for all users to access the same information, making collaboration easier.
- Public folders can be used to store files, such as documents and images. This makes it easy to share files between users.
- Public folders are automatically replicated to all exchange servers in the organization, making the information available even if one server goes down.
- Public folders can be accessed via the exchange management console or the exchange control panel, making it easy to manage and monitor the information.
Configure Public Folder Exchange 2019
1- Login in Exchange admin center and left side select public folders and select Public Folder Mailboxes and then select + add button.

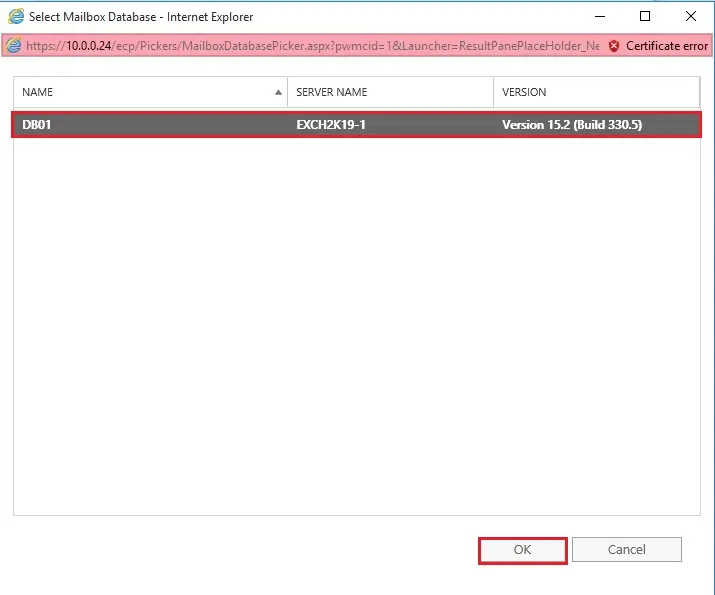
2- In the Name box, you can type the name of your choice > under Mailbox Database and then click the browse button. This is an Important Step in Public Folder Exchange.

3- Select the database and then click ok.
4- So click Save.
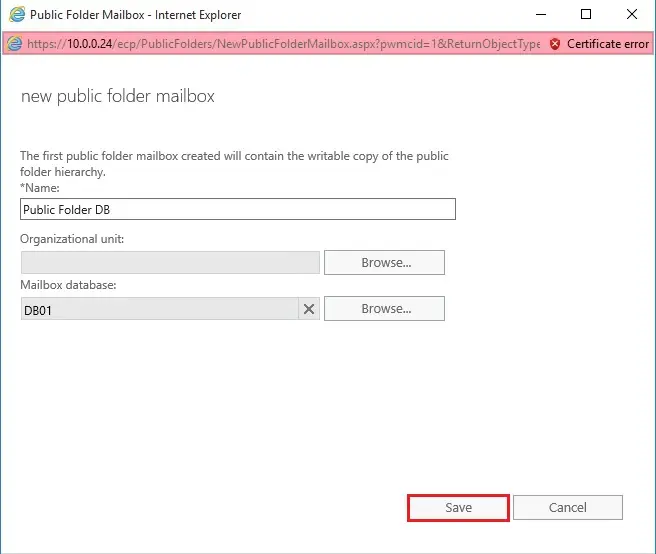
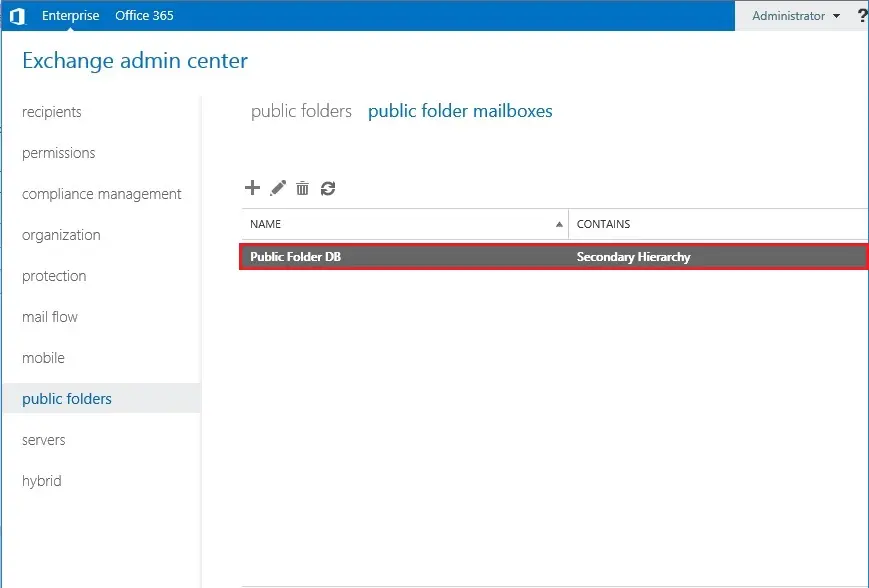
5- Now PF database created successfully.
6- Select the public folder and then click the + add button.
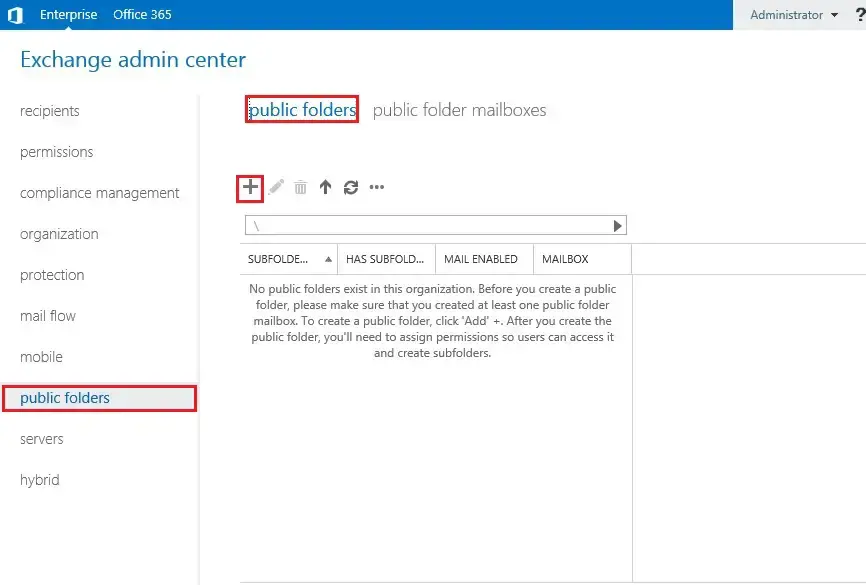
7- Type a name and click save.
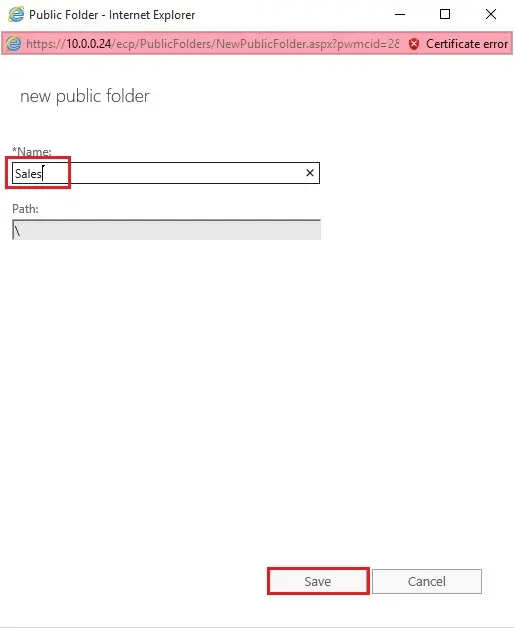
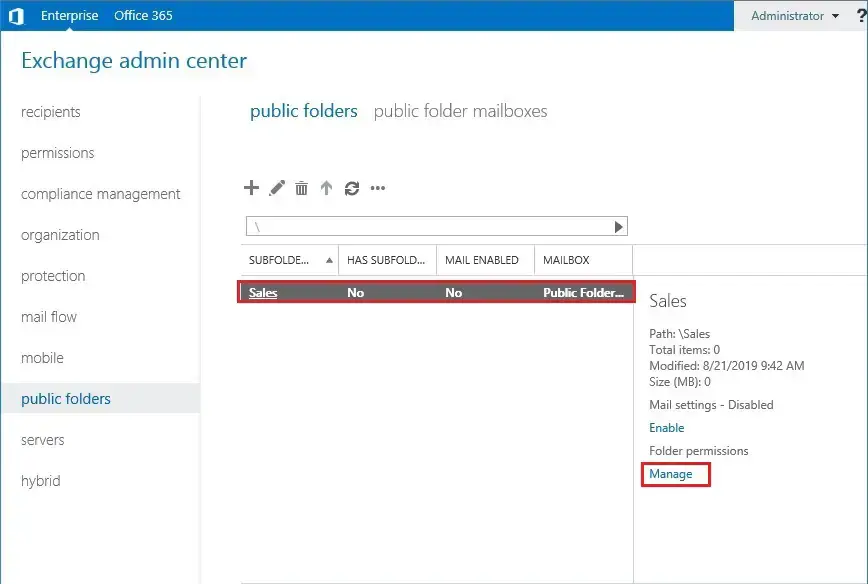
8- PF created Successfully and then click manage.
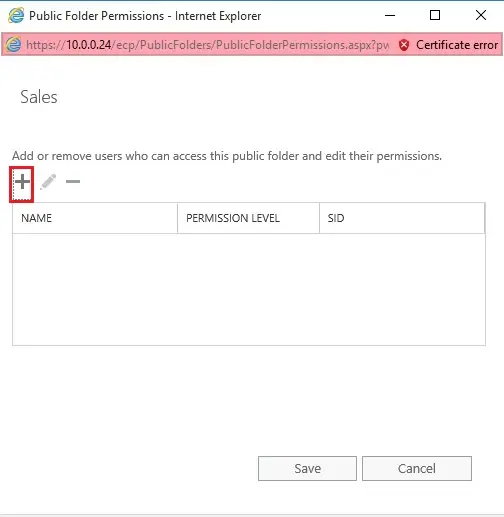
9- Select + add button.
10- Click the Browse button.
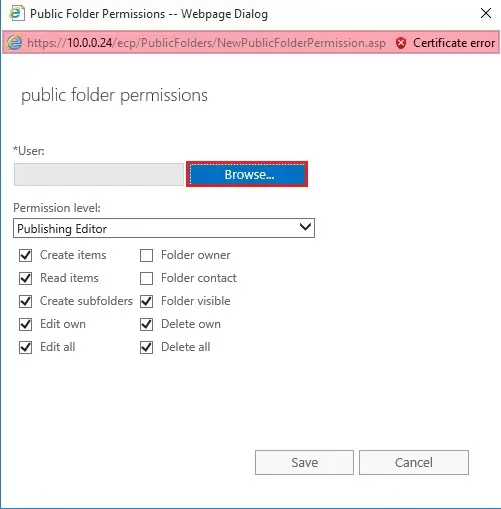
11- Select users you want to allow permission and click ok.

12- Select the permission level and click save.
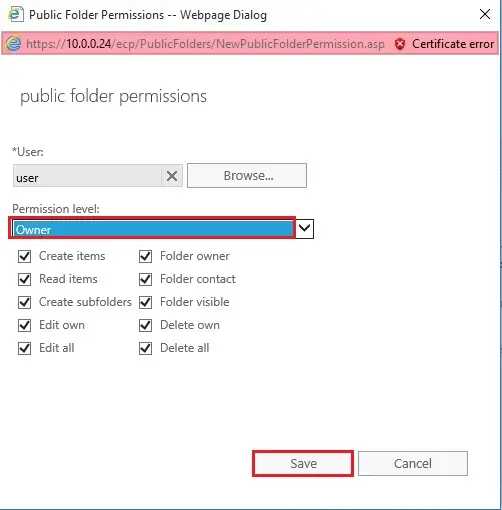
13- Click Save.
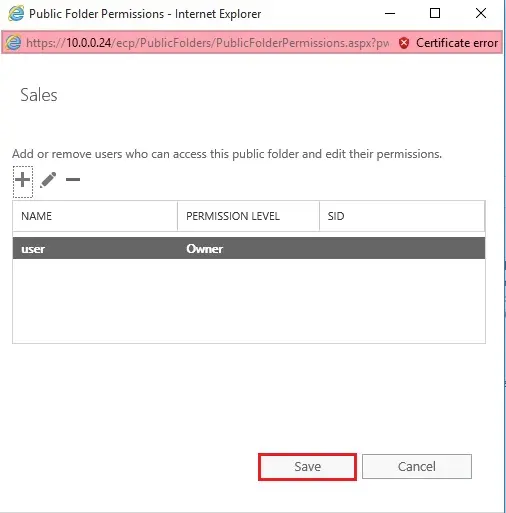
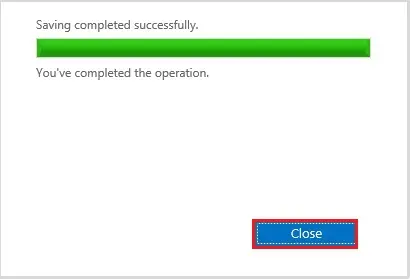
14- Permission added successfully and click close.
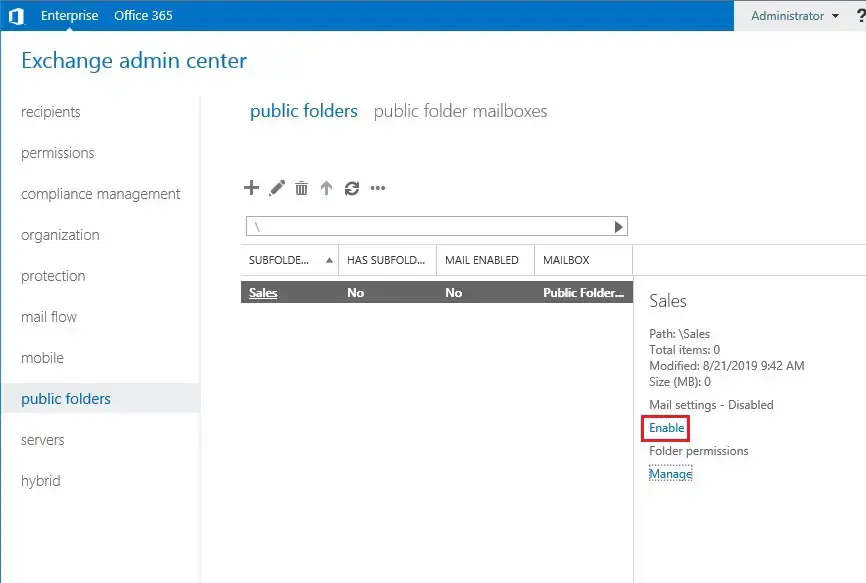
15- Under mail settings select Enable.
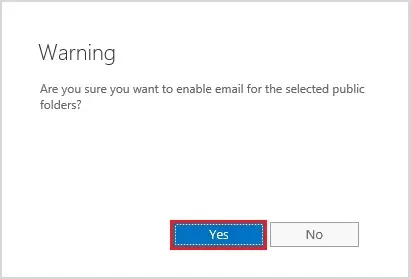
16- Warning message while selecting Enable and click yes.
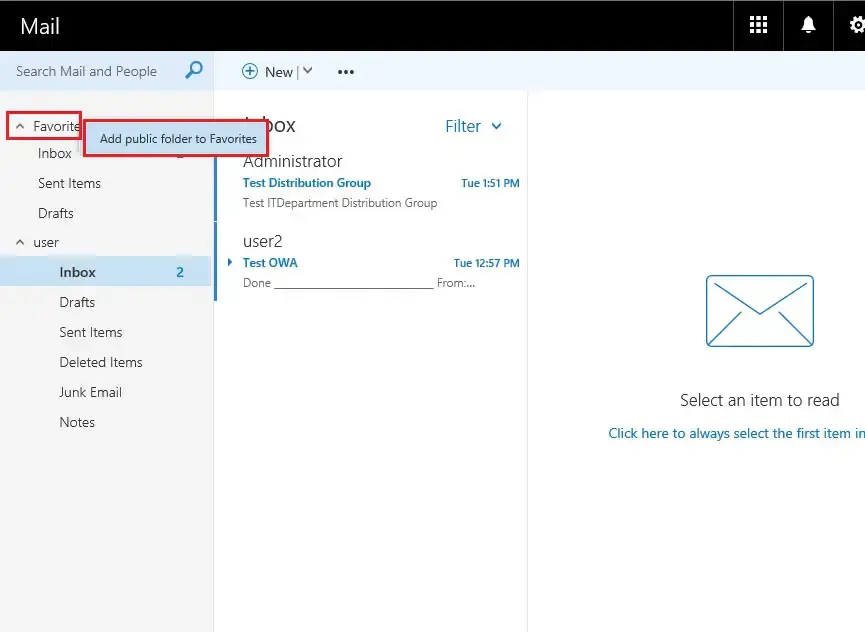
17- Login your outlook web app > left side right click Favorite and click add a public folder to Favorites.
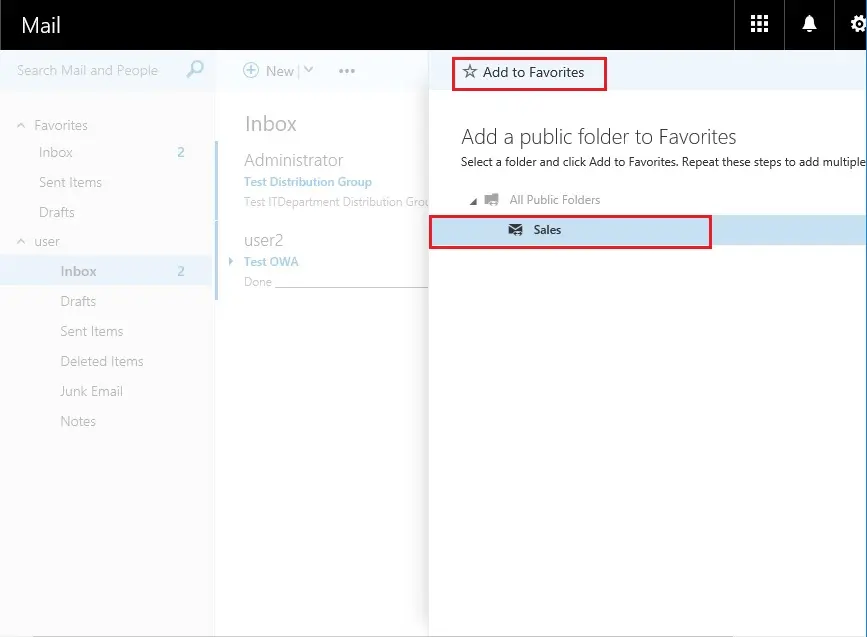
18- Select the PF and click add to favorite.
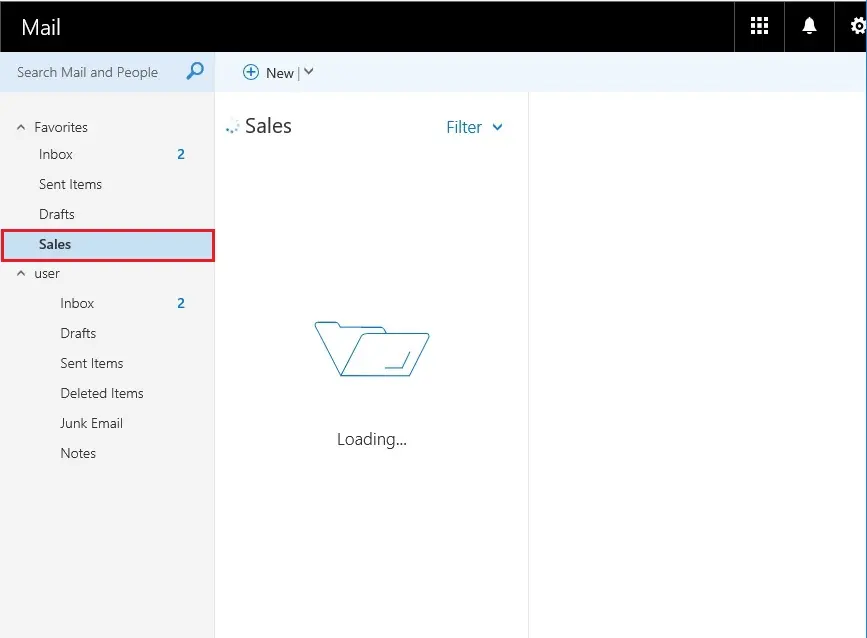
19- PF added successfully in your outlook web app.
For more information click here