
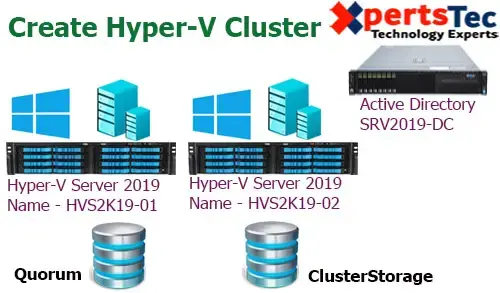
Create Hyper-V Cluster; in this first article of creating a Hyper-V cluster in Window Server 2019, we will keep a look at installing the Hyper-V role, networks, and also attaching both hosts to iSCSI targets.
Although, I would like to configure Hyper-V in a cluster configuration if we are serious about operating highly available & scalable Hyper-V production workloads in the enterprise datacenter.
In the second article, we will look at installing Failover Clustering, creating our Failover cluster, creating clustered shared volumes (CSVs), and Hyper-V virtual machine highly availability role.
Clustering Requirements click here
Systems Requirements:
HVS2K19-01 (Host 1) Windows Servers 2019
10.0.0.60
192.168.1.2
HVS2K19-02 (Host 2) Windows Servers 2019
10.0.0.62
192.168.1.3
Install Windows Server 2019
Install Hyper-V
Windows Server 2019 ( iSCSI SAN Storage) with 2 drives configured
10.0.0.110
Install and Configure target iSCSI Server
Drive 1: 10 GB (Quorum)
Drive 2: VM Server Storage
Microsoft Server 2019 with Hyper-V capabilities
Create Hyper-V Cluster
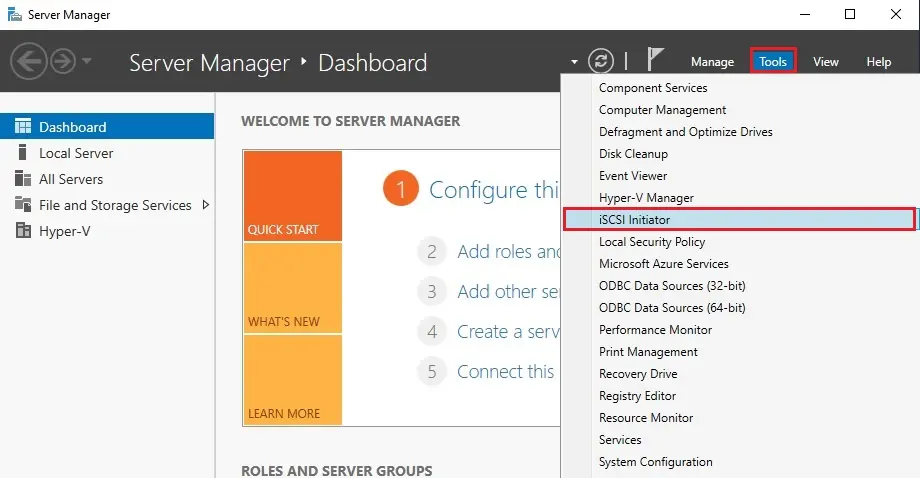
After installing and configuring iSCSI Server log in to your first hyper-v node (HVS2K19-01).
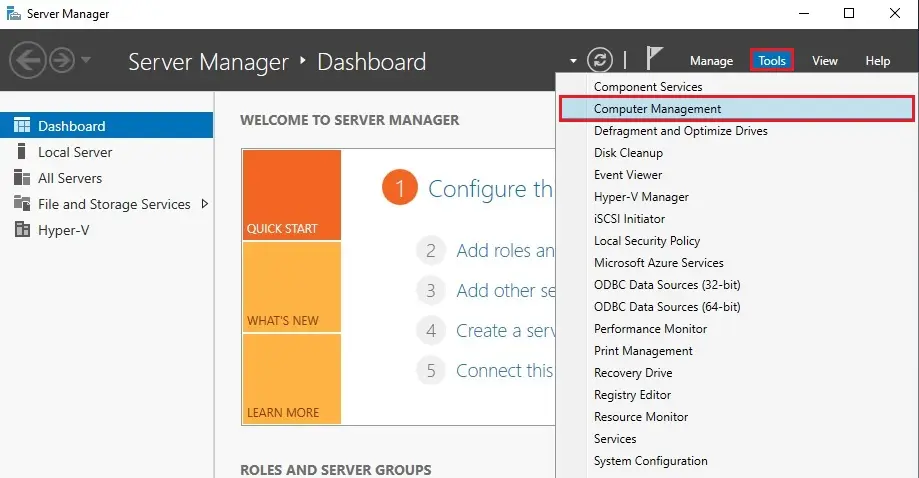
1- In the Server Manager, click tools and then select iSCSI Initiator.
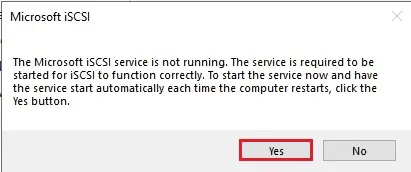
2- The Microsoft iSCSI service to automatically start. Select Yes.
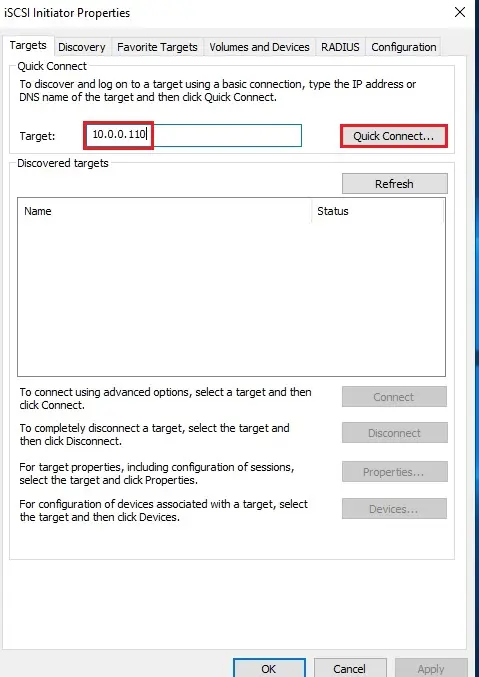
3- In the iSCSI initiator properties we need to enter the address of our iSCSI target and then click Quick Connect to automatically connect to the discovered targets.
4- Two iSCSI targets are found. Notice they show to be Inactive. Select each one and then click Connect.
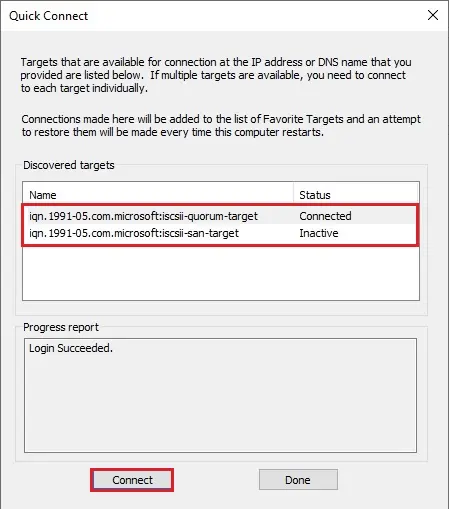
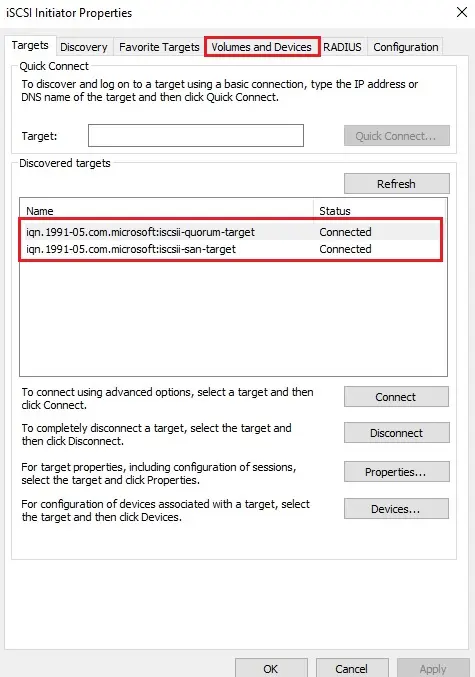
5- The status of the discovered iSCSI targets change to Connected.
Now select the Volumes and Devices tab.
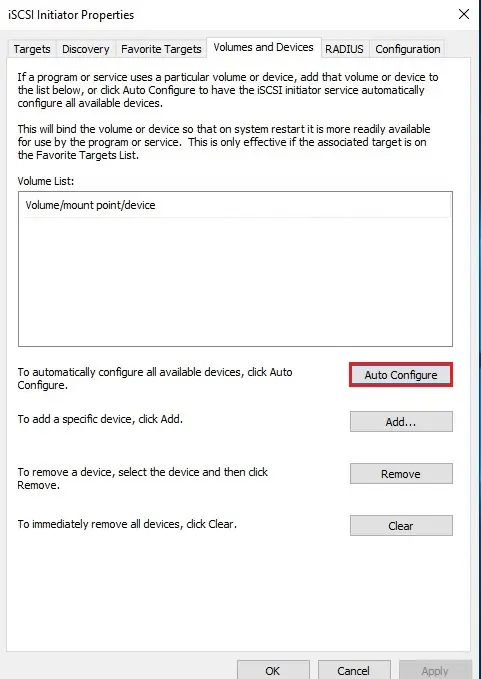
6- Select to Auto Configure the volumes.
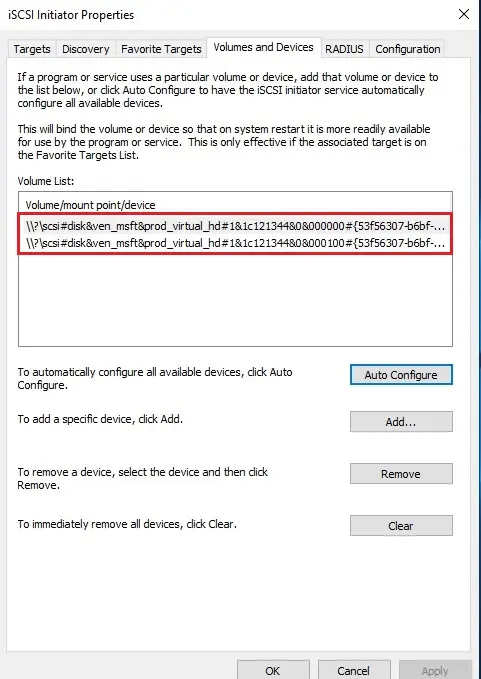
7- Now you can see our Volume List populated with the iSCSI volume targets.
Cluster Storage and Quorum volume
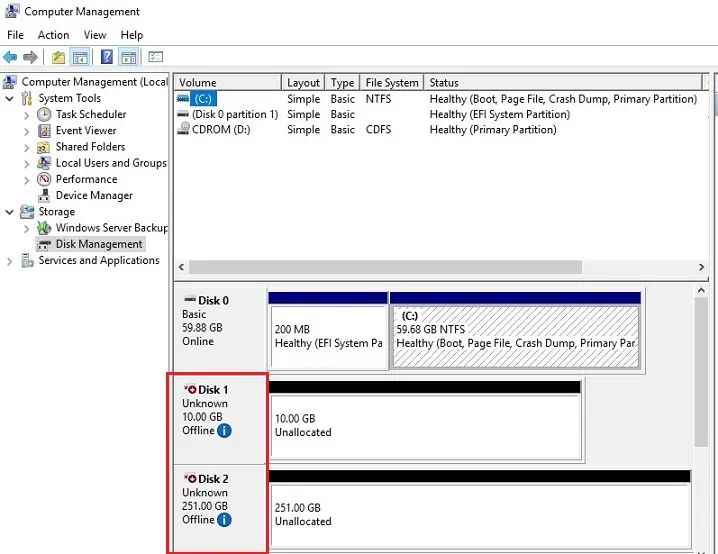
8- Open disk management
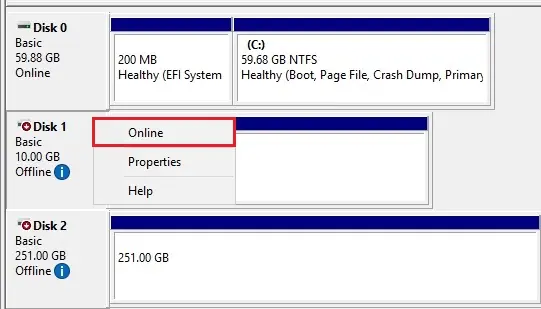
9- We can see the two disks show up as Offline. We need to bring then online.
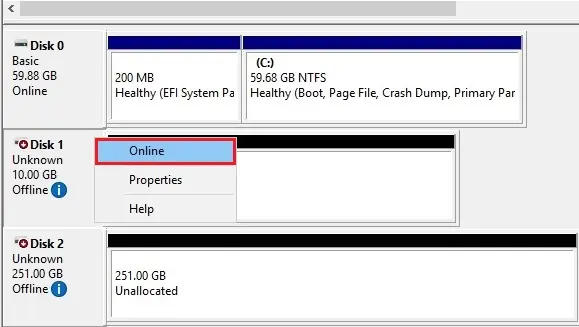
10- Right click on disk and then select online.
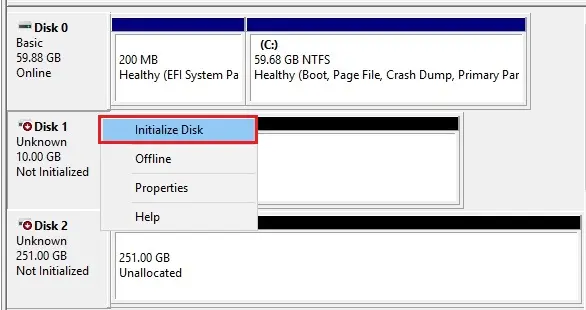
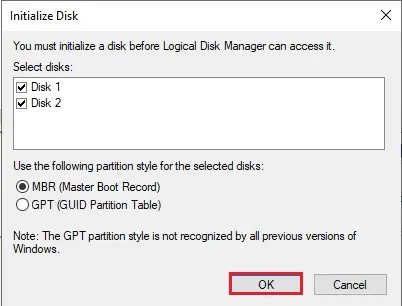
11- Right click on disk and then select initialize disk.
12- Initialize disk wizard (Master boot record) so click ok.
13- Right click on unallocated disk and then select new simple volume.

14- New simple volume wizard click next.
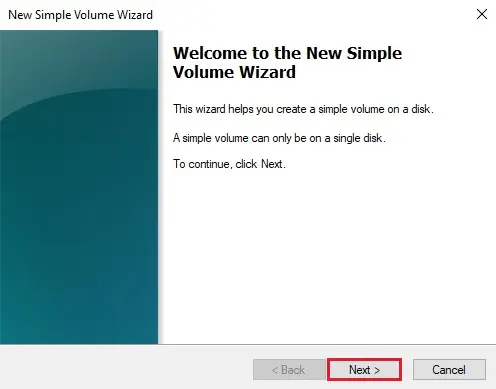
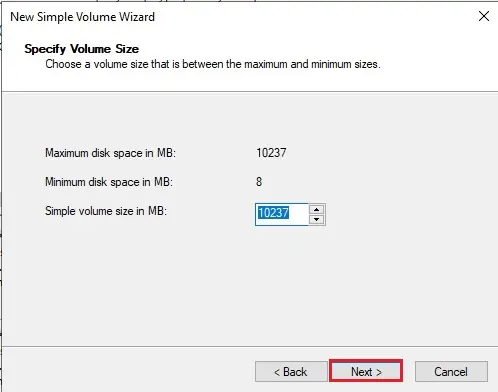
14- Click next.
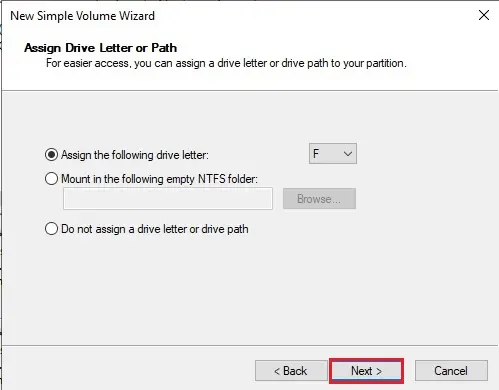
15- Assign a drive letter and then click next.
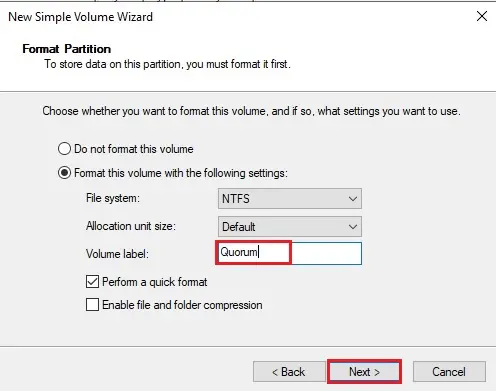
16- Type a volume label and then click next.
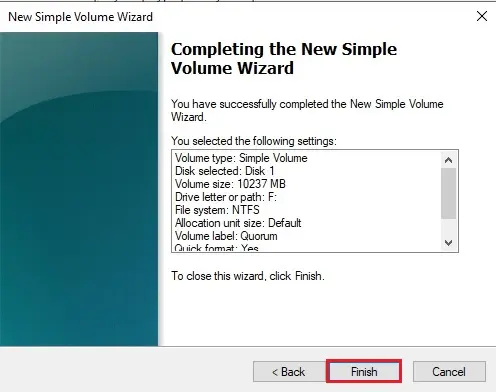
17- Click finish.
Follow the above steps from 13 to 17 for storage disk (ClusterStorage).
18- After bringing both disks online and initializing both disks, we can format, etc.
19- Now log in to your Hyper-v 2nd node (HVS2K19-02). Open computer management, select disk management, right click on both disks and then select online.
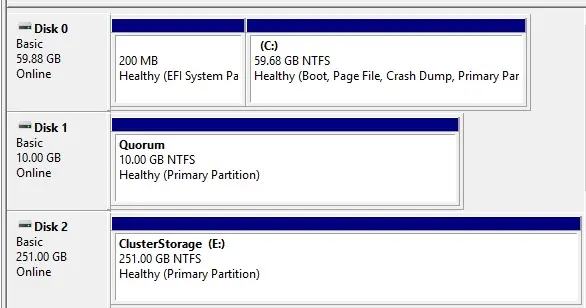
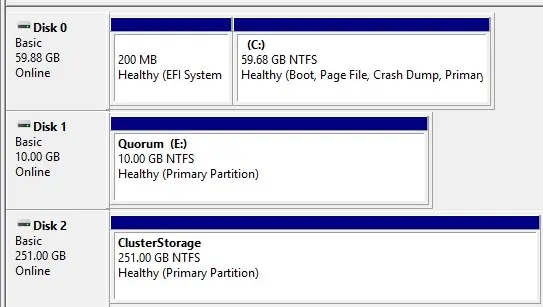
20- Here you can see both disks (Cluster Storage and Quorum) are online.
In this first article, we have installed the Hyper-V role, network configuration, and add the shared storage to both nodes. In the next post, we will configure out how to install Failover Clustering, create our Failover cluster using our two Windows Server 2019 Hyper-V nodes, create clustered shared volumes (CSVs) & making the Hyper-V virtual machine workloads role highly available.


Like!! Great article post. Really thank you! Really Cool.
thank you
Wow, superb weblog layout! How long have you been blogging for?
you made blogging glance easy. The full look of your website is great, as neatly as the content material!
thank you so much i appriciated
I love your blog.. very nice colors & theme. Did you create this website yourself or did you hire someone to do it for you?Plz reply as I’m looking to create my own blog and would like to find out where u got this from. many thanks
I created this website myself
Great blog here! Also, your website loads up fast! What web host are you using? Can I get your affiliate link to your host?
I wish my site loaded up as quickly as yours lol
Whⲟa! This bⅼog looкs exactly like my old one!
It’s on a totally different subject but it has pretty mսch the same page layout and design. Wonderfսl choice of colors!
Dear billings, thank you
I was suggested to this blog by my cousin. I am not sure whether this post is written by him as nobody else know such detailed about my trouble. You are wonderful! Thanks!
Thank you
I am really loving the theme/design of your web site.
Do you ever run into any browser compatibility problems?
A small number of my blog readers have complained about my blog not operating correctly in Explorer but looks great in Firefox.
Do you have any advice to help fix this problem?
Please upgrade your browser,
Having read this I thought it was extremely informative.
I appreciate you finding the time and energy to put this content
together. I once again find myself personally spending way too much
time both reading and posting comments. But so what, it was still worthwhile!
Thank you