
In this guide, I will explain how to restore Microsoft Exchange Item using Veeam Backup & Replication, Veeam Backup & Replication automatically extracts an Exchange items database from the storage snapshot and opens it in Veeam Explorer.
Restore Microsoft Exchange Item
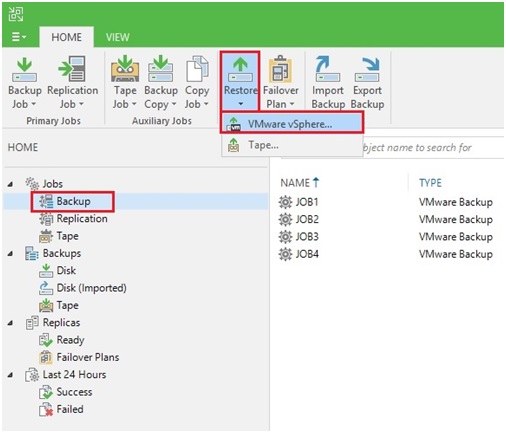
1- You can restore VM files from a Veeam Backup so, click Home and click restore and then select Vmware vSphere.
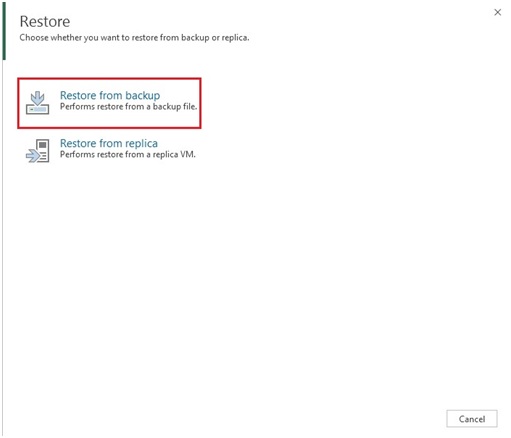
2- Select a restore option so, select Restore from backup.
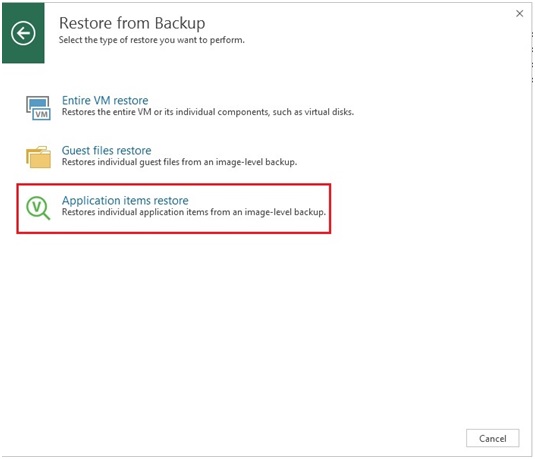
3- Select Application items restore to restore Microsoft Exchange items.
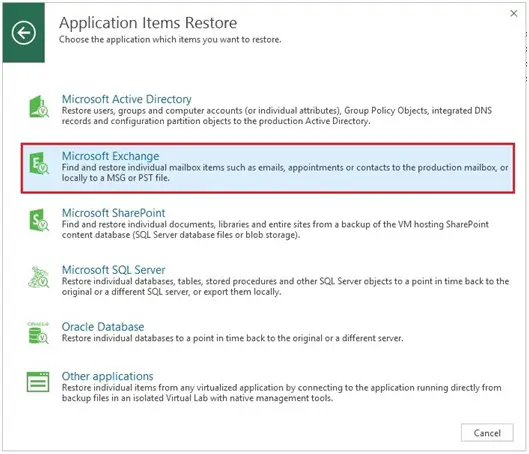
4- Select the Microsoft Exchange options.
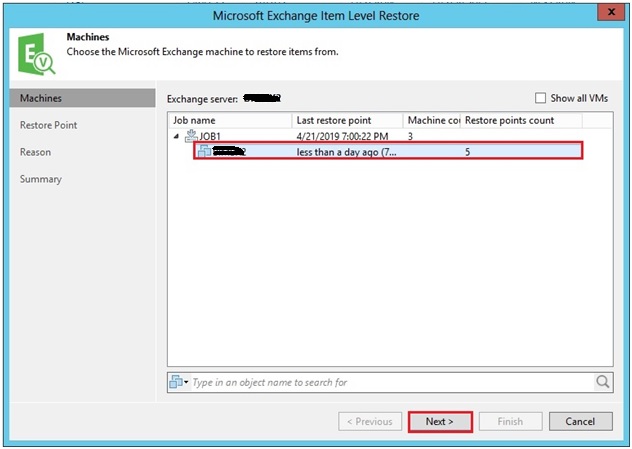
5- In the Virtual Machine list and expand the necessary backup (Mailbox) so select VM and then click on Next.
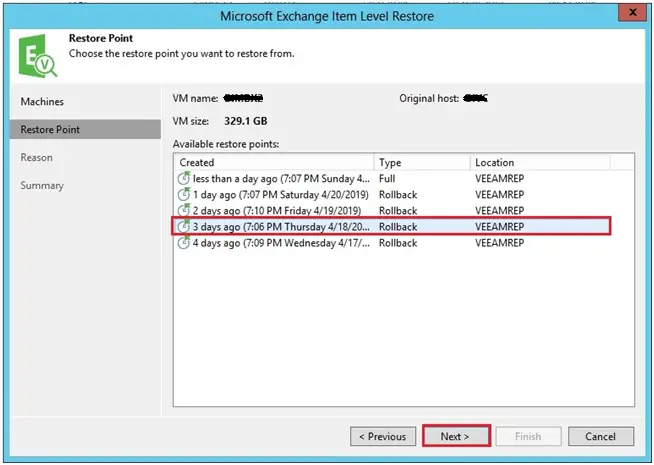
6- Select a Restore Point you would like to restore and then click on Next.
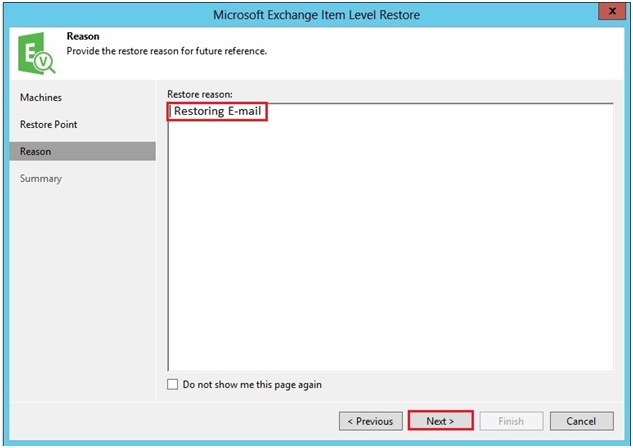
7- Type a reason for restoring Exchange Items (E-mail) and then click on next.
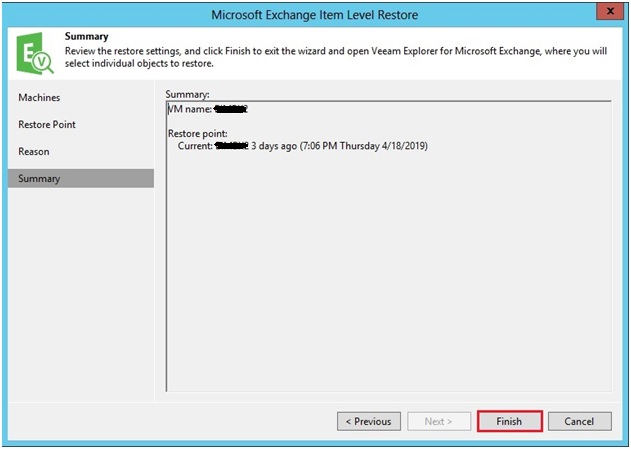
8- Review details for the restore task and click Finish to start Microsoft Items (E-mail) restore.
9- Default Running Process.
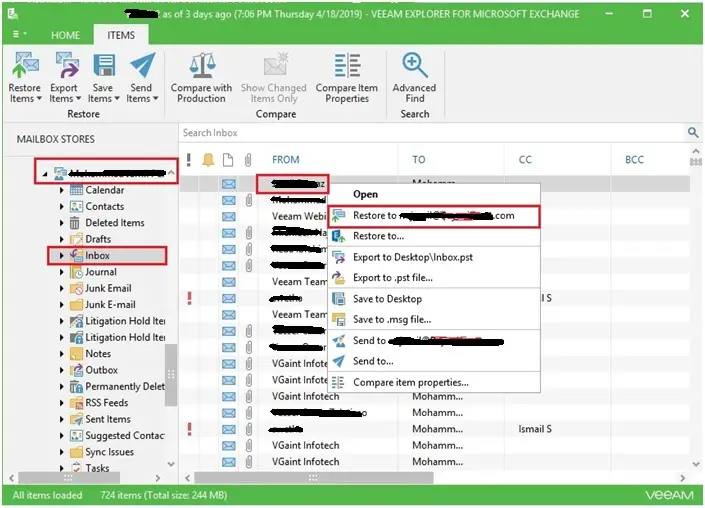
10- To overwrite the original Email on the VM with the E-mail restored from the backup and Right click on items and then select Restore to [email protected].
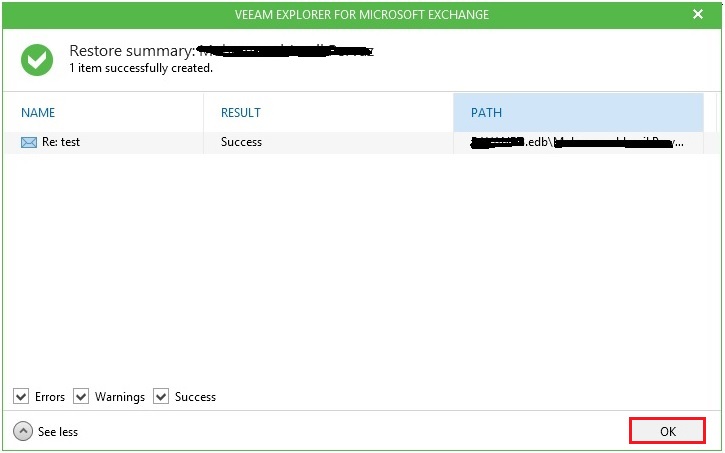
11- Restore completed has been completed and then click on ok.
For more details so please click here


