
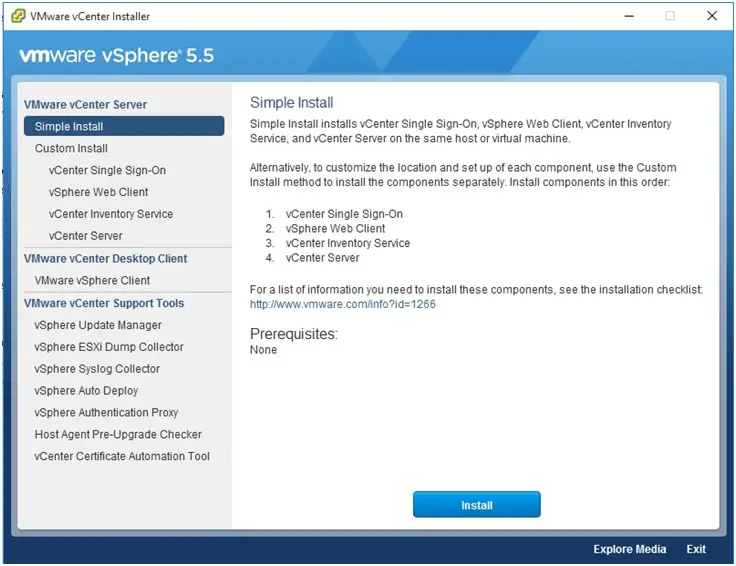
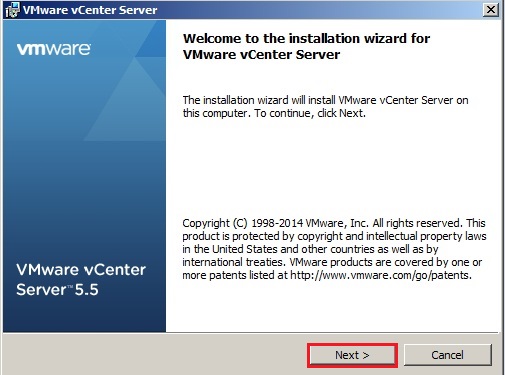
In this guide, I will provide a step by step VMware vCenter Server 5.5 installation and configuration using the Simple Install method.
VMWare vCenter 5.5 installations and Configuration
Minimum System requirements:
Processor – Intel or AMD x64 bit processor with two or more logical cores, each with a speed of 2GHz
Memory – 4GB Minimum
Disk Storage – 7GB a minimum of
Network – 1Gbps Recommended
VMware vCenter Single Sign-On
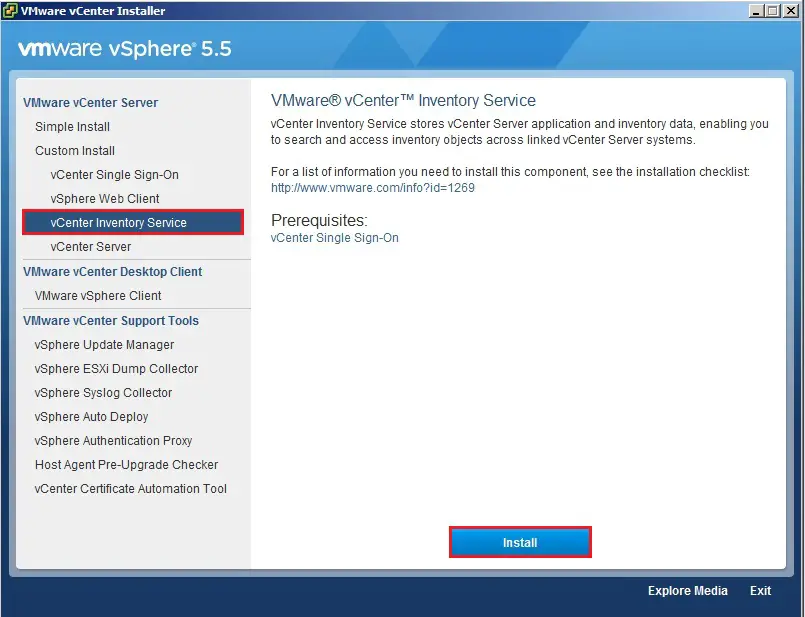
vCenter Inventory Service
vCenter Server
vSphere Web Client
vCenter 5.5 installation Single Sign-On
1- Insert DVD or .iso ” VMware-VIMSetup-all-5.5.0-1623099-20140201-update01.iso”
Click the autorun.exe file within the root of the cd or folder > click vCenter Single Sign-On and click on Install.
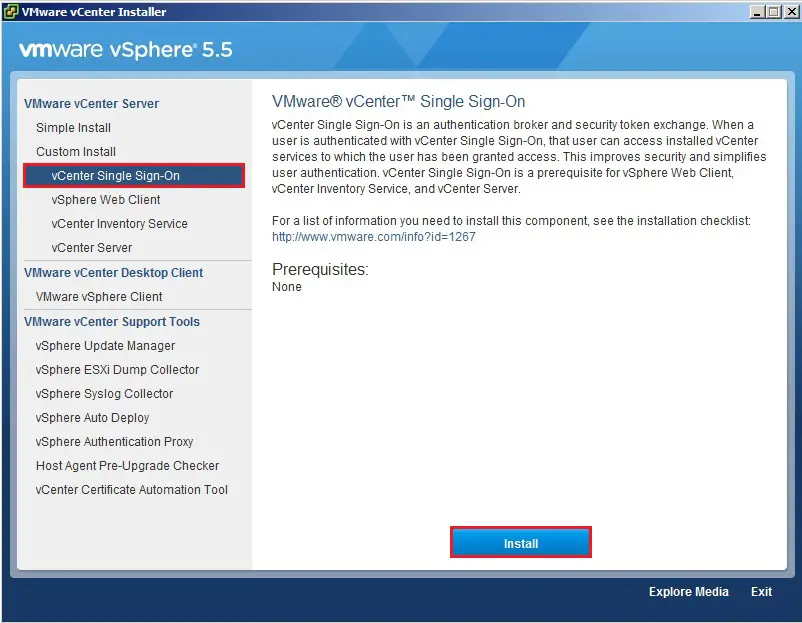
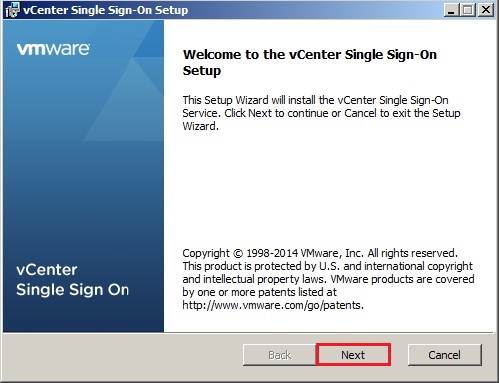
2- Click Next, to start out the installation.
3- Select I accept the terms within the License Agreement and click on next.

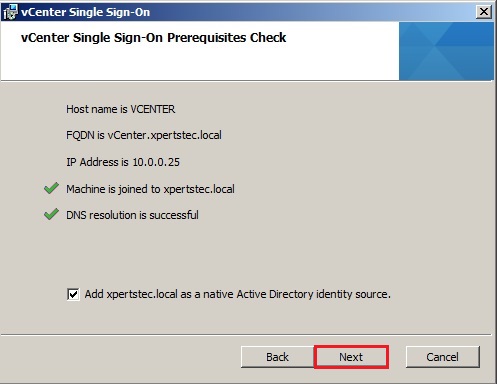
4- Select Add …….. as a native Active Directory identity source and click on next.
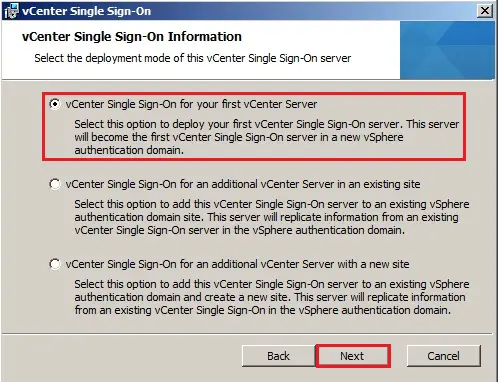
5- Select vCenter Single Sign-On for your first vCenter Server and click on next.
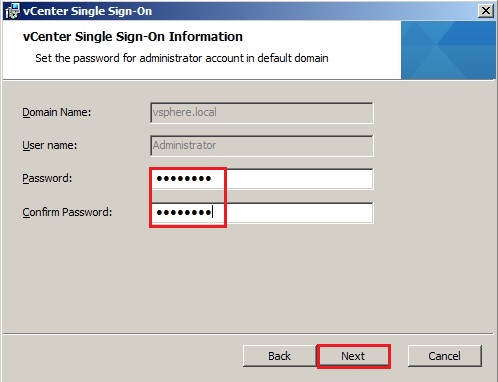
6- A password for the vCenter SSO administrator account
Note: this is often an area user within the SSO database, it’s neither an area windows user or AD user. If Active Directory authentication stops working you’ll still login with the administrator@vsphere.local and click on Next.
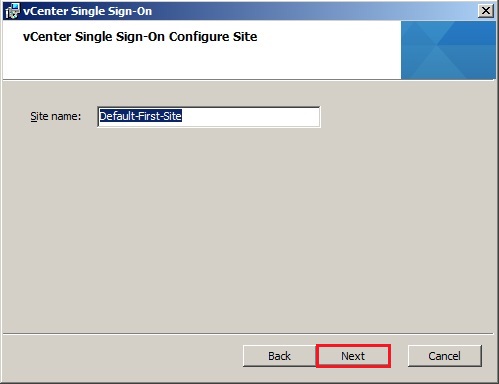
7- Enter a reputation for your site or leave it the default and click on next.
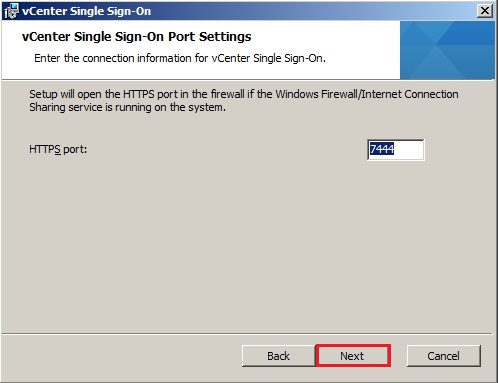
8- Keep the HTTPS port because the default 7444 recommended and click on next.
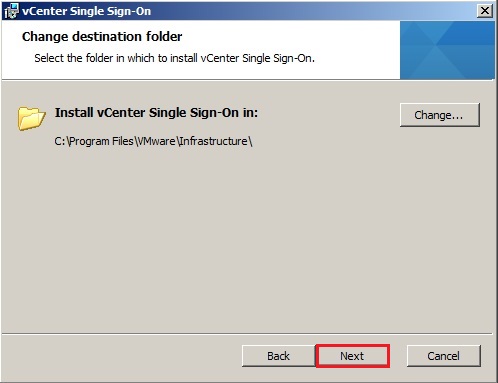
9- Select the directory during which you would like to put in vCenter SSO and click on next.
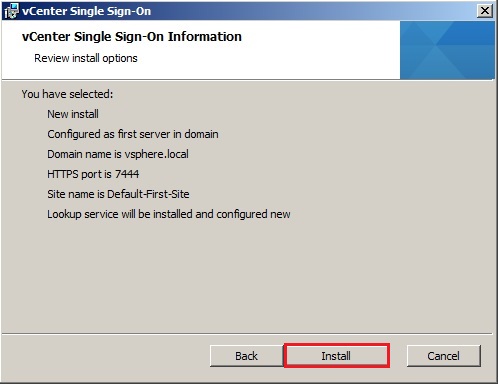
10- Confirm the installation options and click on Install.
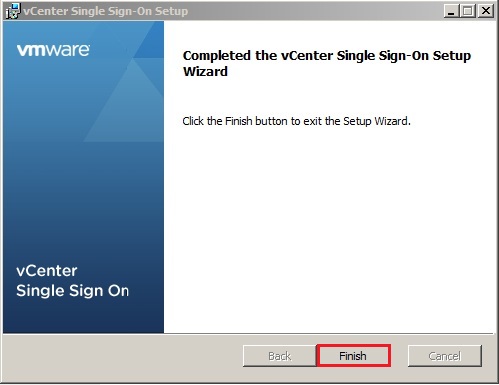
11- vCenter SSO installation completed and click on Finish.
vCenter 5.5 installation Inventory Service
1- Back to the installer for vCenter Inventory Service and choose vCenter Inventory Service and click on Install.
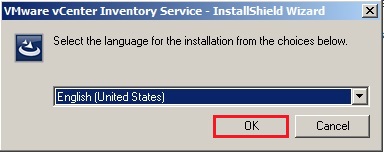
2- Click ok.
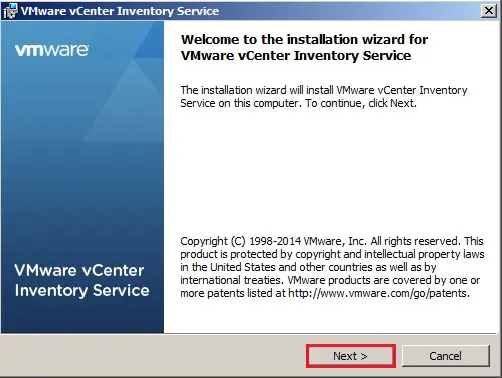
3- Click Next.
4- Select I Accept the terms within the license agreement and click on next.

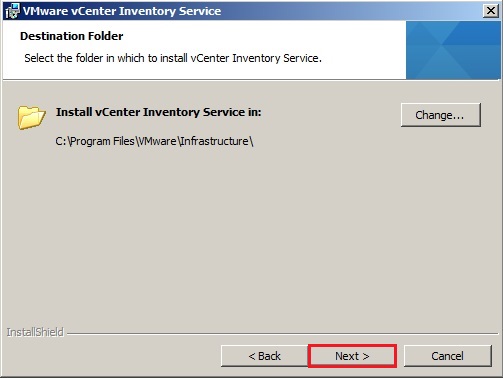
5- Select the specified installation location and click on the next.
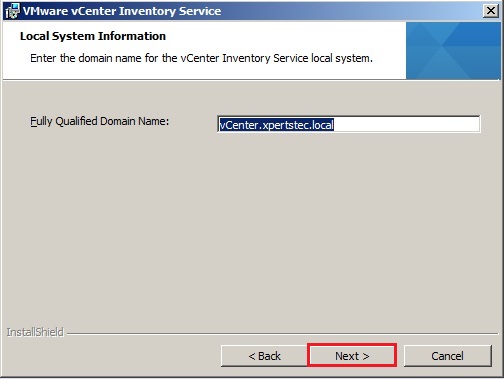
6- Enter the FQDN and click on next.
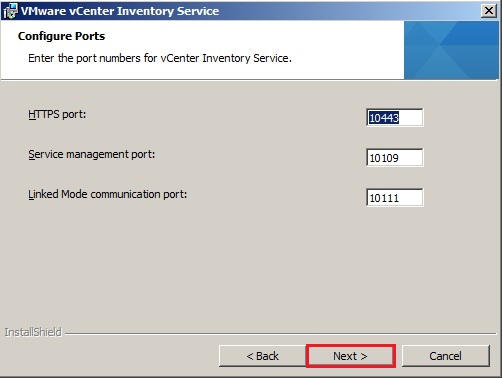
7- Keep the ports defaults and click on next.
8- Select the VM memory size and click on the next

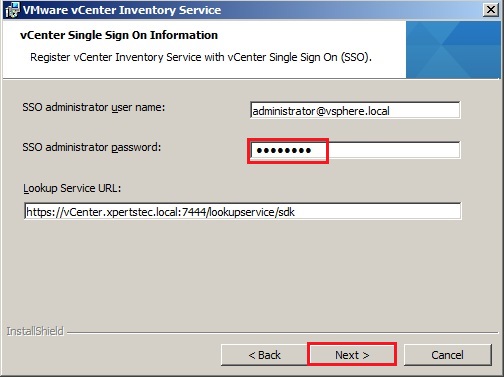
9- Enter your Single Sign-On (SSO) username & password and click on next.
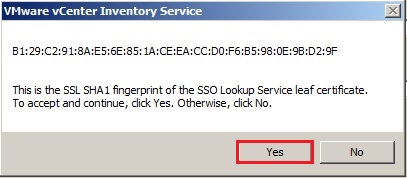
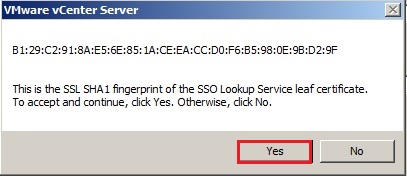
10- Click Yes to simply accept the SSO certificate.
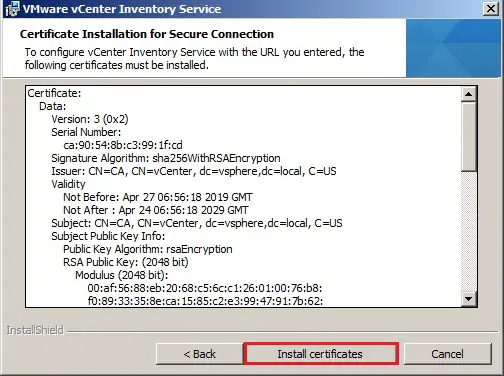
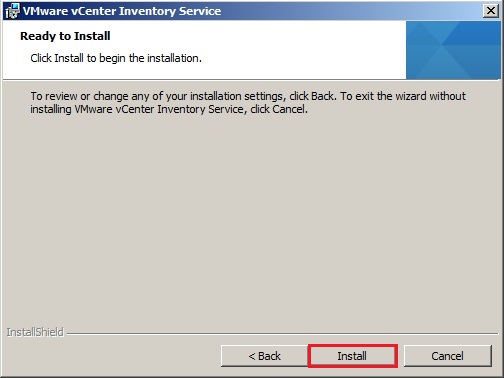
11- Click Install Certificates.
12- Click Install.
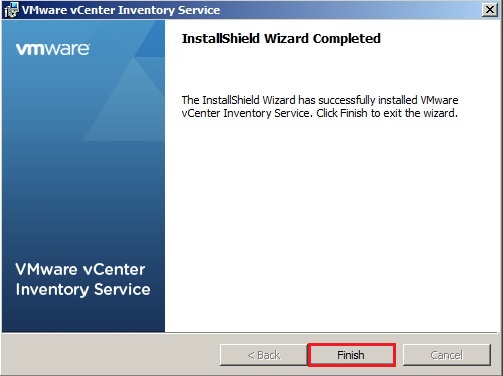
13- Inventory Service successfully installed and click on Finish.
vCenter 5.5 Installation
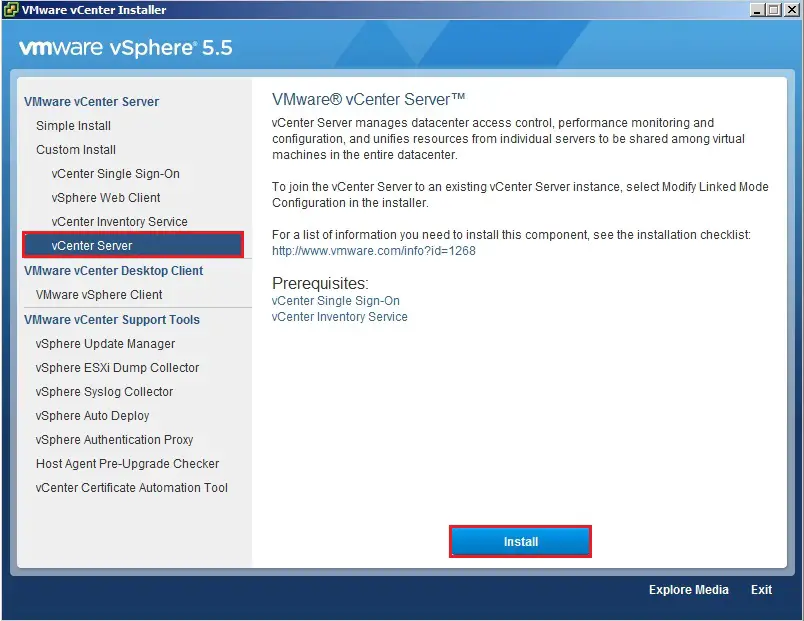
1- Once Back to the vCenter installer and choose vCenter Server and click on Install.
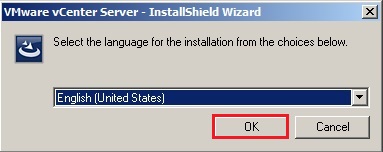
2- Click ok.
3- The vCenter Server installer will start and click on next.
4- Select I Accept the license agreement and click on next.

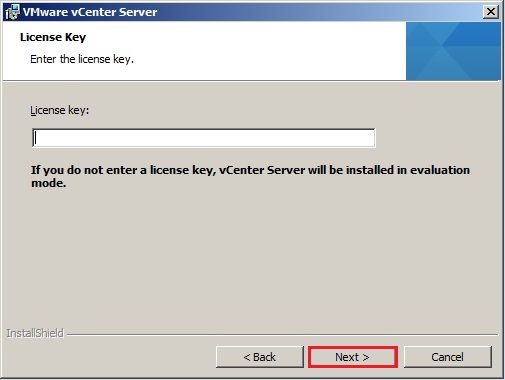
5- Enter your license (if you don’t it’ll run during a 60 full evaluation). and click on next.
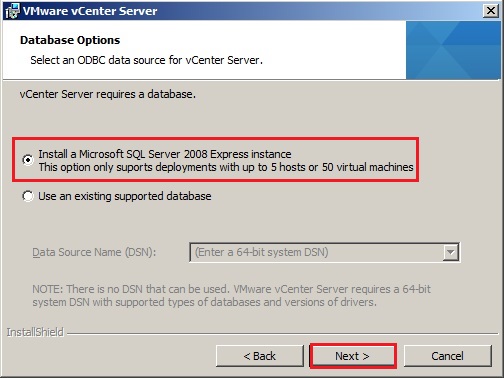
6- If deploying a little scale deployment (5 hosts and up to 50 VMs) you’ll prefer to use SQL Server 2008 Express and click on next.
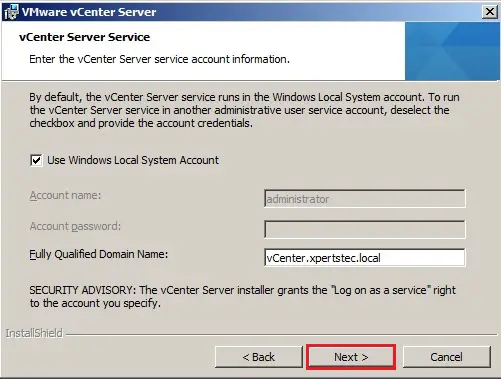
7- The account is going to be grated go online as a service and then click on next.
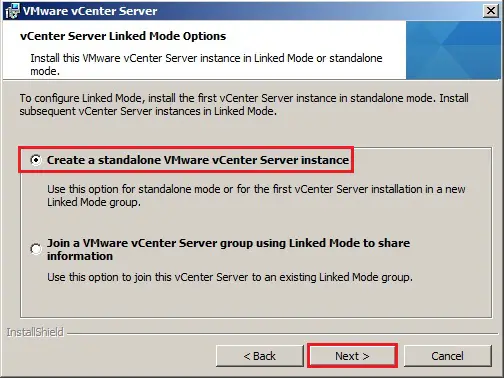
8- it’ll be the primary vCenter installation prefer to create a standalone VMware vCenter Server Instance and then click on next.
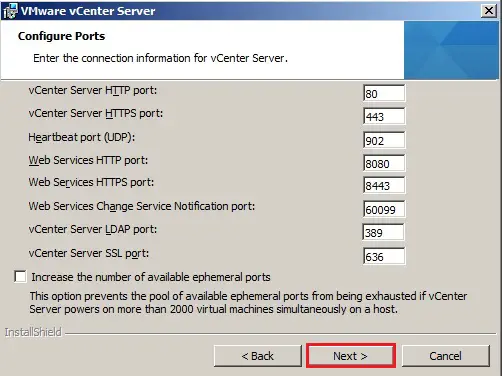
9- Verify the ports to use for the vCenter server and then click on next.
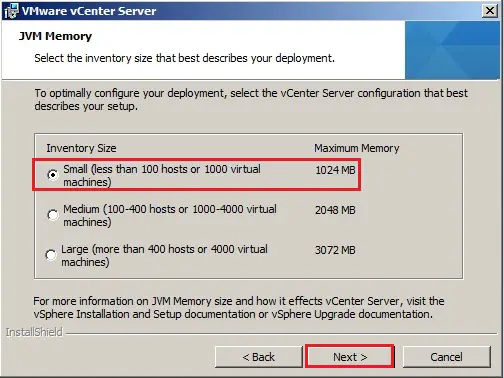
10- Select Maximum Memory inventory size to properly size and then click on next.
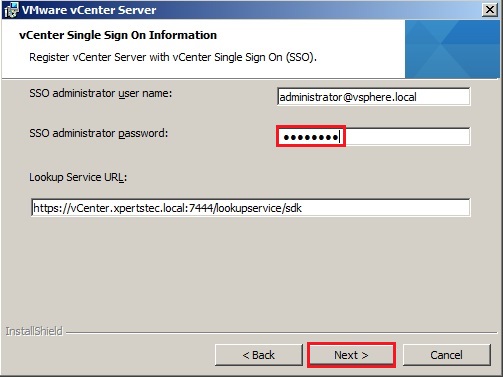
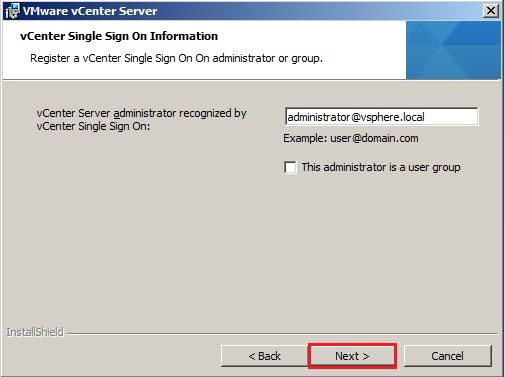
11- Type your vCenter Single Sign-On administrator credentials (administrator@vsphere.local) to register the vCenter Server with VMware vCenter SSO and then click on next.
12- Click Yes.
13- that’s an area administrator on this server who can manage vCenter and then click on next.
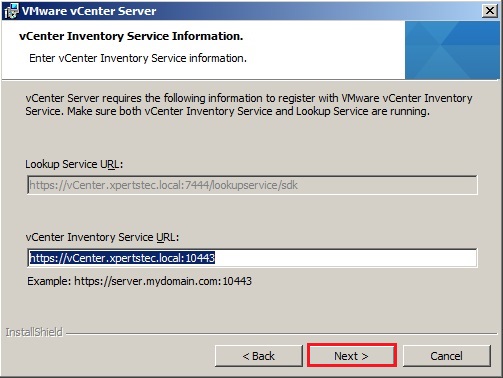
14- make sure the correct vCenter Inventory Service address is entered and then click on next.
15- Change your installation location if required and then click on next.

16- Click Install.

17- Default Running Process (It will install SQL Server first).
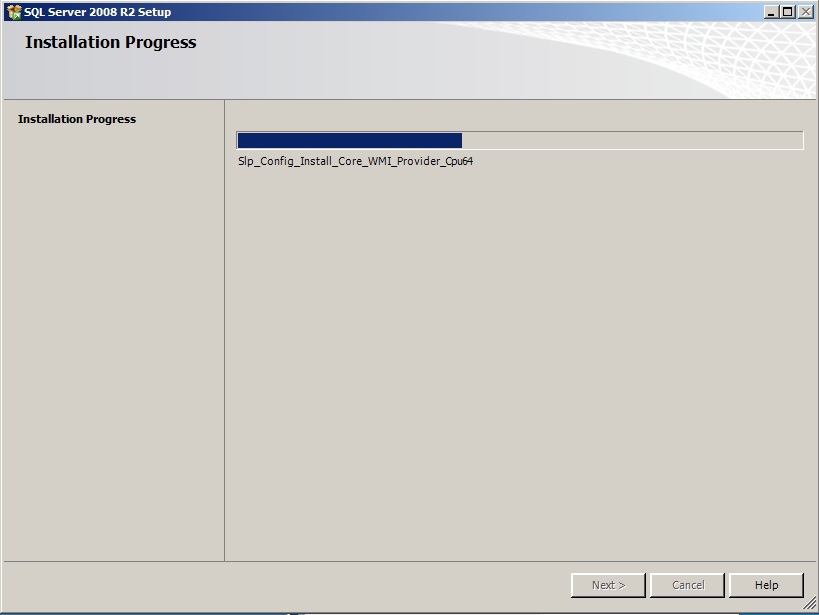
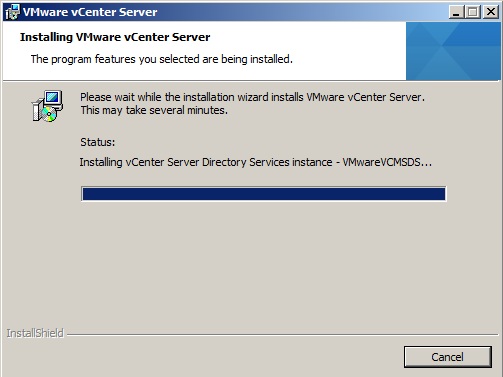
18- Now vCenter Server installation started.
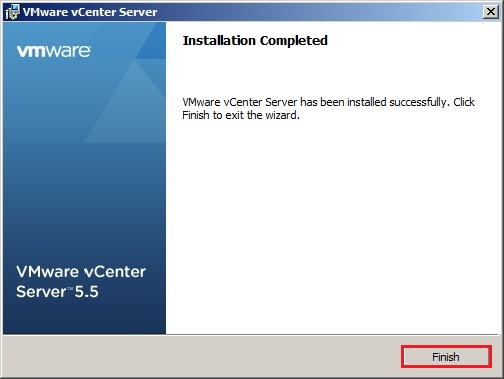
19- vCenter server installation completed and then click on Finish.
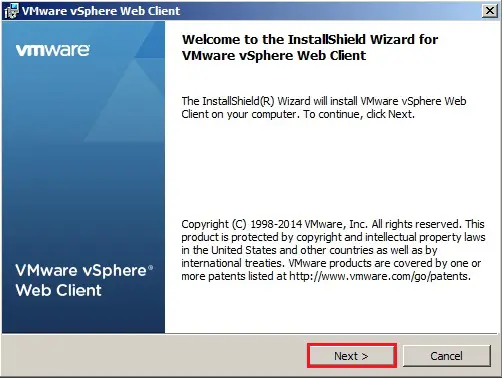
vSphere Web Client Installation
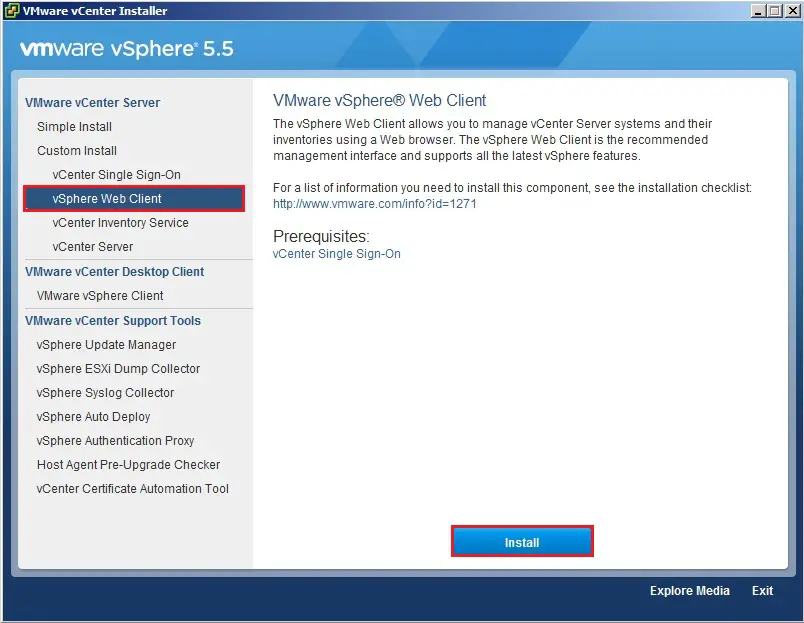
1- return at the installer launchpad click vSphere Web Client and then click on Install.
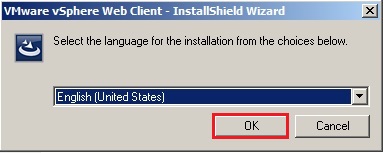
2- Select the language and then click on ok.
3- Click Next.
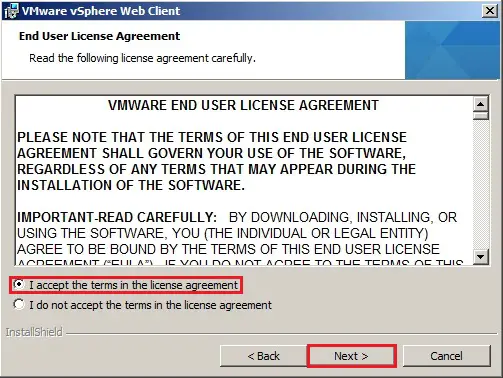
4- Select I accept the terms within the license agreement and then click on next.
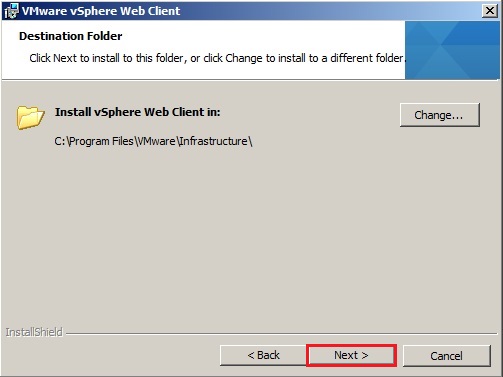
5- Set the install location and then click on next.
6- Leave the ports as defaults and then click on next.

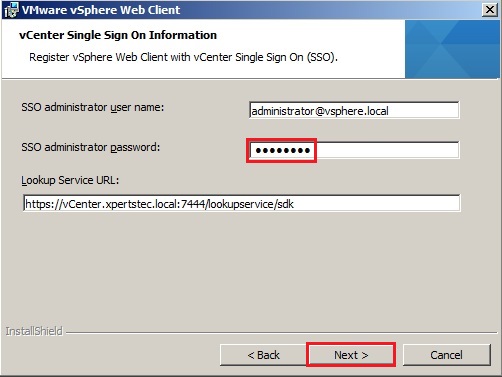
7- Enter the vCenter Single Sign-On details as you probably did with the vCenter install to register and then click on next.
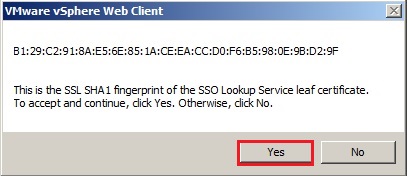
8- Click Yes to simply accept the self-generated SSL certificate.
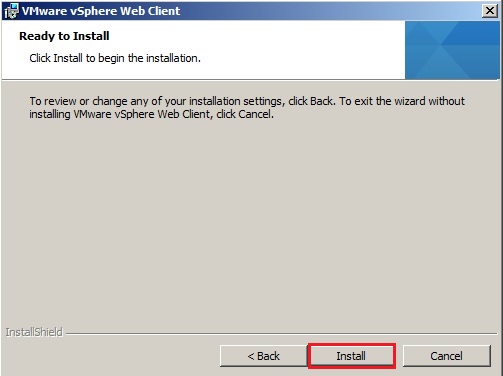
9- So click Install.
10- Installation completed and then click on Finish.

11- Note that the vSphere Web Client services will take a while to load. Before they become available and so click on ok.

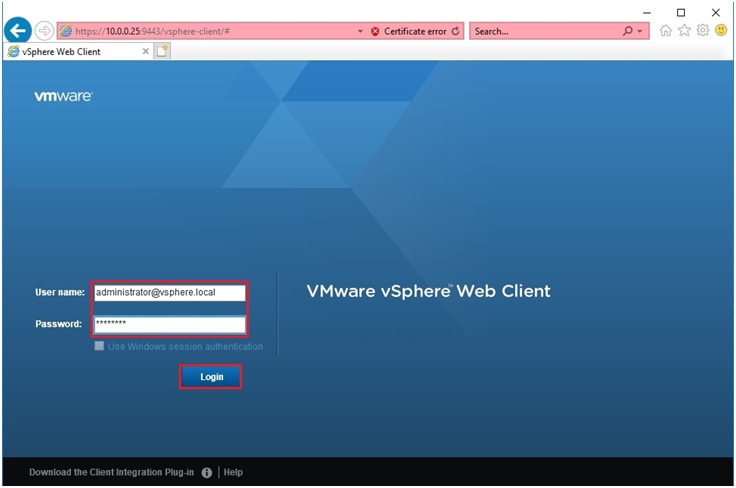
12- after Login vSphere Client.
For more information click here
How to create a Datacenter, HA/DRS Cluster and Add a Host click here
